Introduction:
In today’s world of remote work and IT administration, having a reliable and secure remote desktop solution is essential. While tools like TeamViewer or AnyDesk are widely used, they rely on third-party infrastructure, which may raise concerns about privacy, control, and cost.
RustDesk is an open-source remote desktop solution that allows you to host your own server, giving you full control over your data and connections. By deploying a self-hosted RustDesk server on an Ubuntu 24 VPS using Docker, you can create a secure, scalable, and independent remote access environment.
This guide walks you through the complete setup process using Docker, making deployment quick and efficient.
Step 1: Install Docker
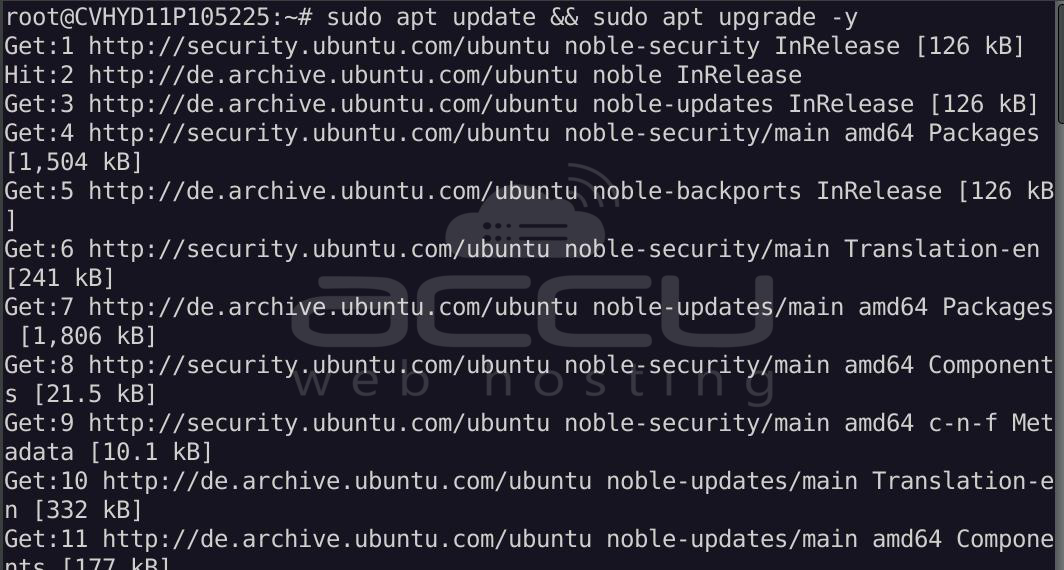
Update your system:
sudo apt update && sudo apt upgrade -y
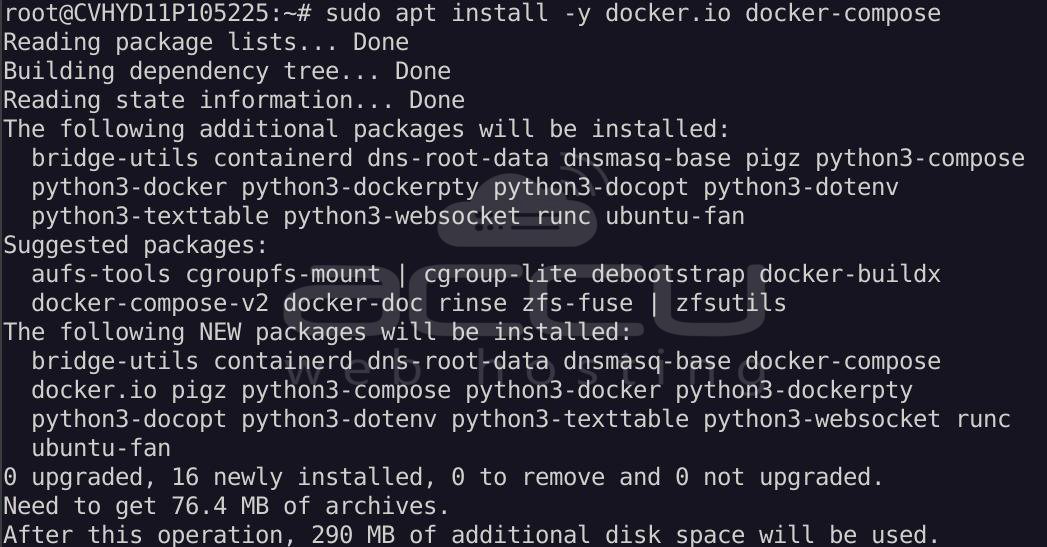
Install Docker & Compose:
sudo apt install -y docker.io docker-compose
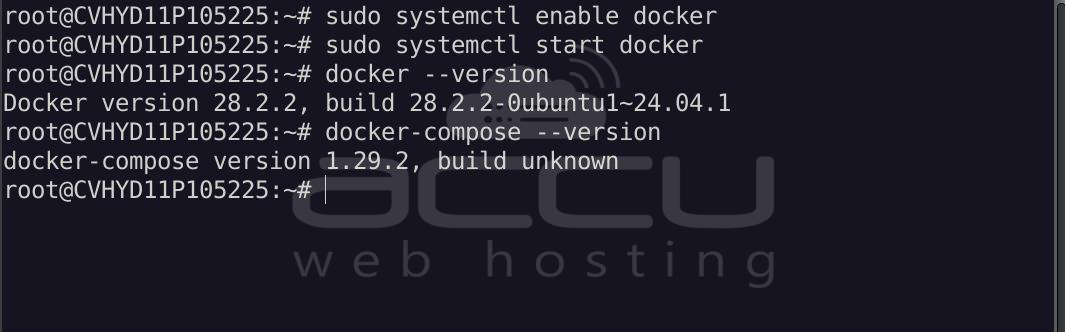
Enable and start Docker:
sudo systemctl enable docker
sudo systemctl start docker
Verify installation:
docker --version
docker-compose --version
Step 2: Create Project Directory
mkdir -p ~/rustdesk-server
cd ~/rustdesk-server
Step 3: Create Docker Compose File
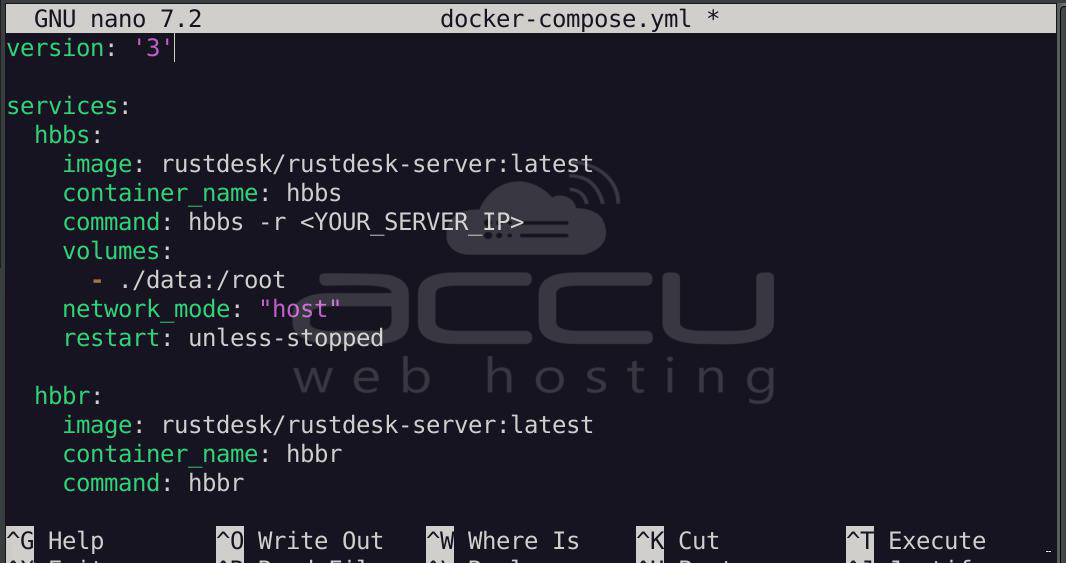
Create a docker-compose.yml file:
nano docker-compose.yml
Paste the following configuration:
version: '3'
services:
  hbbs:
    image: rustdesk/rustdesk-server:latest
    container_name: hbbs
    command: hbbs -r <YOUR_SERVER_IP>
    volumes:
      - ./data:/root
    network_mode: "host"
    restart: unless-stopped
  hbbr:
    image: rustdesk/rustdesk-server:latest
    container_name: hbbr
    command: hbbr
    volumes:
      - ./data:/root
    network_mode: "host"
    restart: unless-stopped
Note: Replace <YOUR_SERVER_IP> with your VPS public IP address.
Save and exit (CTRL + X, then Y, then Enter).
Step 4: Open Required Ports (Optional)
If you are using the UFW firewall, please use the following steps.
RustDesk requires the following ports:
sudo ufw allow 21115:21119/tcp
sudo ufw allow 21116/udp
sudo ufw reload
Step 5: Start RustDesk Server
Run the containers:
docker-compose up -d
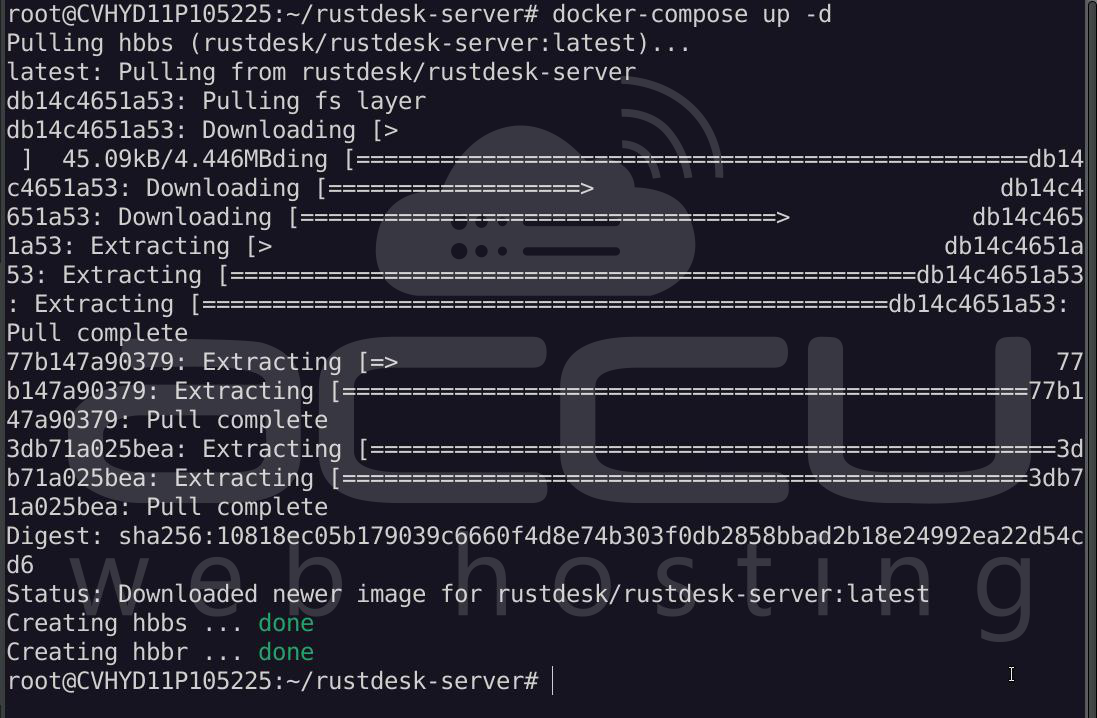
This will download the image and start your RustDesk server.
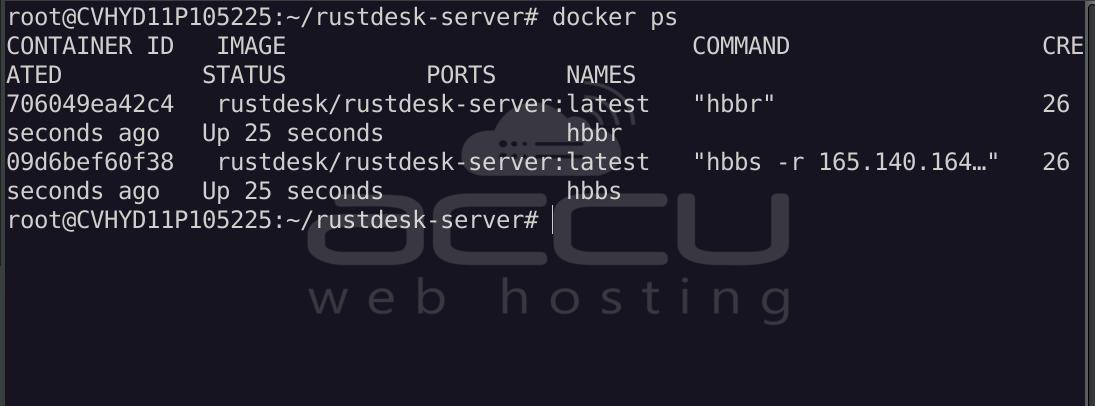
Check status:
docker ps
View logs:
docker logs -f hbbr
docker logs -f hbbs

Key lines proving RustDesk is running:
From hbbs (main server):
Listening on tcp/udp :21116
Listening on tcp :21115, extra port for NAT test
Listening on websocket :21118
Start
These lines mean:
- Server successfully started
- Ports are actively listening
- No startup errors
From hbbr (relay server):
Listening on tcp :21117
Listening on websocket :21119
Start
These confirm:
- The relay server is also running properly
Step 6: Retrieve Server Key
RustDesk uses a key for secure connections.
Get your public key:
cat ~/rustdesk-server/data/id_ed25519.pub
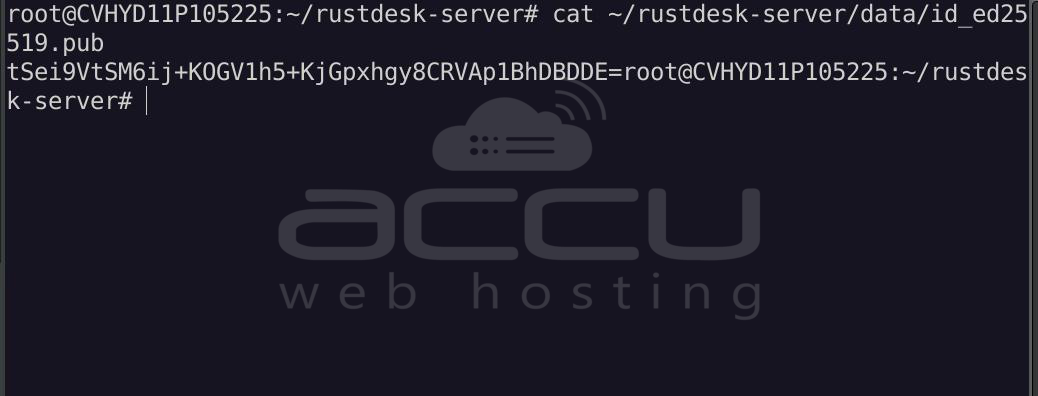
Save this key. You will need it when configuring clients.
Step 7: Configure the RustDesk Client on both devices
On your local machine:
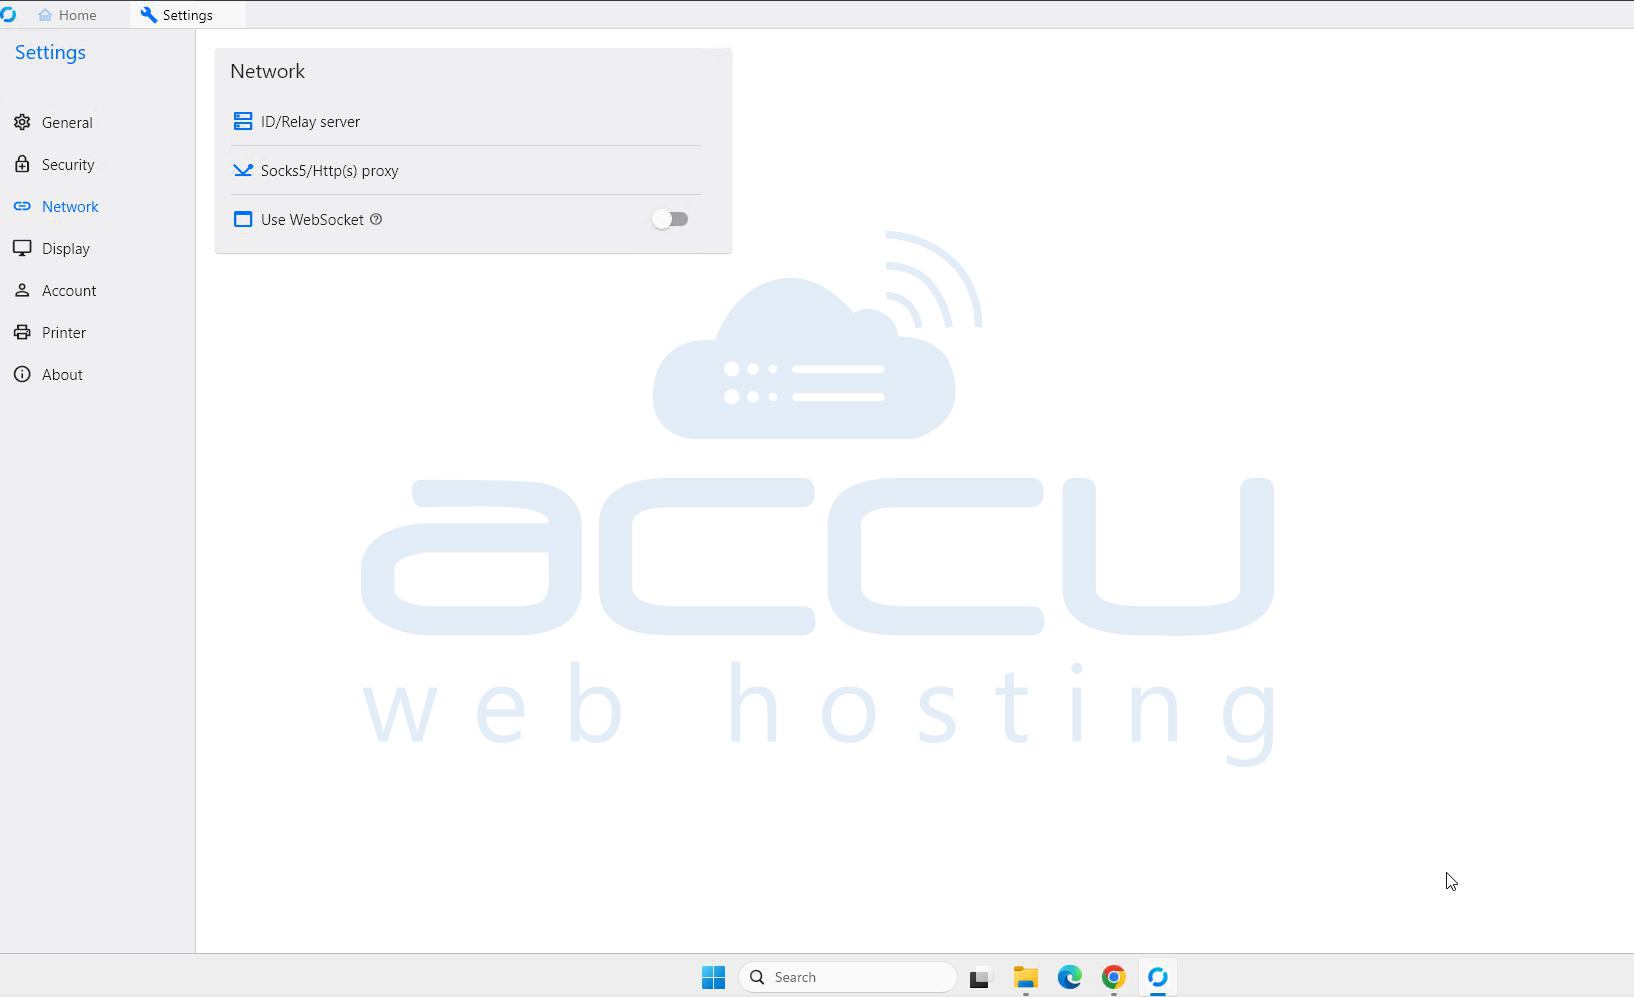
- Open the RustDesk client
- Go to Settings -> Network
- Click on the “ID/Relay server” option
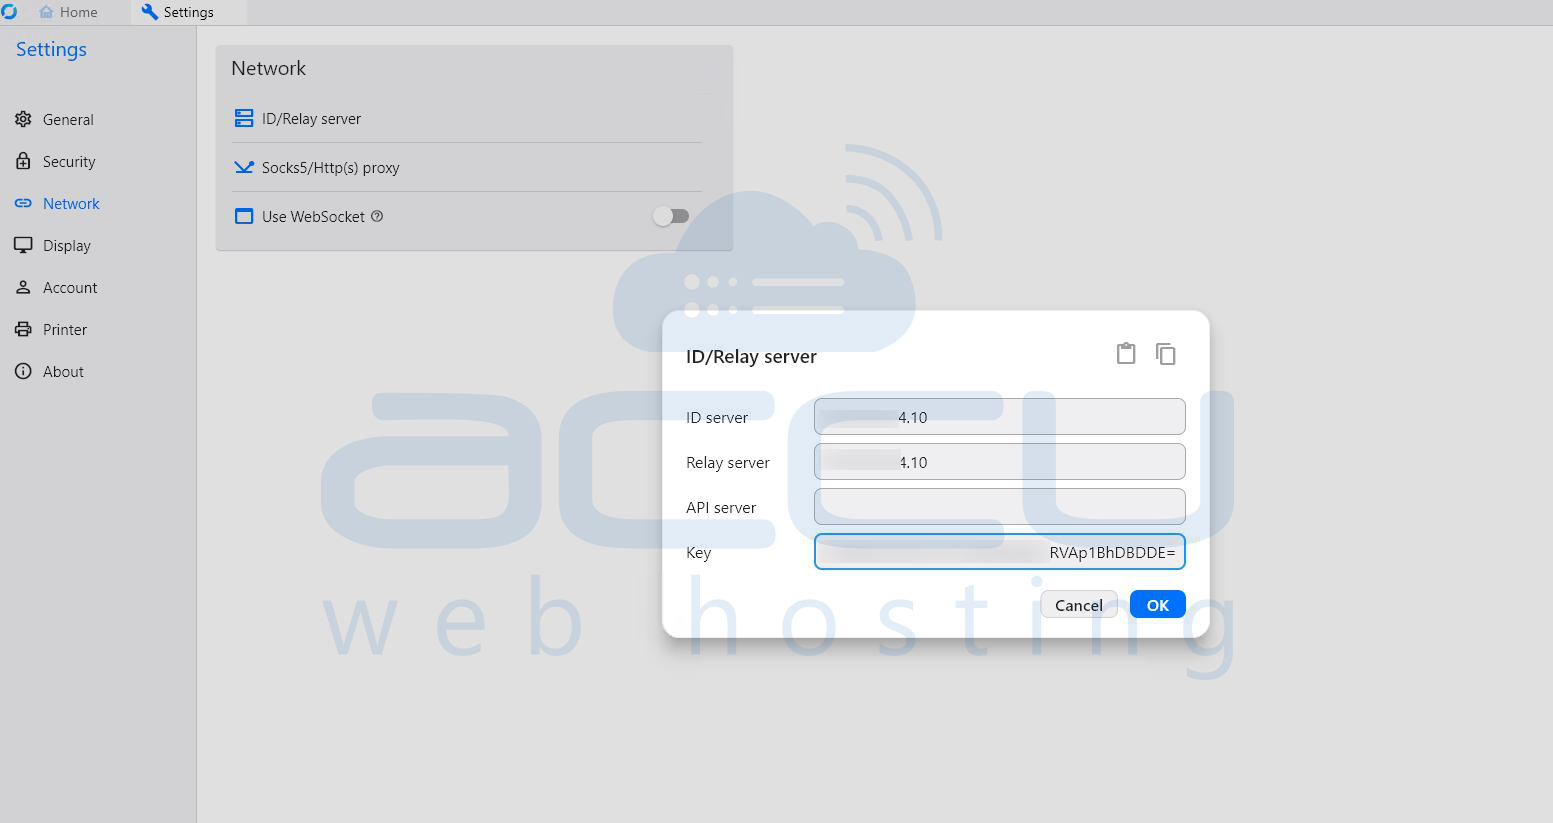
- Set:
- ID Server: Your VPS IP
- Relay Server: Your VPS IP
- API Key: Keep empty
- Key: Paste the public key
Now your client will connect through your self-hosted server.
Step 8: Verify Connection
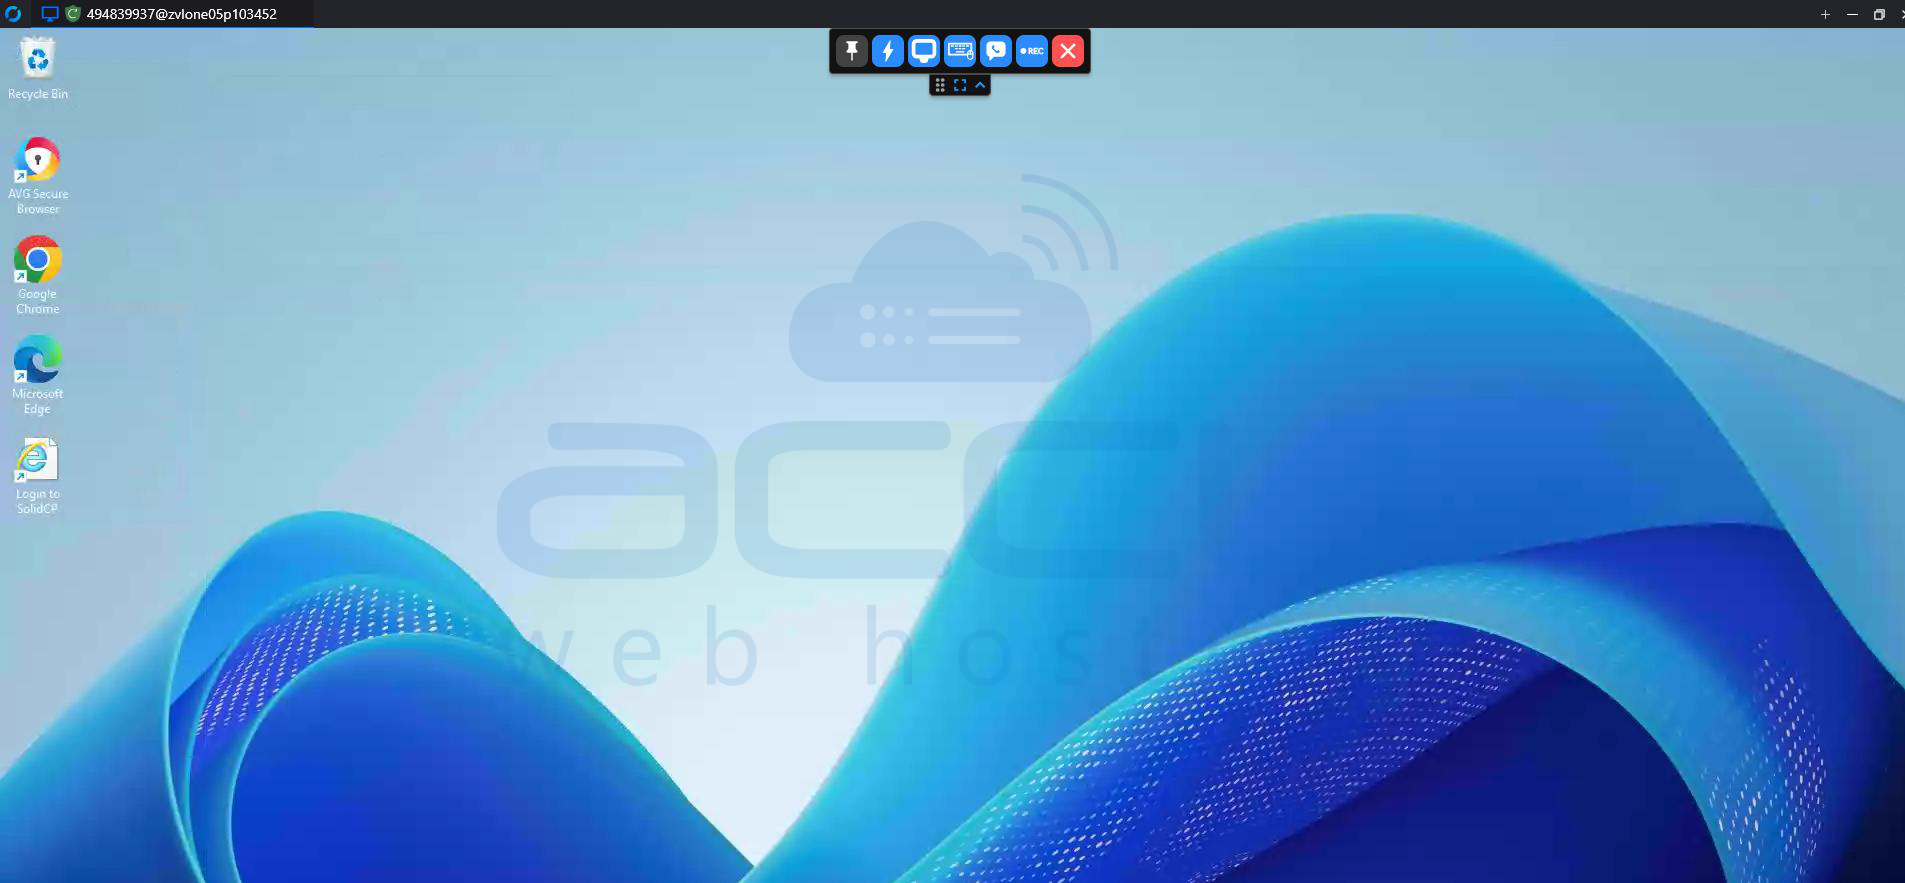
- Start RustDesk on two devices
- Use the ID & one-time password to connect
- Ensure the connection is successful via your VPS
Conclusion:
Hosting your own RustDesk server on an Ubuntu 24 VPS using Docker is a powerful way to gain full control over your remote desktop infrastructure. It eliminates dependency on third-party services, enhances privacy, and can significantly reduce long-term costs.
With Docker simplifying deployment and management, even complex setups become straightforward and maintainable. Whether you're an individual user, system administrator, or organization, a self-hosted RustDesk server provides a secure and flexible remote access solution tailored to your needs.
