Introduction:
Supabase is a powerful open-source platform that provides backend services such as a database, authentication, APIs, and storage—all in one place. It is often considered an alternative to Firebase, especially for developers who prefer working with open-source tools and PostgreSQL.
In this article, we will explain how to install Supabase on an Ubuntu 24 VPS. We will also cover how to configure an Nginx reverse proxy so you can access your Supabase instance using a domain name.
Key Features of Supabase:
Supabase comes with several useful features that make backend development easier and faster:
-
PostgreSQL Database
Supabase uses PostgreSQL, a powerful and reliable relational database system. -
Auto-Generated APIs
It automatically creates RESTful APIs based on your database schema, saving development time. -
Authentication & Authorization
Built-in user authentication with support for email, password, and third-party providers. -
Realtime Functionality
Enables real-time data updates using WebSockets, which is useful for live applications. -
Supabase Studio Dashboard
A user-friendly web interface to manage your database, users, and settings. -
Storage System
Easily store and manage files such as images, videos, and documents. -
Docker-Based Deployment
Supabase runs using Docker, making it easy to deploy and manage on a VPS. -
Open Source
Fully open-source, giving you more control, flexibility, and transparency.
Install Supabase on Ubuntu 24 VPS:
Prerequisites:
Ensure your VPS meets the following requirements:
-
Operating System: Ubuntu 24.04
-
RAM: Minimum 2 GB (4 GB recommended)
-
Access: Root or sudo privileges
Step 1: Update System Packages
Before installing any software, update your system:
sudo apt update && sudo apt upgrade -y
Step 2: Install Required Packages
Install basic utilities required for the setup:
sudo apt install -y curl git unzip
Step 3: Install Docker
Supabase runs entirely on Docker, so Docker must be installed.
Add Docker Repository
sudo apt install -y ca-certificates gnupg

sudo install -m 0755 -d /etc/apt/keyrings

curl -fsSL https://download.docker.com/linux/ubuntu/gpg | sudo tee /etc/apt/keyrings/docker.asc > /dev/null

echo \
"deb [arch=$(dpkg --print-architecture) signed-by=/etc/apt/keyrings/docker.asc] https://download.docker.com/linux/ubuntu \
$(. /etc/os-release && echo $VERSION_CODENAME) stable" | \
sudo tee /etc/apt/sources.list.d/docker.list > /dev/null
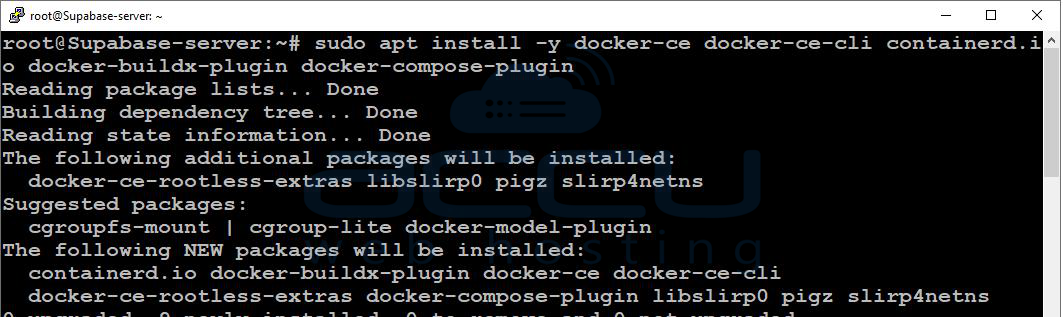
Install Docker Engine:
sudo apt update

sudo apt install -y docker-ce docker-ce-cli containerd.io docker-buildx-plugin docker-compose-plugin
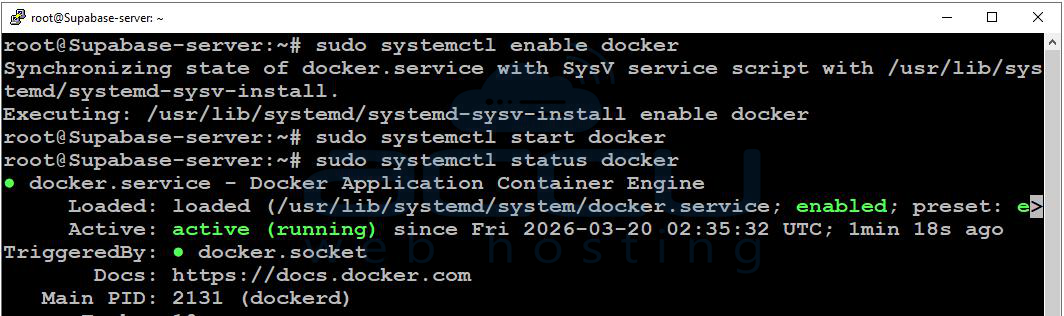
Start and Enable Docker
sudo systemctl enable docker
sudo systemctl start docker
sudo systemctl status docker
Verify Docker Installation
docker --version

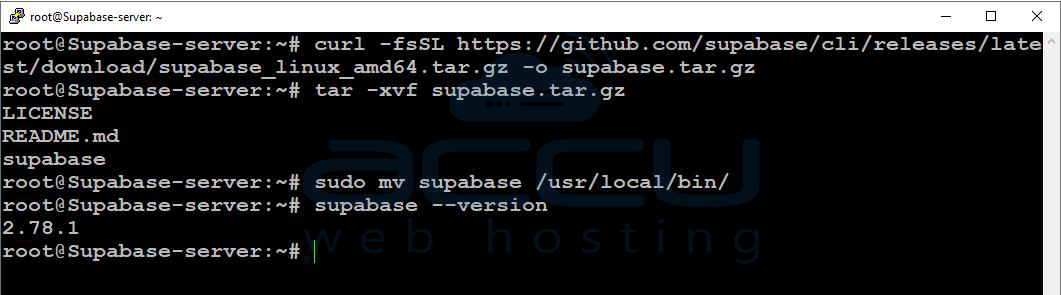
Step 4: Install Supabase CLI
Download and install the Supabase CLI:
curl -fsSL https://github.com/supabase/cli/releases/latest/download/supabase_linux_amd64.tar.gz -o supabase.tar.gz

tar -xvf supabase.tar.gz

sudo mv supabase /usr/local/bin/
Verify Installation:
supabase --version
Step 5: Initialize a Supabase Project
Create a project directory and initialize Supabase:
mkdir supabase-project
cd supabase-project

supabase init

Step 6: Start Supabase
Start all Supabase services using Docker:
supabase start
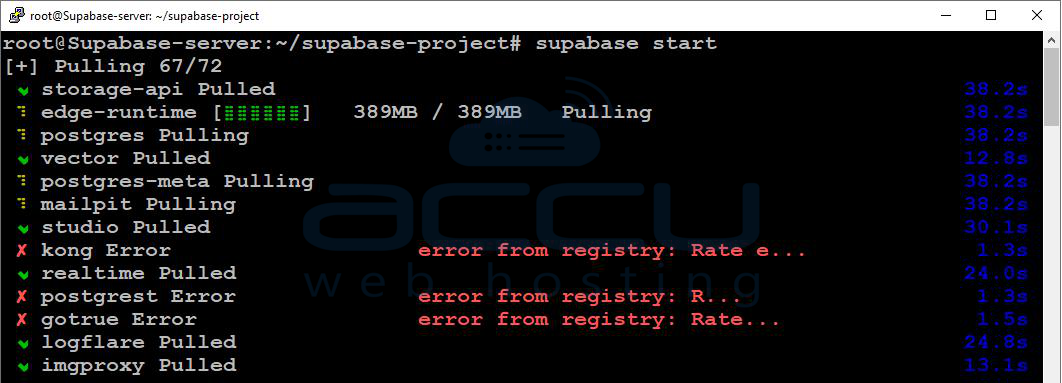
What This Does:
-
Pulls required Docker images
-
Starts all services (PostgreSQL, Auth, Studio, etc.)
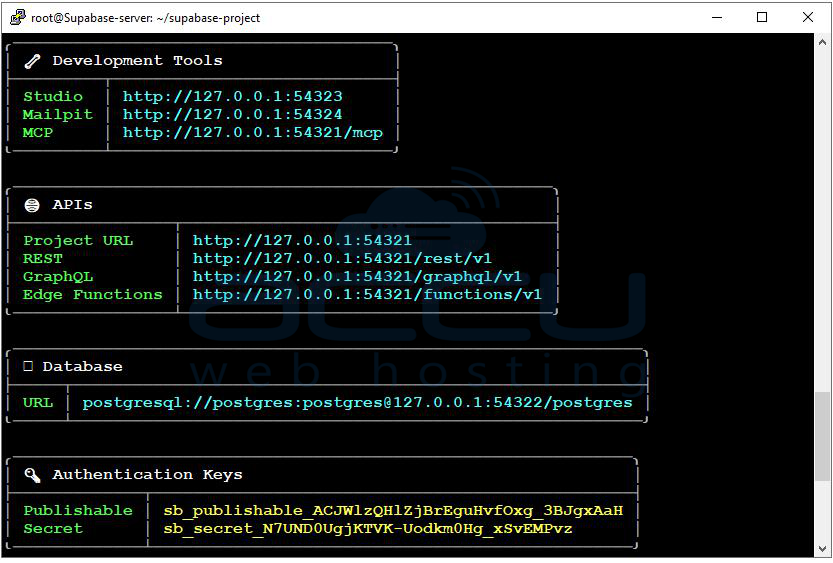
Step 7: Access Supabase Dashboard
After starting, you will see output similar to:
API URL: http://YOUR_SERVER_IP:54321
Studio URL: http://YOUR_SERVER_IP:54323
Access from Browser:
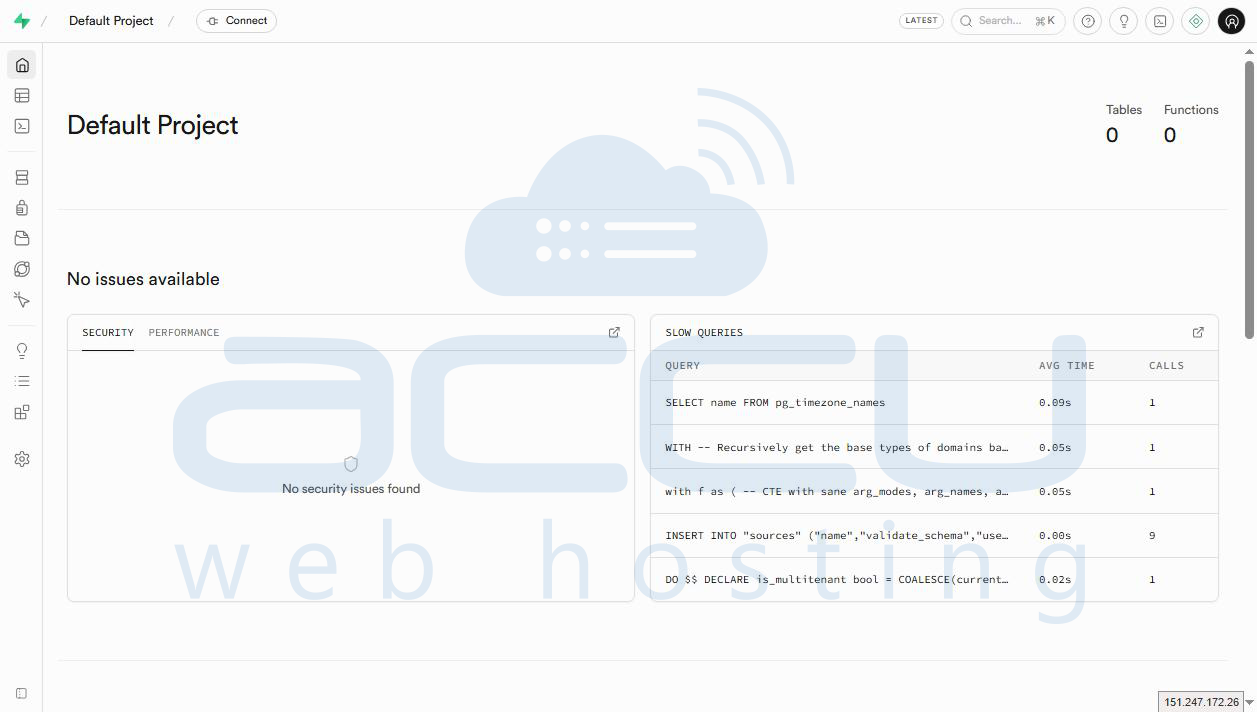
Open the following in your browser: http://YOUR_SERVER_IP:54323
Step 8: Manage Supabase Services
Start Services
supabase start
Stop Services
supabase stop
Install Nginx Reverse Proxy (Optional but Recommended)
Using Nginx allows you to access Supabase via a domain.
Step 1: Install Nginx
sudo apt update
sudo apt install nginx -y
Start and Enable Nginx
sudo systemctl start nginx
sudo systemctl enable nginx
Verify Nginx Status
sudo systemctl status nginx
Step 2: Create Nginx Configuration
Create a new configuration file:
sudo nano /etc/nginx/sites-available/supabase
Add the Following Configuration:
server {
    listen 80;
    server_name yourdomain.com;

    location / {
        proxy_pass http://127.0.0.1:54323;
        proxy_http_version 1.1;

        proxy_set_header Upgrade $http_upgrade;
        proxy_set_header Connection 'upgrade';
        proxy_set_header Host $host;

        proxy_cache_bypass $http_upgrade;
    }
}
This maps: yourdomain.com → Supabase Studio (port 54323)
Step 3: Enable the Configuration
sudo ln -s /etc/nginx/sites-available/supabase /etc/nginx/sites-enabled/
Test Configuration
sudo nginx -t
Reload Nginx
sudo systemctl reload nginx
Step 4: Access Supabase via Domain
Open your browser and visit: http://yourdomain.com
Conclusion:
In this article, we explained how to install Supabase on an Ubuntu 24 VPS and run it using Docker. We also configured an Nginx reverse proxy to make your Supabase instance accessible through a domain name. With this setup, you now have a fully functional backend platform that you can use to build modern web and mobile applications. Supabase simplifies backend development while still giving you full control over your infrastructure.
If you encounter any issues during installation, please feel free to contact us via chat or support. Our support team will assist you with the installation process.
