Introduction
Valheim is a popular survival and exploration game developed by Iron Gate Studio and published by Coffee Stain Publishing. Hosting your own Valheim server allows you to play with friends in a persistent world that stays online even when the host player is offline. Running the server in Docker simplifies deployment, keeps the environment isolated, and makes server management easier.
This guide explains how to deploy a Valheim server using Docker on Ubuntu. The process uses a stable Docker container image and includes all required configuration steps to ensure a reliable server setup.
Step 1: Update the System
Update the package list and upgrade installed packages.
sudo apt update && sudo apt upgrade -y

Step 2: Install Docker
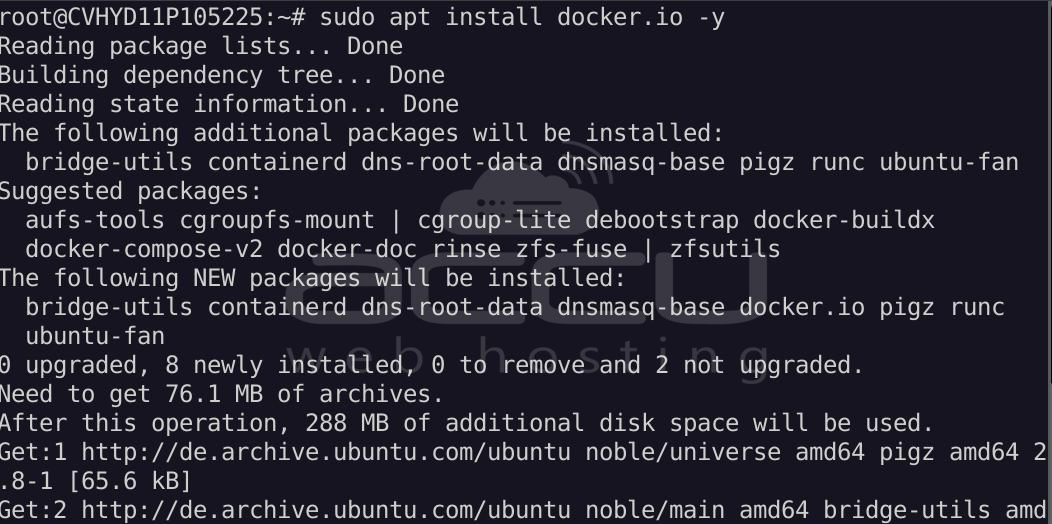
Install Docker from the Ubuntu repository:
sudo apt install docker.io -y
Enable and start the Docker service:
sudo systemctl enable docker
sudo systemctl start docker
Verify the installation:
docker --version

Step 3: Create Server Directories
Create directories to store Valheim server data:
mkdir -p ~/valheim-server/config
mkdir -p ~/valheim-server/data
Move into the server directory:
cd ~/valheim-server

Step 4: Pull the Valheim Docker Image
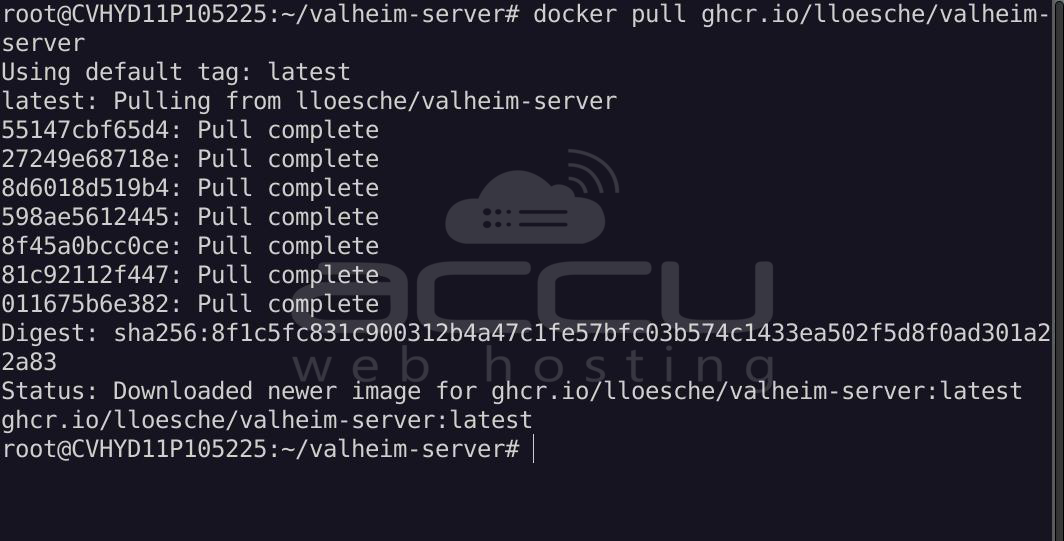
Download the Valheim server container image:
docker pull ghcr.io/lloesche/valheim-server
Step 5: Create the Docker Container
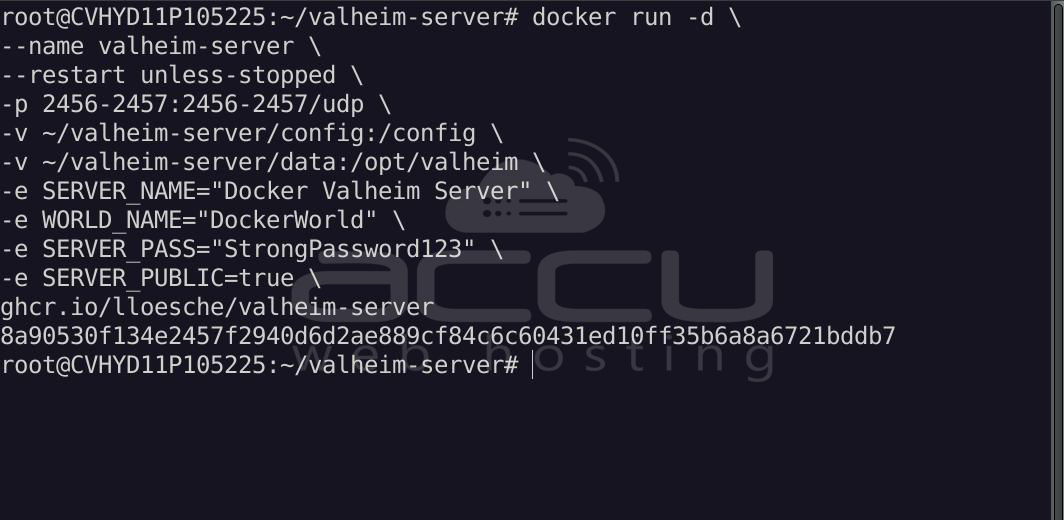
Run the Valheim server container with the required environment variables.
Replace the placeholders with your desired values.
docker run -d \
--name valheim-server \
--restart unless-stopped \
-p 2456-2457:2456-2457/udp \
-v ~/valheim-server/config:/config \
-v ~/valheim-server/data:/opt/valheim \
-e SERVER_NAME="Docker Valheim Server" \
-e WORLD_NAME="DockerWorld" \
-e SERVER_PASS="StrongPassword123" \
-e SERVER_PUBLIC=true \
ghcr.io/lloesche/valheim-server
|
Variable |
Description |
|
SERVER_NAME |
Name displayed in the server list |
|
WORLD_NAME |
World file name |
|
SERVER_PASS |
Password players use to join |
|
SERVER_PUBLIC |
Makes the server visible in the community server list |
Step 6: Verify the Server is Running
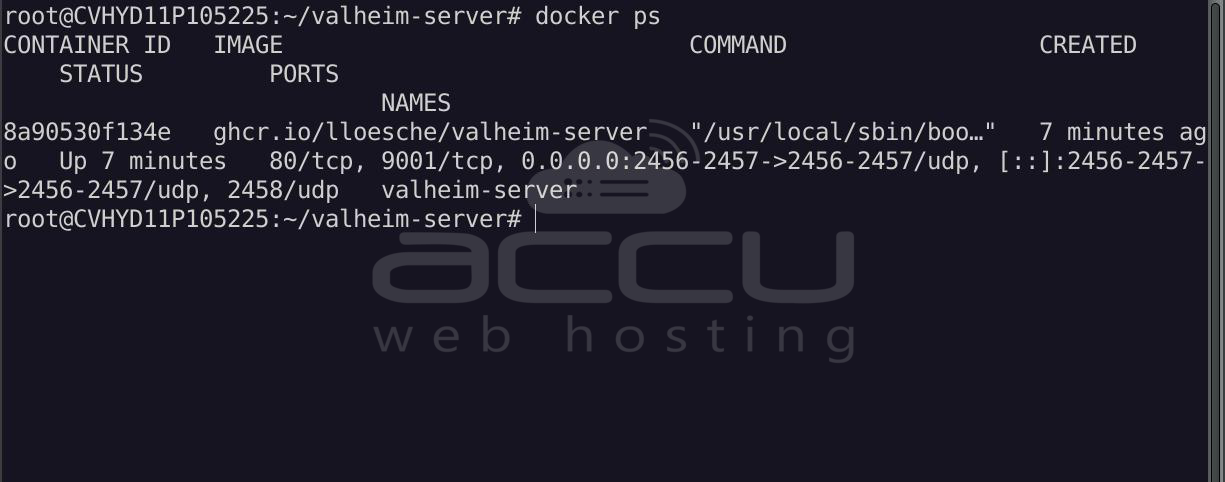
Check the running containers:
docker ps
View server logs:
docker logs -f valheim-server
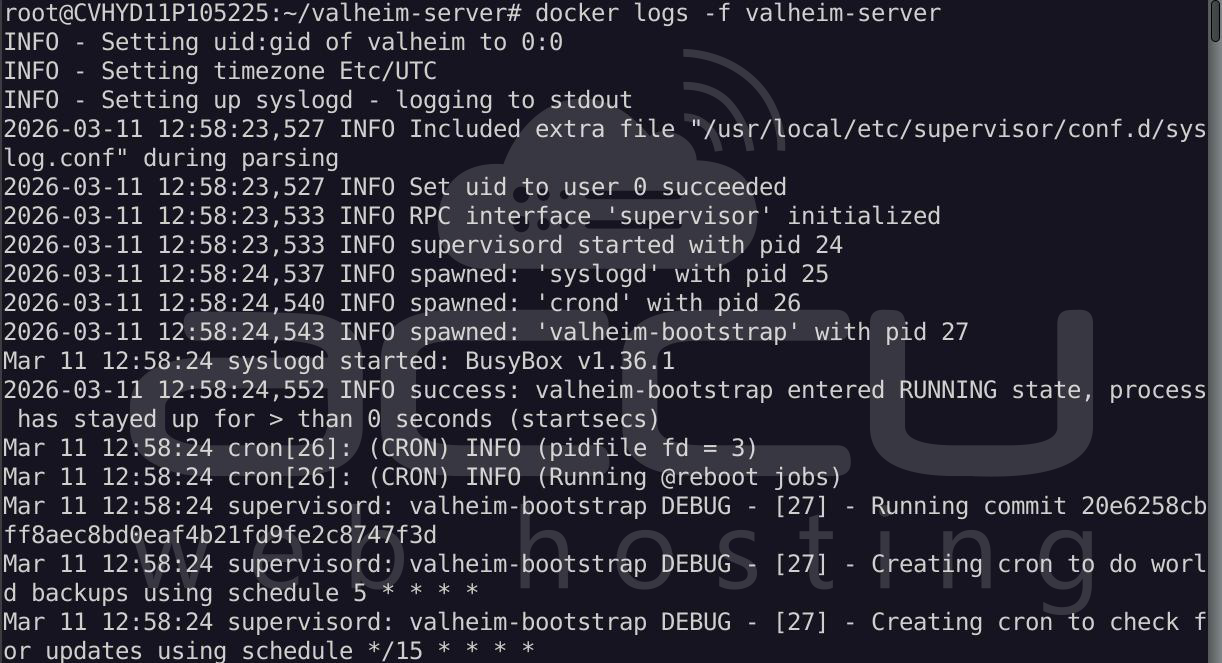
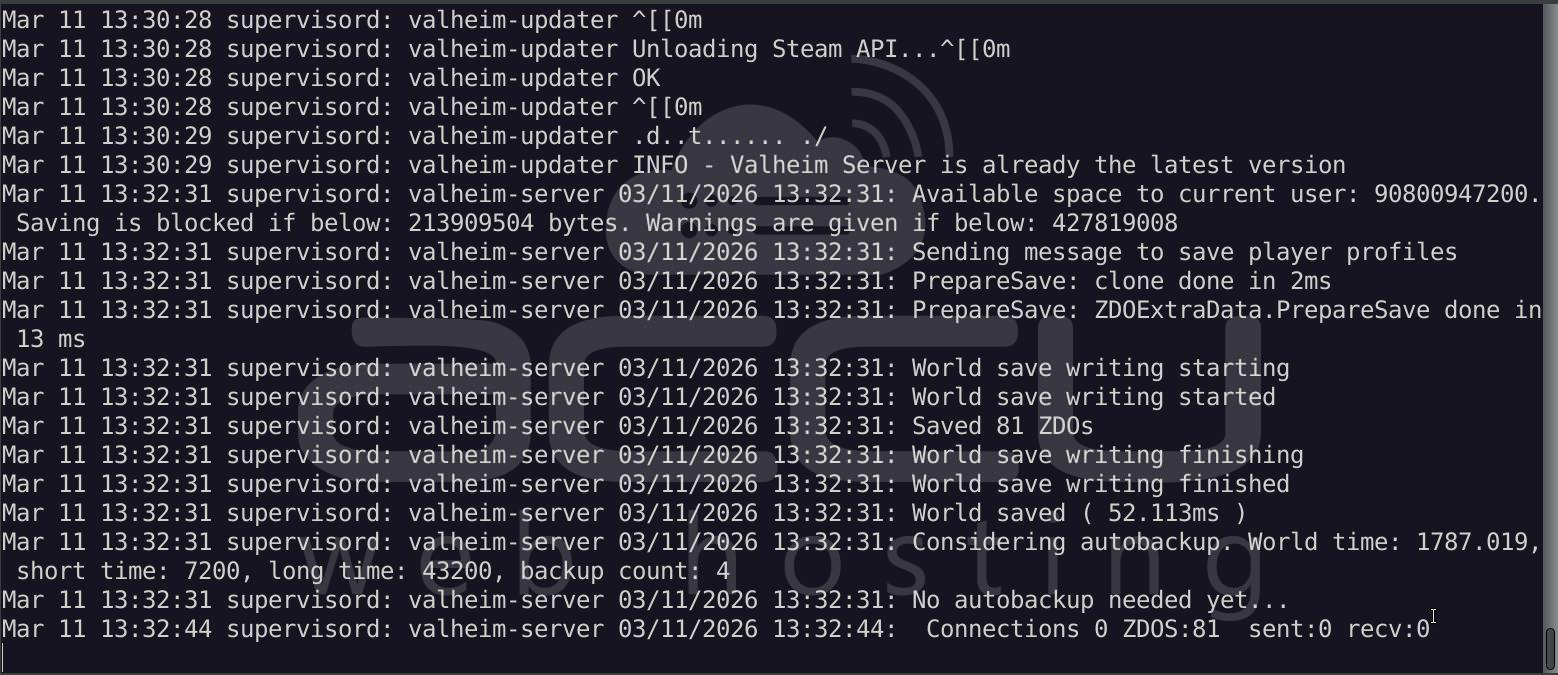
The server may take 2–5 minutes to generate the world during the first startup.
Step 7: Allow Firewall Ports (If UFW is Enabled)
If the Ubuntu firewall is active, allow Valheim ports:
sudo ufw allow 2456/udp
sudo ufw allow 2457/udp
Reload firewall rules:
sudo ufw reload
Step 8: Connect to the Server
Players can connect through the in-game server browser or directly using the server IP.
Connection format:
YOUR_SERVER_IP:2456
Step 9: Managing the Server
Stop the server:docker stop valheim-server
Start the server:docker start valheim-server
Restart the server:docker restart valheim-server
If you want to update the server image:docker pull ghcr.io/lloesche/valheim-serverdocker stop valheim-serverdocker rm valheim-server
Then run the docker run command again (Step 5).
Summary:
Running a Valheim dedicated server using Docker on Ubuntu 24.04 provides a clean and efficient hosting solution. Docker isolates the game server environment, simplifies updates, and ensures consistent deployment. By creating persistent storage directories and exposing the required ports, administrators can easily host a stable multiplayer Valheim world.
Conclusion:
Hosting your own Valheim server allows you to create a private multiplayer environment with full control over the world and player access. Using Docker significantly simplifies the setup process and improves server portability and maintenance. With the steps outlined in this guide, you can quickly deploy a reliable Valheim server on Ubuntu 24.04 and enjoy uninterrupted adventures with friends in the Viking-inspired world.
