How to Change VPS Hostname in Virtualizor?
Changing the hostname of your VPS (Virtual Private Server) can be essential for better identification and organization, especially when managing multiple servers. Virtualizor provides an easy interface to modify the hostname of your VPS. Here’s a step-by-step guide on how to do it.
Steps to Change VPS Hostname in Virtualizor:
Step 1: Log in to Virtualizor
Log in to Virtualizor using the VPS management panel details you received via email, along with the server login credentials.
Step 2: Select the VPS
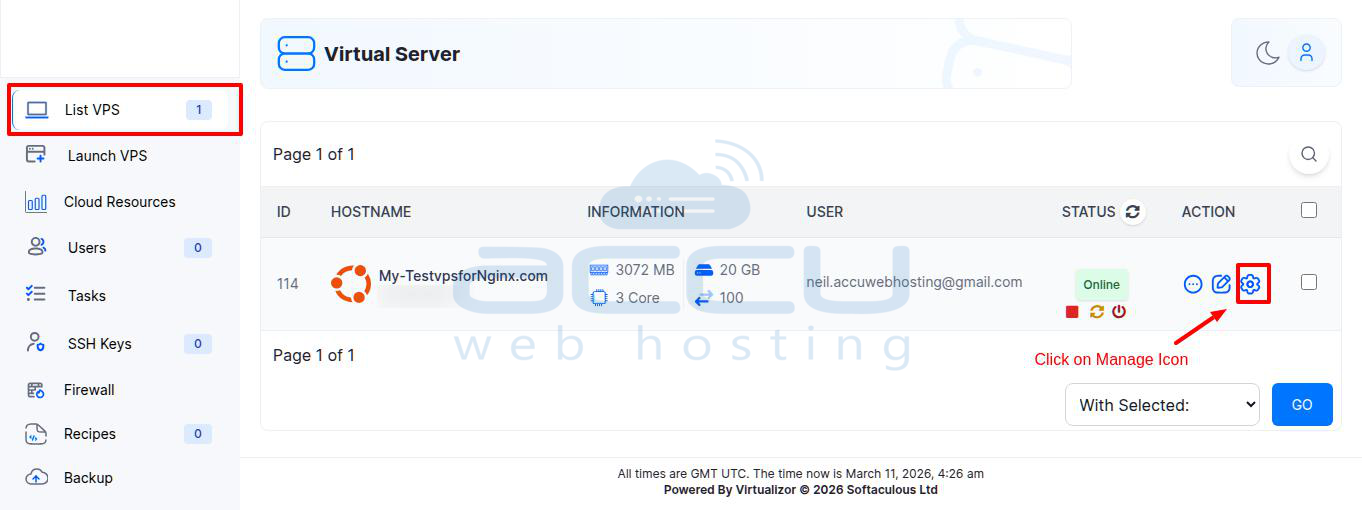
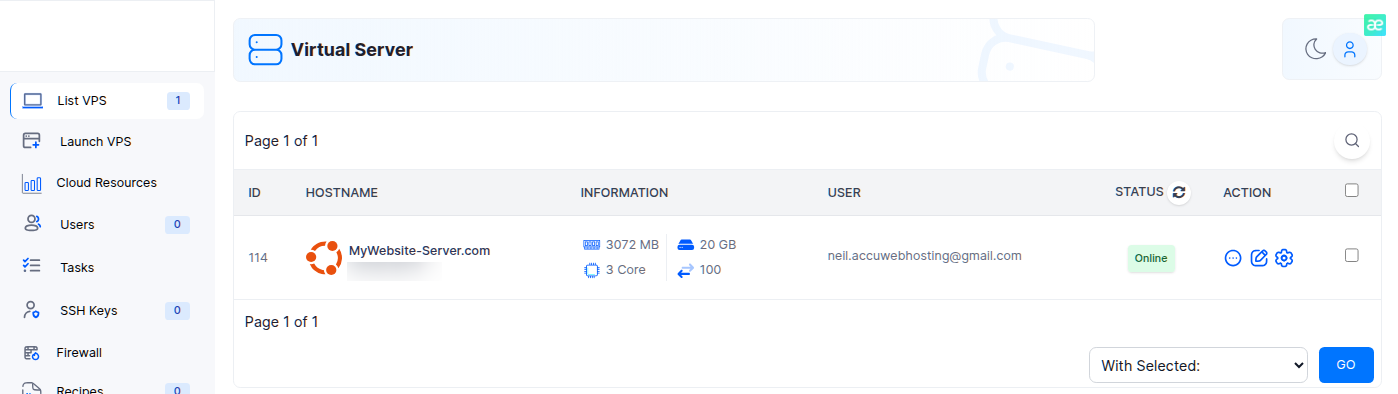
On the left-hand panel, click on the List VPS tab. This will display all your VPS instances.
Step 3: Access VPS Settings
Find the VPS you wish to change the hostname for.
Under the ACTION column, click the Manage icon (represented by a Settings icon).
Step 4: Go to Settings
After clicking the Manage icon, the VPS management screen will appear.
On this page, click on the Settings tab at the top of the screen.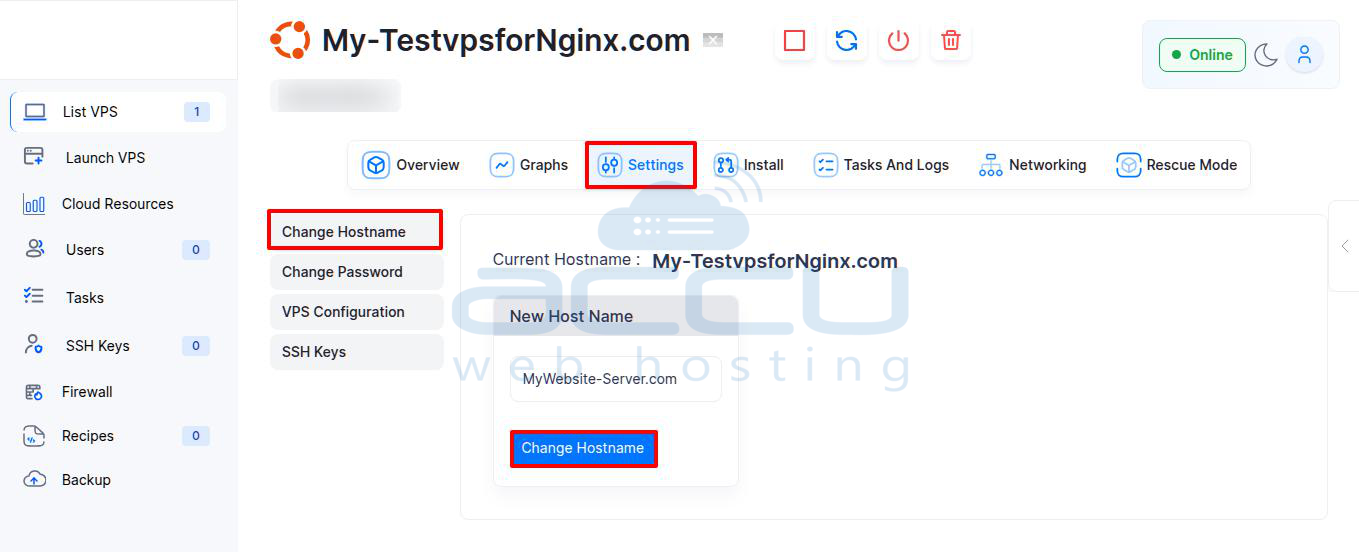
Step 5: Change Hostname
In the settings section, you will find an option to Change Hostname.
Type the new hostname in the New Host Name field.
After entering the desired hostname, click the Change Hostname button to apply the changes.
Confirmation:
Once you click on Change Hostname, a success notification will appear, confirming that your hostname has been updated. However, the change will take effect only after rebooting the VPS.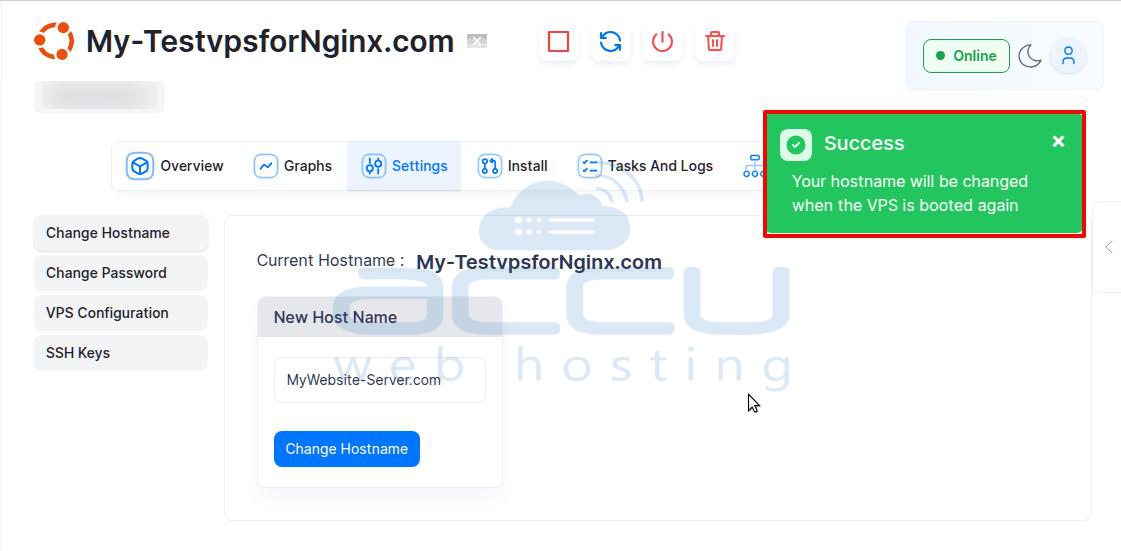
Step 6: Reboot the VPS
To finalize the hostname change, you will need to reboot your VPS.
This can be done by clicking the Reboot icon on the VPS management page.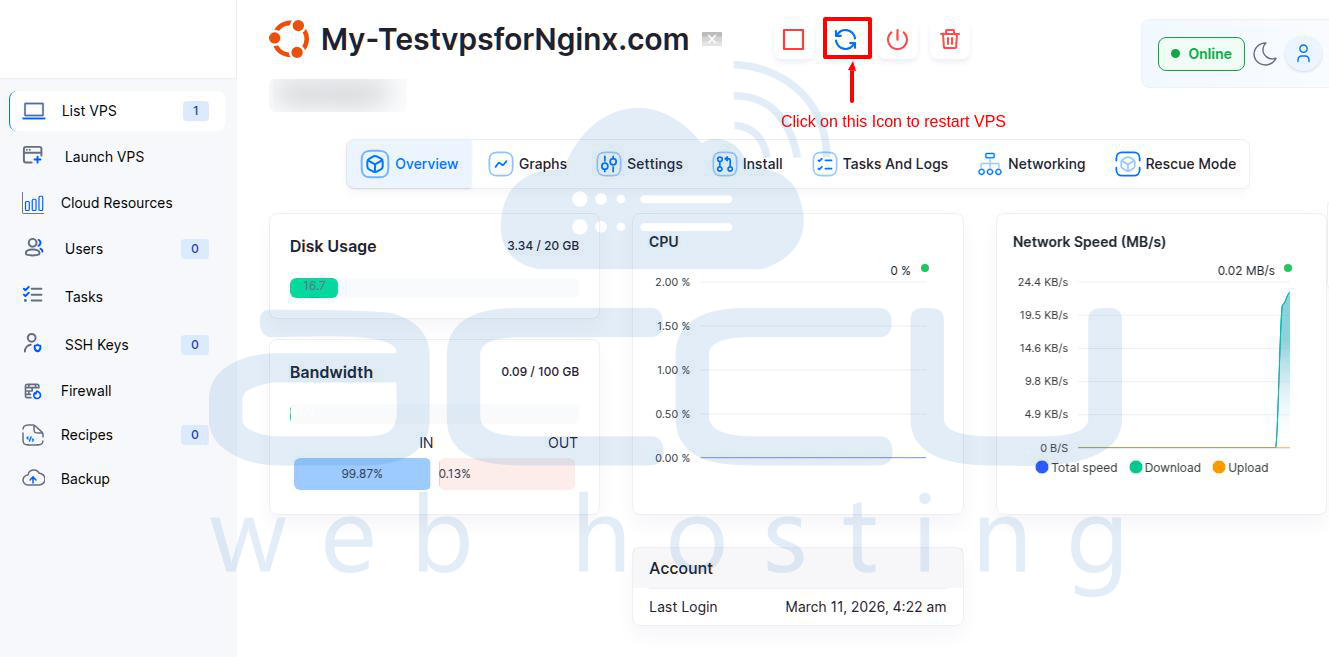
It may take a few moments for the server to reboot. Once the VPS has restarted, the update will be applied.
Now, click on the List VPS tab and verify that the VPS hostname has been updated to(e.g., MyWebsite-Server.com), the one you set.
You can also verify this by connecting to your server via SSH and running the hostname command.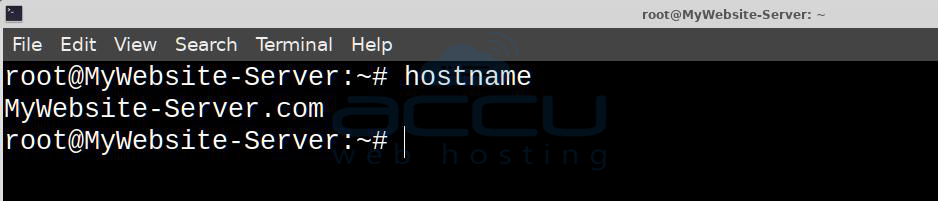
Conclusion:
Changing the hostname of your VPS in Virtualizor is a quick and easy process. Just follow these steps, and remember to reboot the VPS for the hostname to take effect. This helps to maintain clear identification of your VPS, especially in a server farm or when managing multiple virtual machines.
