Introduction:
If you are managing VPS servers using Virtualizor, you may have noticed a feature called Recipes. This feature is very helpful for automating software installation and server configuration inside virtual machines.
In this article, we will explain in a simple and clear manner:
3. How Recipes work
4. How to create a Recipe
5. A practical example
What Are Recipes in Virtualizor?
A Recipe in Virtualizor is a predefined automation script that runs automatically inside a VPS after it is created.
In simple terms:
A Recipe is a set of commands that automatically installs or configures software on a newly created VPS.
Instead of manually logging in to every VPS to install software, you can create a Recipe to perform these tasks automatically.
This makes VPS deployment faster, easier, and more consistent.
Why Should You Use Recipes?
Recipes are extremely useful because they help you:
1. Save time
2. Reduce manual errors
3. Standardize server configurations
4. Automate post-install setup
5. Improve customer experience
Example Scenario
Without a Recipe:
1. Create VPS
2. Log in via SSH
3. Install LAMP stack
4. Configure firewall
5. Install the control panel
This process must be repeated for every new VPS.
With a Recipe:
1. Create VPS
2. Everything installs automatically
This automation significantly reduces your workload.
How Do Recipes Work?
The basic workflow is simple:
1. The admin creates a Recipe (a shell script).
2. The Recipe is attached to an OS template.
3. When a VPS is created using that template:
- Virtualizor automatically runs the Recipe.
- The script executes inside the VPS.
- Software gets installed and configured.
Recipes typically include:
- Bash shell commands
- Package managers such as apt, yum, or dnf
- System configuration commands
This allows you to automate almost any setup task.
Where to Create Recipes in Virtualizor
You can create Recipes from the Virtualizor Admin Panel:
Navigate to: Admin Panel → Recipes → Add Recipe
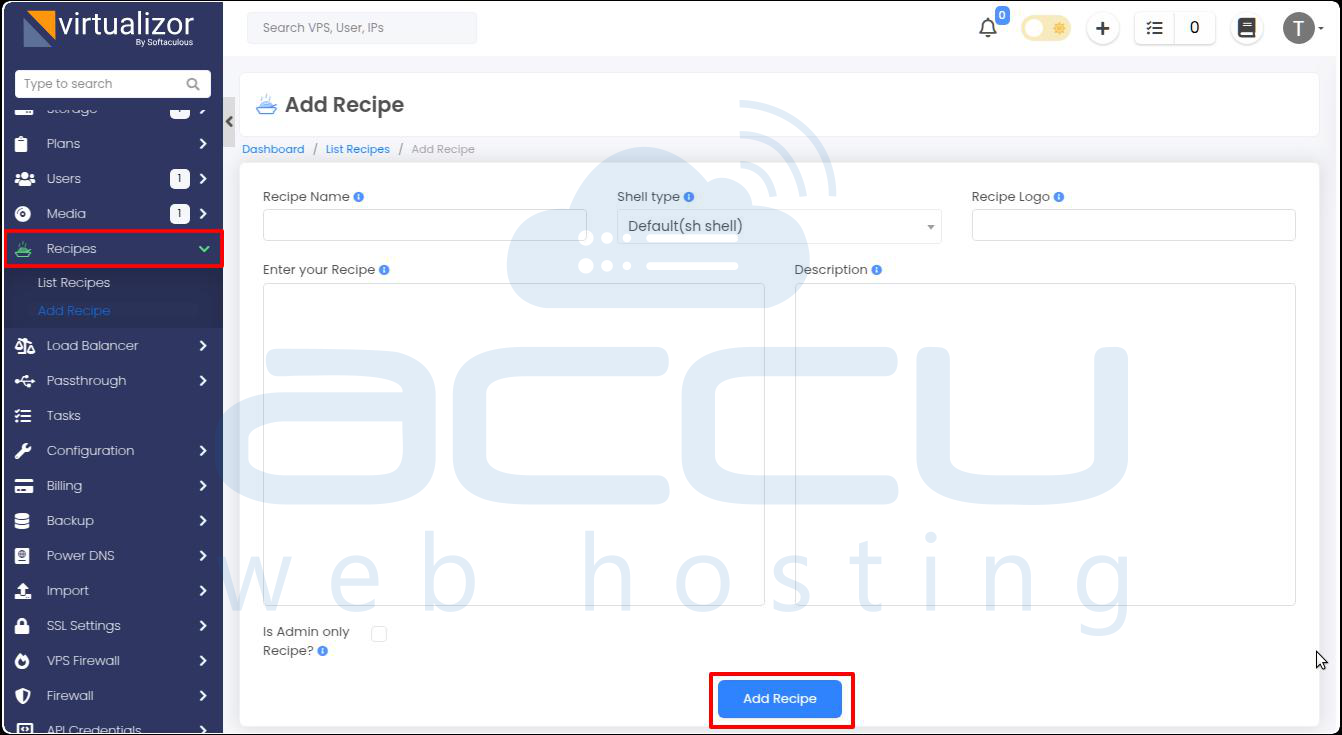
When adding a new Recipe, you will see the following options:
- Recipe Name: A friendly name visible to users
- Shell Type: Choose the interpreter (sh, bash, ksh, zsh, etc.)
- Logo (Optional): URL of a small icon
- Script Body: Paste the commands you want to execute
- Description: Explain what the Recipe does
- Visibility: Admin-only or available to end-users
- Status: Activate or deactivate the Recipe
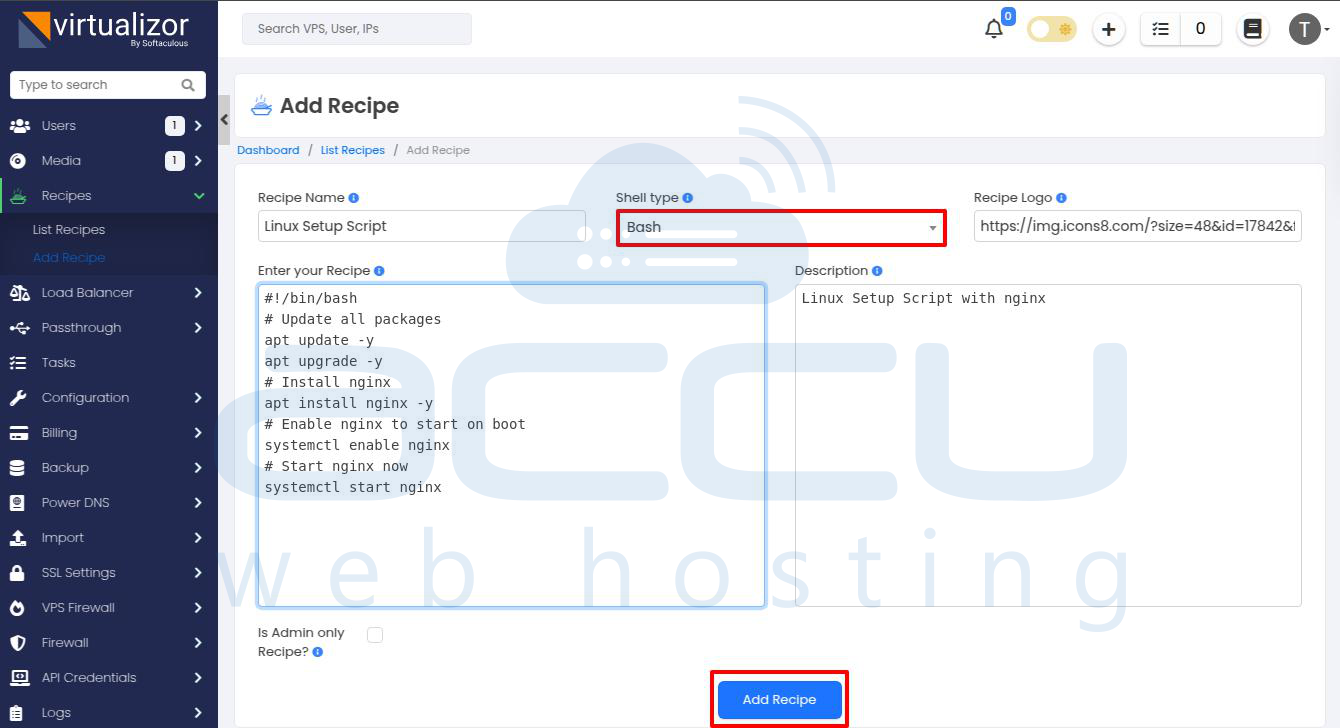
Practical Example: Simple Linux Setup Recipe
Below is a basic example of a Recipe that updates the system and installs Nginx on an Ubuntu VPS:
#!/bin/bash
# Update all packages
apt update -y
apt upgrade -y
# Install Nginx
apt install nginx -y
# Enable Nginx to start on boot
systemctl enable nginx
# Start Nginx now
systemctl start nginx
What This Script Does:
- Updates system packages
- Installs Nginx web server
- Enables Nginx to start automatically on reboot
- Starts the service immediately
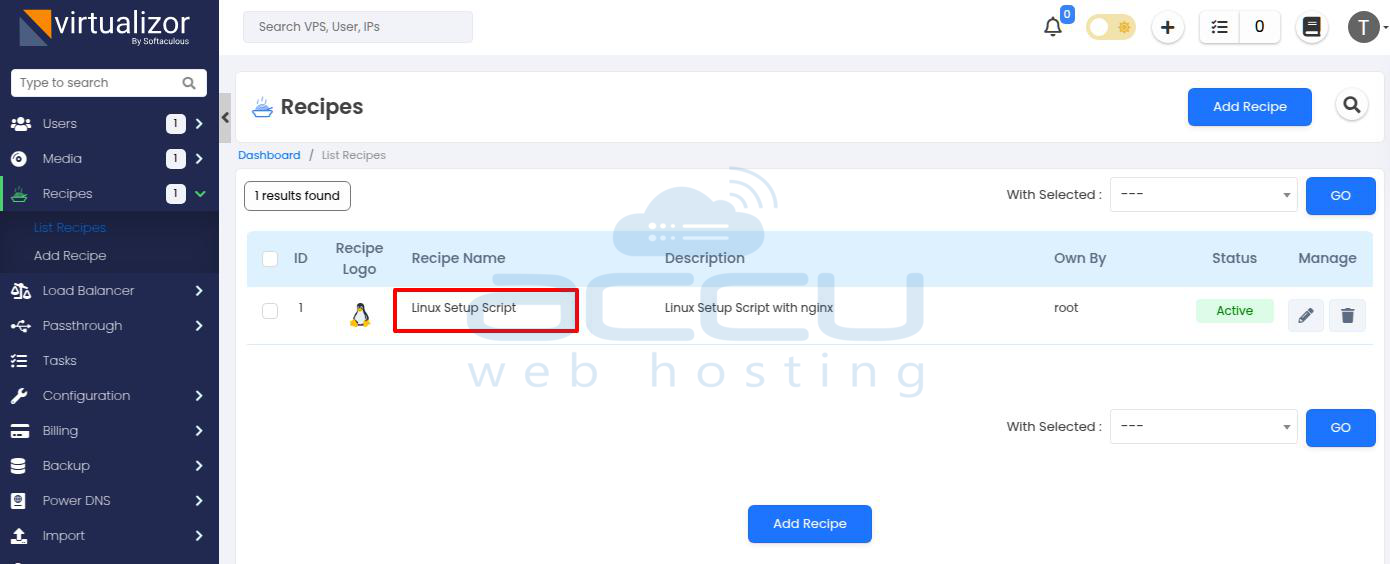
Once attached to an Ubuntu template, every newly created VPS will automatically have Nginx installed and running.
Conclusion
Recipes in Virtualizor are a powerful automation feature that helps hosting providers and server administrators:
- Automatically install required software
- Configure servers during VPS creation
- Reduce manual setup work
- Maintain consistent VPS configurations
By using Recipes properly, you can streamline VPS provisioning and deliver a faster, more reliable experience to your customers.
