Introduction:
Laravel is a popular PHP framework that makes it easier to build secure and modern web applications. In this article, we will show how to set up a full Laravel hosting environment on an Ubuntu 24 VPS, install Laravel, and deploy a simple Laravel app from scratch using Nginx + MySQL + PHP-FPM.
Prerequisites:
Before we begin, make sure you have the following:
An Ubuntu VPS with root access (or a user with sudo privileges).
Basic knowledge of the Linux command line.
A domain name or subdomain (Optional).
By the end of this article, your Ubuntu 24 VPS will have:
- PHP 8.x with required Laravel extensions
- Composer (PHP dependency manager)
- MySQL or MariaDB database server
- Nginx web server
- A working Laravel project hosted on a domain
Step 1: Update the Server
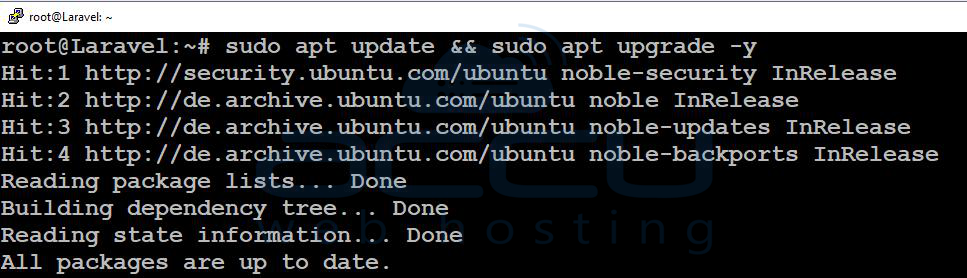
The first step is to update your system’s packages to ensure everything is up to date. Connect to your VPS via SSH and run the following commands:
sudo apt update && sudo apt upgrade -y
(Optional but recommended) Install common tools:
sudo apt install -y unzip curl git software-properties-common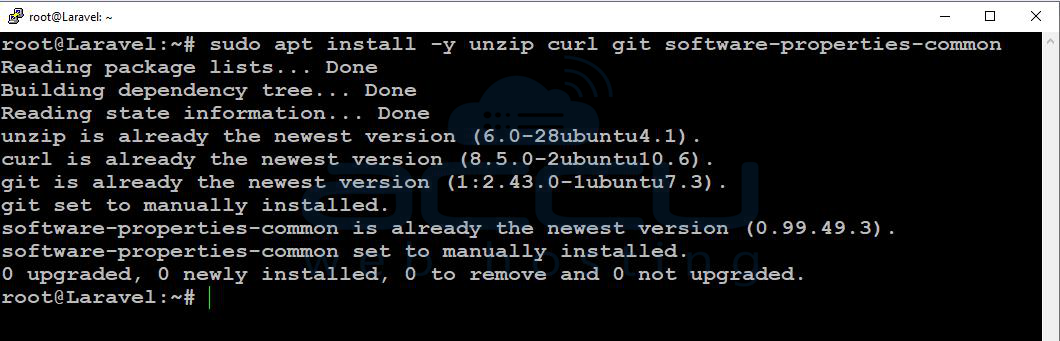
Step 2: Install Nginx
Laravel is typically hosted on a web server like Nginx/Apache. To install Nginx, run:
sudo apt install -y nginx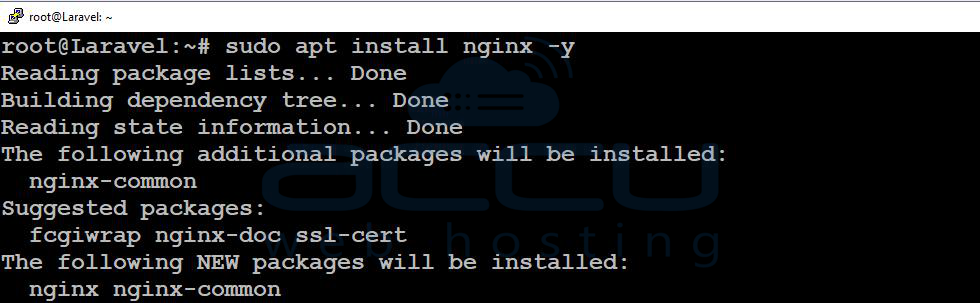
Once the installation is complete, enable and start Nginx:
sudo systemctl enable --now nginx
sudo systemctl start nginx
sudo systemctl status nginx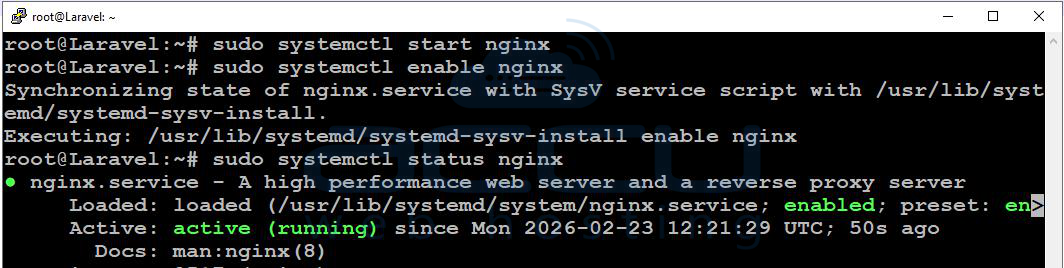
Step 3: Install MySQL (Database)
Most Laravel applications require a database, and MySQL is the most common choice. To install MySQL, run the following command:
sudo apt install -y mysql-server
sudo systemctl enable --now mysql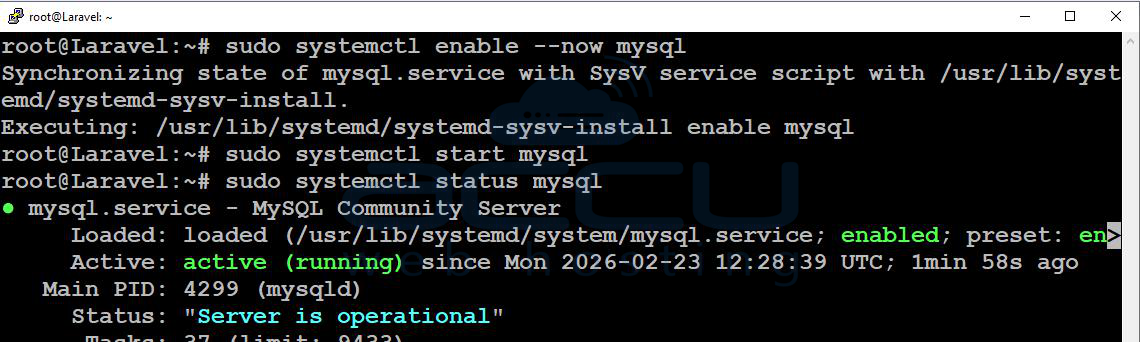
Secure MySQL:
sudo mysql_secure_installation
Follow the prompts to set up a root password and secure your MySQL installation.
To create a new database for your Laravel application, log in to MySQL:
sudo mysql
Then, run the following SQL commands to create the database and user:
CREATE DATABASE laravel_db;
CREATE USER 'laravel_user'@'localhost' IDENTIFIED BY 'StrongPasswordHere';
GRANT ALL PRIVILEGES ON laravel_db.* TO 'laravel_user'@'localhost';
FLUSH PRIVILEGES;
EXIT;
Step 4: Install PHP 8.x and Required Extensions
Laravel needs PHP and several PHP extensions. Install PHP-FPM and common extensions:
sudo apt install -y php-fpm php-mysql php-cli php-xml php-mbstring php-curl php-zip php-bcmath php-gd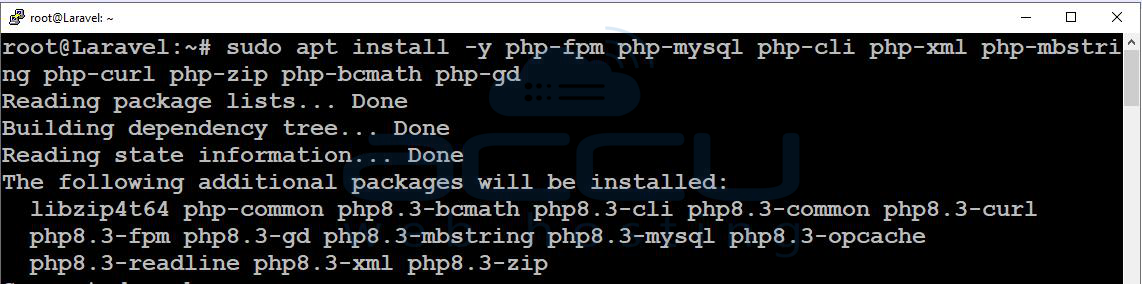
Check PHP version:
php -v
Check the PHP-FPM service:
systemctl status php8.3-fpm

Step 5: Install Composer
Composer is required to install Laravel dependencies.
cd ~
curl -sS https://getcomposer.org/installer -o composer-setup.php
sudo php composer-setup.php --install-dir=/usr/local/bin --filename=composer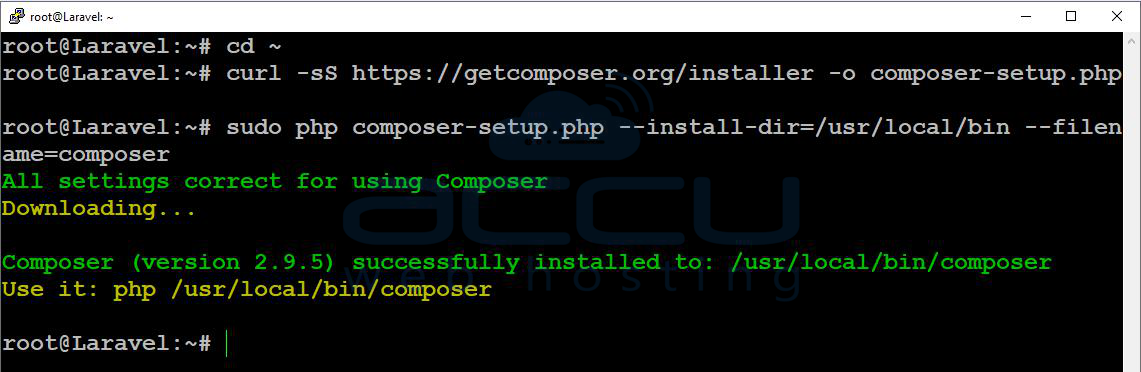
You can verify the installation by running:
composer --version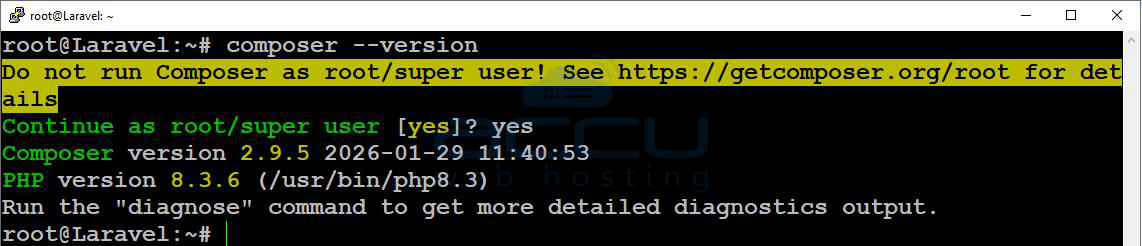
Step 6: Create a New Laravel Project
Go to your web directory:
cd /var/www
Create a new Laravel project:
sudo composer create-project laravel/laravel laravelapp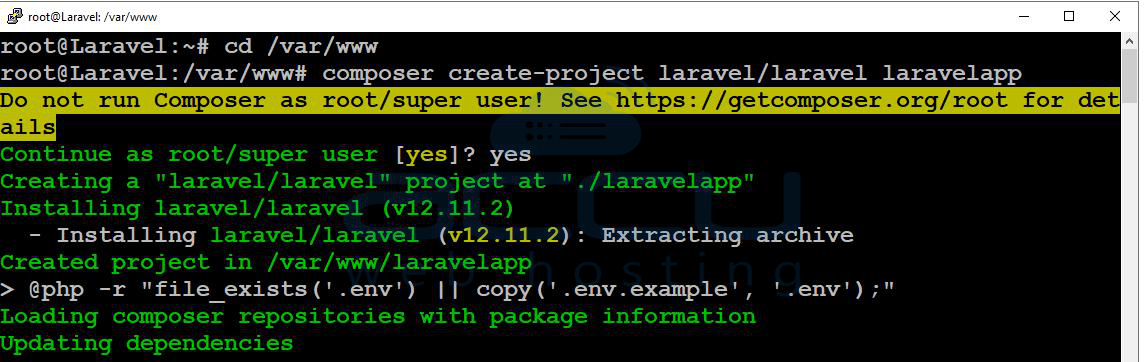
Set correct permissions: Laravel needs certain directories to be writable, like the storage and bootstrap/cache directories. Set the correct permissions by running:
sudo chown -R www-data:www-data /var/www/laravelapp
sudo chmod -R 775 /var/www/laravelapp/storage /var/www/laravelapp/bootstrap/cache
Step 7: Configure Laravel Environment (.env)
Go to the Laravel app folder:
cd /var/www/laravelapp
Edit .env:
vi nano .env
Update database values:
DB_CONNECTION=mysql
DB_HOST=127.0.0.1
DB_PORT=3306
DB_DATABASE=laravel_db
DB_USERNAME=laravel_user
DB_PASSWORD=Database user laravel_user password
Save and exit.
Generate an application key for your Laravel app:
php artisan key:generate
Run migrations (creates default tables):
php artisan migrate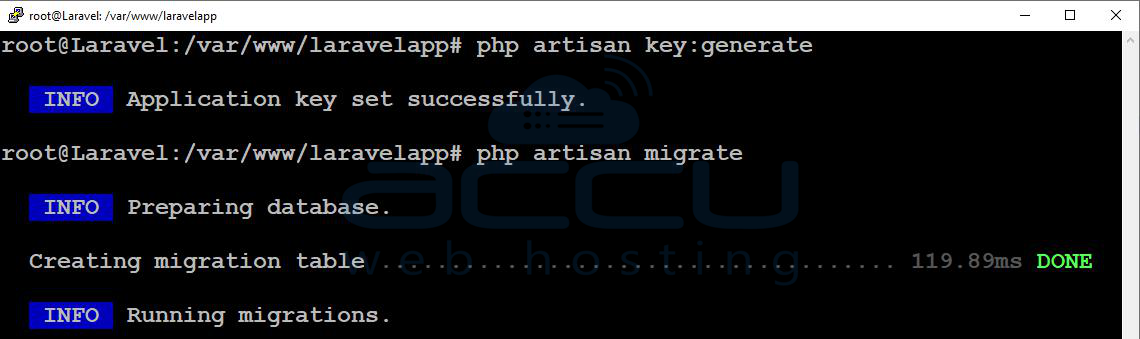
Step 8: Configure Nginx for Laravel
Next, we need to configure Nginx to serve the Laravel application. Create a new configuration file for your site:
sudo vi /etc/nginx/sites-available/laravelapp
Paste this configuration (replace yourdomain.com with your domain or VPS IP):
server {
listen 80;
server_name yourdomain.com www.yourdomain.com;
root /var/www/laravelapp/public;
index index.php index.html;
access_log /var/log/nginx/laravelapp_access.log;
error_log /var/log/nginx/laravelapp_error.log;
location / {
try_files $uri $uri/ /index.php?$query_string;
}
location ~ \.php$ {
include snippets/fastcgi-php.conf;
fastcgi_pass unix:/run/php/php8.3-fpm.sock;
}
location ~ /\.(?!well-known).* {
deny all;
}
}
Create a symbolic link to enable the site:
sudo ln -s /etc/nginx/sites-available/laravelapp /etc/nginx/sites-enabled/
Check the Nginx configuration for syntax errors:
sudo nginx -t
Reload Nginx:
sudo systemctl reload nginx
Now open your domain/IP in the browser. You should see the Laravel welcome page.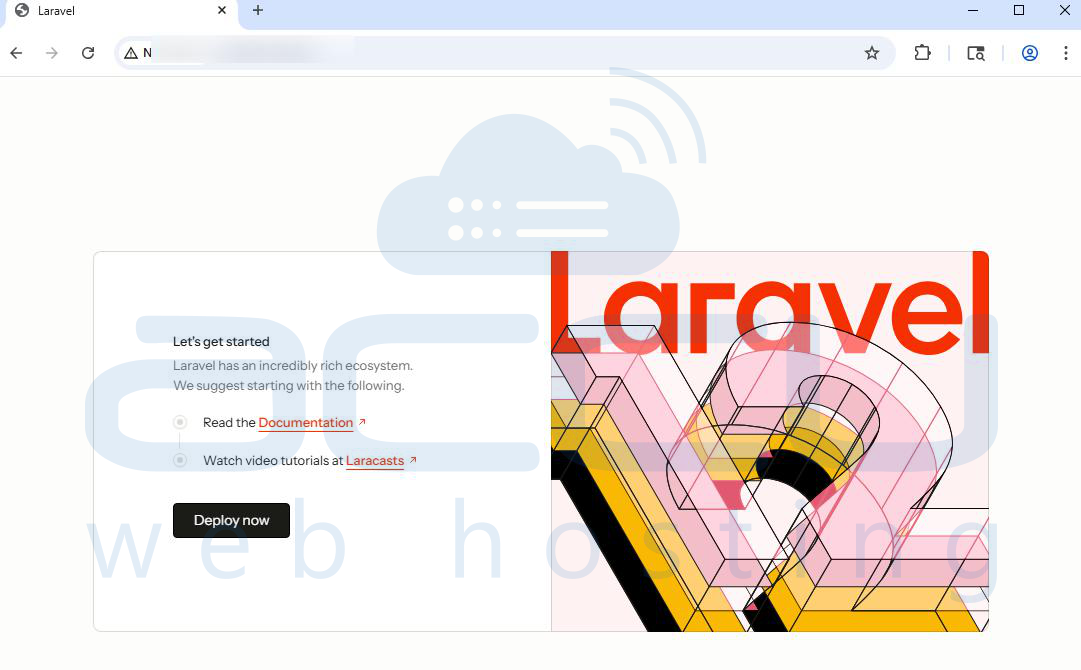
Step 9: Create a Simple Laravel App Page From Scratch
Let’s create a basic page route.
Open routes/web.php:
sudo vi /var/www/laravelapp/routes/web.php
Add this:
use Illuminate\Support\Facades\Route;
Route::get('/', function () {
return view('welcome');
});
Route::get('/hello', function () {
return "Hello! Laravel is working on Ubuntu 24 VPS.";
});
Now visit: http://yourdomain.com/hello
You should see the message:
Hello! Laravel is working on Ubuntu 24 VPS.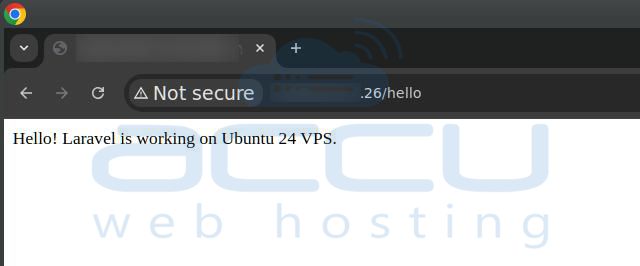
Conclusion:
You've successfully set up Laravel hosting on Ubuntu 24 VPS and deployed a simple Laravel application. This setup ensures that your application is running in a stable environment with a web server (Nginx), a database (MySQL), and the necessary PHP extensions.
Installing Laravel on an Ubuntu VPS is simple and can be completed in just a few steps, as mentined this article. If you encounter any issues during installation, please feel free to contact us via chat or support. Our support team will assist you with the installation process.
