Set Up GitLab on a VPS
GitLab is a powerful platform for managing Git repositories, continuous integration, and DevOps workflows. Setting up GitLab on your own Virtual Private Server (VPS) allows you to host your own GitLab instance, providing more control and privacy over your projects. In this blog post, we’ll walk you through the process of setting up GitLab on a VPS running Ubuntu.
Why Host GitLab on a VPS?
Hosting GitLab on your VPS offers several advantages:
-
Full Control: You have complete control over your GitLab server and its configuration.
-
Security: You can configure GitLab with your own security measures, such as firewalls, SSL certificates, and more.
-
Customizability: Install only the features you need, and integrate GitLab with your existing systems.
-
Performance: You can choose a VPS with hardware specifications that suit your needs.
Step 1: Before installing GitLab, ensure that your VPS is ready:
-
Operating System: Ubuntu 20.04 or higher (recommended).
-
SSH Access: Ensure you can SSH into your VPS with a user having sudo privileges.
-
Domain Name (optional but recommended): If you plan to access GitLab via a domain name, make sure you’ve set up the DNS record pointing to your VPS IP.
Start by SSH-ing into your VPS: ssh user@your-vps-ip
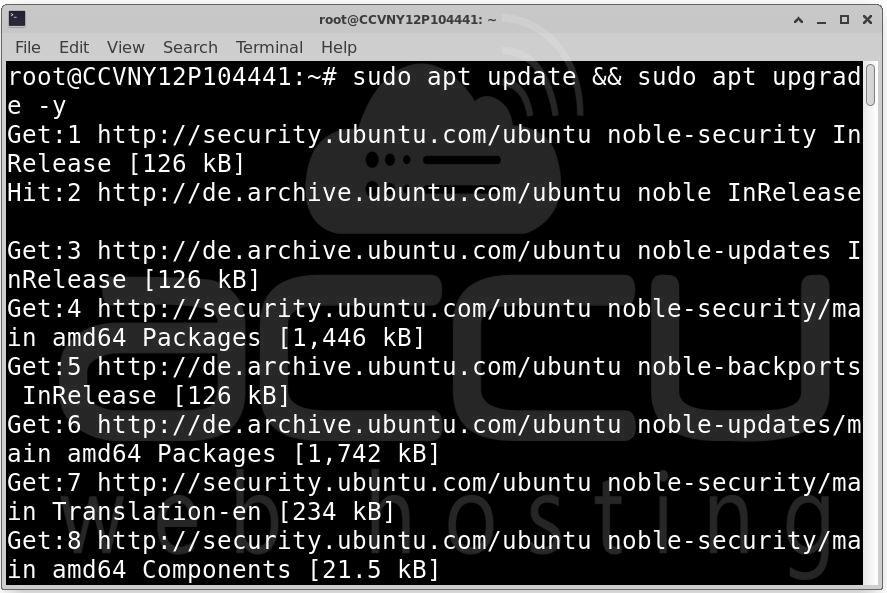
Step 2: Before proceeding, update your system to ensure all packages are up-to-date:
sudo apt update && sudo apt upgrade -y
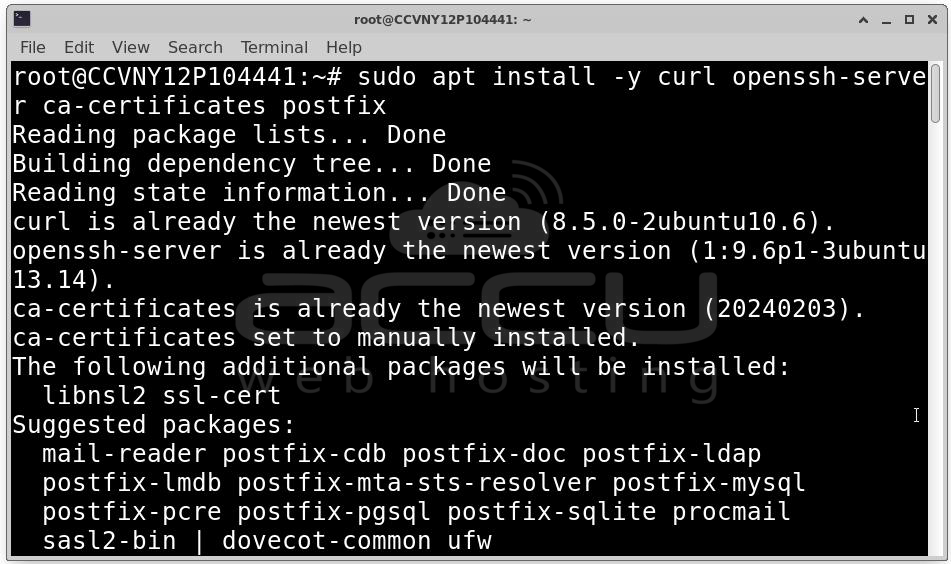
Step 3: GitLab requires a few packages to be installed on your VPS, such as curl, openssh-server, ca-certificates, and postfix for email notifications.
Install them with the following command:
sudo apt install -y curl openssh-server ca-certificates postfix
During the Postfix installation, you will be asked to choose a configuration. For simplicity, select "Internet Site" and enter your server’s domain name (e.g., gitlab.yourdomain.com).
Step 4: Now, let’s add the GitLab repository to your system. GitLab offers two editions: Community Edition (CE), which is free, and Enterprise Edition (EE), which comes with additional features and support. Choose the edition you want to install.
For GitLab Enterprise Edition (EE)
Run the following command to add the GitLab EE repository:
curl --location "https://packages.gitlab.com/install/repositories/gitlab/gitlab-ee/script.deb.sh" | sudo bash
For GitLab Community Edition (CE)
To install the free GitLab CE, run:
curl --location "https://packages.gitlab.com/install/repositories/gitlab/gitlab-ce/script.deb.sh" | sudo bash
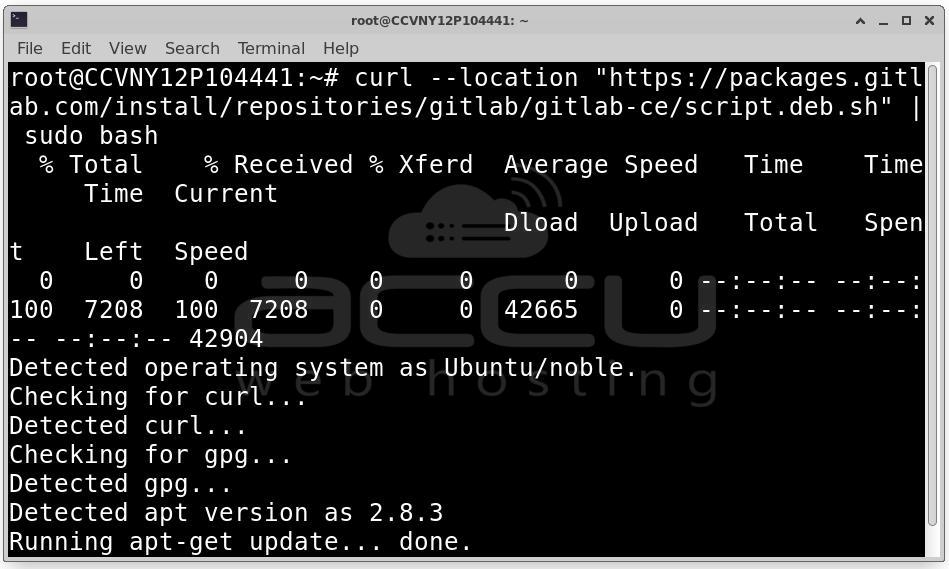
This script will automatically add the GitLab repository to your system.
Step 5: With the GitLab repository added, you can now install GitLab. First, set the EXTERNAL_URL to the domain or IP address where you want to access GitLab. This step is optional, but it’s highly recommended.
For GitLab Enterprise Edition (EE)
sudo EXTERNAL_URL="https://gitlab.yourdomain.com" apt install gitlab-ee
For GitLab Community Edition (CE)
sudo EXTERNAL_URL="https://gitlab.yourdomain.com" apt install gitlab-ce
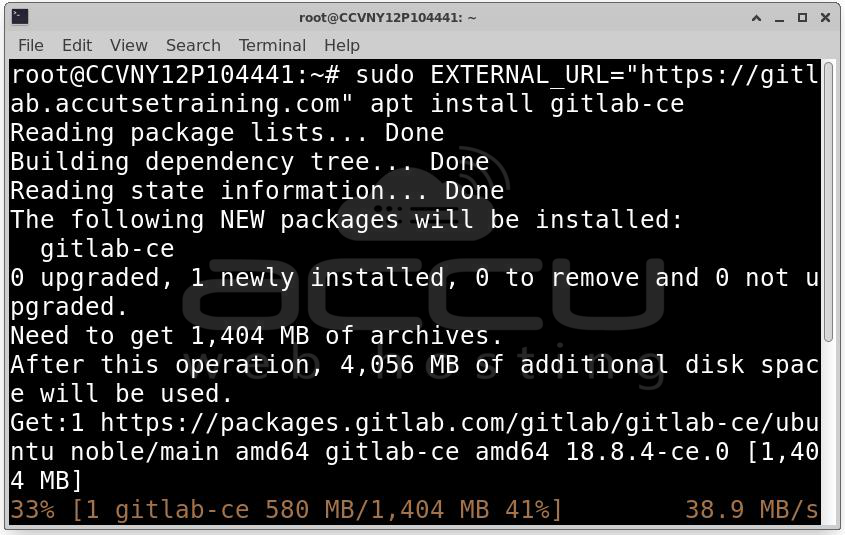
Replace gitlab.yourdomain.com with your actual domain name or IP address.
Step 6: After installation, GitLab needs to be reconfigured to set up its services (Nginx, PostgreSQL, Redis, etc.). Run the following command to complete the setup:
sudo gitlab-ctl reconfigure
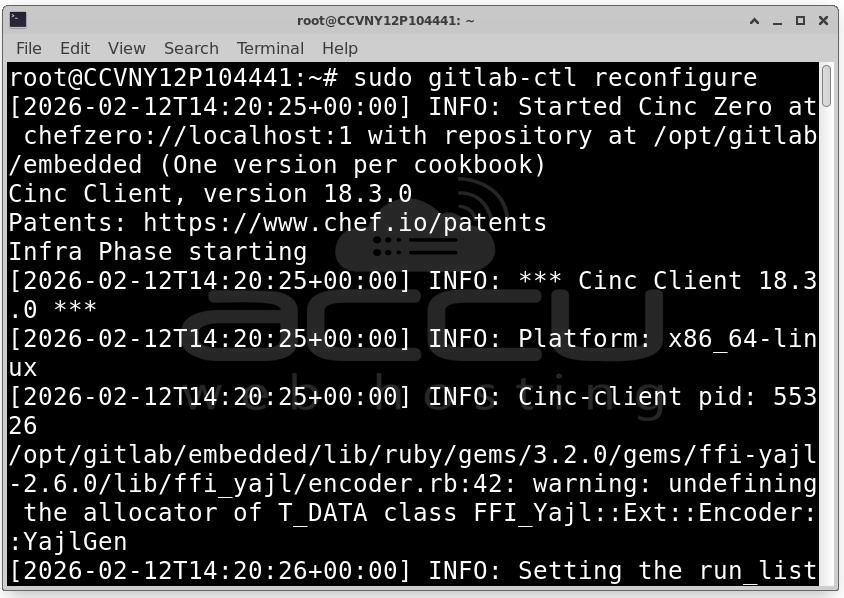
This process may take some time, depending on your server’s specifications.
Step 7: Once the installation and configuration are complete, you can access GitLab through the URL you set in the EXTERNAL_URL. Open your browser and navigate to:
https://gitlab.yourdomain.com
On the first visit, GitLab will prompt you to change the root password. The initial password is randomly generated and stored in the file /etc/gitlab/initial_root_password.
To find the initial root password, run:
cat /etc/gitlab/initial_root_password
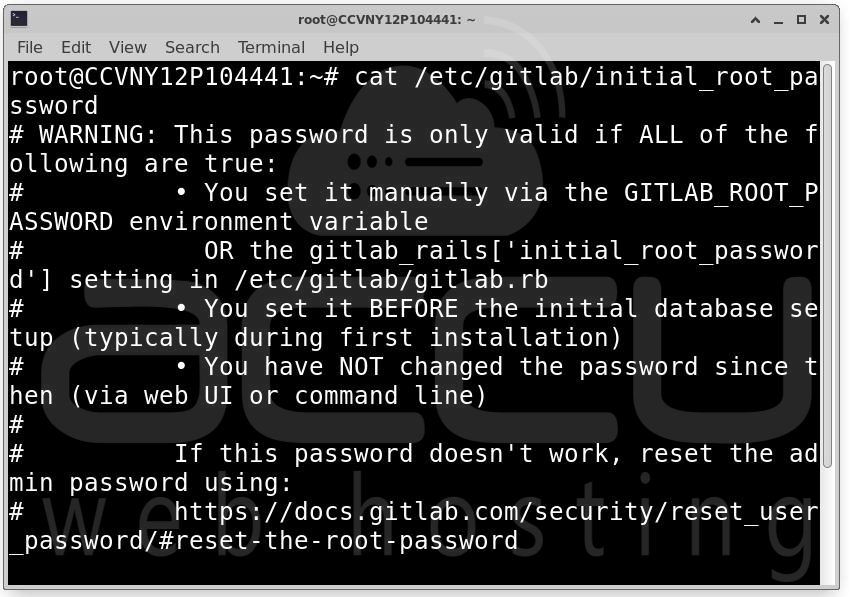
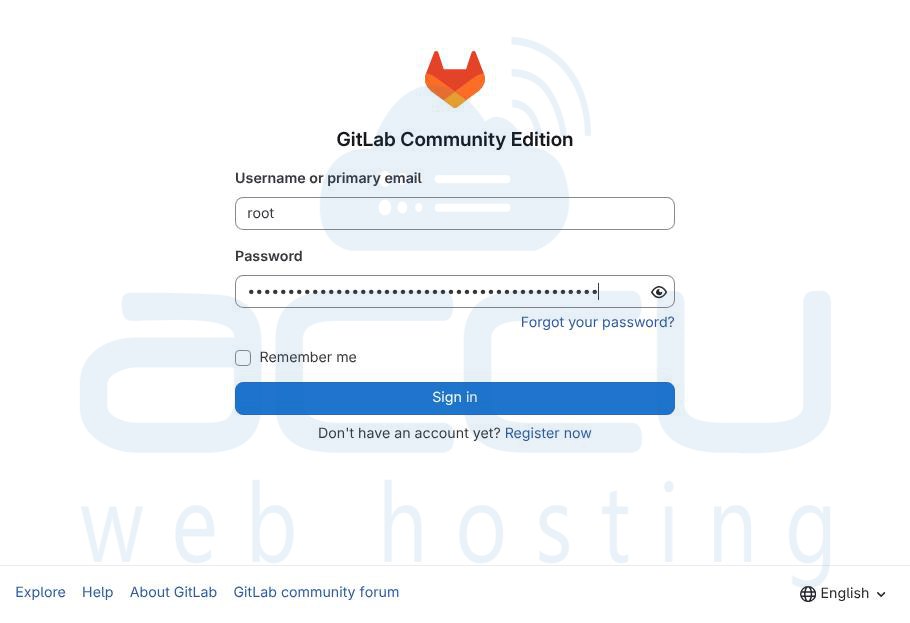
Use the username root and the password displayed in the file to log in.
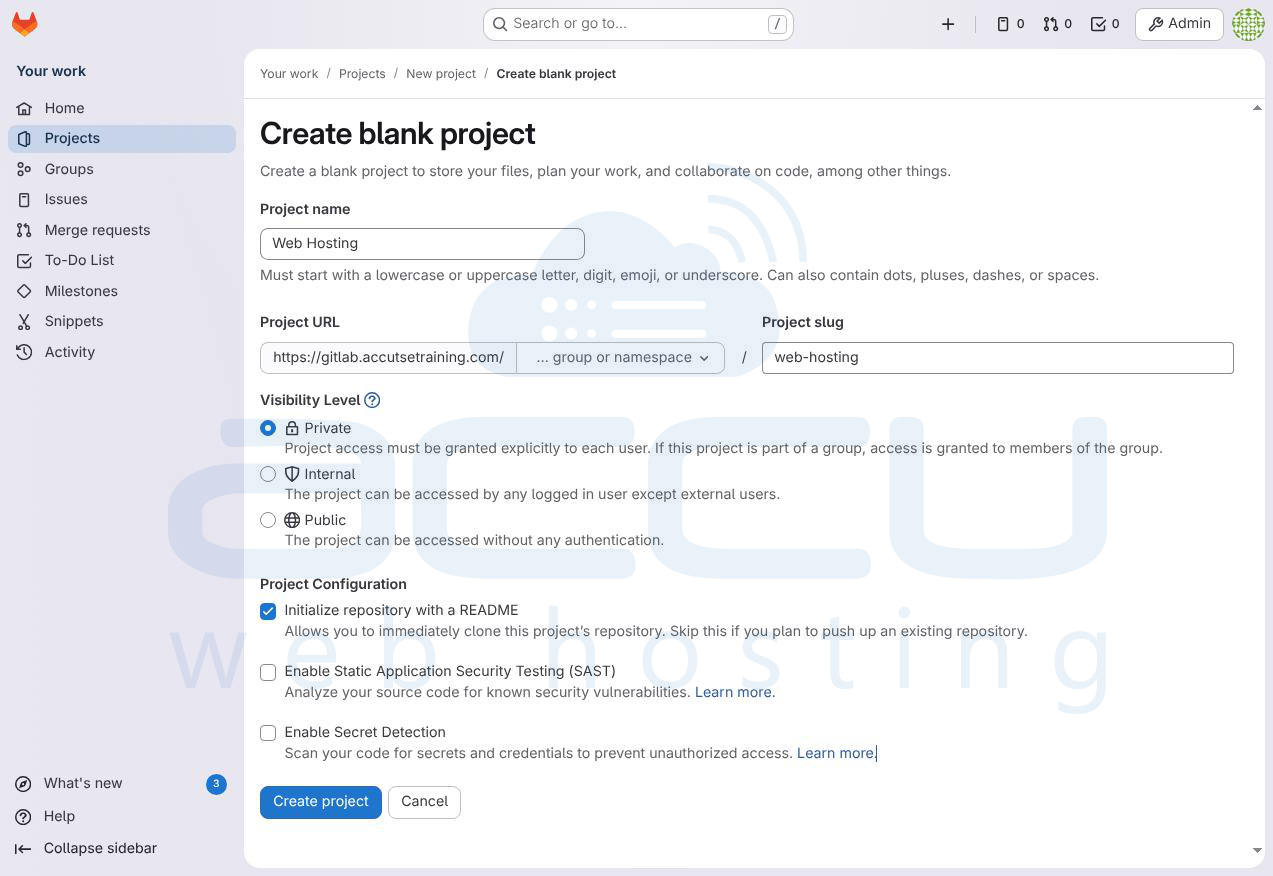
Step 8: After logging into GitLab, you can start creating repositories, teams, and managing projects. To create a new project click the New Project button from the dashboard.
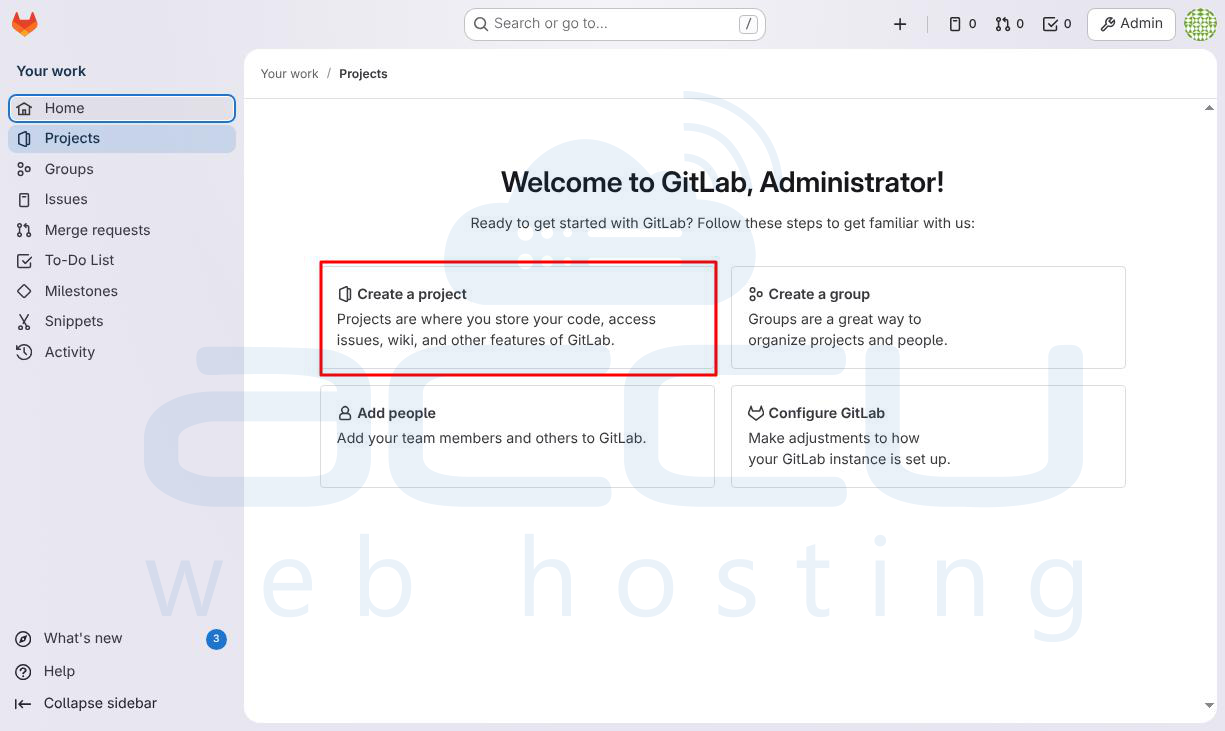
Choose a project name, description, and visibility (public or private). Start adding your code to the repository.
Conclusion
Setting up GitLab on a VPS gives you full control over your GitLab instance and allows you to host your own repositories, manage CI/CD pipelines, and integrate with other tools. Whether you choose the Community Edition (CE) or Enterprise Edition (EE), GitLab provides powerful tools to streamline your development workflow. With your GitLab instance now set up, you can begin managing your code and collaborating with your team. If you plan to use GitLab extensively, consider enabling HTTPS for secure access and setting up automated backups to keep your data safe.
