What is Django?
Django is a high-level web framework built with Python that helps developers create secure, reliable, and scalable web applications easily. It is designed to support fast development and clean, practical design, so developers can focus on building features instead of creating everything from scratch. Django is free, open-source, and trusted by both startups and large organizations.
In simple terms, Django provides a ready-made structure for building web applications. It includes useful tools such as project organization, URL routing, database management, built-in security features, and an automatic admin panel. These features help you develop web applications more quickly and efficiently.
Features of Django:
Built-in Admin Interface: Django automatically creates an admin dashboard that allows you to manage your application’s data easily.
ORM (Object-Relational Mapper): It lets developers work with databases using Python code instead of writing SQL queries directly.
Database Flexibility: You can easily switch between different databases such as PostgreSQL, MySQL, or SQLite.
Security: Django includes built-in protection against common security threats and vulnerabilities.
Scalability: It is capable of handling large applications and managing high levels of traffic efficiently.
Portability: Django works on multiple platforms, including Linux, Windows, and macOS.
Extensive Packages: There are thousands of third-party packages available to add extra features and extend functionality.
Template System: It helps separate application logic from the design by using HTML templates.
Internationalization: Django supports multiple languages and localization, making it suitable for global applications.
Testing Framework: It provides built-in tools that make it easier to write and run automated tests.
Prerequisites for Django:
Operating System: Django runs on all major operating systems:
Linux(e.g., Ubuntu, Fedora)
Windows
RAM: At least 2 GB for development; more recommended for production environments.
A user with sudo privileges.
How to install Django in Ubuntu VPS?
Step 1: Connect Your VPS via SSH
Use the following command to connect to your VPS:
ssh root@your_vps_ip
Step 2: Update System Packages and Install Essentials
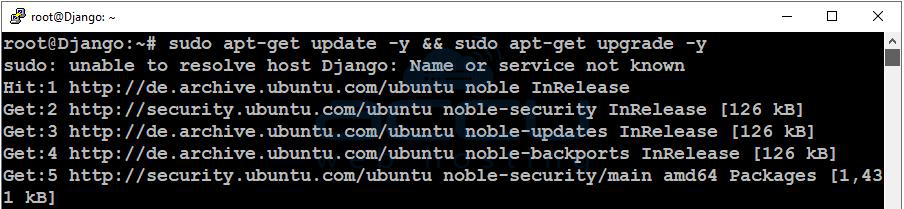
Update your system and install required packages:
sudo apt update && sudo apt upgrade -y
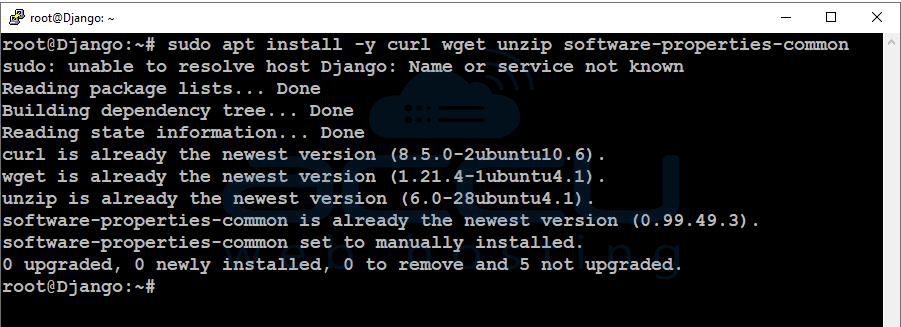
Install common tools:
sudo apt install -y curl wget unzip software-properties-common
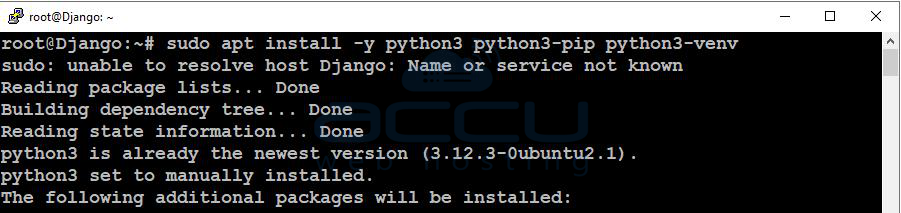
Step 3: Install Python, pip, and venv
Ubuntu 24 usually comes with Python 3, but install the key packages:
sudo apt install -y python3 python3-pip python3-venv
Verify versions:
python3 --version
pip3 --version

Step 4: Create a Django project folder
Choose a location for your Django projects (example: /var/www):
sudo mkdir -p /var/www/django-apps
sudo chown -R $USER:$USER /var/www/django-apps
cd /var/www/django-apps

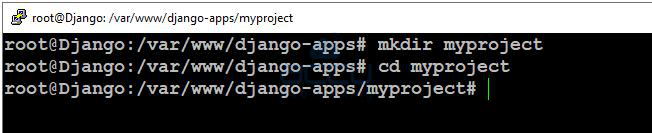
Create a project directory:
mkdir myproject
cd myproject
Step 5: Create and activate a virtual environment
A virtual environment keeps your Django packages isolated (recommended for all projects).
Create venv:
python3 -m venv venv
Activate it:
source venv/bin/activate
You’ll know it’s active when your terminal shows something like:
(venv) username@server:...

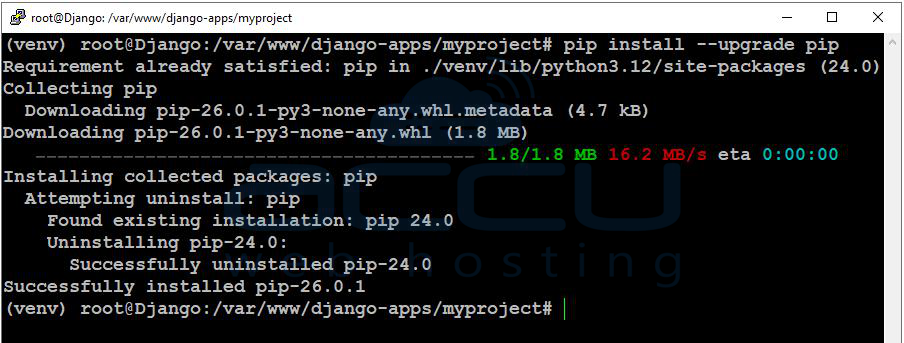
Upgrade pip inside the venv:
pip install --upgrade pip
Step 6: Install Django
Install Django inside the virtual environment:
pip install django
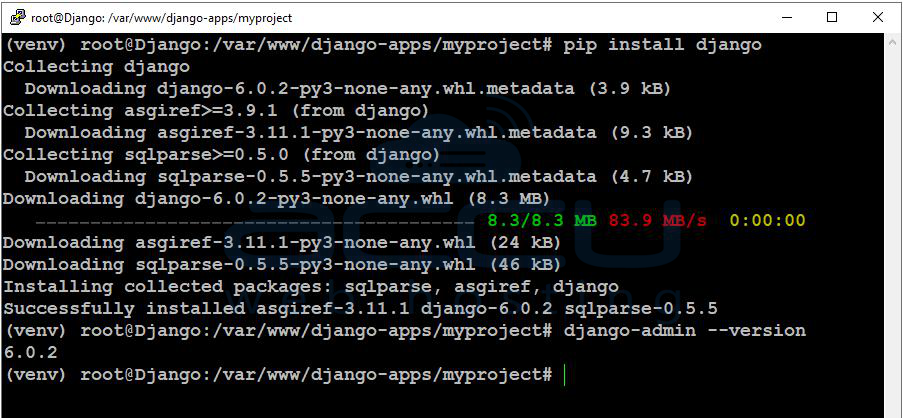
Verify Django is installed:
django-admin --version
Step 7: Create a new Django project
Inside /var/www/django-apps/myproject (with venv active), run:
django-admin startproject config .

This creates the Django project in the current folder.
Your structure will look like:
manage.py
config/ (settings, urls, wsgi, etc.)
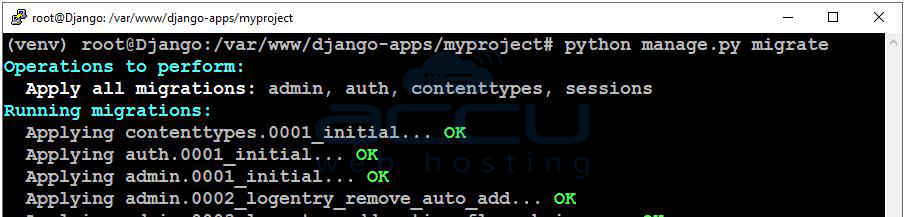
Step 8: Run database migrations
Django uses migrations to set up database tables.
python manage.py migrate
Step 9: Create an admin user (optional but recommended)
This lets you log into Django’s admin panel.
python manage.py createsuperuser
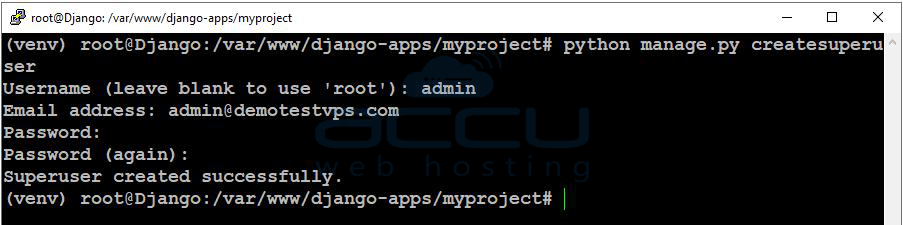
Follow prompts to set username/email/password.
Step 10: Add your server IP to Django ALLOWED_HOSTS
For security, Django blocks unknown hosts. Edit settings:
nano config/settings.py
Find:
ALLOWED_HOSTS = []
Update it like:
ALLOWED_HOSTS = ["your-server-ip", "localhost", "127.0.0.1"]
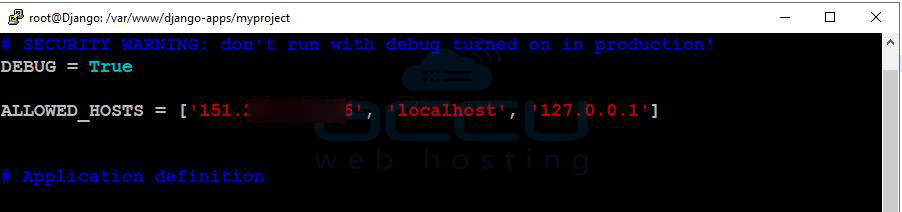
Save and exit.
Step 11: Allow external access and test Django
Start the development server:
python manage.py runserver 0.0.0.0:8000
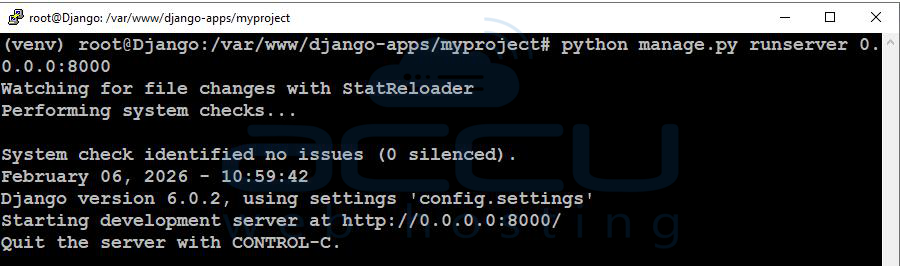
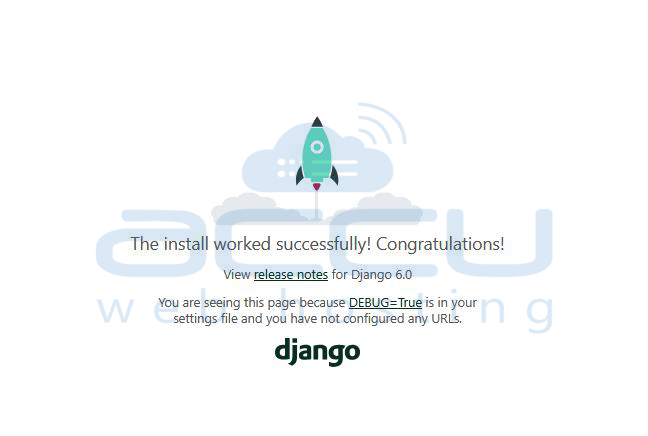
Now open in your browser: http://your-server-ip:8000/
You will see a page with the message "The install worked successfully! Congratulations!"
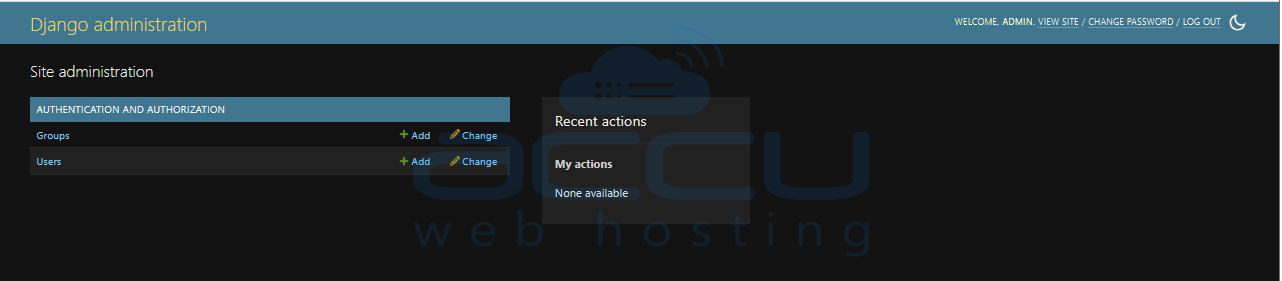
Browse this URL http://your-server-ip:8000/admin/ to access the Admin panel.
Once you browse the above URL, you will get the administration login page.
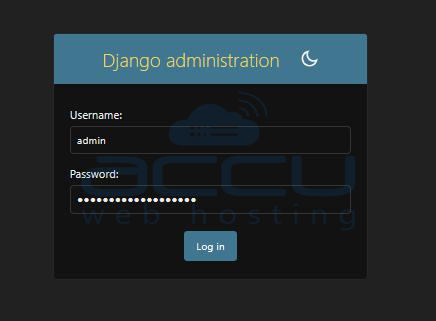
Log in to the Django administration interface using the username and password you set in Step 9.
Conclusion:
Django is a powerful Python web framework that makes web development faster, safer, and more organized. With its built-in features like database management, security protection, and an admin panel, it helps developers focus more on building their application rather than handling complex configurations.
In this article, we covered the complete step-by-step process to install Django on an Ubuntu VPS, from preparing the server and setting up a virtual environment to creating your first Django project and running it successfully.
If you encounter any issues during installation, please feel free to contact us via chat or support. Our support team will assist you with the installation process.
