Install Dokku on Ubuntu
If you're looking for a lightweight Platform-as-a-Service (PaaS) to deploy and manage applications on your own server, Dokku is one of the best open-source options available. Dokku provides a simple way to host your apps with easy deployment via Git, similar to platforms like Heroku but self-hosted on your own infrastructure. In this guide, we’ll walk through the process of installing Dokku on the latest version of Ubuntu.
System Requirements
Before we begin the installation, let's go over the system requirements for running Dokku on Ubuntu.
Minimum System Requirements:
-
Operating System: Ubuntu 20.04 LTS (or later)
-
CPU: 1 CPU core (recommended 2 cores or more for better performance)
-
RAM: 1 GB minimum (2 GB recommended)
-
Disk Space: 10 GB free disk space minimum
-
Docker: Docker must be installed (Dokku relies on Docker for containerization)
Recommended System Requirements for Production:
-
CPU: 2+ CPU cores (more if you’re deploying multiple apps)
-
RAM: 2 GB or more (4 GB recommended for higher scalability)
-
Disk Space: 20 GB or more, depending on your applications and traffic volume
-
Network: Ensure your server is publicly accessible via an IP address or domain name
-
Operating System: Ubuntu 20.04 LTS or later for optimal compatibility
These are general recommendations based on typical usage. The actual system resources you need will depend on the number of applications you're running and how much traffic they receive.
Steps to Install Dokku on Ubuntu
Step 1: First, we need to make sure your Ubuntu system is up-to-date. Run the following commands to update your system’s package list and upgrade the installed packages:
sudo apt update && sudo apt upgrade -y
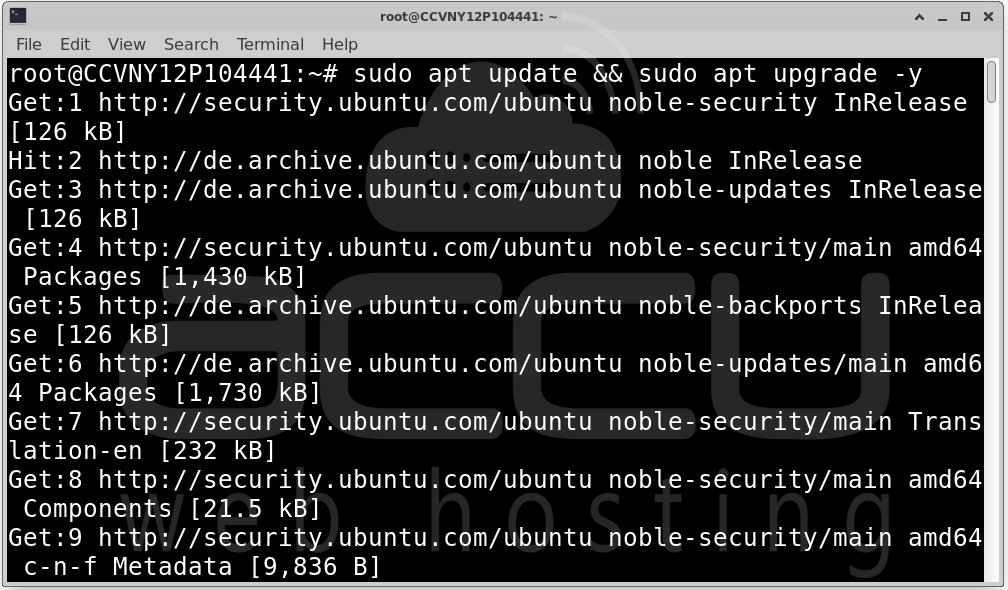
This will ensure you have the latest versions of all installed packages and security updates.
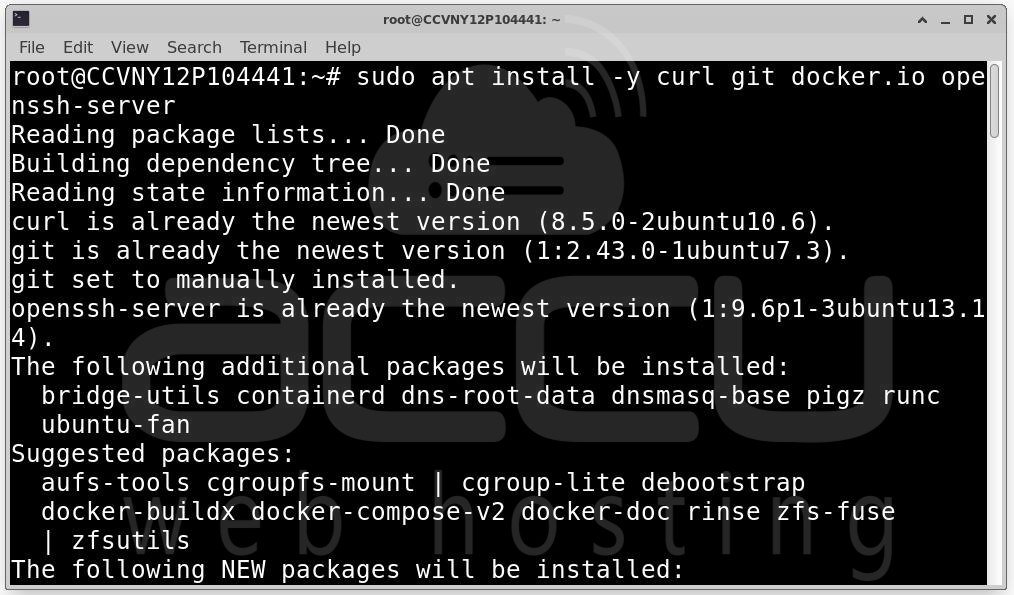
Step 2: Dokku requires Docker to run, so we need to install a few dependencies including Docker itself. Run the following command to install them:
sudo apt install -y curl git docker.io openssh-server
Next, enable, start and check status of Docker:
sudo systemctl enable docker
sudo systemctl start docker
sudo systemctl status docker
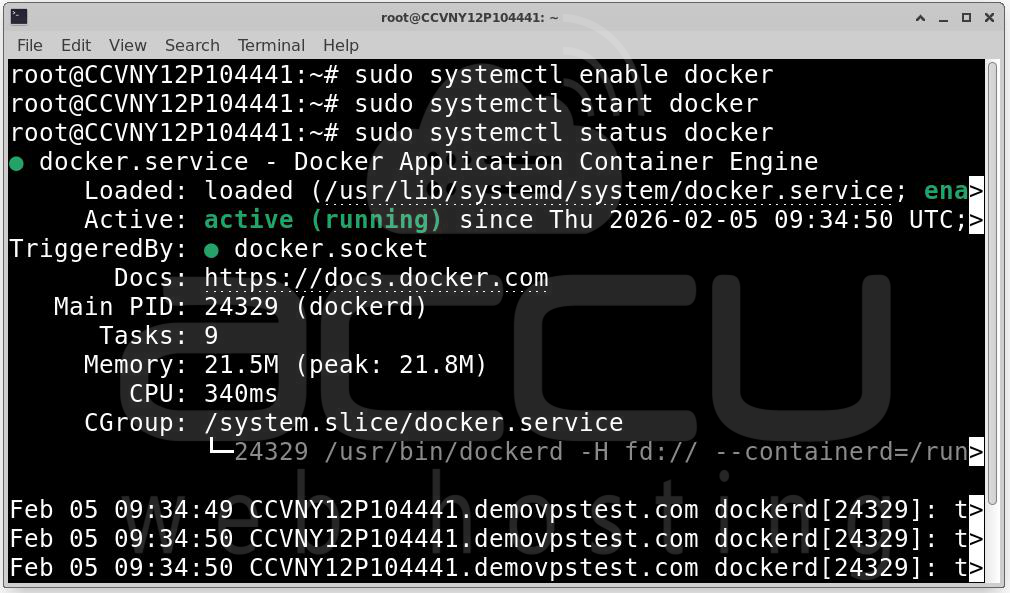
This will ensure that Docker starts automatically every time your system reboots.
Step 3: Dokku provides an easy-to-use installation script. To install the latest stable version, you can download and run the script with the following commands:
Download the Bootstrap Script:
wget -NP . https://dokku.com/install/v0.37.6/bootstrap.sh
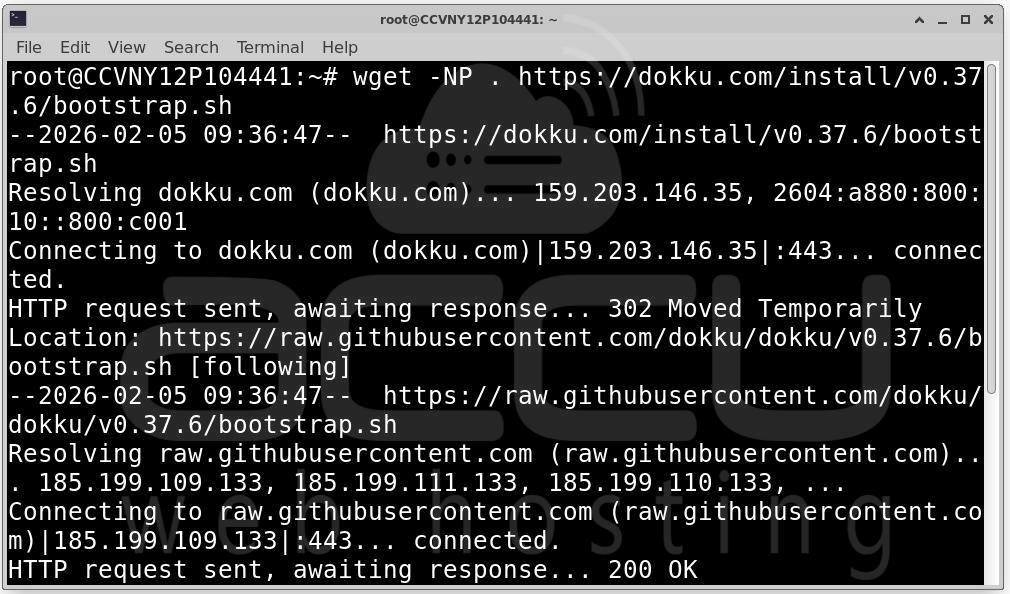
Note: The version v0.37.6 in the URL is the latest stable version as of now. You can always check for the most recent release on the Official Dokku Website.
Run the Script to Install Dokku:
sudo DOKKU_TAG=v0.37.6 bash bootstrap.sh
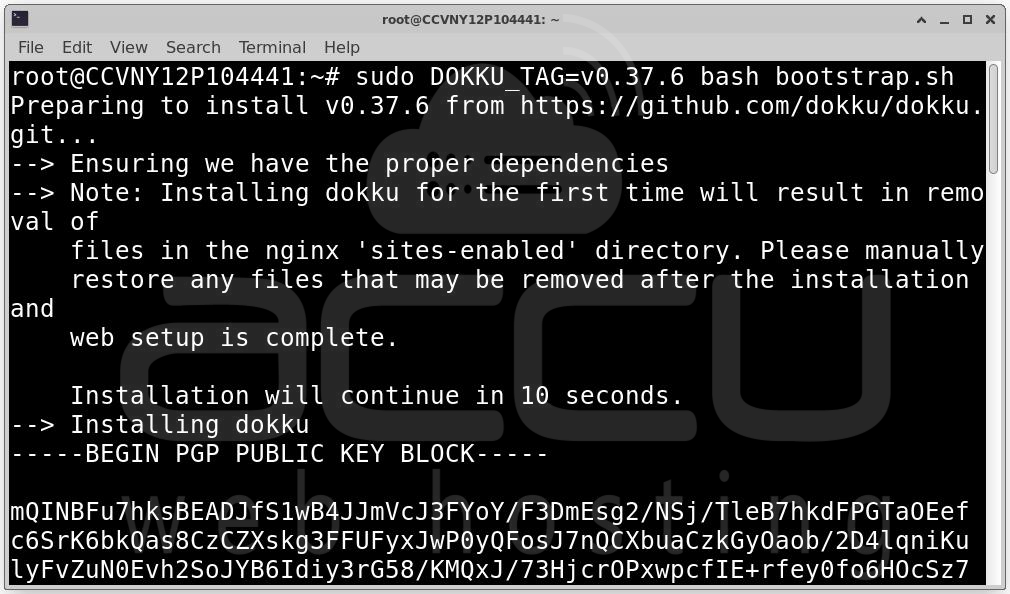
This script will install Dokku, configure your server, and prepare it for use.
Step 4: To verify that Dokku has been installed correctly and to check which version is currently installed, run the following command:
dokku -v
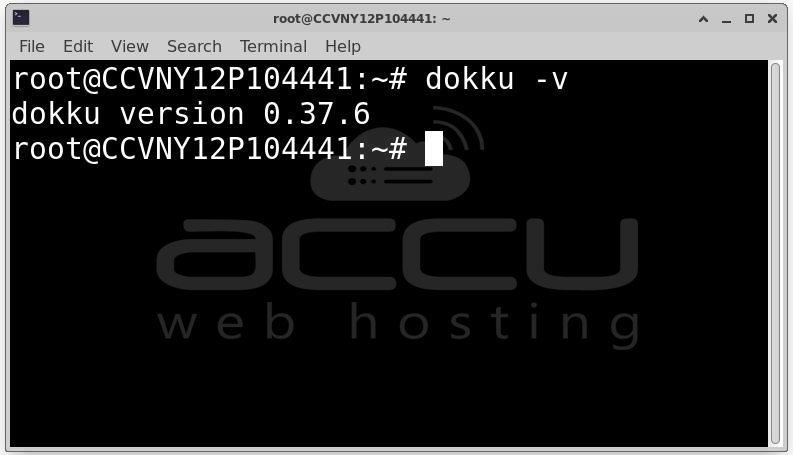
This command will output the version of Dokku that is installed on your server. It's important to ensure that you have the correct version installed before proceeding with further configurations.
Step 5: After the installation process is completed, you need to configure your SSH key to enable secure communication between your server and your local machine, and also set your global domain.
Configure SSH Key: To add your SSH key to Dokku, you first need to ensure that your SSH key is available on your server. In most cases, the key should already be present in the ~/.ssh/authorized_keys file of the current user. You can check this by running the following command:
cat ~/.ssh/authorized_keys
If your SSH key is available, you can add it to Dokku using the following command:
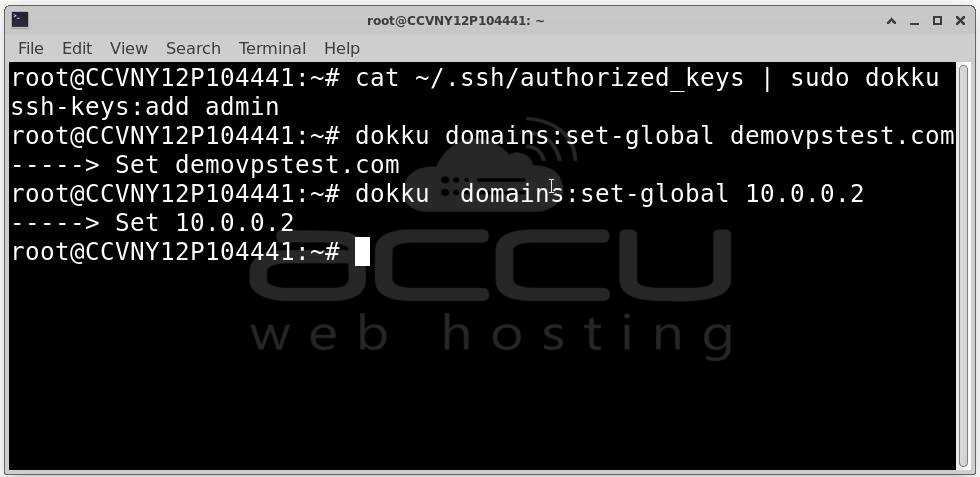
cat ~/.ssh/authorized_keys | sudo dokku ssh-keys:add admin
This command will pipe the contents of your authorized_keys file into Dokku, adding the key to the list of authorized SSH keys under the admin user. This will allow you to interact with your Dokku server securely.
Set Global Domain: Next, you need to configure the global domain for your Dokku server. This domain will be used for any applications you deploy on your Dokku instance. You can either use a custom domain that you own or use the server's IP address as the domain. To set a custom domain, run the following command, replacing dokku.me with your desired domain:
dokku domains:set-global dokku.me
For example, if you want to use mydomain.com as your global domain, you would run:
dokku domains:set-global mydomain.com
Alternatively, if you don’t have a domain name ready, you can use your server’s IP address. For example, if your server’s IP is 10.0.0.2, you would run:
dokku domains:set-global 10.0.0.2
Make sure that whatever domain you use, it has a valid A record or CNAME pointing to your server's IP address. This ensures that requests to the domain will be directed to your Dokku server.
By following these steps, you’ll be able to securely connect to your Dokku instance and configure the server to use your desired domain for any applications you deploy.
Conclusion
Congratulations! You've successfully installed Dokku on your Ubuntu server and deployed your first application. Dokku offers a lightweight PaaS-like experience, with support for deploying applications via Git, scaling, and integrating with Docker containers. Now you can start deploying your own applications on your server with ease, using the IP address or a domain for access.
Dokku is a great way to host and manage applications on your own infrastructure, and by following this guide, you’ve got it set up and ready to go.
