WordPress is one of the most popular content management systems (CMS) for building websites and blogs. If you are running a Ubuntu Linux VPS, installing WordPress using the LEMP stack (Linux, Nginx, MySQL/MariaDB, PHP) is an efficient and scalable approach.
In this guide, we’ll walk you through all the steps to set up a LEMP stack and install WordPress on your VPS. Screenshots will help you follow the process visually.
Prerequisites
Before starting, make sure you have:
- Ubuntu VPS with root or sudo access
- A domain name pointing to your VPS IP (optional but recommended)
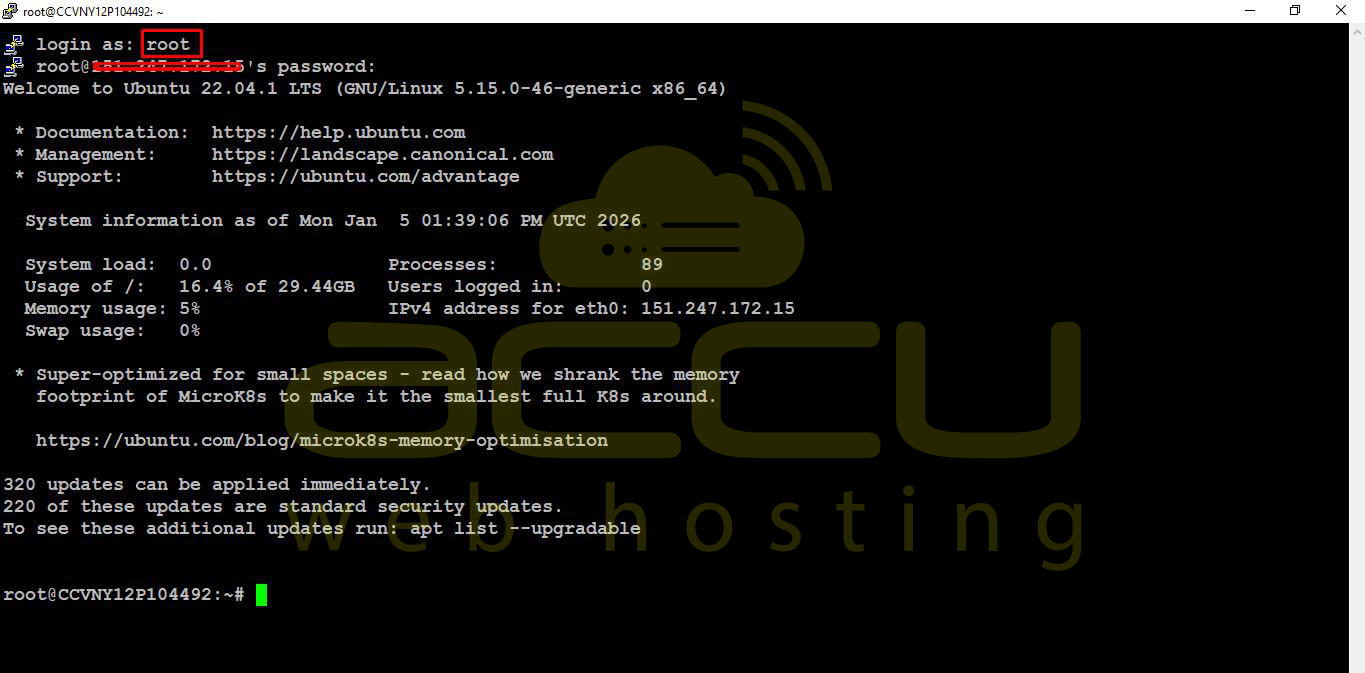
Step 1: Login to VPS via ssh and update Your Server
Login to the server via SSH as root or user with sudo access
root@ip_address
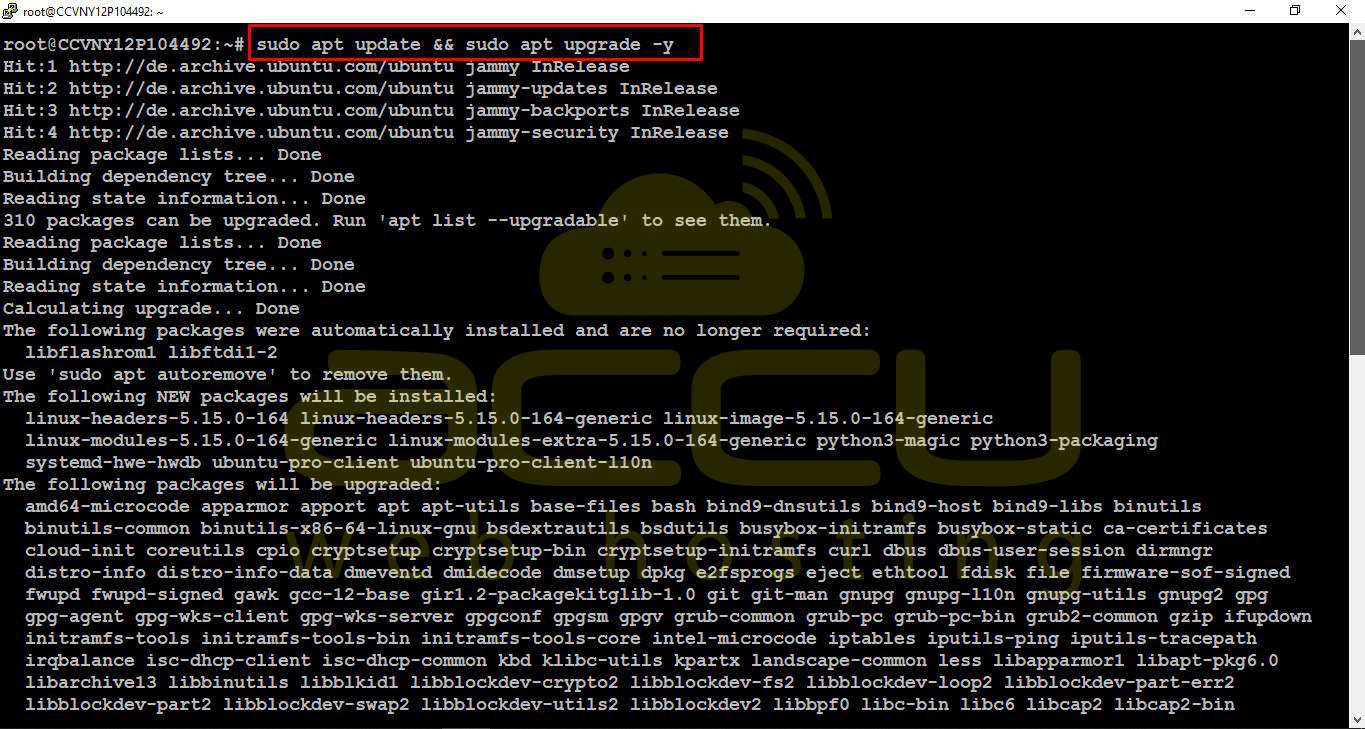
Update your package index and upgrade installed packages:
sudo apt update && sudo apt upgrade -y
Reboot the server:
reboot

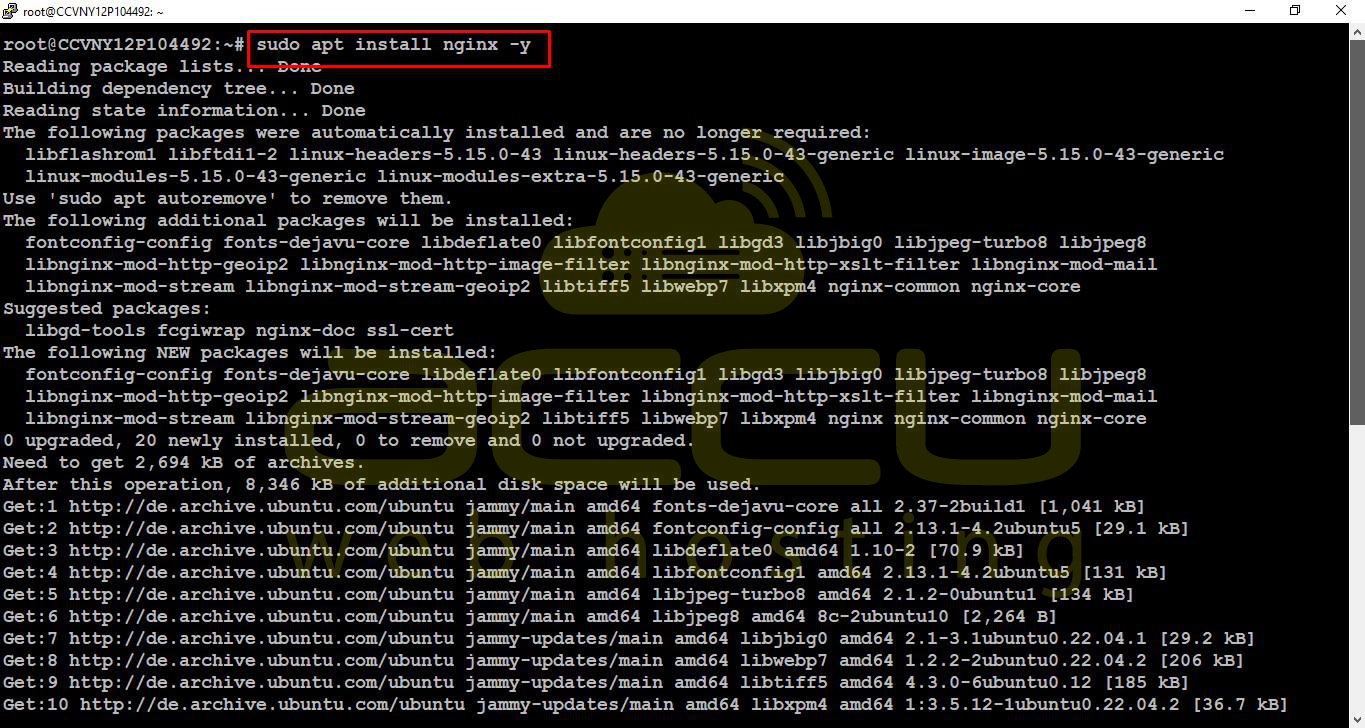
Step 2: Install Nginx
Install the Nginx web server:
sudo apt install nginx -y
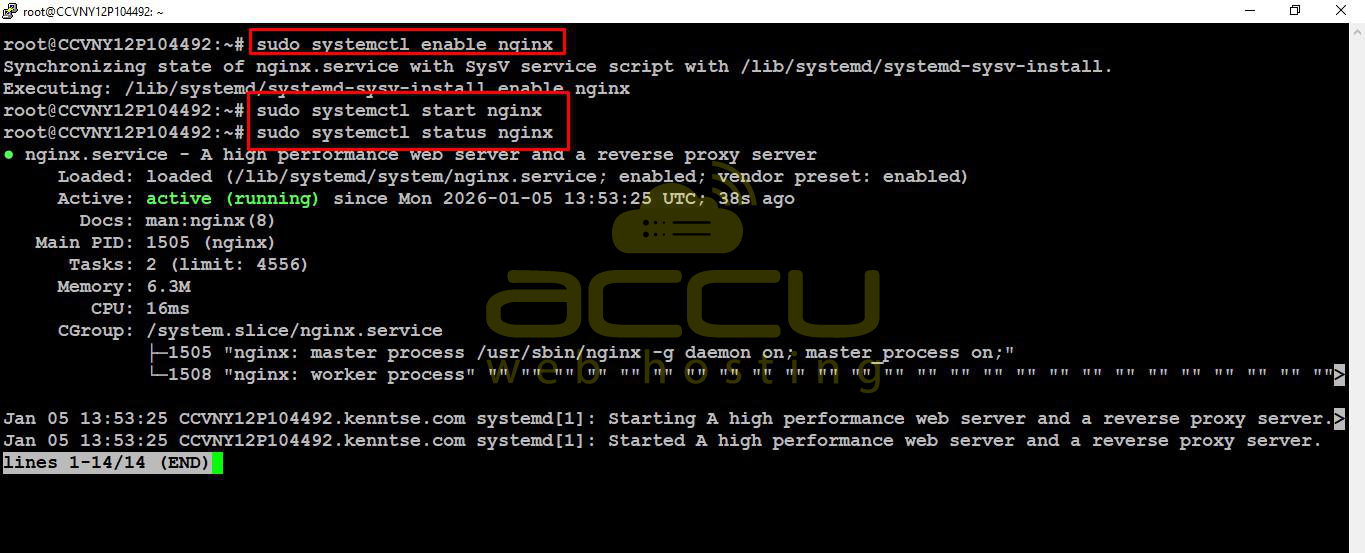
Enable and start Nginx:
sudo systemctl enable nginx
sudo systemctl start nginx
sudo systemctl status nginx
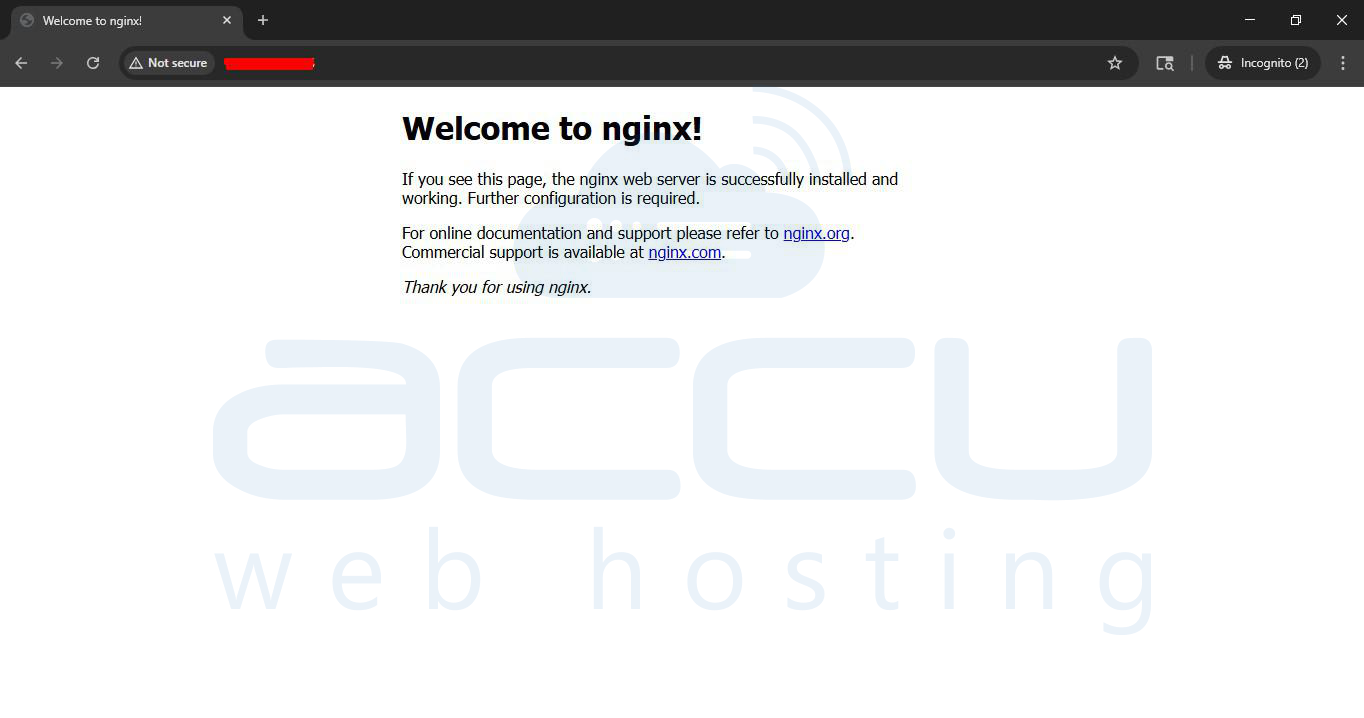
Test by opening your server IP in a browser — you should see the Nginx default page.
Step 3: Install MySQL or MariaDB
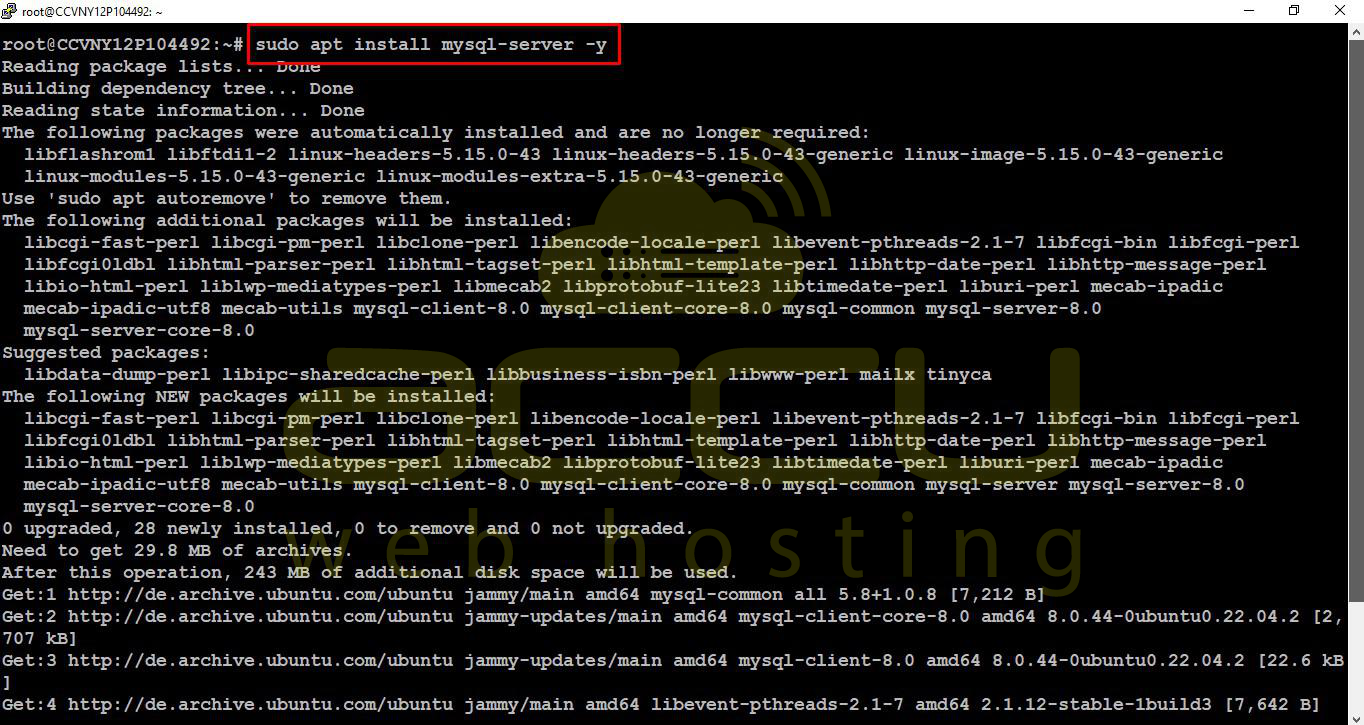
Install MySQL:
sudo apt install mysql-server -y
Secure your installation:
sudo mysql_secure_installation
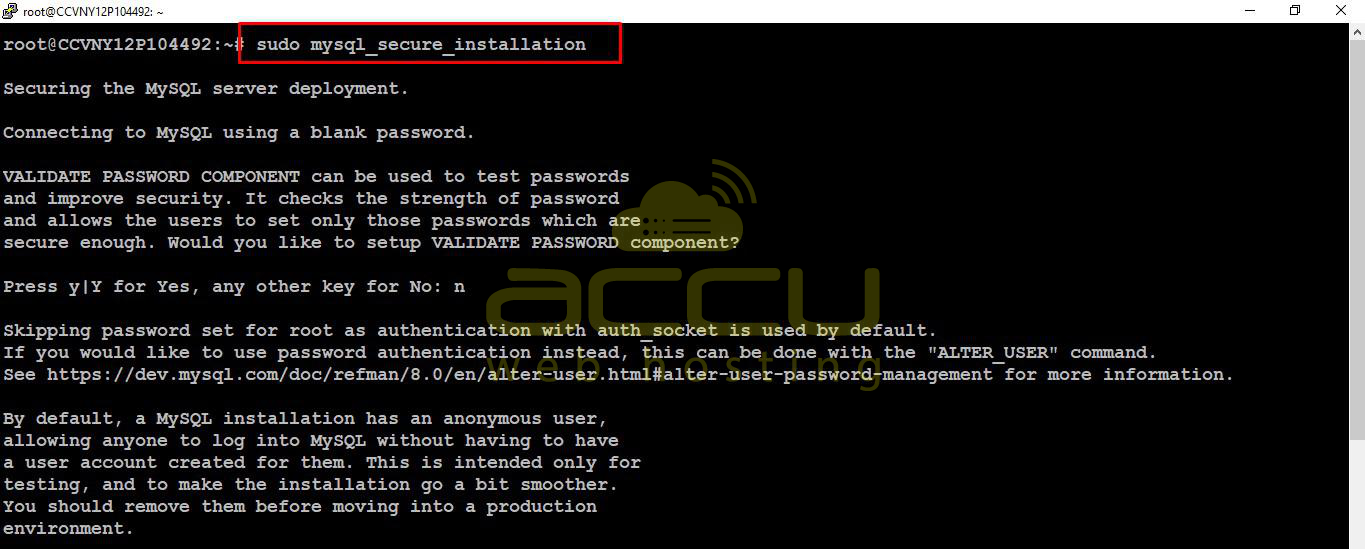
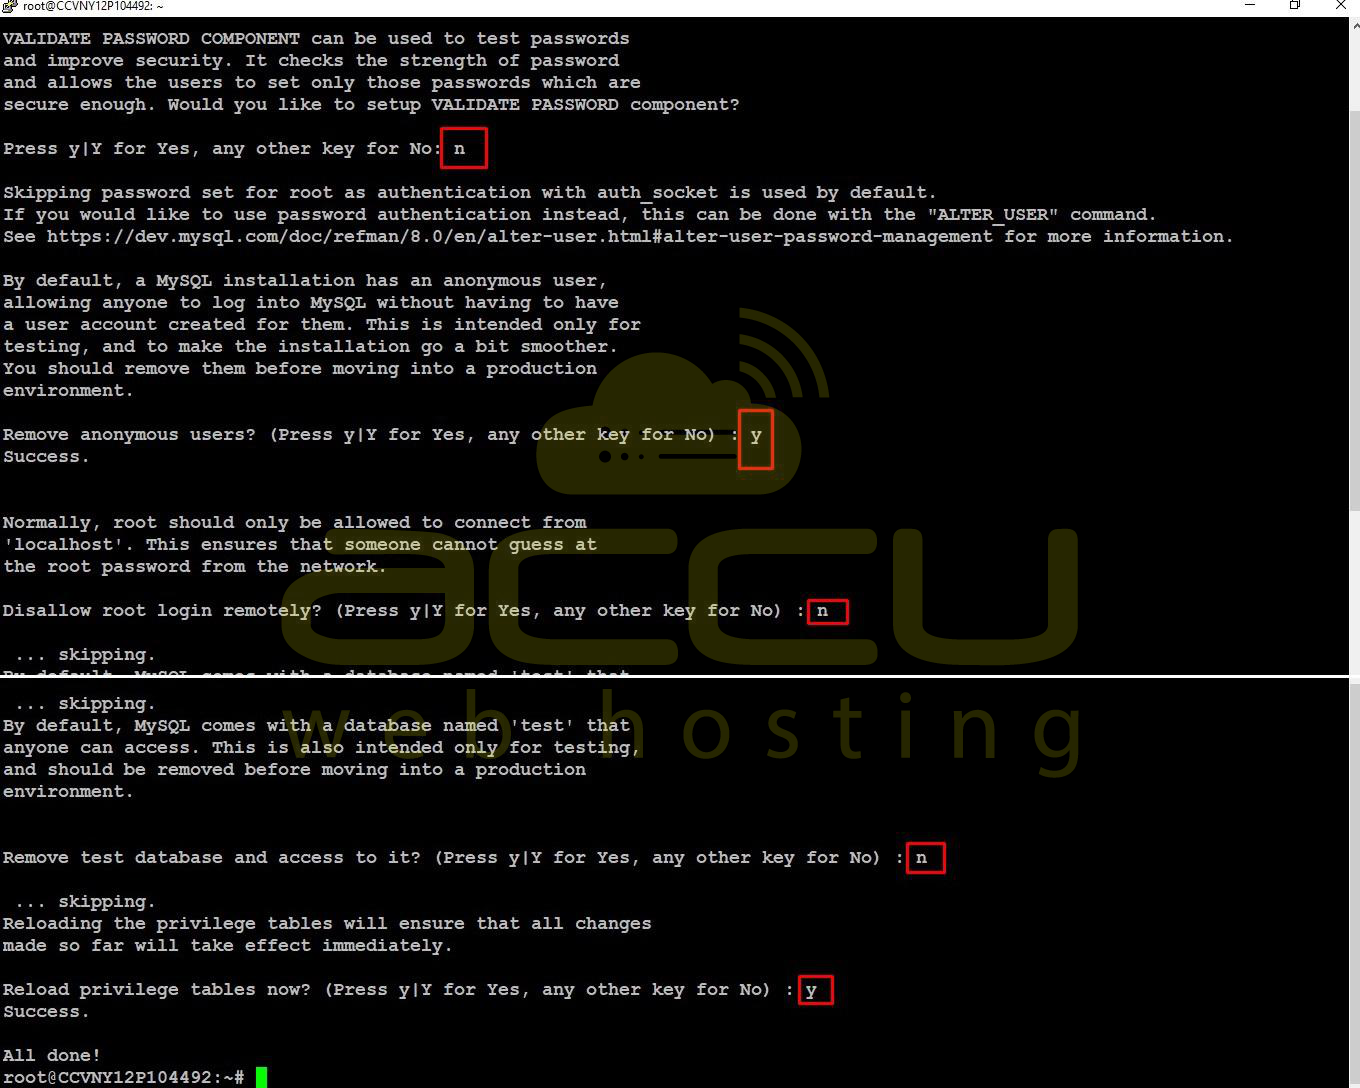
After running this, you will be prompted with the following questions:
Set root password? [Y/n] n
New password: (Just press enter)
Remove anonymous users? [Y/n] Y
Disallow root login remotely? [Y/n] n
Remove test database and access to it? [Y/n] n
Reload privilege tables now? [Y/n] Y
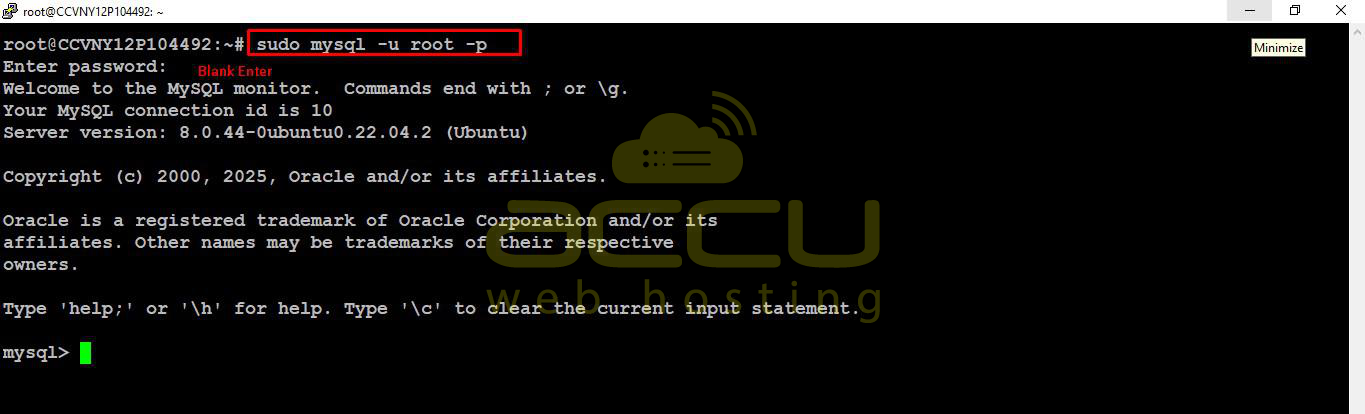
Create a database and user for WordPress:
sudo mysql -u root -p
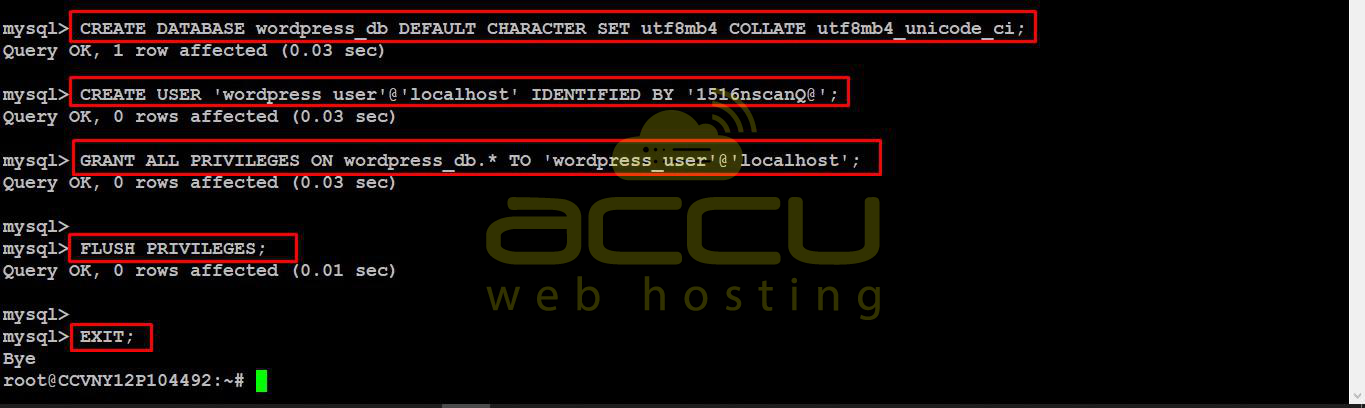
CREATE DATABASE wordpress_db DEFAULT CHARACTER SET utf8mb4 COLLATE utf8mb4_unicode_ci;
CREATE USER 'wordpress_user'@'localhost' IDENTIFIED BY 'StrongPassword';
GRANT ALL PRIVILEGES ON wordpress_db.* TO 'wordpress_user'@'localhost';
FLUSH PRIVILEGES;
EXIT;
Step 4: Install PHP and Required Extensions
Install PHP and the necessary extensions for WordPress:
sudo apt install php-fpm php-mysql php-cli php-curl php-gd php-mbstring php-xml php-xmlrpc -y

Check PHP version:
php -v

Step 5: Configure Nginx for WordPress
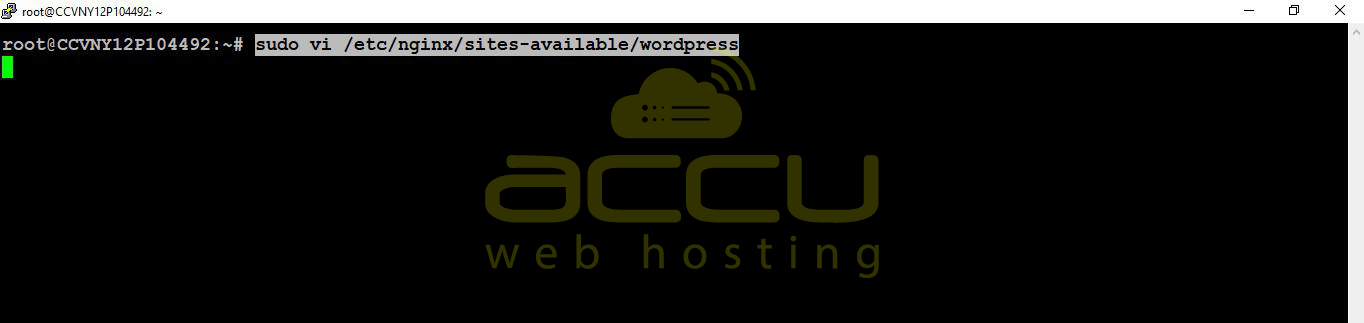
Create a new Nginx server block for your domain:
sudo vi /etc/nginx/sites-available/wordpress
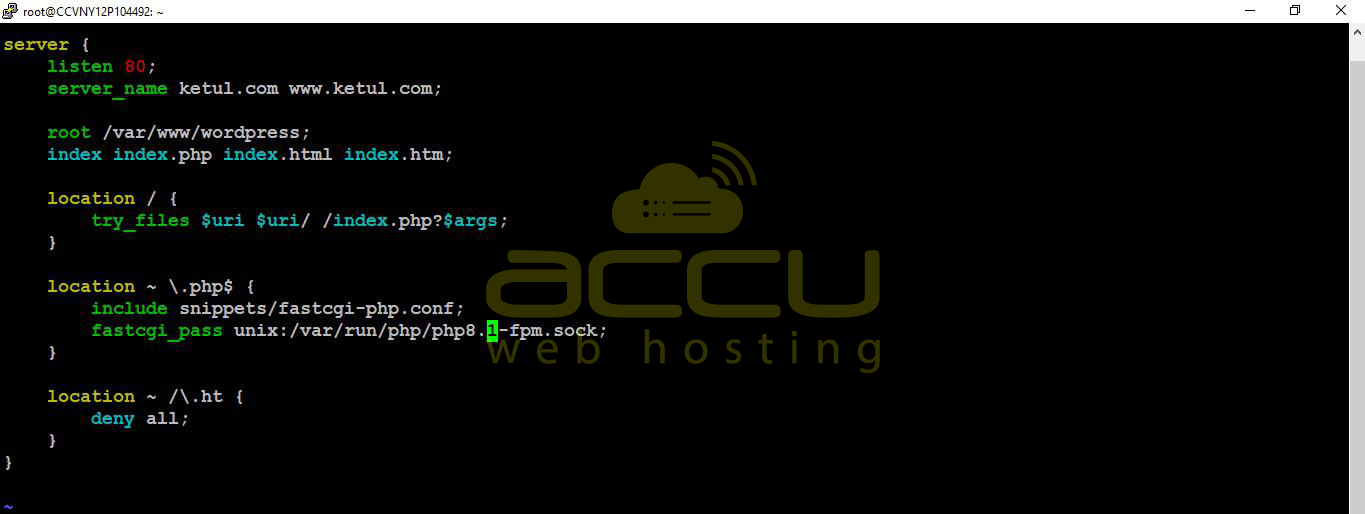
Add the following configuration:
server {
listen 80;
server_name yourdomain.com www.yourdomain.com;
root /var/www/wordpress;
index index.php index.html index.htm;
location / {
try_files $uri $uri/ /index.php?$args;
}
location ~ \.php$ {
include snippets/fastcgi-php.conf;
fastcgi_pass unix:/var/run/php/php8.2-fpm.sock;
}
location ~ /\.ht {
deny all;
}
}
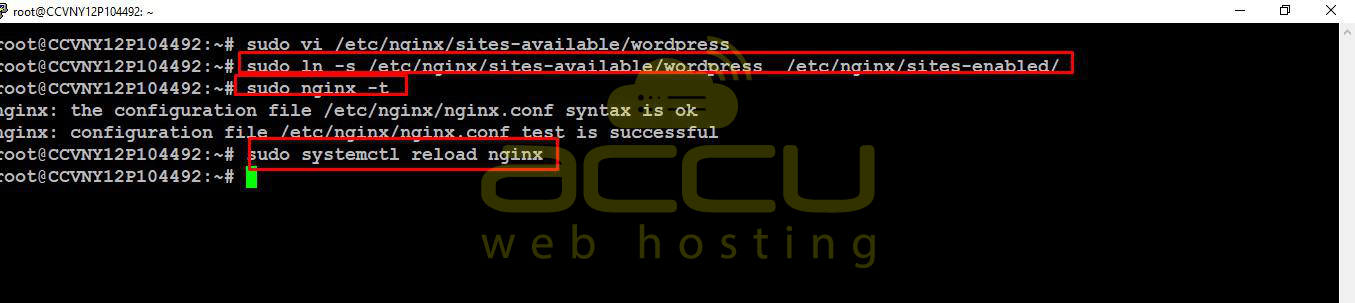
Enable the site and test Nginx configuration:
sudo ln -s /etc/nginx/sites-available/wordpress etc/nginx/sites-enabled/
sudo nginx -t
sudo systemctl reload nginx
Step 6: Download and Configure WordPress
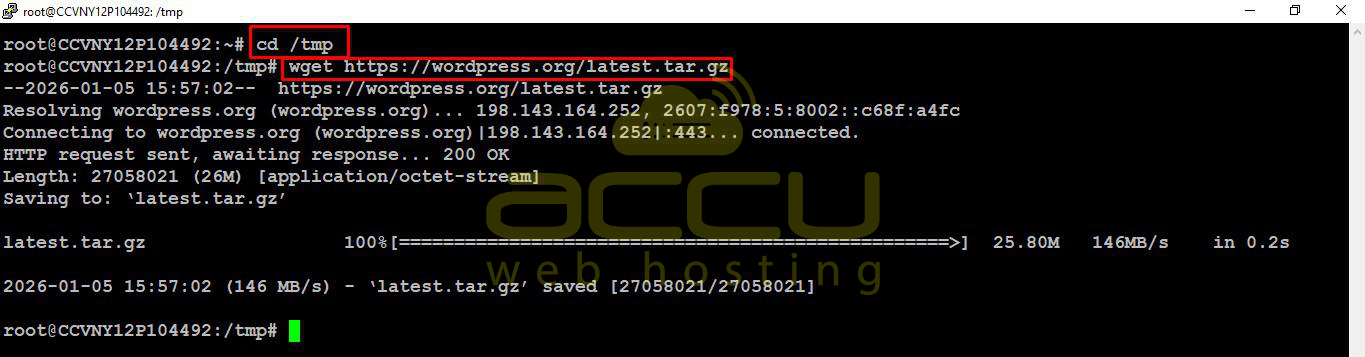
Download the latest WordPress package:
cd /tmp
wget https://wordpress.org/latest.tar.gz
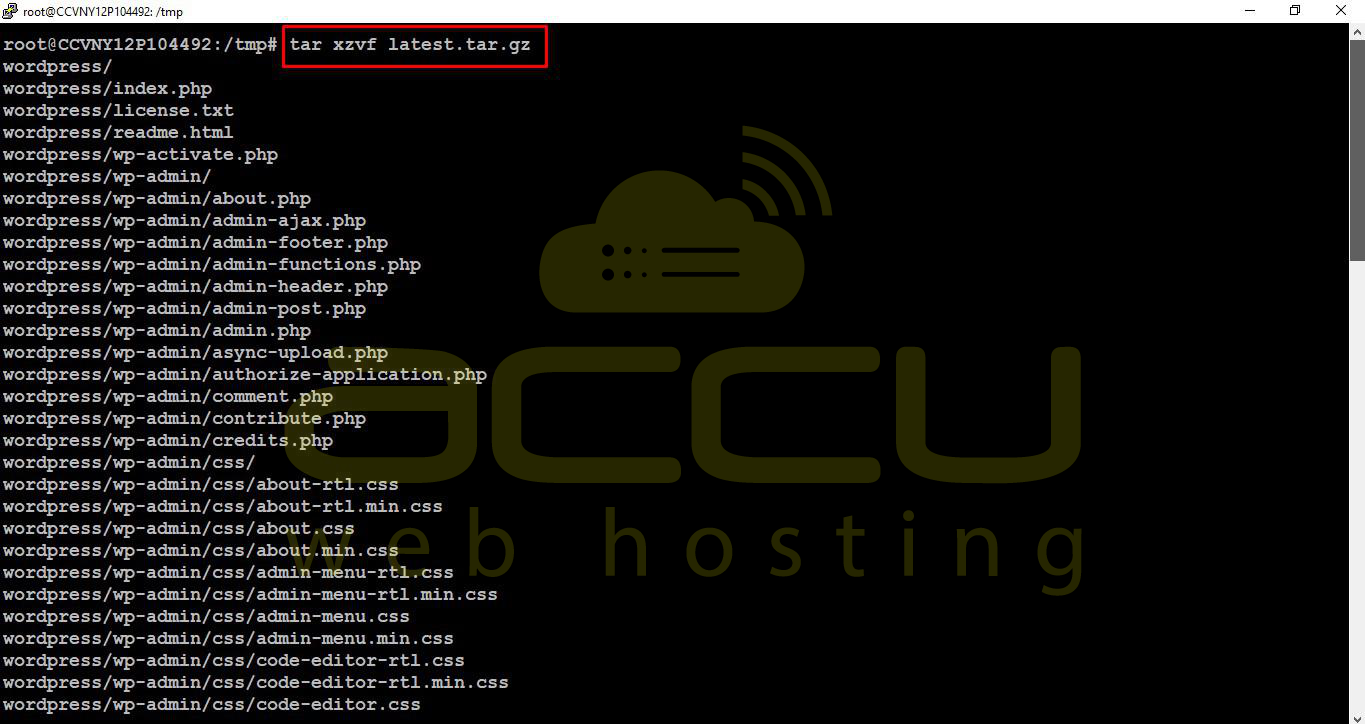
tar xzvf latest.tar.gz
sudo mv wordpress /var/www/
sudo chown -R www-data:www-data /var/www/wordpress
sudo chmod -R 755 /var/www/wordpress

Create WordPress configuration file:
cd /var/www/wordpress
cp wp-config-sample.php wp-config.php
vi wp-config.php
Service Unavailable
The server is temporarily unable to service your request due to maintenance downtime or capacity problems. Please try again later.
Additionally, a 503 Service Unavailable error was encountered while trying to use an ErrorDocument to handle the request.
