Once you have installed aaPanel, you can access aaPanel's web interface via your server's IP address and port. Open a web browser and navigate to the URL provided at the end of the installation (e.g., https://<your_server_ip>: port/<unique_code>).
Enter the username and password.
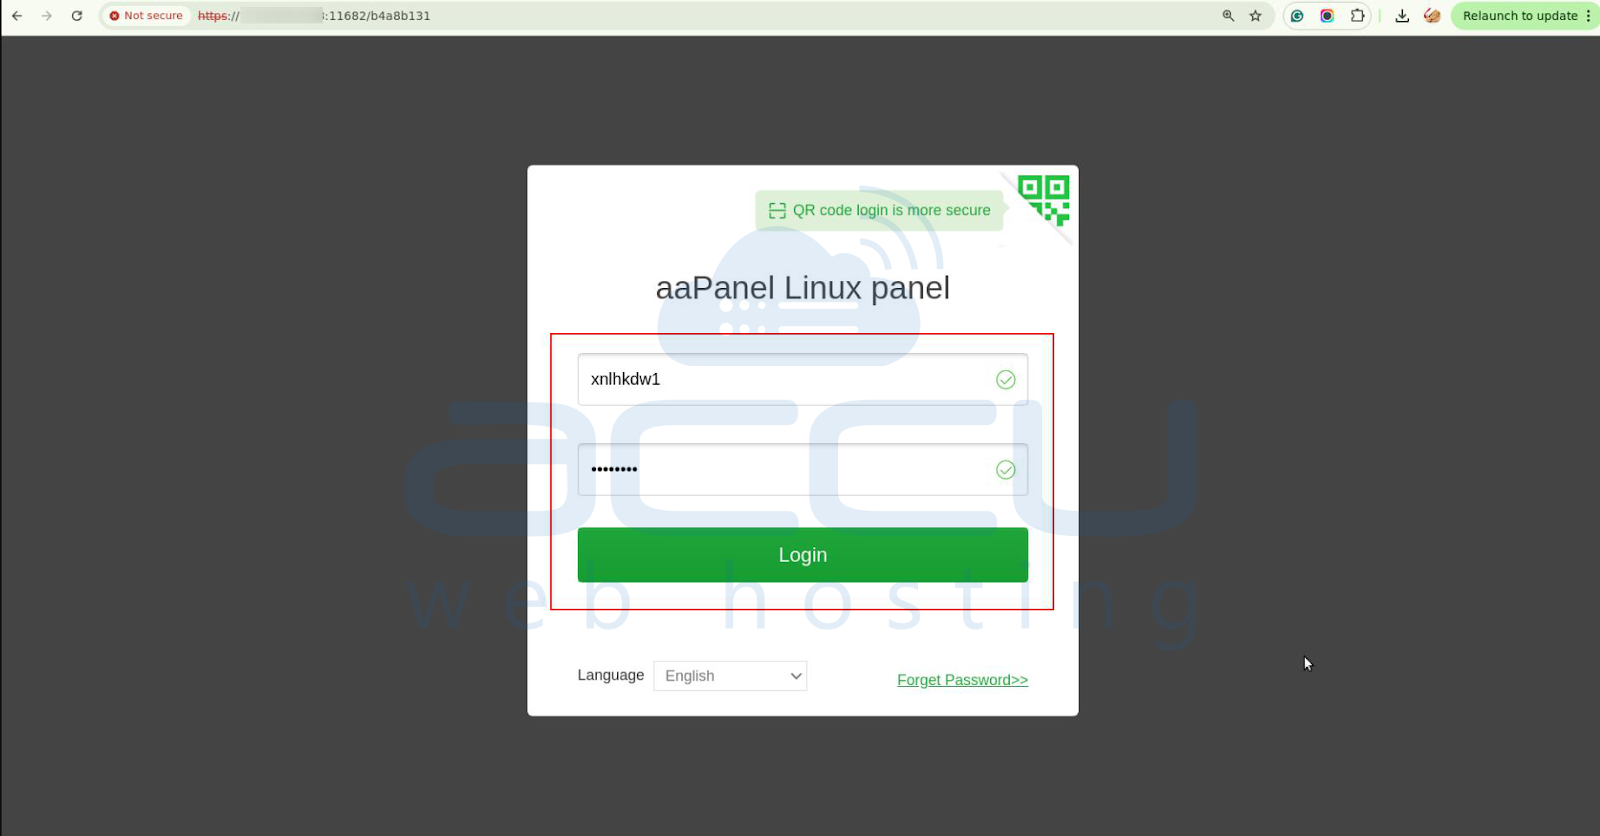
You should now be logged into the aaPanel dashboard.
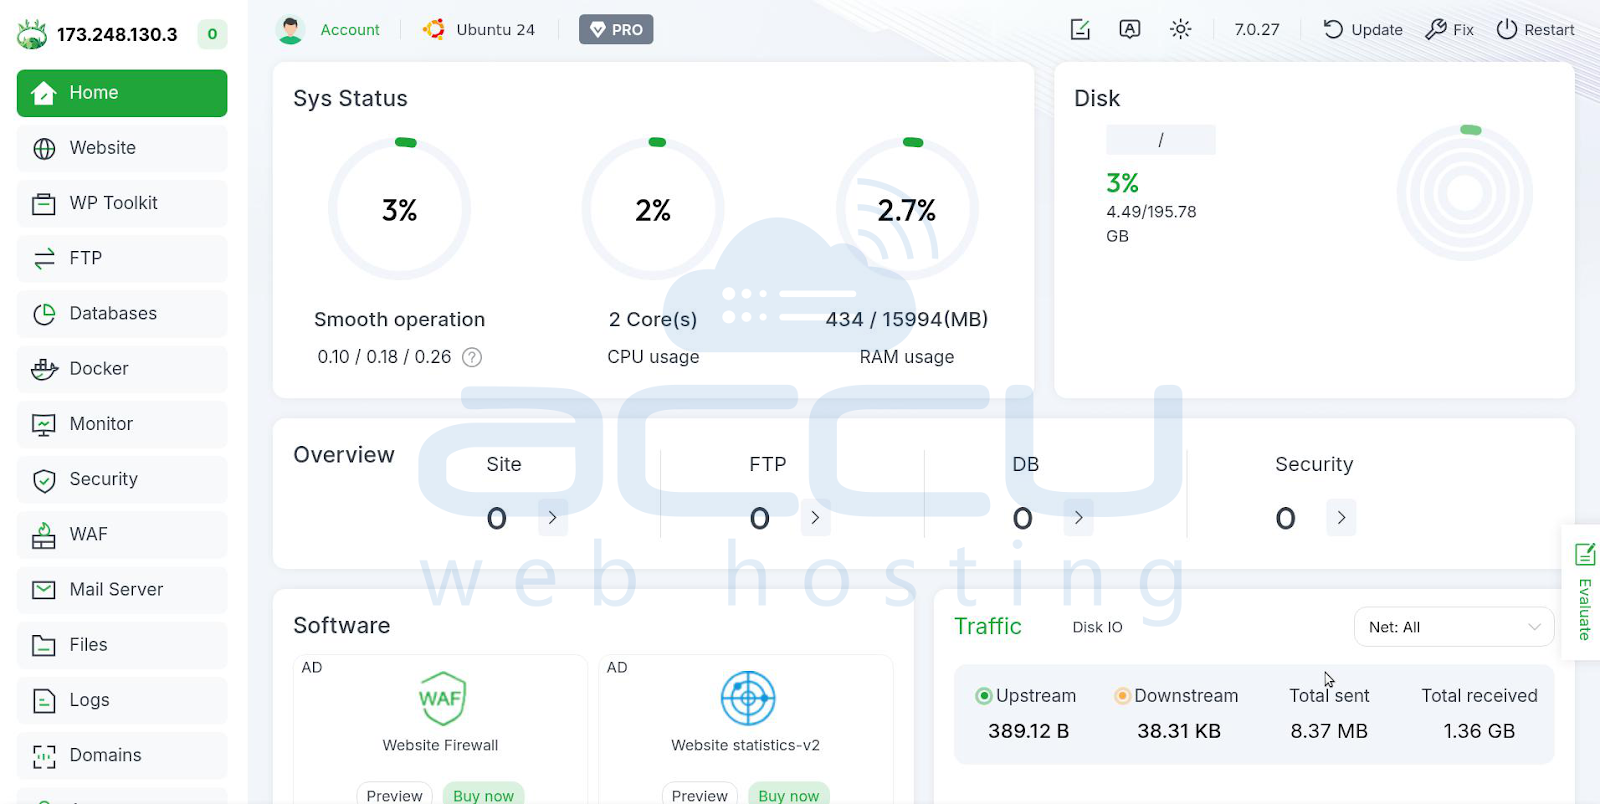
Once you’re logged in, you’ll see the main control panel interface.
Step 1 – Installing MySQL or MariaDB (If Not Installed)
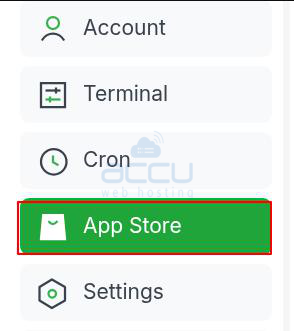
If you haven’t installed MySQL or MariaDB on your server yet, you can do so easily through the aaPanel App Store.
1. In the aaPanel dashboard, click on the "App Store" option in the left sidebar.
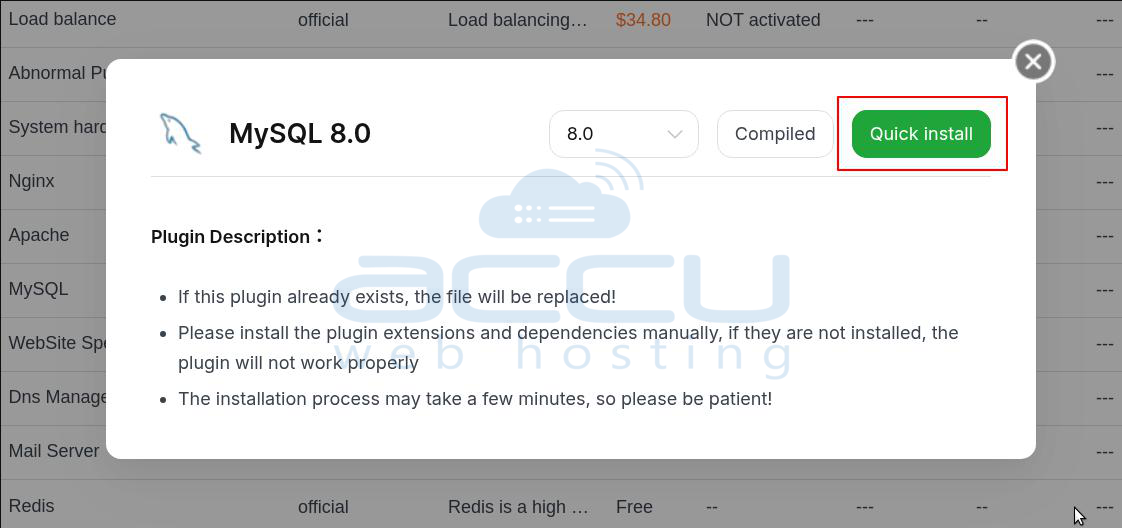
2. In the App Store, look for MySQL or MariaDB and click on the Install button next to the desired database software.
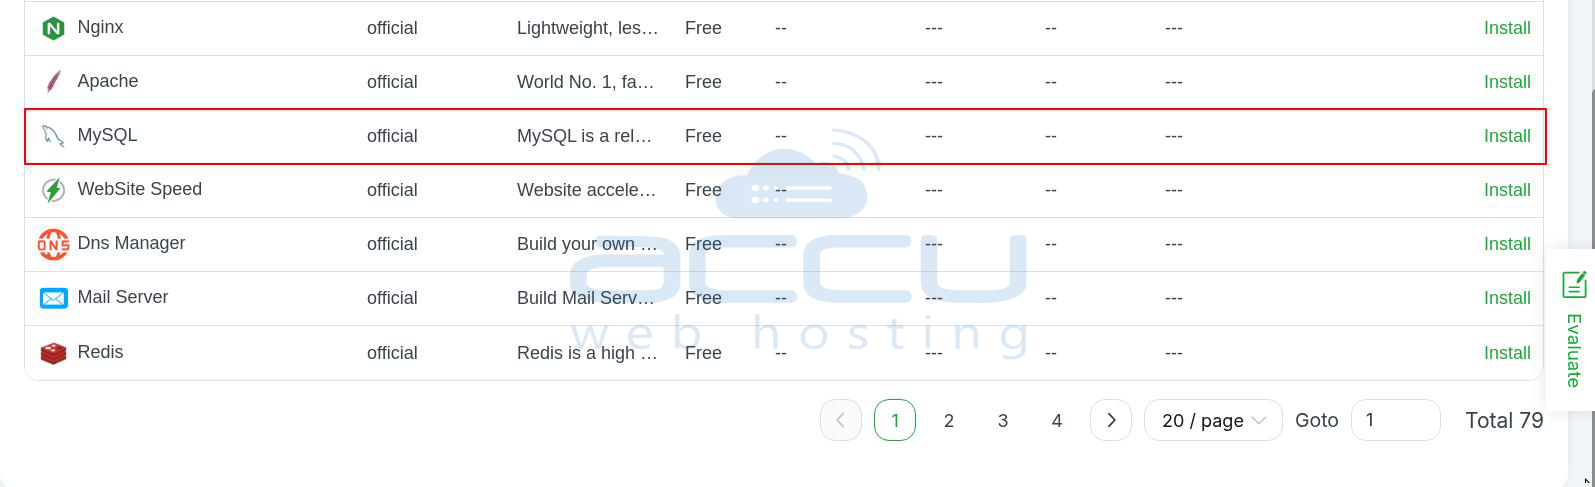
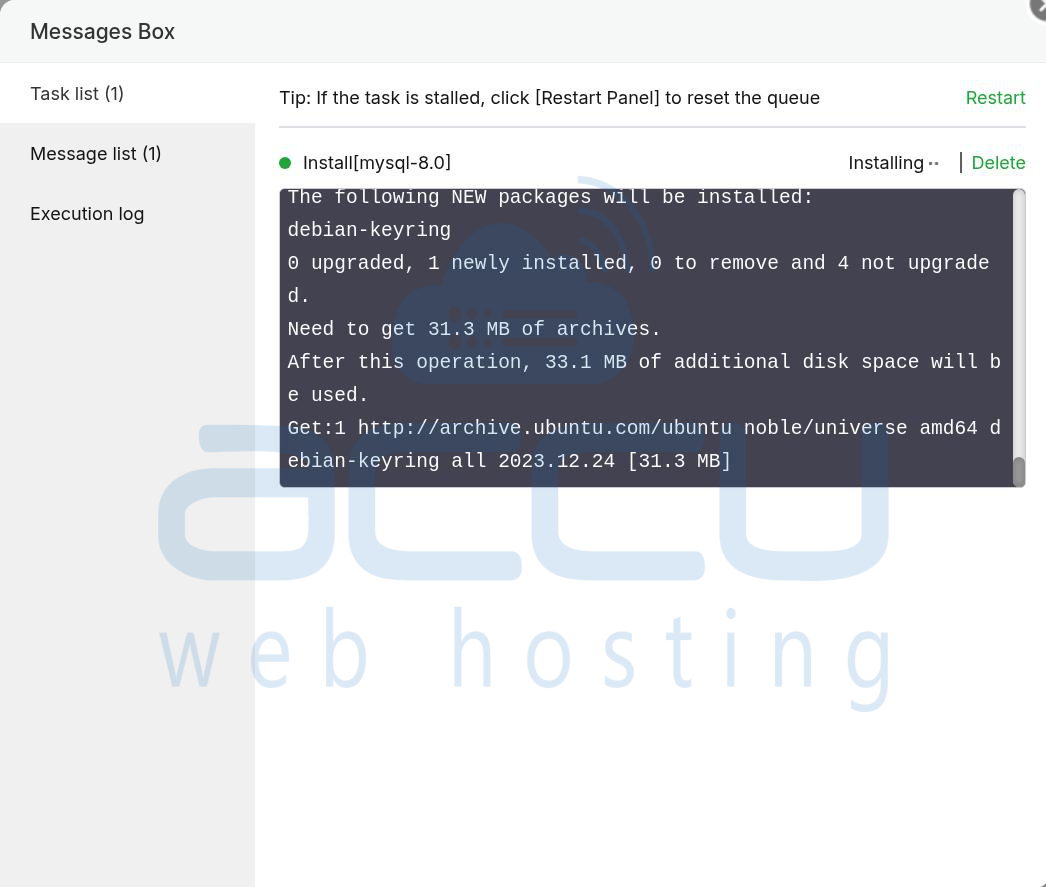
3. Follow the prompts to complete the installation.
Step 2 – Create a New Database
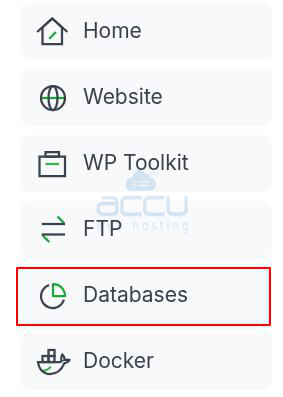
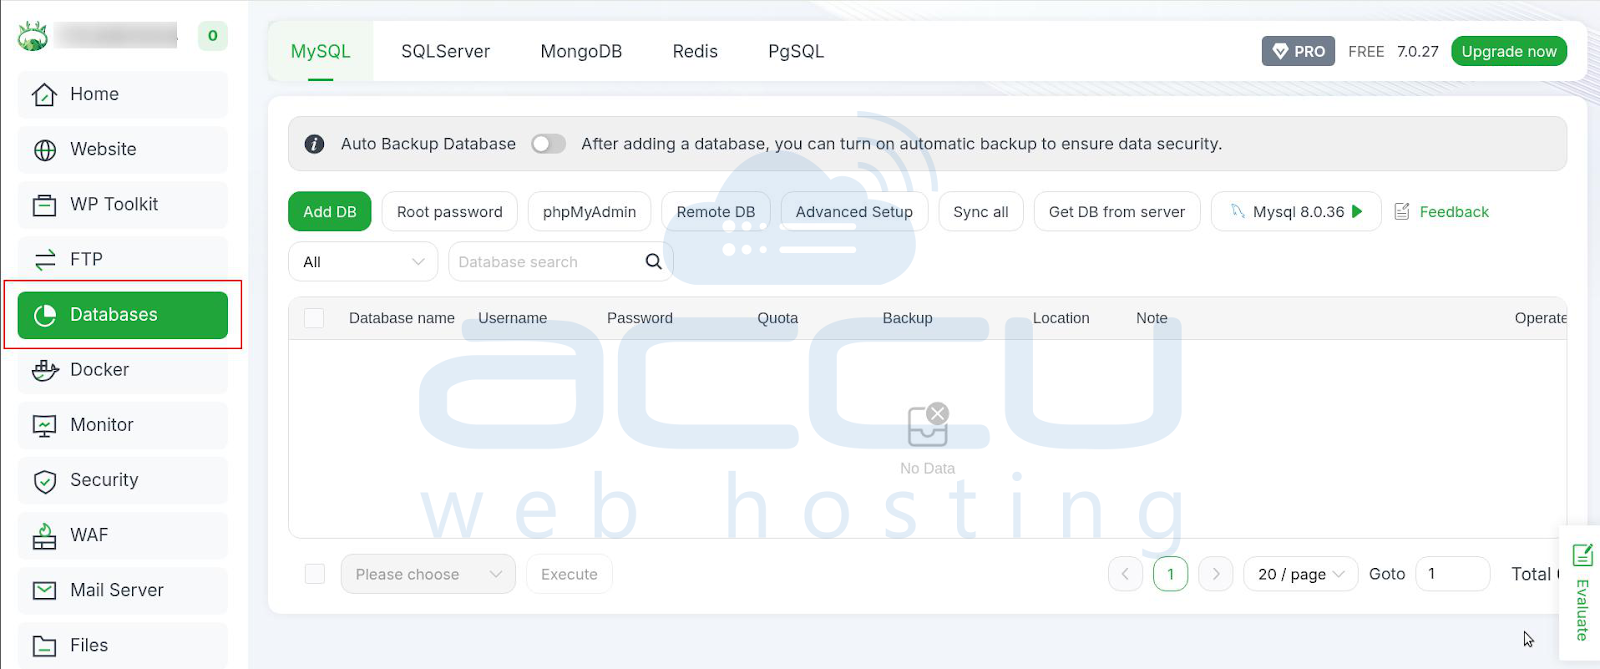
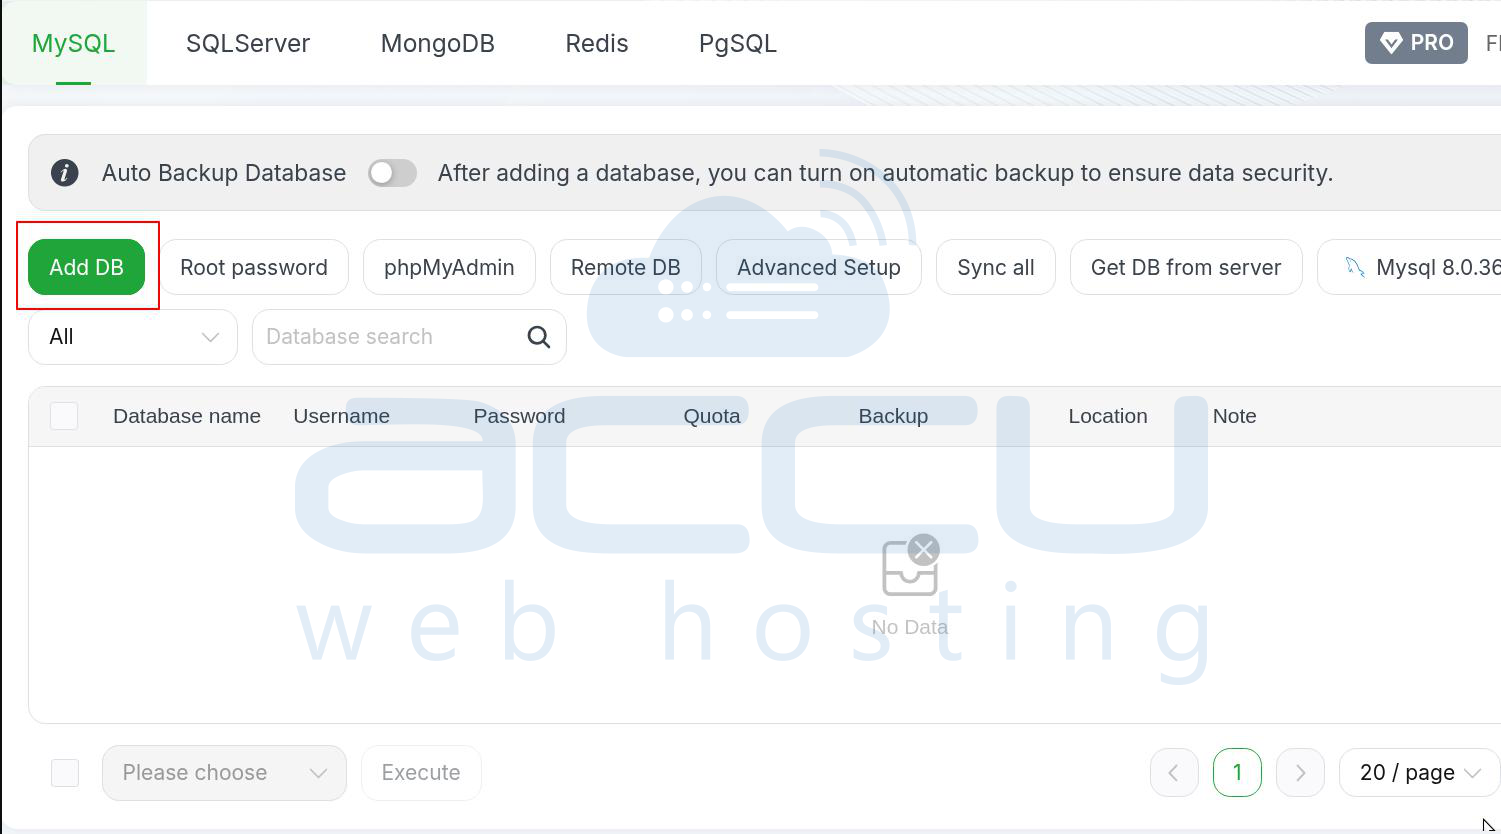
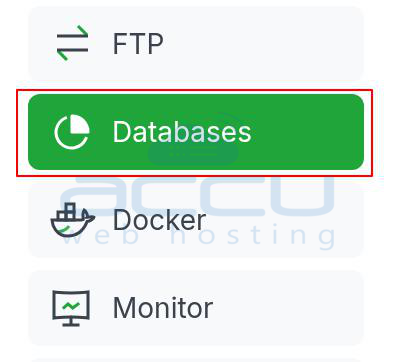
1. Go to the "Databases" Section: In the aaPanel dashboard, click on the "Database" option in the left sidebar. This will open the database management page, where you can see any existing databases and create new ones.
2. Create a New Database:
- Click on "Add Database" at the top of the page.
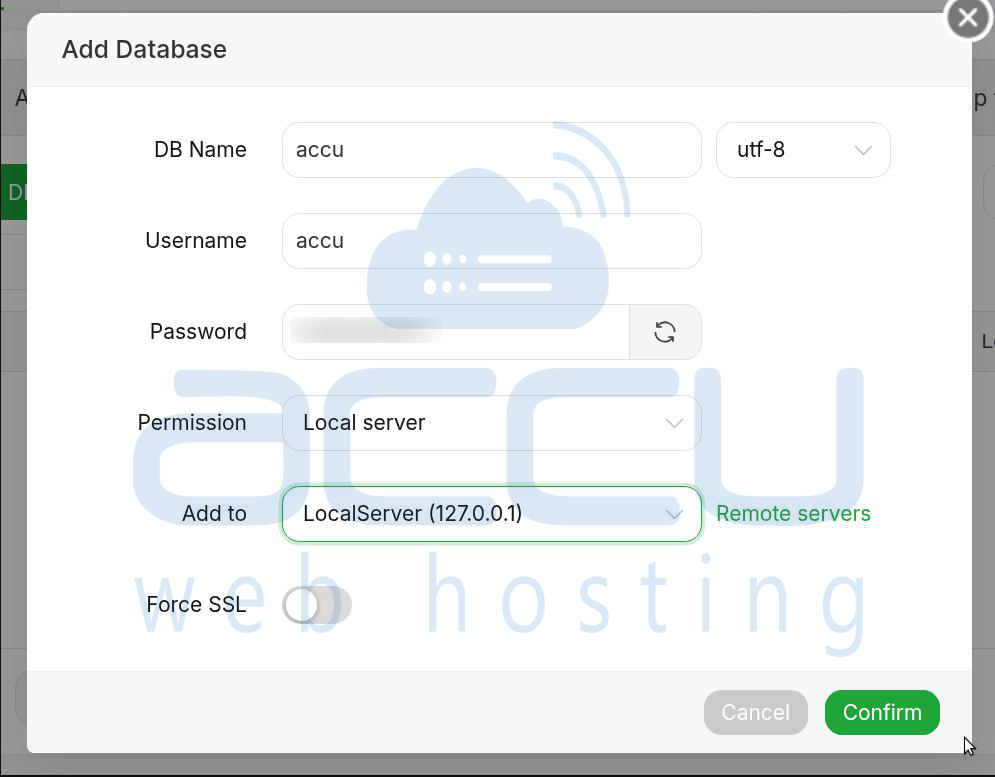
- Enter a Database Name. This is the name of your new database.
- Enter a Database User and set a Password for the user. The user will need these credentials to access and manage the database.
- Click on "Confirm" to create the database.
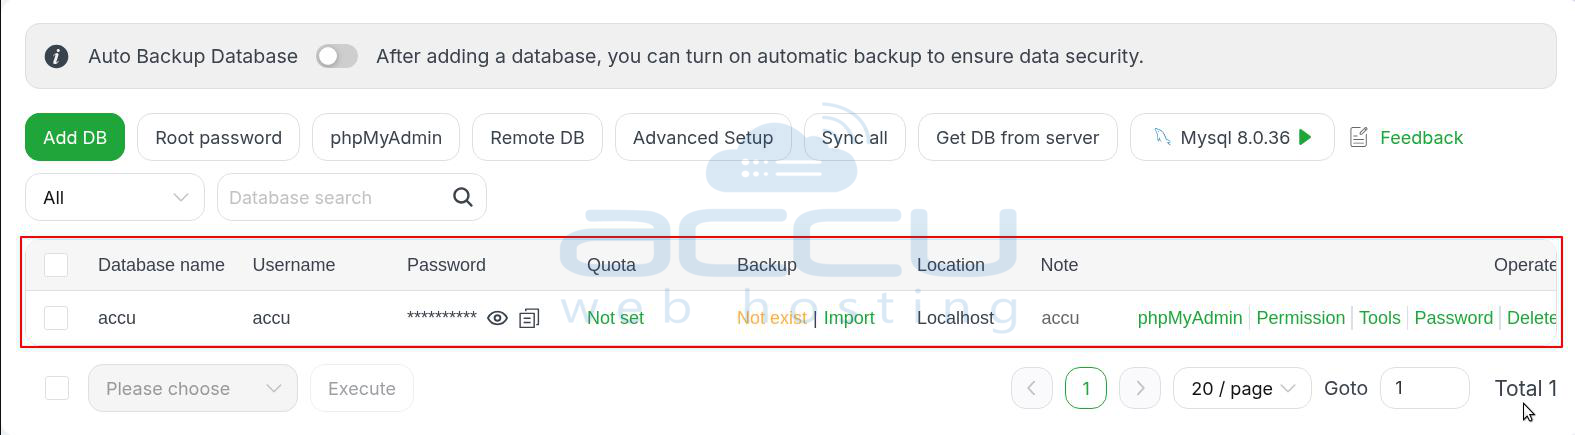
3. After the database is created, it will appear in the list of databases on the page.
Step 3 – Manage Your Database
Once you’ve created a database, you can manage it directly from the aaPanel interface.
1. Edit Database Settings
- You can change settings like the database name, user, and permissions from the options next to the database you want to edit.

2. Manage Database Users
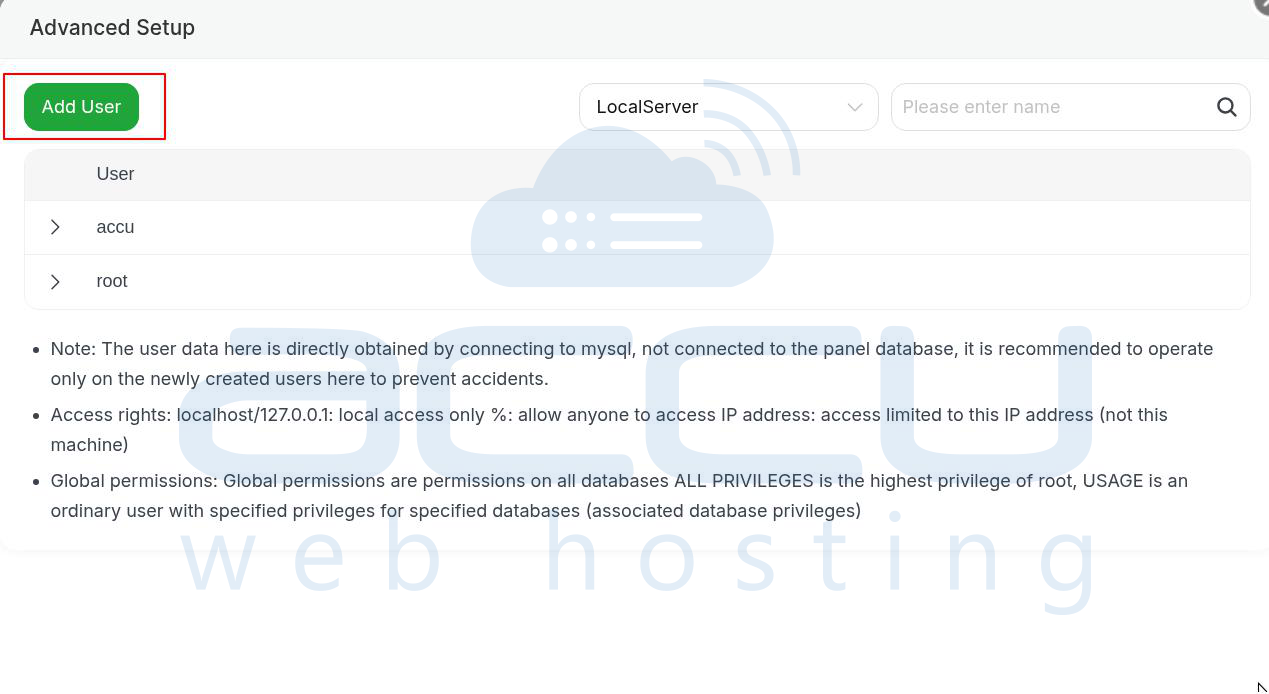
- To create or edit database users, click on the "Advanced Setup" tab at the top of the database management page.
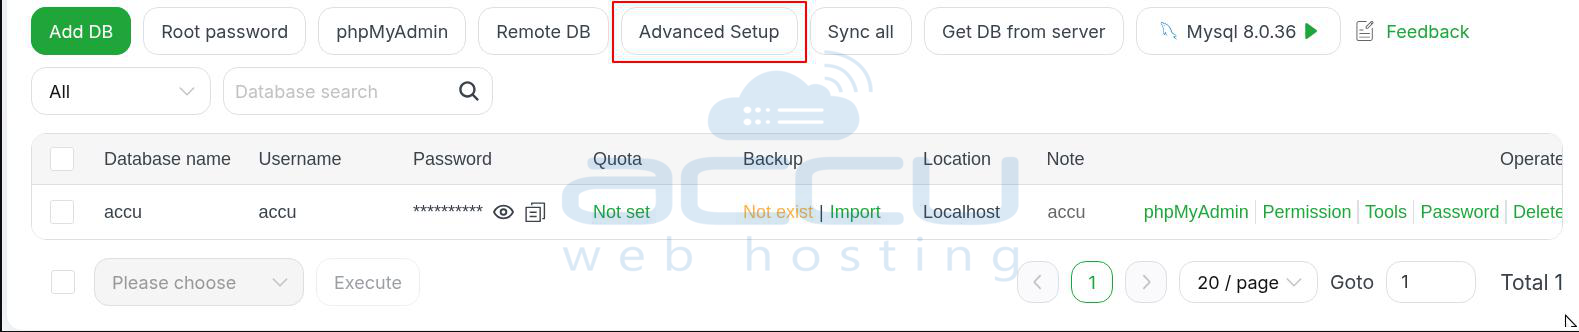
- To create a new user, click on "Add User".
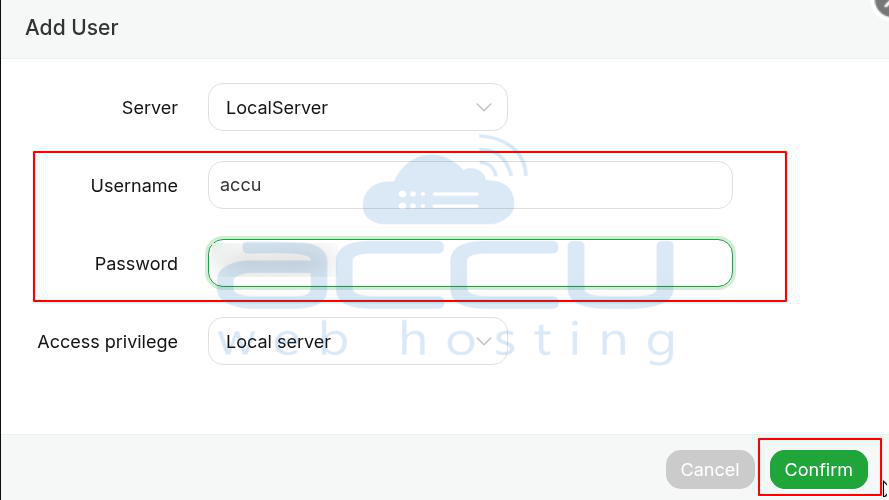
- Enter the username and password for the new user and assign them the necessary permissions (read, write, etc.) for specific databases.
- Click Confirm to save the new user.
3. Import or Export Databases
- aaPanel allows you to import and export databases easily.
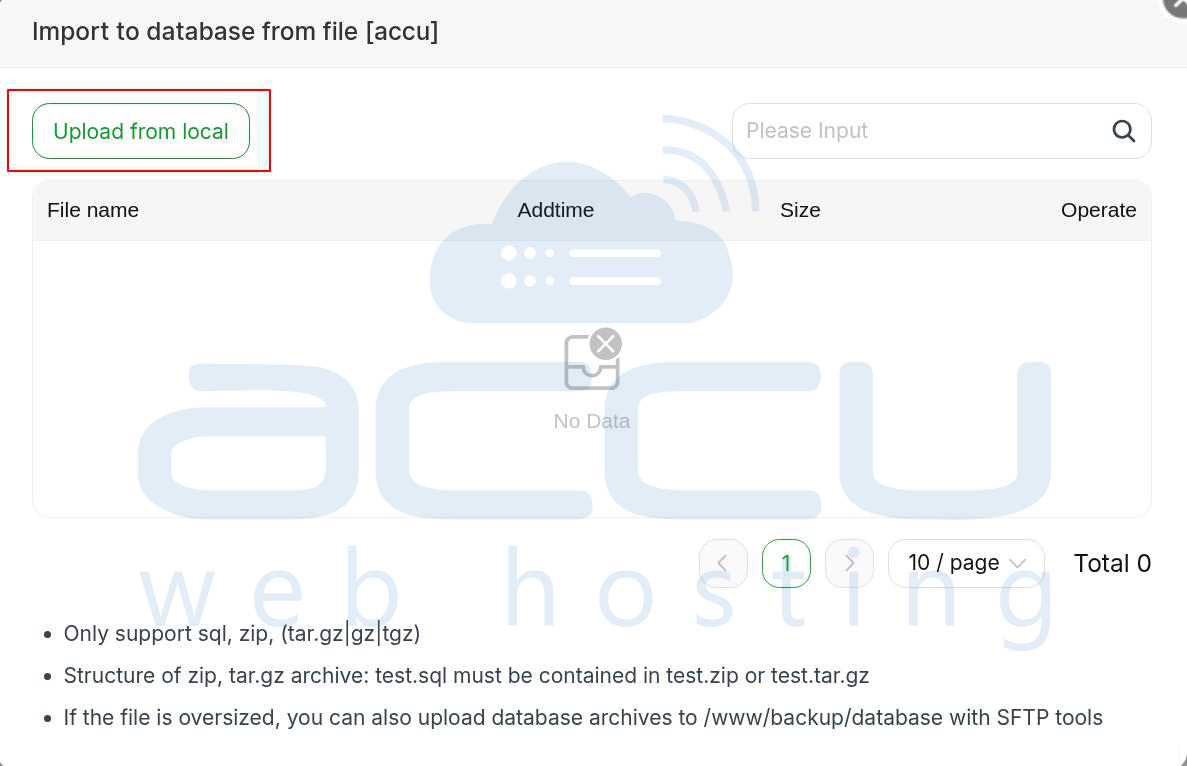
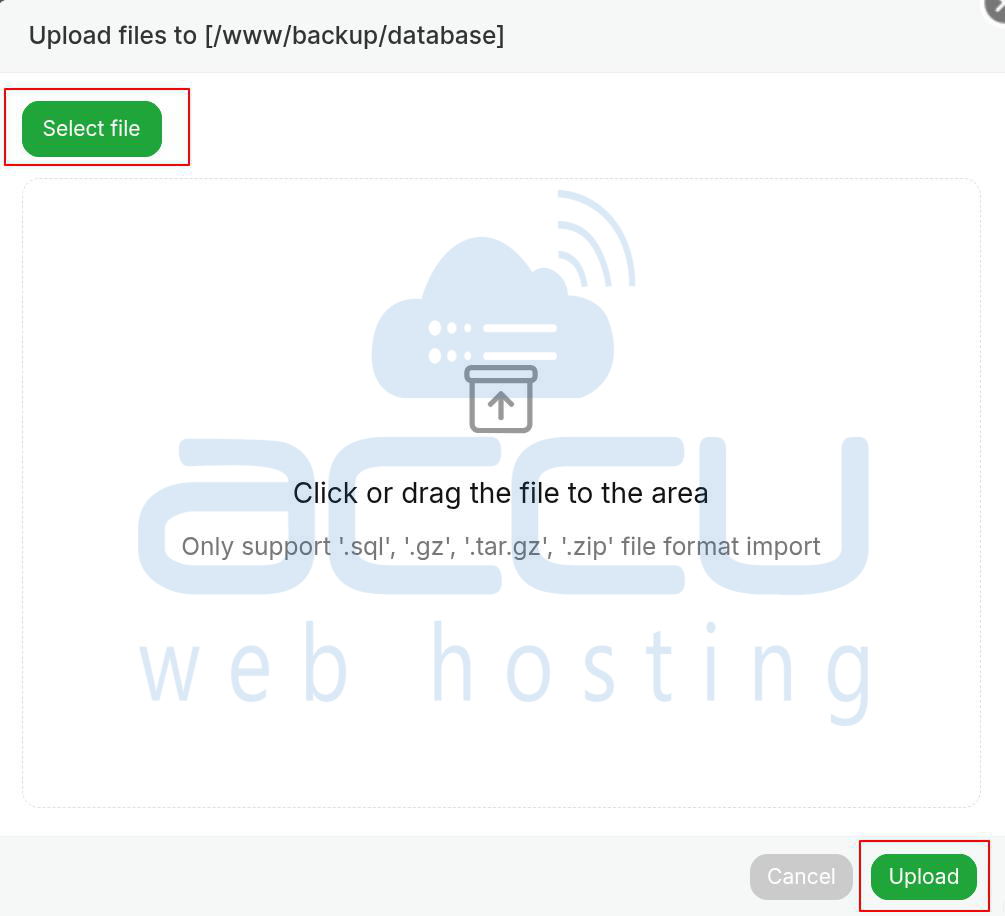
- To import a database, go to the "Import Database" tab, select the database file (e.g., .sql), and click "Upload" to import it.
- To export a database, go to the "Export Database" tab, select the database, and click "Submit" to export it as a .sql file.
4. Backup and Restore Databases
- To back up a database, click on the database name.
- Then, click on the option available in the dropdown. There, you will find the DB backup option; click on it for backup. And then click on execute to execute it.
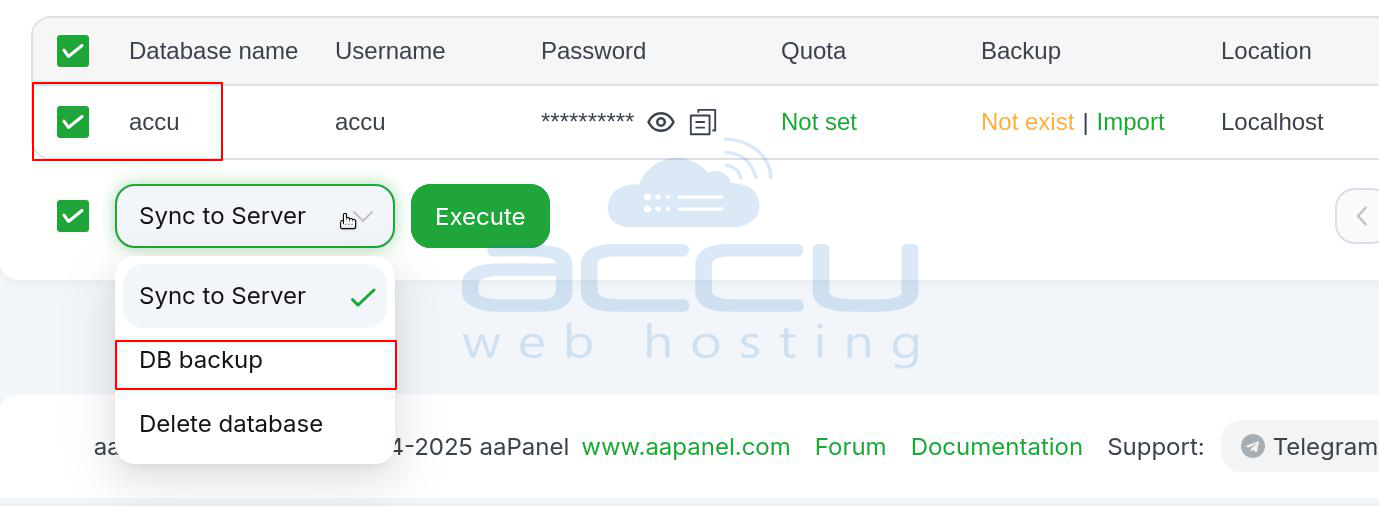
- Once the backup is completed, it will show you that it is completed.

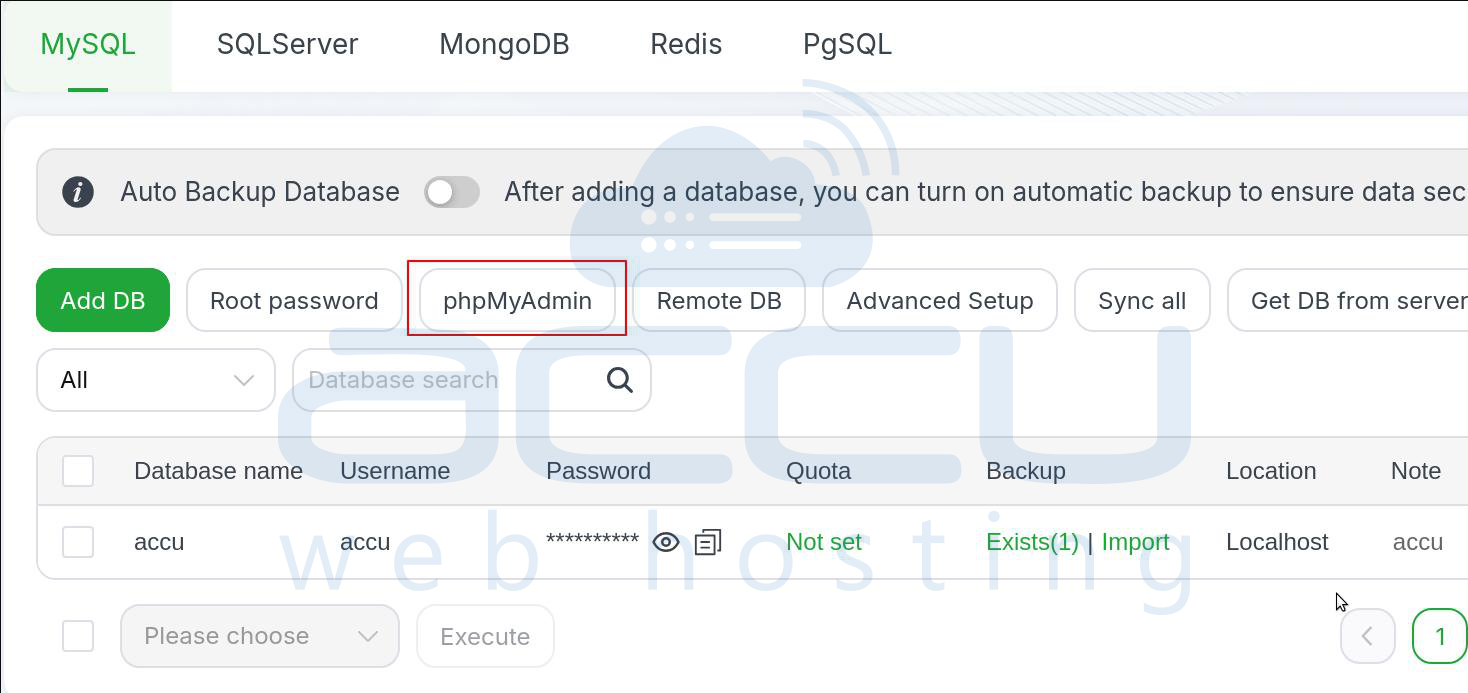
Step 4 – Use phpMyAdmin for Database Management
aaPanel includes phpMyAdmin, a popular web-based tool for managing MySQL and MariaDB databases. To access phpMyAdmin:
1. In the aaPanel dashboard, go to the "App Store" and ensure that phpMyAdmin is installed. If it’s not installed, you can install it from the App Store.
2. Once phpMyAdmin is installed, navigate to "Database" in the left sidebar and click on "phpMyAdmin" under the database management section.
3. Log in with your MySQL/MariaDB root credentials or a specific database user’s credentials to start managing your databases through phpMyAdmin’s graphical interface.
Step 5 – Delete a Database
If you need to delete a database, follow these steps:
1. Go to the "Databases" page in aaPanel.
2. Find the database you want to delete and click on the "Delete" button next to it.

3. Confirm the deletion by clicking "Confirm" when prompted.
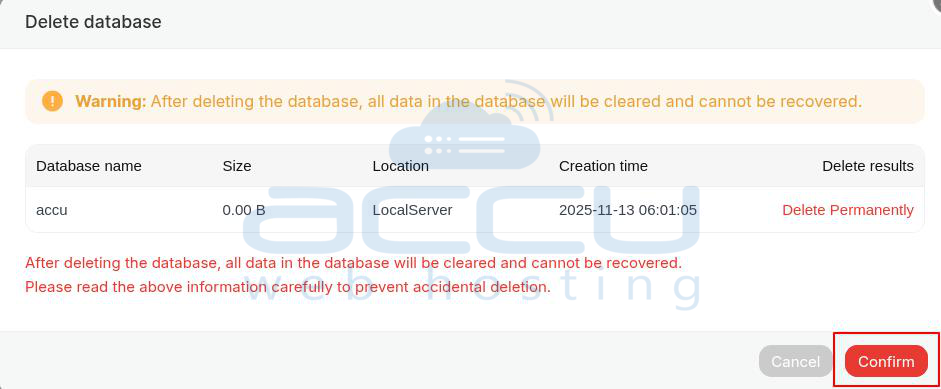
Warning: Deleting a database is permanent, and all the data stored in it will be lost. Be sure to back up any important data before deleting a database.
Conclusion
Managing databases in aPanel is straightforward thanks to its user-friendly interface. Whether you’re creating new MySQL or MariaDB databases, managing users and permissions, or backing up data, aaPanel offers all the tools you need to efficiently handle your server’s databases.
By following the steps in this guide, you should be able to easily create, manage, and maintain databases on your Ubuntu server. If you encounter any issues or need advanced features, you can always refer to aaPanel’s documentation.


