Continuous Integration (CI) and Continuous Delivery (CD) have become essential practices in modern DevOps workflows. Among the most popular automation servers, Jenkins stands out for its flexibility, open-source nature, and strong community support. It helps automate repetitive tasks such as building, testing, and deploying software, ensuring faster and more reliable delivery cycles. In this guide, we’ll walk through how to install Jenkins on Ubuntu using a WAR file, step by step from setup to verification.
Prerequisites
Before starting the installation, make sure you have the following:
System Requirements:
- Ubuntu 20.04 / 22.04 or later
- At least 2 GB RAM, Minimum 1 CPU core (recommended: 2) & 2 GB free disk space.
Software Requirements:
- Java Development Kit (JDK) 17 or later
- wget or curl to download files & sudo privileges
You can check if Java is already installed by running:

If not installed, follow the next section to set it up.
Steps to Install Jenkins on Linux Using a WAR File
Step 1: Before installing any packages, it’s a good practice to update your system repositories to ensure all software is up to date.
Run the following commands:
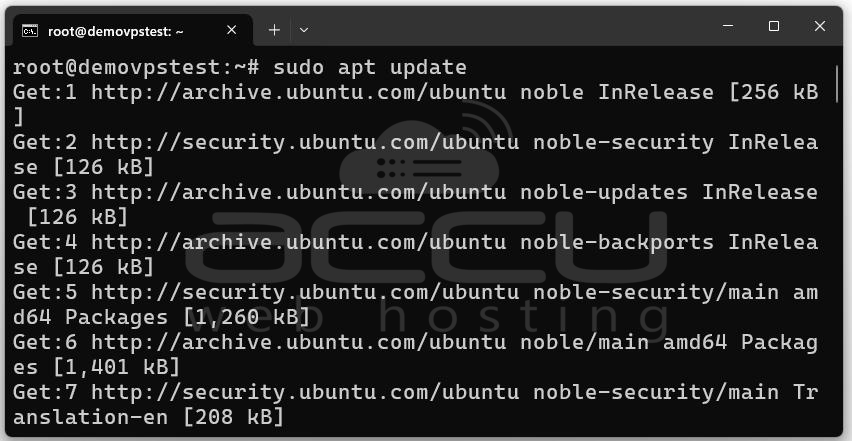
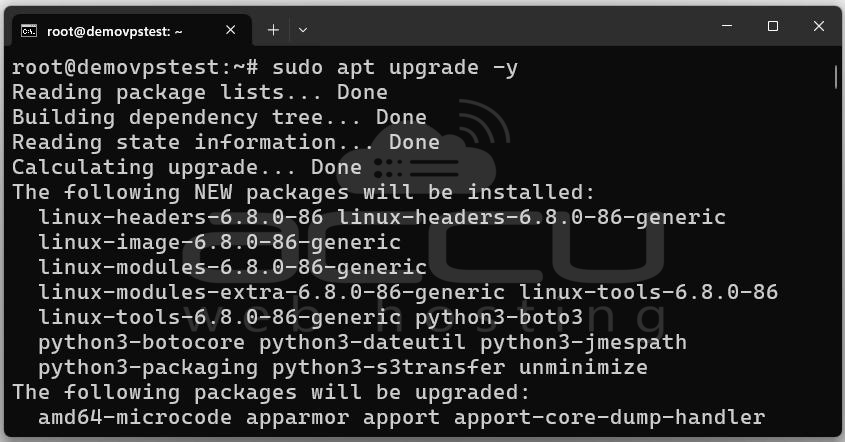
This updates your package lists and upgrades installed packages to the latest versions.
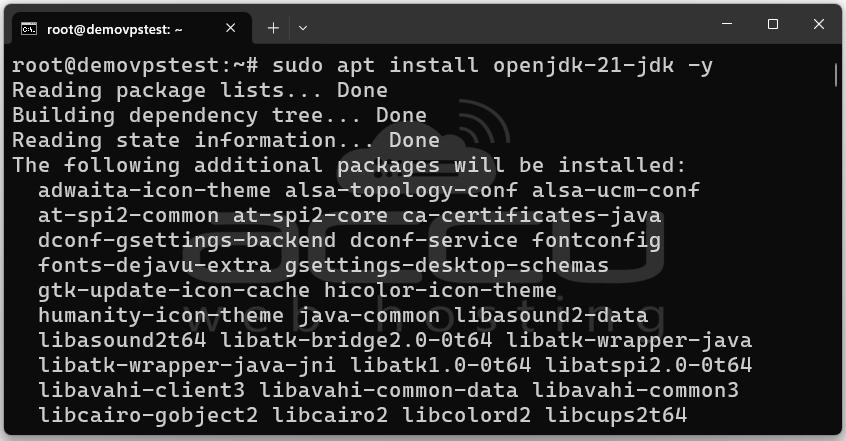
Step 2: Jenkins is a Java-based application, so you must have Java installed before running the WAR file.
After installation, verify the Java version:
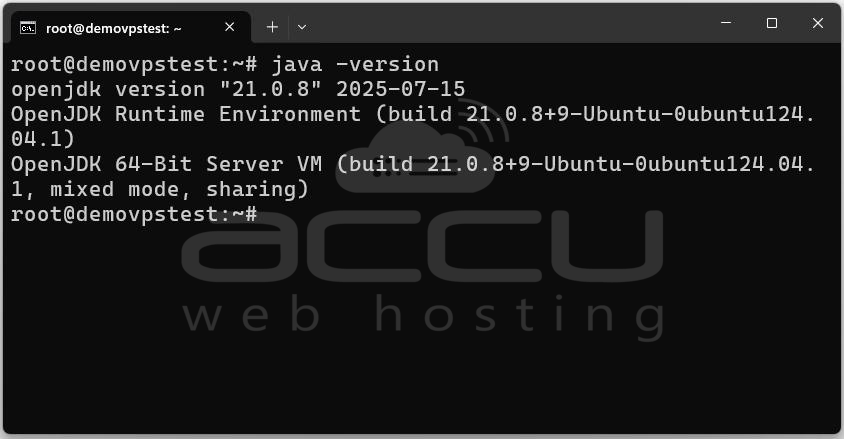
Expected Output:
openjdk version "21.0.8" 2025-07-15
OpenJDK Runtime Environment (build 21.0.8+9-Ubuntu-0ubuntu124.04.1)
OpenJDK 64-Bit Server VM (build 21.0.8+9-Ubuntu-0ubuntu124.04.1, mixed mode, sharing)
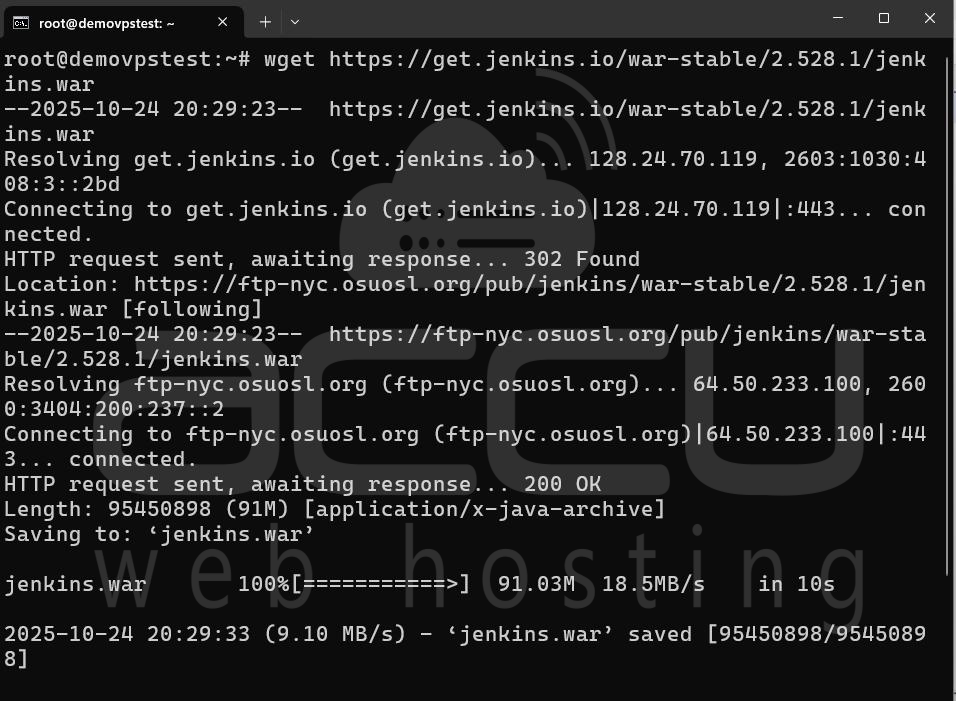
Step 3: Download the Jenkins WAR File from the official website.
Use wget or curl:
Alternatively:
curl -O https://get.jenkins.io/war-stable/2.528.1/jenkins.war
This will download the jenkins.war file into your current directory.
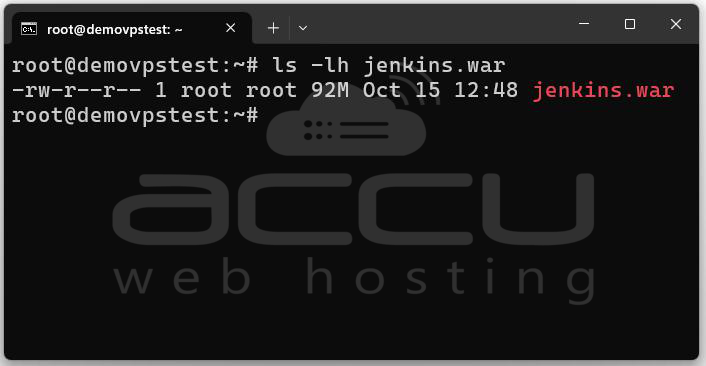
You can confirm the download using:
Step 4: Once downloaded, you can start Jenkins using the following command:
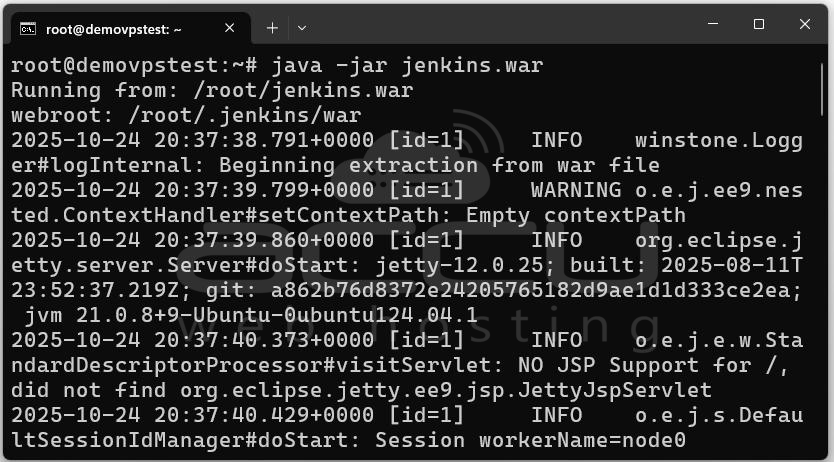
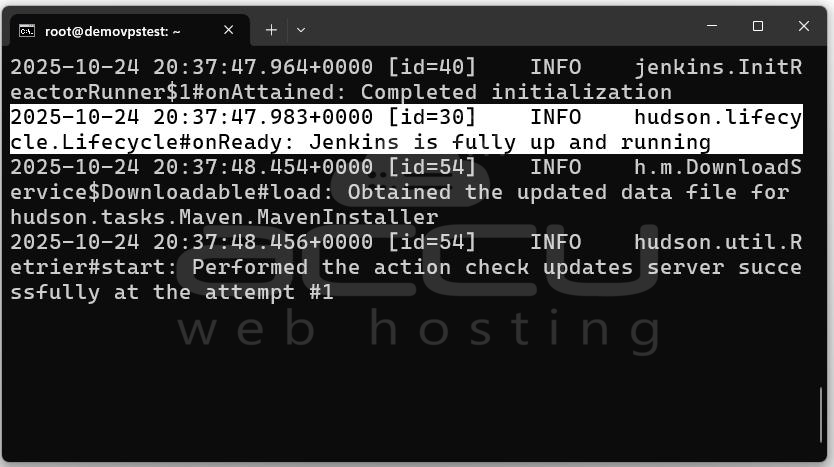
This command will start Jenkins on port 8080 by default. You’ll see output logs like:
Running from: /home/user/jenkins.war
webroot: $user.home/.jenkins
2025-10-25 10:00:00.000+0000 [id=1] INFO ...
Jenkins is fully up and running
By default, Jenkins stores its data in the ~/.jenkins directory.
If you want Jenkins to run on a different port (for example, 9090), use:
java -jar jenkins.war --httpPort=9090
Step 5: Once Jenkins is running, open your web browser and navigate to:
http://localhost:8080
If Jenkins runs on a remote server, use your server’s IP:
http://<your_server_ip>:8080
You’ll see the “Unlock Jenkins” page, indicating Jenkins is ready for setup.
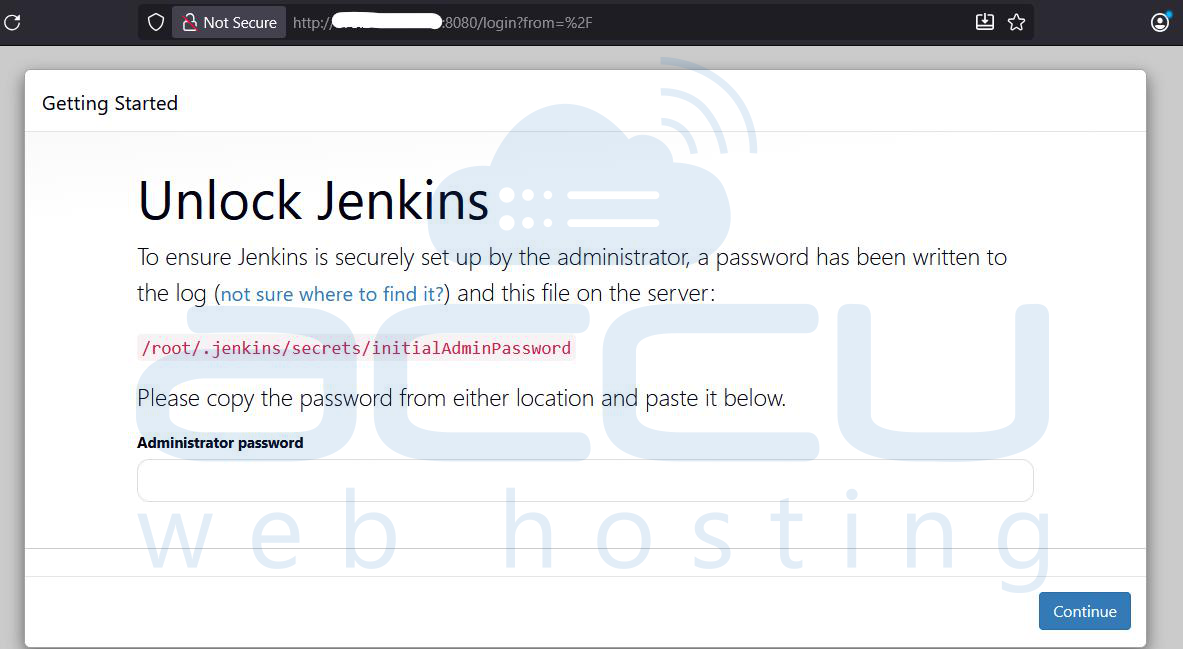
Step 6: During the first startup, Jenkins generates a default admin password. You must use this to unlock the interface.
Find the password using the terminal output or by viewing the file:

You’ll see a long alphanumeric string. Copy it and paste it into the browser’s unlock field.
Then click “Continue”.

Step 7: After unlocking, Jenkins will prompt you to install plugins. You can choose either:
- Install suggested plugins (recommended)
- Select plugins to install manually
Select “Install suggested plugins” for a smooth setup.
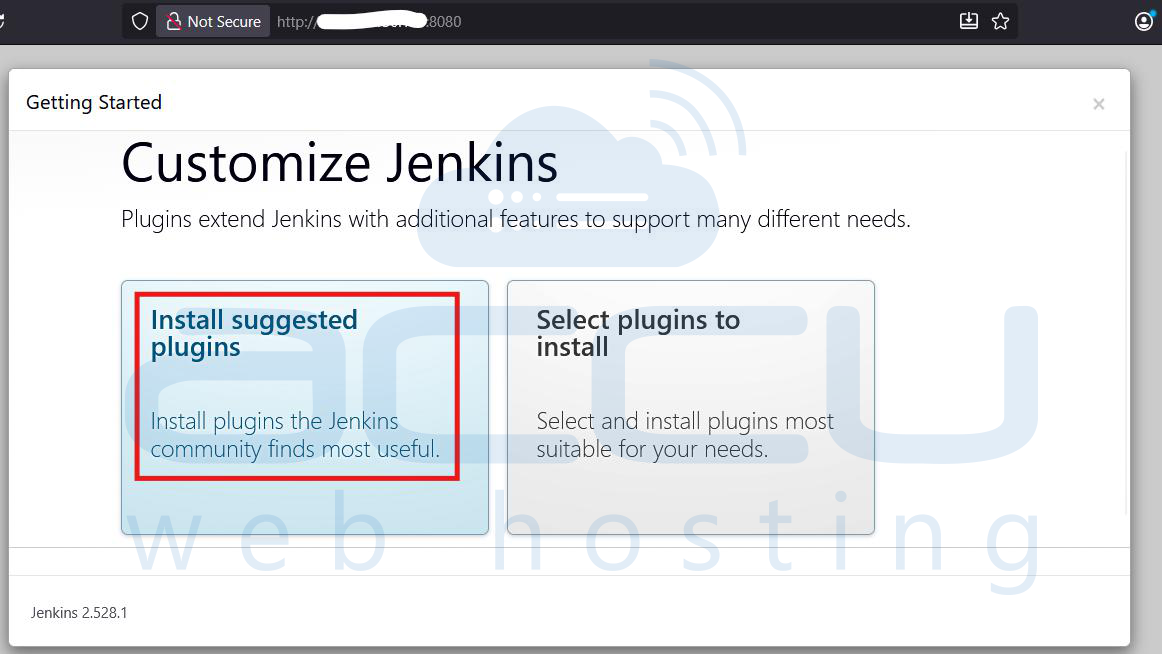
Jenkins will automatically download and install the essential plugins for Git, Maven, Gradle, Pipeline, etc.
This step might take a few minutes, depending on your internet speed.
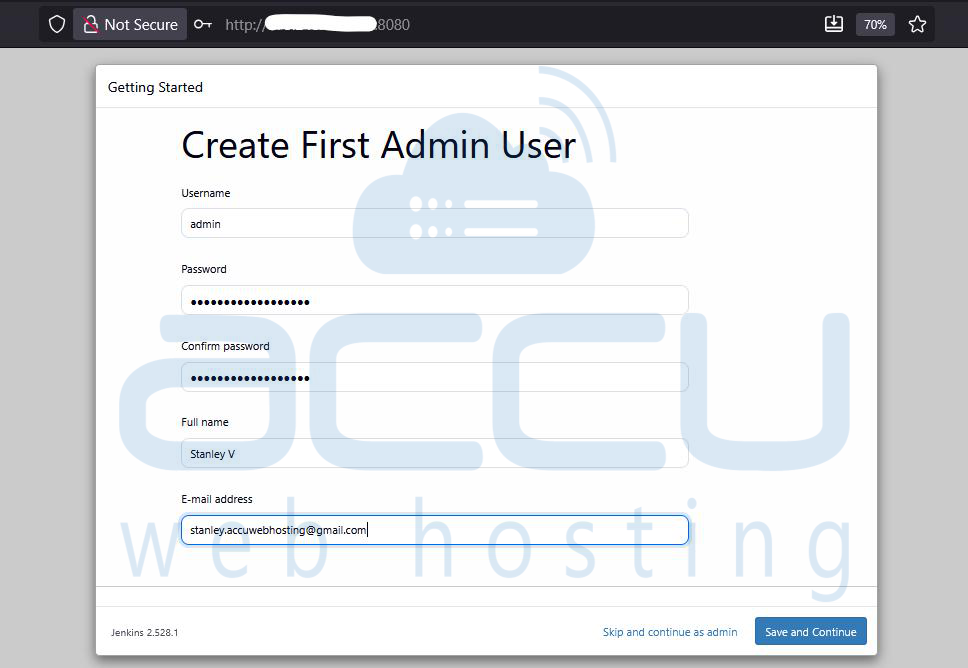
Step 8: Once the plugins are installed, Jenkins will ask you to create your first administrator account.
Fill in the details:
- Username: (e.g., admin)
- Password: (your secure password)
- Full Name: (e.g., Jenkins Admin)
- Email Address: (optional)
Click Save and Continue.
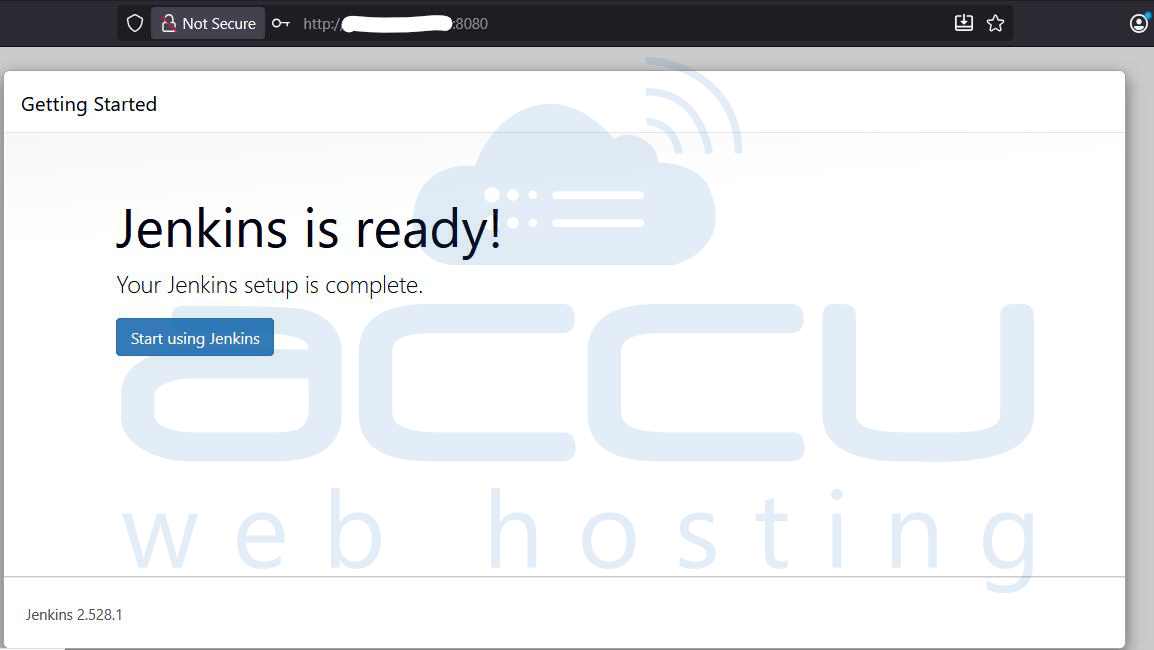
Step 9: Now, Jenkins will display your instance URL, such as:
http://localhost:8080/
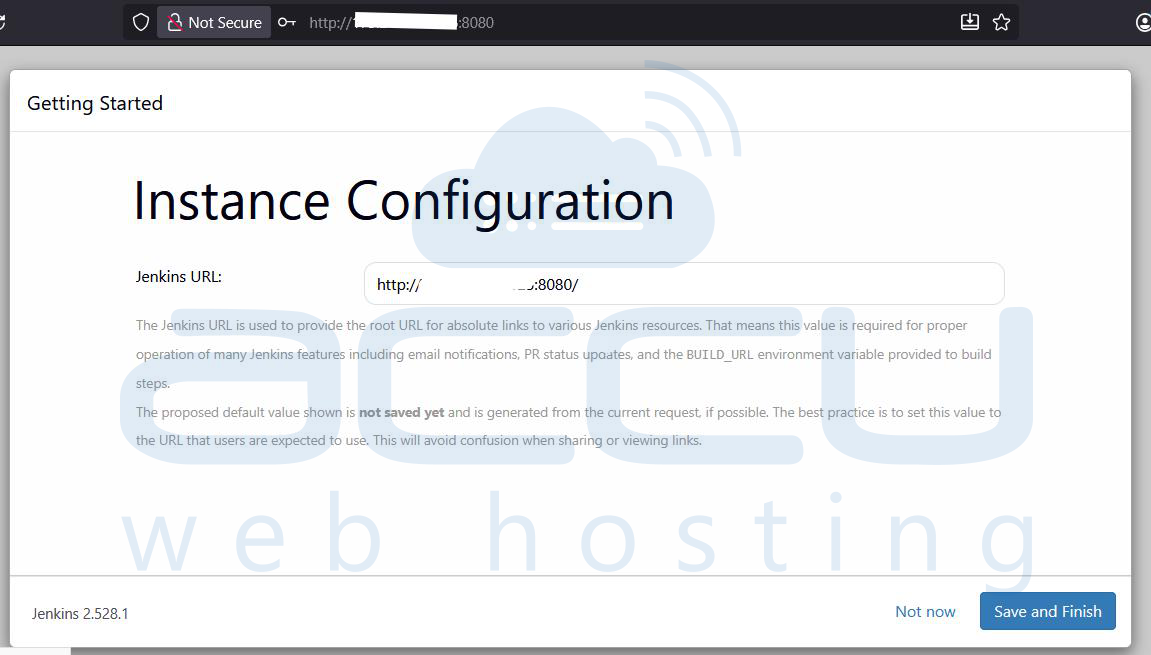
Click “Start using Jenkins”. You’ll be redirected to the Jenkins dashboard.
Verify the Installation
You can check if Jenkins is working properly by:
- Viewing system information:
Manage Jenkins → System Information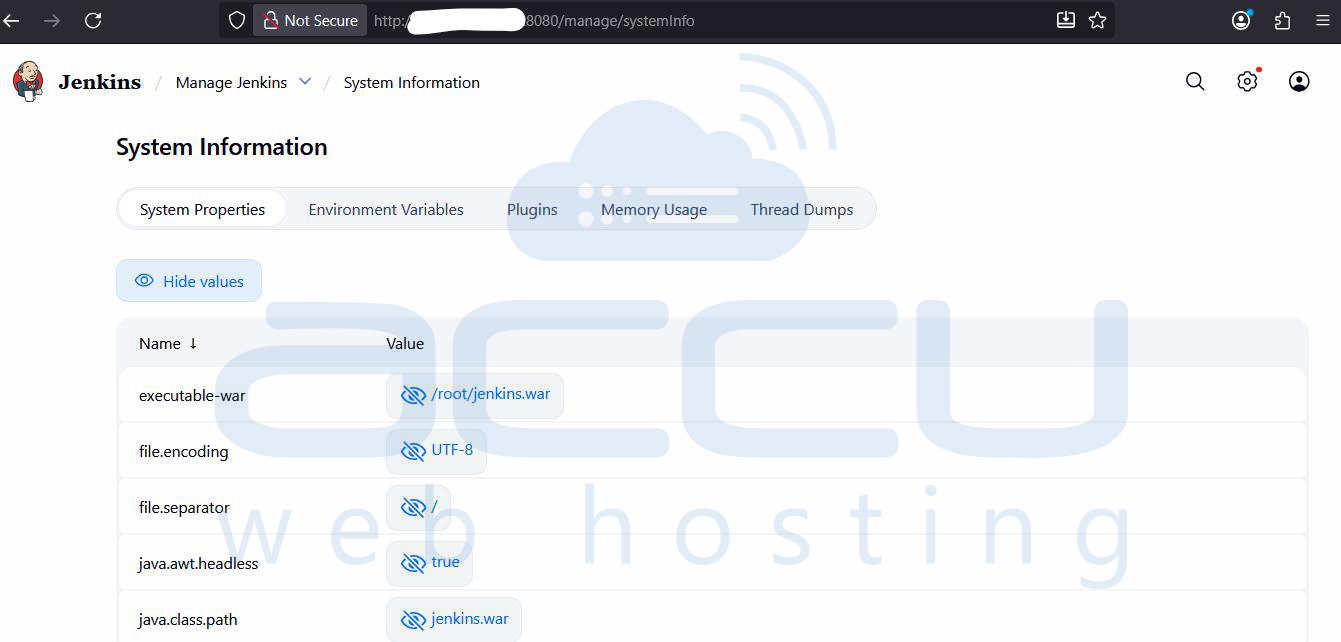
- Checking Jenkins version: Click the icon → About Jenkins

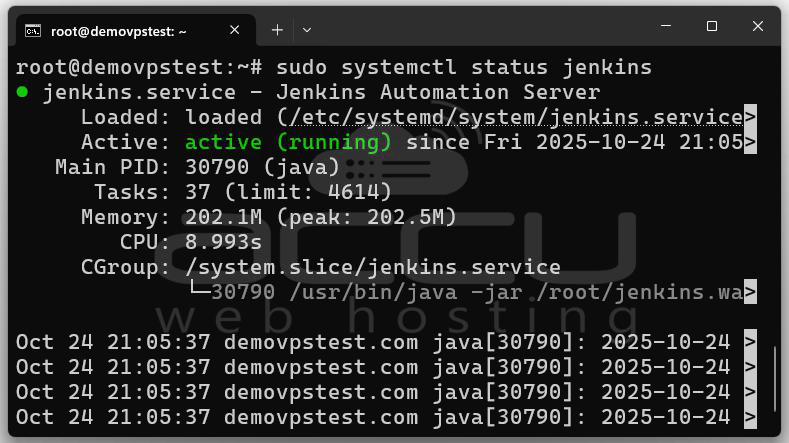
Step 10: If you want Jenkins to run automatically when your system boots, you can set it up as a systemd service.
Create a Service File
sudo nano /etc/systemd/system/jenkins.service
Paste the following configuration:
[Unit]
Description=Jenkins Automation Server
After=network.target
[Service]
User=root
WorkingDirectory=/root
ExecStart=/usr/bin/java -jar /root/jenkins.war --httpPort=8080
Restart=always
[Install]
WantedBy=multi-user.target
Save and exit (CTRL+O, CTRL+X).

Reload systemd and start Jenkins
sudo systemctl daemon-reload
sudo systemctl start jenkins
sudo systemctl enable jenkins
Now Jenkins will start automatically on system reboot.
To check status:
Congratulations! You have Installed Jenkins using a WAR file on the Linux system.
Conclusion
Installing Jenkins using a WAR file is one of the simplest ways to get started with CI/CD automation on Ubuntu. It gives you full control over the environment, without relying on system-level installations. With just Java installed, you can launch Jenkins anywhere, even in a container or remote server.
By following this step-by-step guide, you’ve learned to Install Java and Jenkins on Ubuntu, Run Jenkins using a WAR file, Unlock, configure, and verify Jenkins setup. You can start integrating Jenkins with GitHub, Docker, Maven, or Kubernetes to build robust CI/CD pipelines for your projects.
