Nextcloud is the open-source alternative to services like Google Drive or Dropbox, and setting it up with Snap on Ubuntu is easier than ever. In this guide, we’ll show you how to install Nextcloud using Snap, configure it with your custom domain, and secure it with a Let’s Encrypt SSL certificate.
Why Use Snap for Nextcloud?
The Snap version of Nextcloud includes Apache web server, PHP, MariaDB (MySQL-compatible database), Automatic updates, and Built-in SSL support. No need to configure a full LAMP stack manually, Snap handles everything for you.
Prerequisites
Before we begin, make sure you have:
- A server running Ubuntu 20.04+ (tested with 20.04, 22.04, 24.04)
- A domain name (e.g. NextCloud.example.com) with a DNS A record pointing your domain to your server’s public IP
Steps to install NextCloud on an Ubuntu server
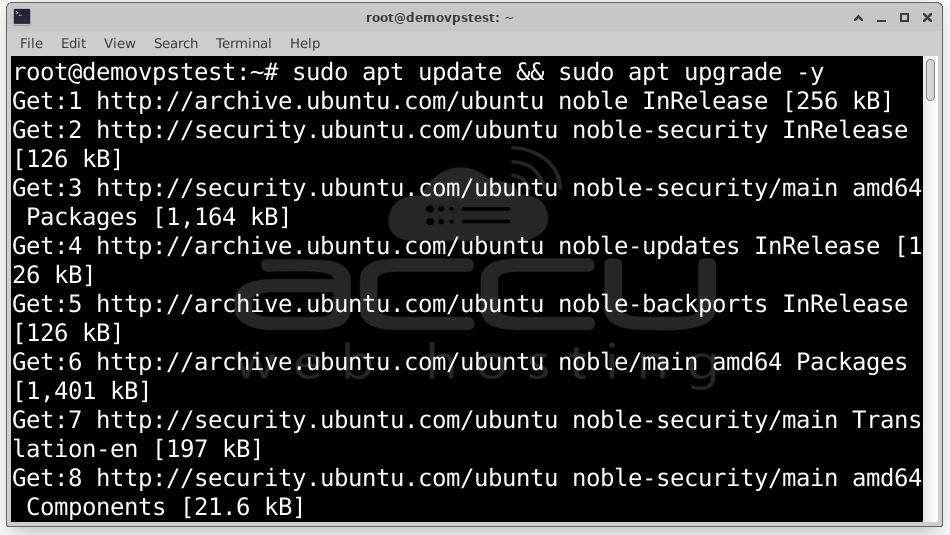
Step 1: First, SSH into your server and make sure it's up to date:
# sudo apt update && sudo apt upgrade -y
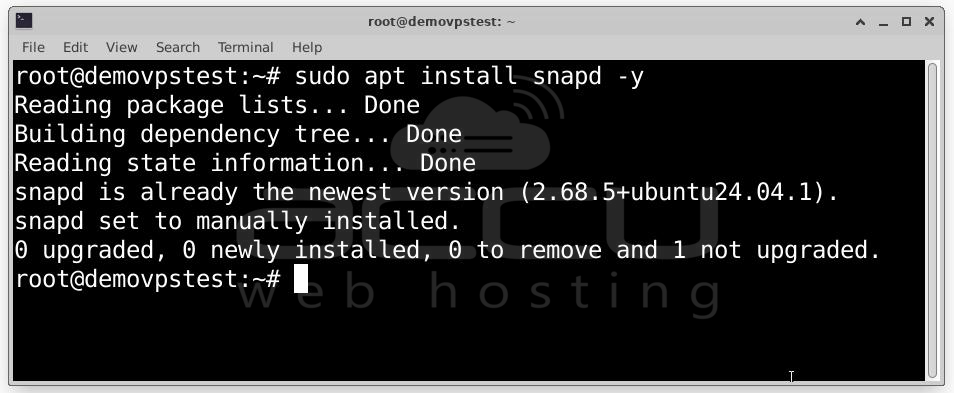
Step 2: Install Snap and Nextcloud. If Snap isn’t already installed:
# sudo apt install snapd -y
Then, install Nextcloud using Snap:
# sudo snap install nextcloud
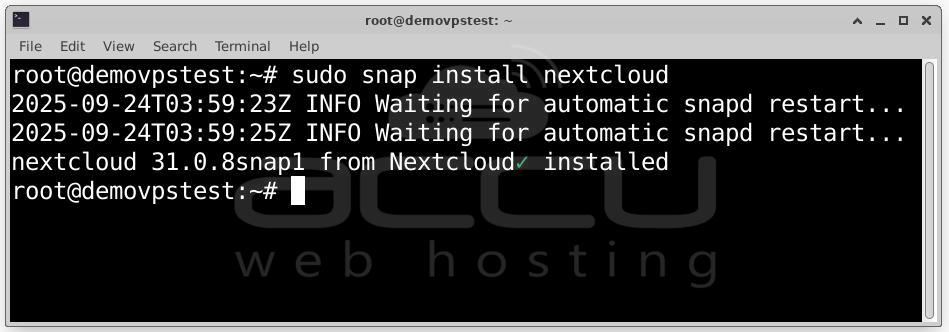
This will automatically install and configure Nextcloud, Apache, PHP, and MariaDB. Once installed, the services will be running, and Nextcloud will be accessible via your server’s IP.
Step 3:Before proceeding, ensure your domain is properly set up. Log in to your domain registrar and create an A Record pointing to your server’s IP. For example, if your domain is example.com, you’d use nextcloud.example.com. You can use a subdomain like cloud.example.com or files.example.com as well.
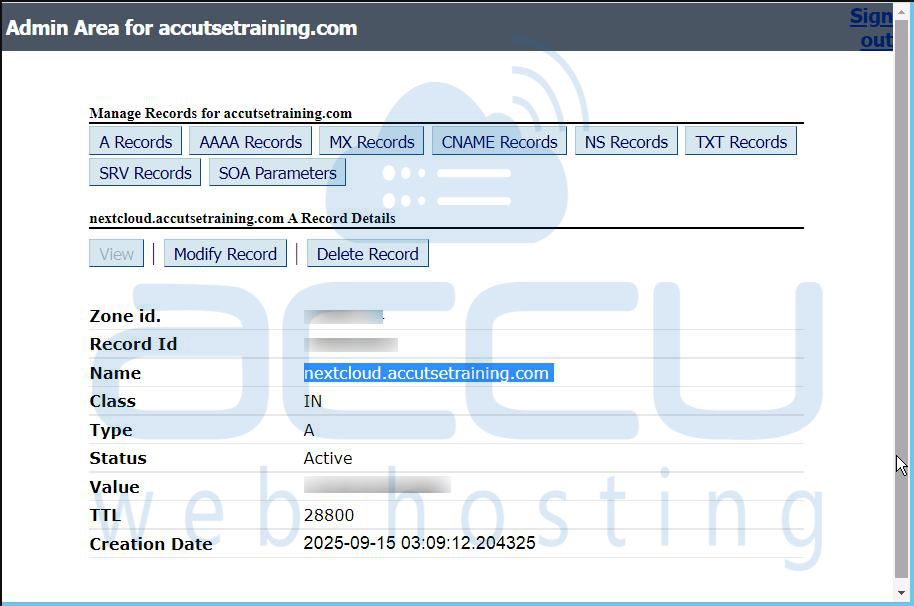
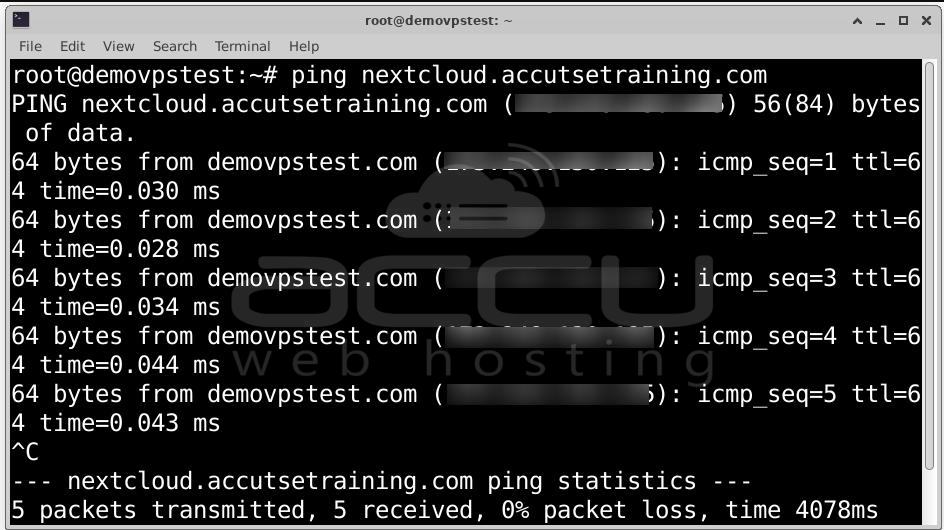
Once DNS is set, wait a few minutes or use this command to verify:
# ping nextcloud.example.com
Step 4: Now that your domain is pointing to the server, you can enable HTTPS:
# sudo nextcloud.enable-https lets-encrypt
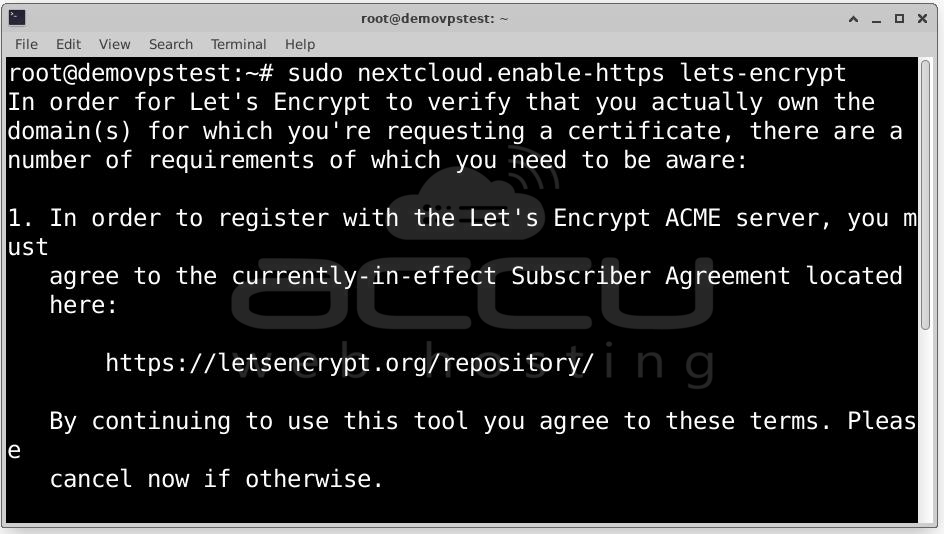
You’ll be prompted to:
- Enter your email address (for SSL expiry reminders)
- Enter your domain name (e.g., nextcloud.example.com)
- Confirm terms and conditions.

Snap will request an SSL certificate from Let’s Encrypt and automatically configure it with Apache.
Once done, you can access your Nextcloud instance at:
https://nextcloud.example.com
Ensure ports 80 and 443 are open in your firewall (use ufw allow 80,443/tcp if needed).
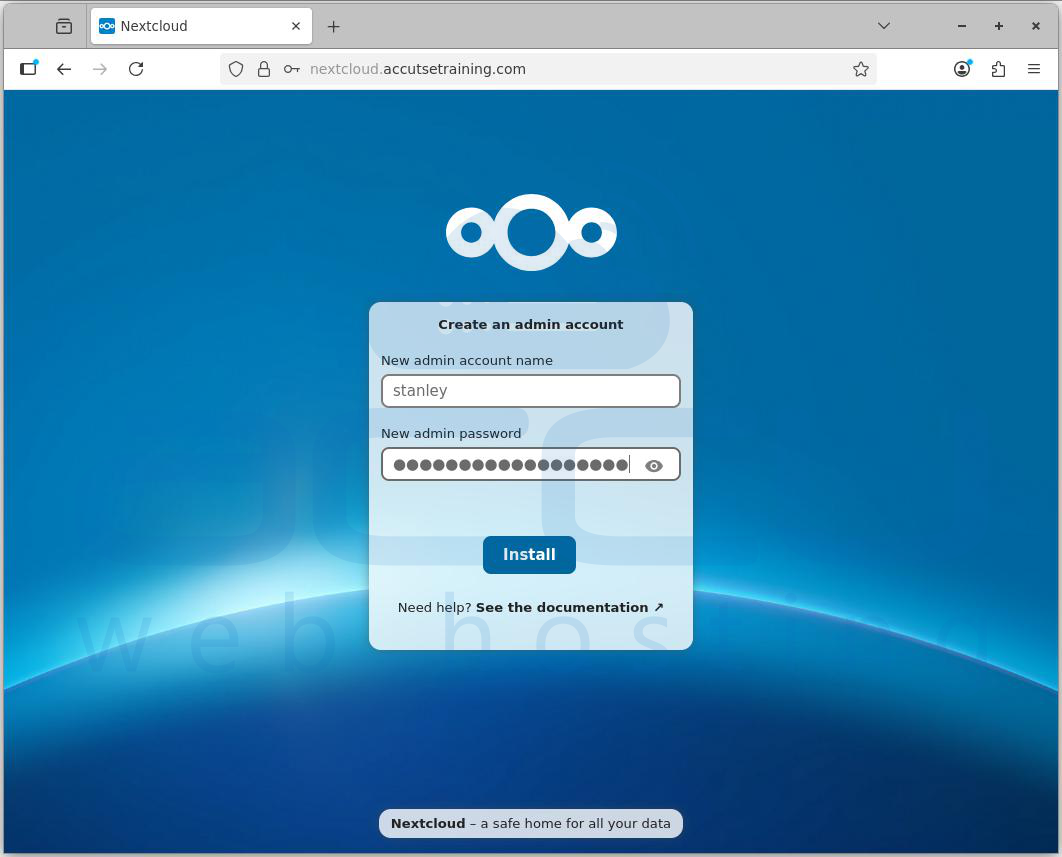
Step 5: Complete web-based setup by visiting your domain in a browser:
https://nextcloud.example.com
Step 6: Create an admin account by filling in the admin username, choosing a strong admin password, and clicking on Install.
Step 7: After the admin account is created, Nextcloud offers to install recommended apps:
- Calendar – for managing events
- Contacts – to store and sync contacts
- Mail – integrated email app
- Nextcloud Office – for documents, spreadsheets, and presentations
- Notes – distraction-free note-taking
- Talk – chat, video calls, screen sharing, and conferencing
You can click Install recommended apps (recommended) or click Skip if you prefer a minimal setup.

After app installation, you’re directed to the Nextcloud Dashboard, where you can access recommended files, view talk mentions, set up Important mail, and check for upcoming events.
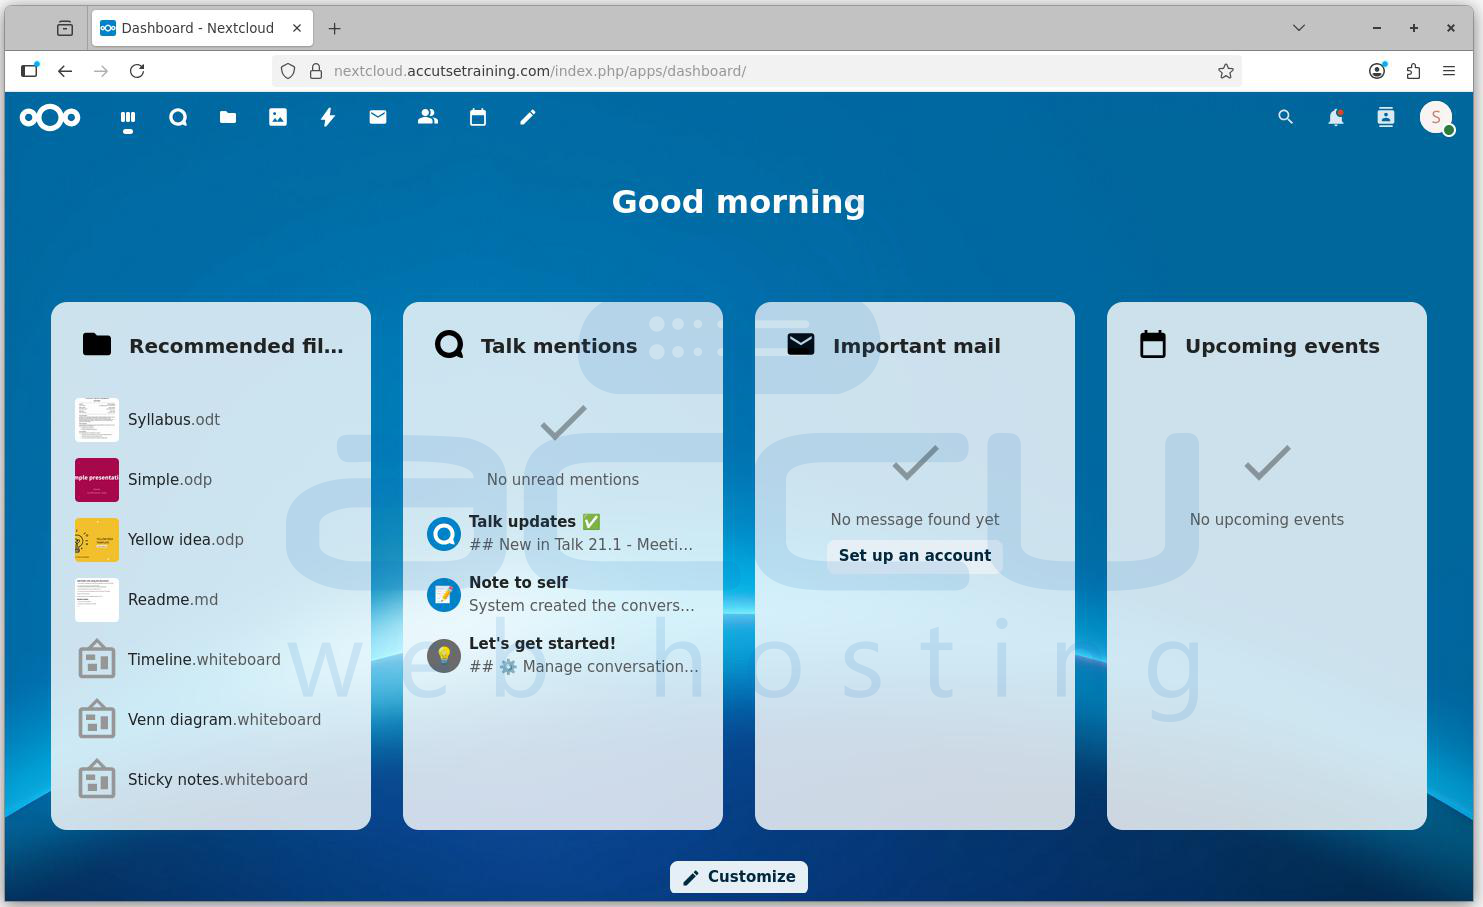
This is your main control panel for accessing documents, communication tools, and collaboration apps. Nextcloud is now installed and ready to use via the browser.
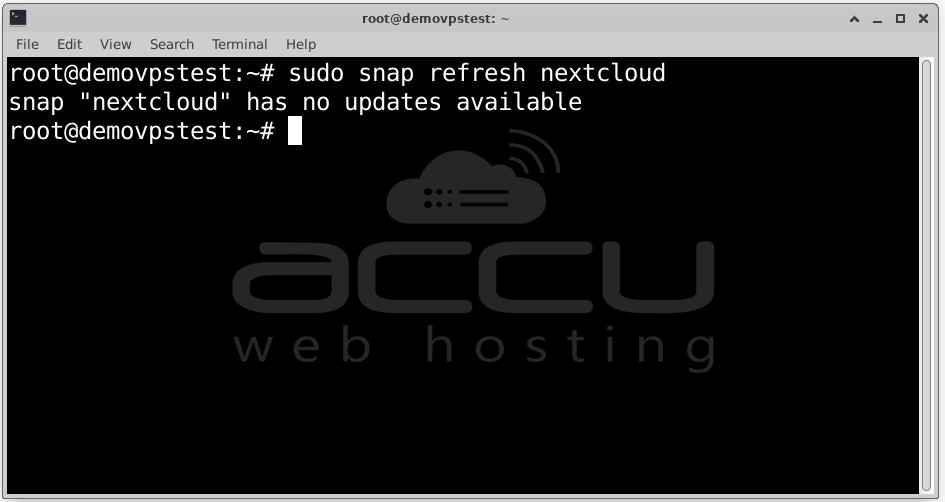
Step 8: Keep Nextcloud Updated. Snap automatically checks for updates, but you can manually update at any time:
# sudo snap refresh nextcloud
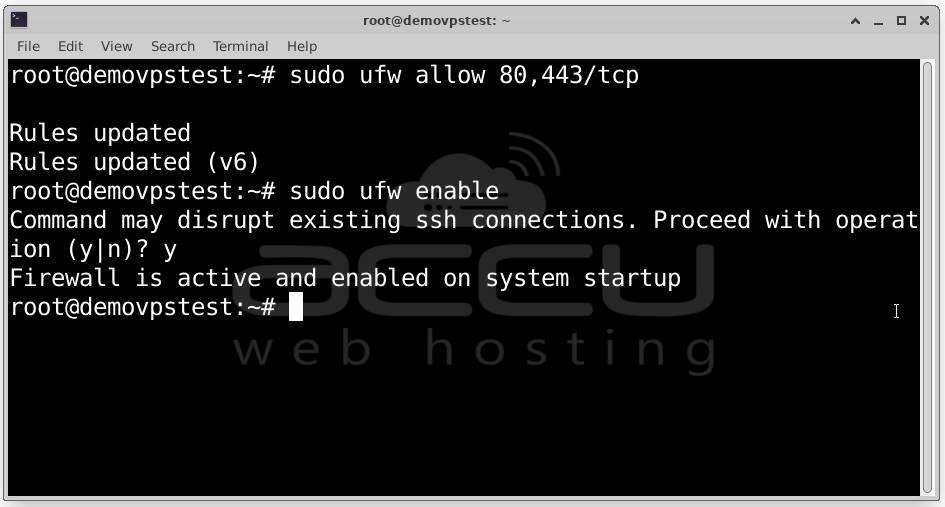
Step 9: If using UFW, enable web traffic:
# sudo ufw allow 80,443/tcp
# sudo ufw enable
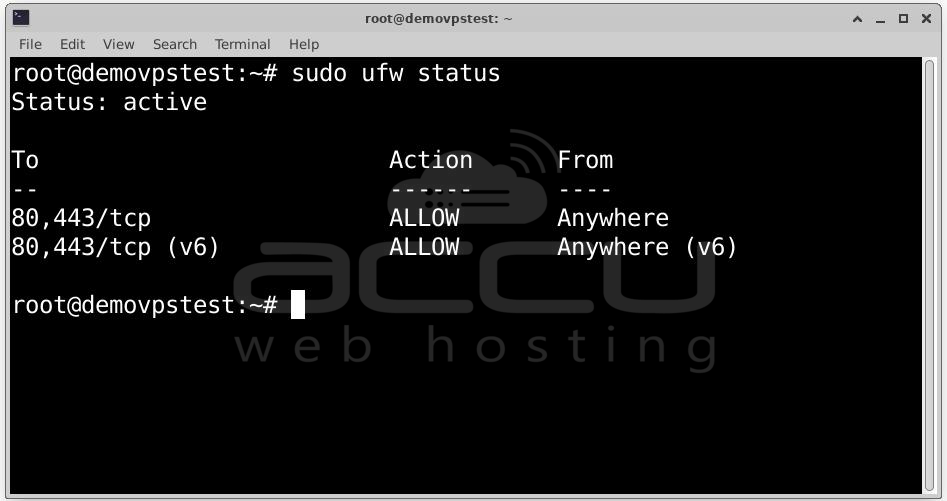
To check status:
# sudo ufw status
Conclusion
Congratulations! You’ve now got Nextcloud running on Ubuntu with a custom domain and free SSL. With regular updates handled by Snap and security by Let’s Encrypt, you’ve set up a reliable and modern cloud platform.
