Jenkins is one of the most widely used open-source tools for automating software development processes, from building and testing to deploying applications. Traditionally, Jenkins runs on a dedicated server or virtual machine, but with the rise of containerization, many teams now prefer running Jenkins inside Docker containers. This approach makes managing, scaling, and replicating your Jenkins setup easier across different environments.
In this guide, we’ll walk you through the steps to install Jenkins on a Linux machine using Docker.
Why Use Docker for Jenkins?
Running Jenkins on Docker has several advantages:
- Isolation: Your Jenkins environment is completely separated from your host system.
- Portability: You can easily move Jenkins across different systems or cloud environments.
- Scalability: Containers make it simpler to replicate or scale your Jenkins setup.
- Ease of setup: You can get Jenkins up and running quickly without worrying about dependencies.
Prerequisites
Before starting, make sure you have the following in place:
- A Linux system (Ubuntu, CentOS, Debian, etc.)
- Docker is installed on your system (Install Docker if not already set up - You can follow this article for it: https://www.accuwebhosting.com/blog/how-to-install-docker-on-ubuntu-20-04-22-04/ )
- An active internet connection
Step 1: Pull the Jenkins Image
The first step is to download the Jenkins Docker image from Docker Hub.
# docker pull jenkins/jenkins
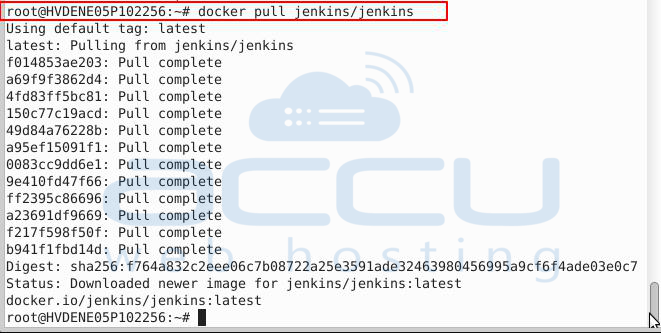
This command pulls the latest Jenkins LTS (Long-Term Support) image, which is recommended for production use.
Step 2: Start the Jenkins Container
Once the image is available, run a Jenkins container:
# docker run -p 8080:8080 -p 50000:50000 -v
/your/home:/var/jenkins_home jenkins/jenkins
Here’s what each option does:
- -p 8080:8080 → Maps port 8080 on your host to port 8080 inside the container (used for the Jenkins dashboard).
- -p 50000:50000 → Maps port 50000 for Jenkins agents (used when connecting build agents).
- -v /your/home:/var/jenkins_home → Mounts a host directory to persist Jenkins data, so you don’t lose configurations or jobs when the container restarts.
Note: Replace /your/home with the actual directory path on your Linux system, such as/opt/jenkins_home.
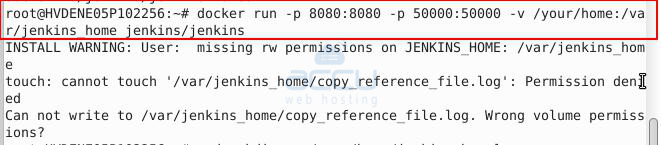
If you get a permission issue, then use Docker volumes (recommended)
Instead of binding a host directory, let Docker manage the volume:
# docker volume create jenkins_data

# docker run -p 8080:8080 -p 50000:50000 \-v
jenkins_data:/var/jenkins_home \jenkins/jenkins
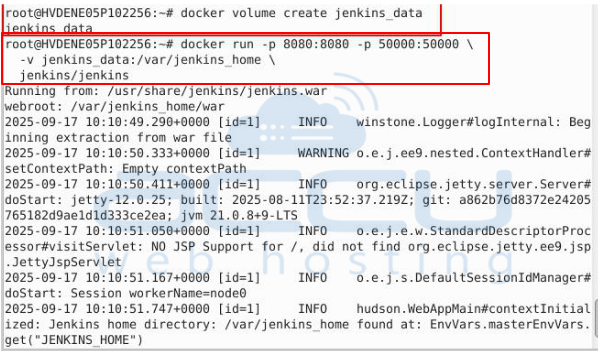
This avoids permission issues because Docker ensures proper ownership.
Step 3: Access the Jenkins Dashboard
Once Jenkins is running, open your web browser and go to: http://localhost:8080
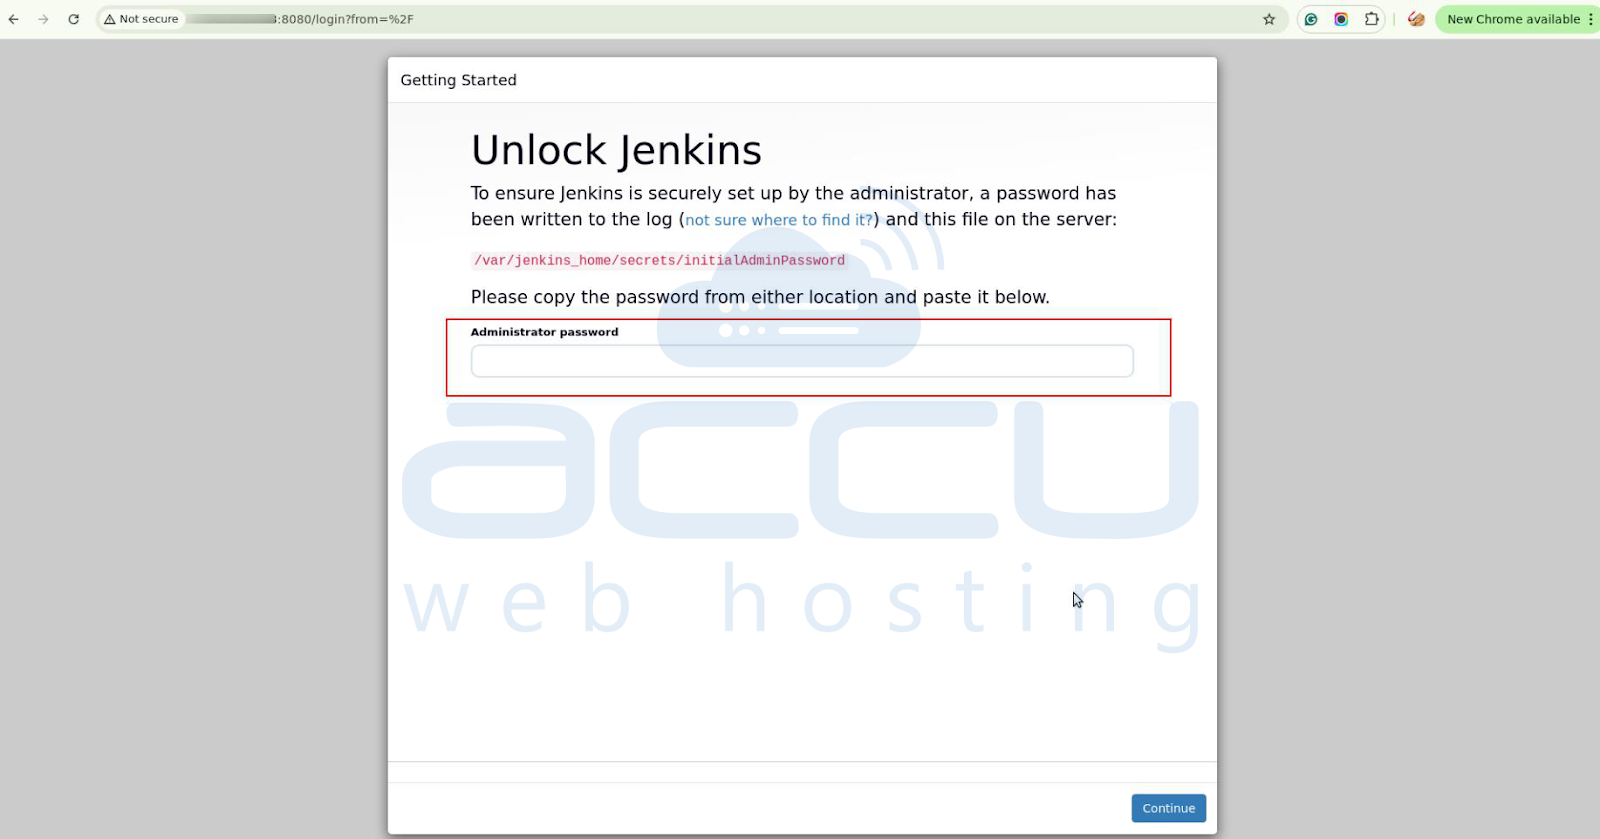
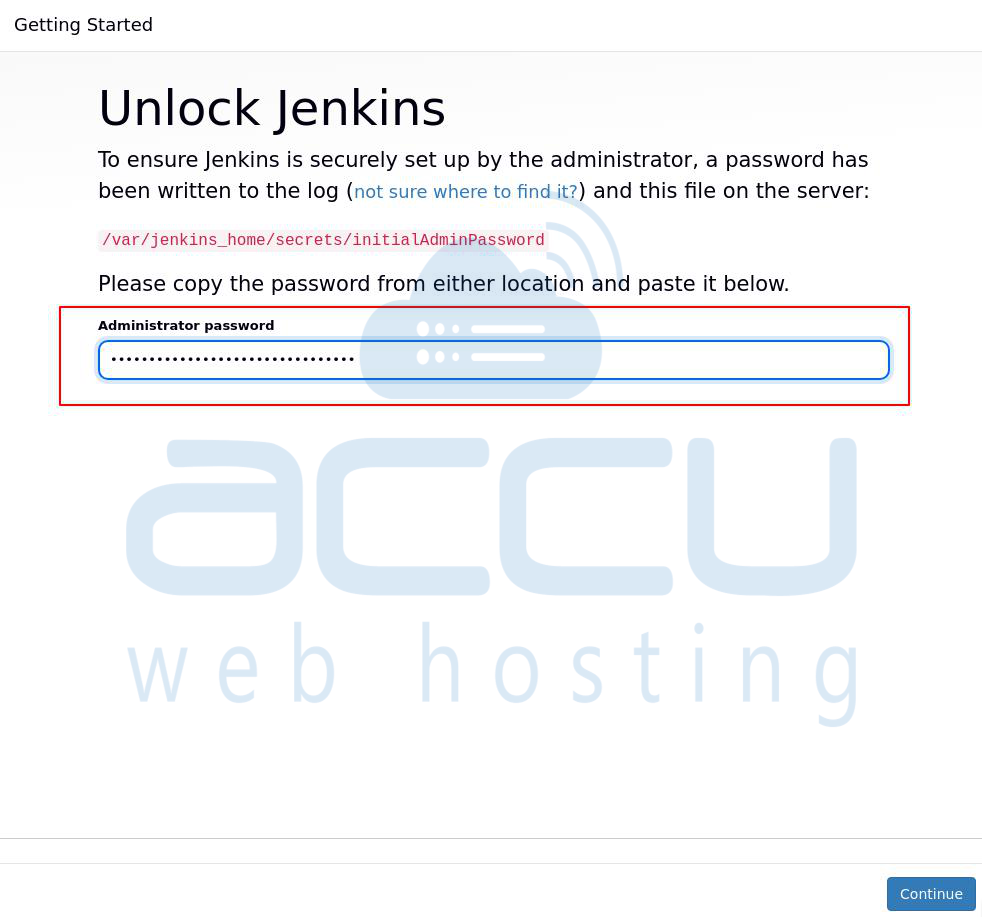
You’ll be greeted with the Jenkins setup wizard asking for an initial admin password.
To find the password, check the container logs:
# docker ps   // get your Jenkins container ID
# docker logs <container_id>
In the logs, look for a line like:
Jenkins' initial setup is required. An admin user has been created and a password generated. Please use the following password to proceed with the installation:<password>
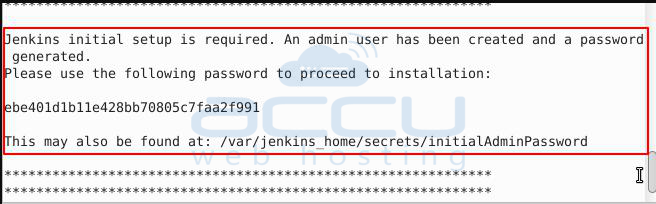
Copy the password and paste it into the setup wizard in your browser.
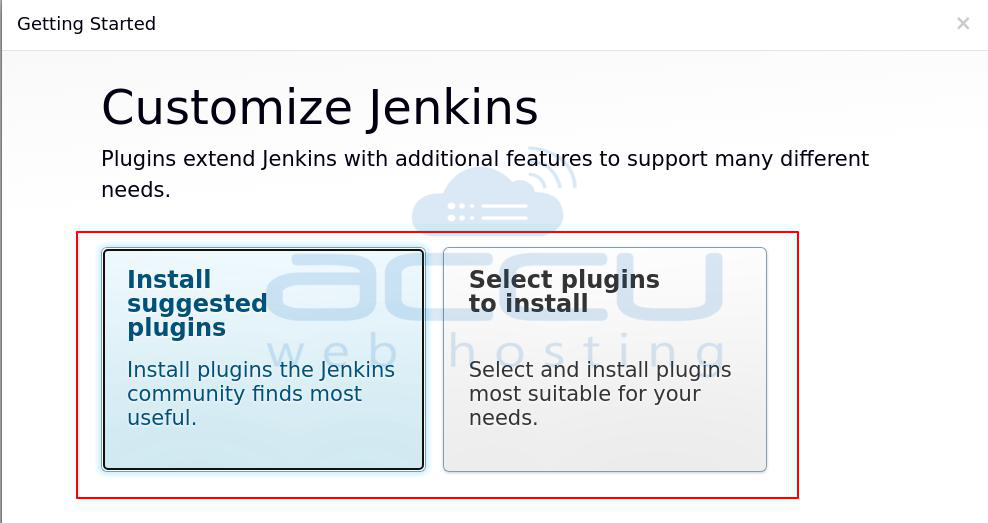
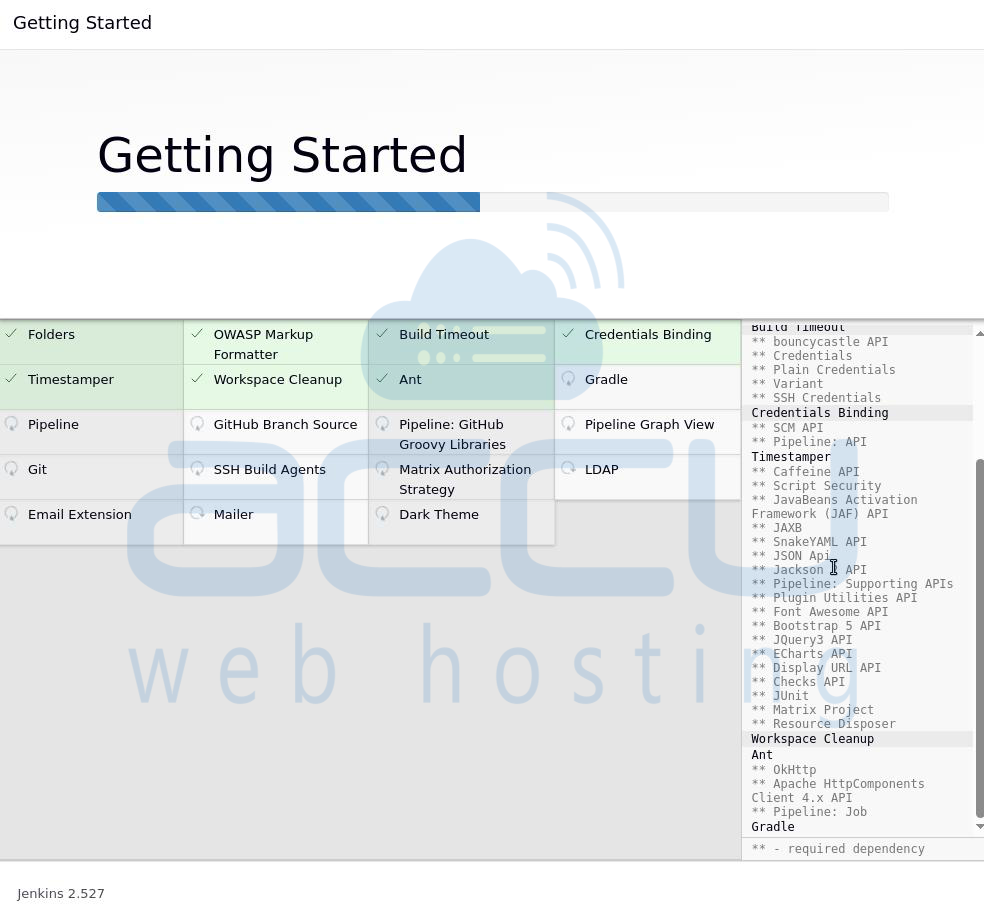
Step 4: Install Suggested Plugins
After entering the password, Jenkins will ask you to install plugins. You can choose either:
- Install suggested plugins (recommended for beginners), or
- Select specific plugins (if you know what integrations you need)
Common plugins include Git, GitHub, Docker, Maven, Pipeline, and Slack integrations.
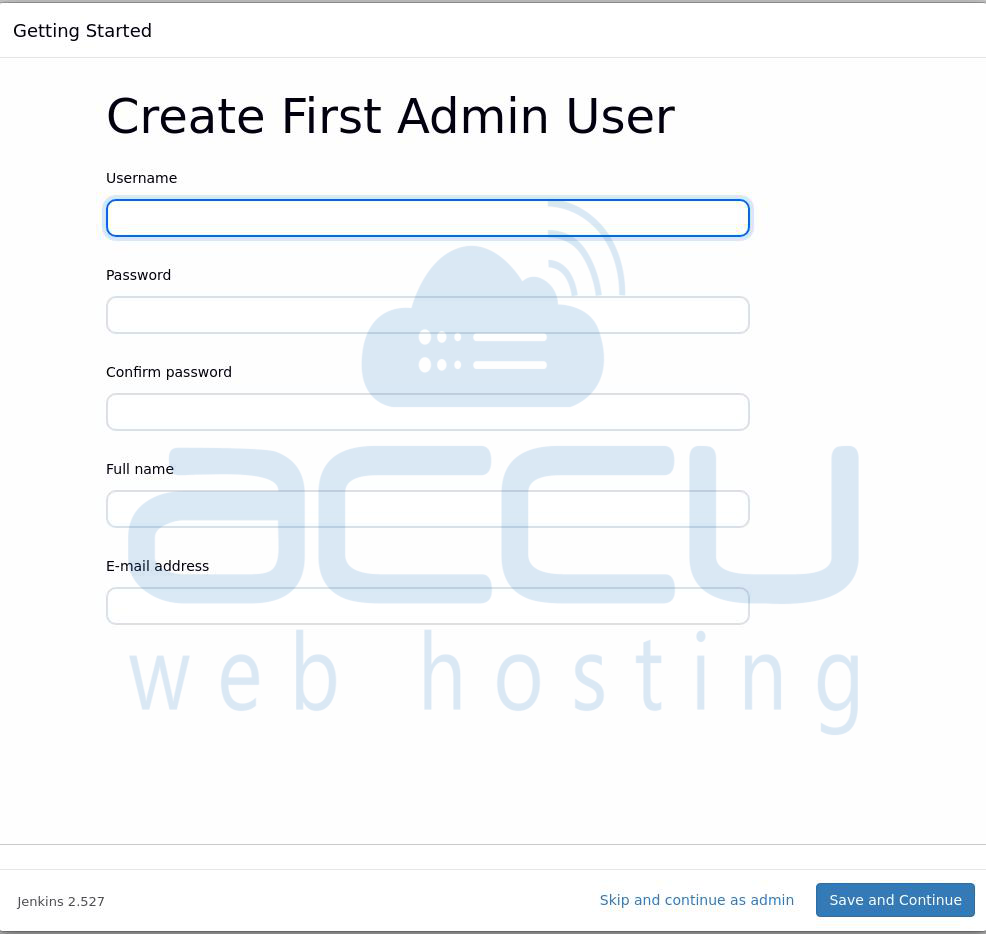
Step 5: Create Your First Admin User
Jenkins will then ask you to set up an admin user (username, password, email). This user will be used for day-to-day access.
Step 6: Start Using Jenkins
Once the setup completes:
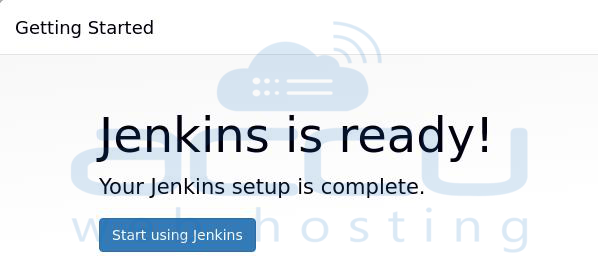
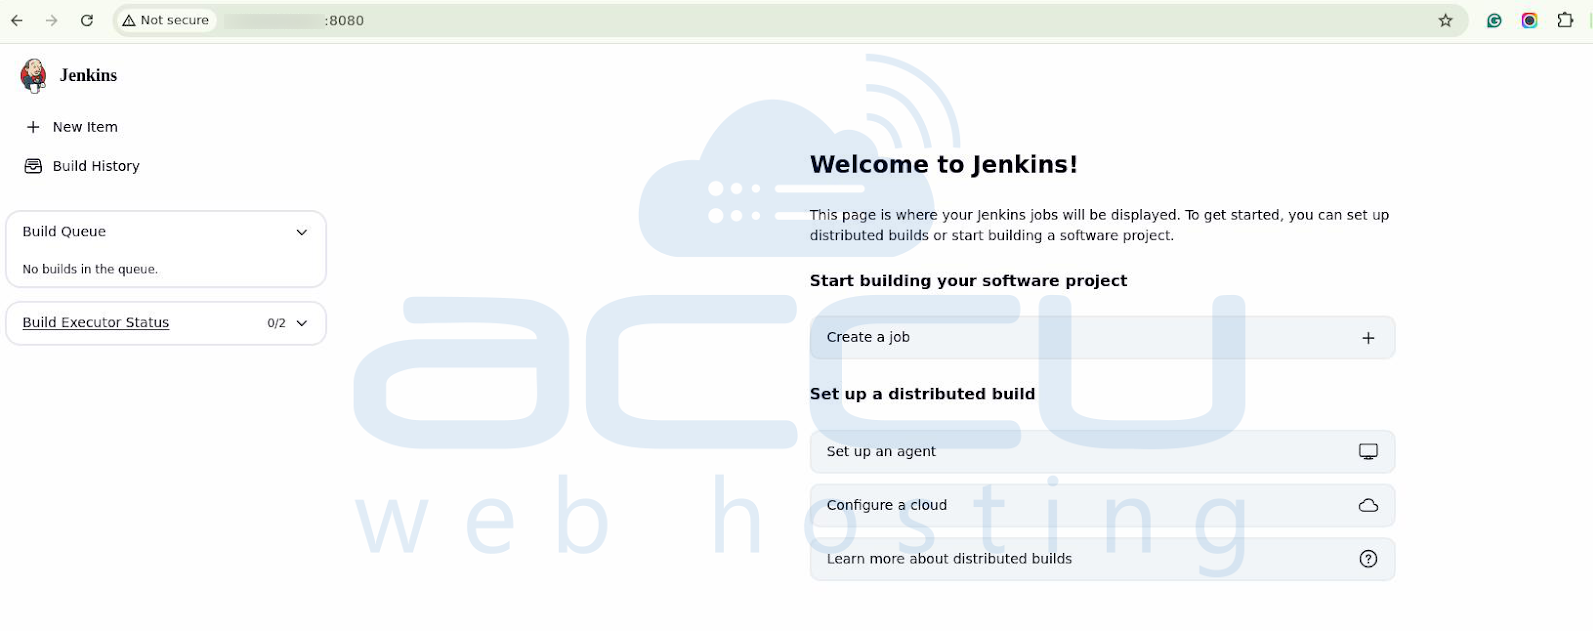
You’ll be redirected to the Jenkins dashboard, where you can:
- Create new jobs
- Set up pipelines
- Manage plugins
- Connect Jenkins agents
- Configure build and deployment environments
Conclusion
Installing Jenkins with Docker on Linux is a quick and efficient way to get started with CI/CD automation. With Docker, you can easily manage your Jenkins environment, ensure portability, and scale as needed.
By following the steps outlined in this guide:
- Pull the Jenkins image
- Run the Jenkins container
- Access the dashboard and unlock Jenkins
- Install plugins and create an admin user
You’ll have a fully functional Jenkins instance ready to automate your software development lifecycle.
