Umami is a simple, open-source tool that helps you see how people use your website. It gives you the key stats you need without extra clutter or tracking too much data. The best part is that it protects privacy and can be run on your own server, so you fully control your data. In this article, we’ll walk you through the steps to installing Umami on an Ubuntu server.
Steps to install Umami Analytics on Ubuntu OS
Step 1: Installing Node.js on Ubuntu 22.04
Umami is built with Node.js, which is a popular JavaScript runtime environment commonly used for building scalable web applications. To run Umami smoothly, we’ll need to install Node.js version 20.x, along with some essential packages.
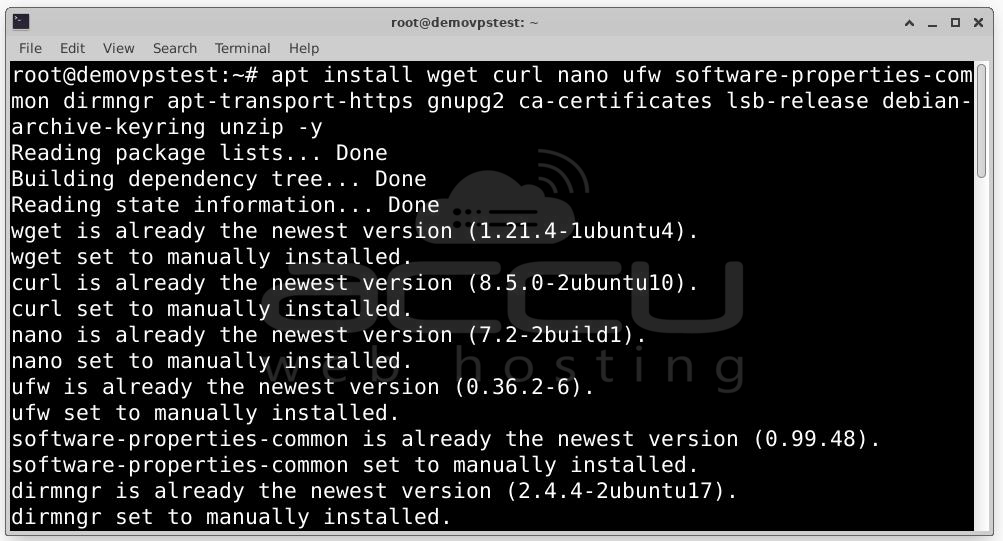
Install System Dependencies: Start by installing some core utilities and dependencies. Access your server and run the following command:
Add the Node.js GPG Key and Repository: Next, add the GPG key for the official NodeSource repository, which allows us to install Node.js 20.x securely:
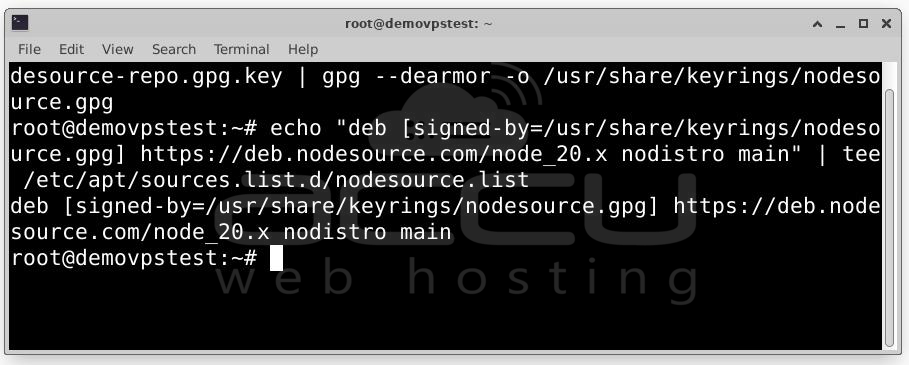
curl -fsSL https://deb.nodesource.com/gpgkey/nodesource-repo.gpg.key | sudo gpg --dearmor -o /usr/share/keyrings/nodesource.gpg
Now we’ll add the Node.js repository to your system’s APT sources:
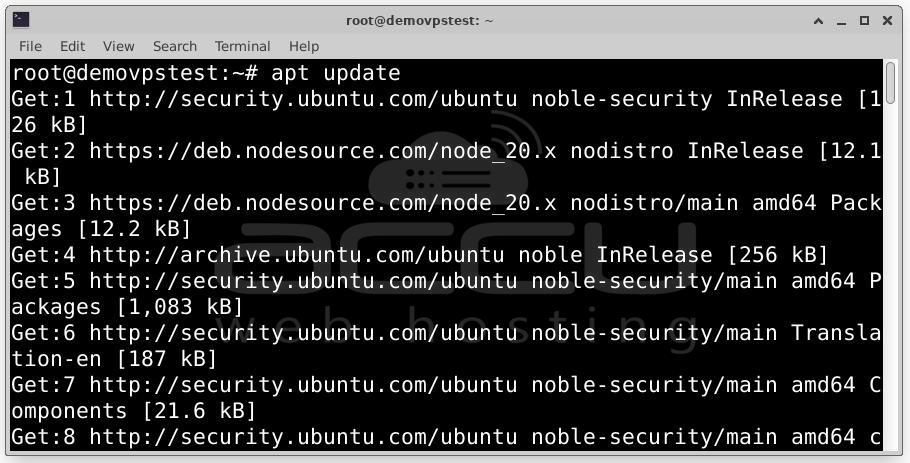
Then, update your package list to include the new repository:
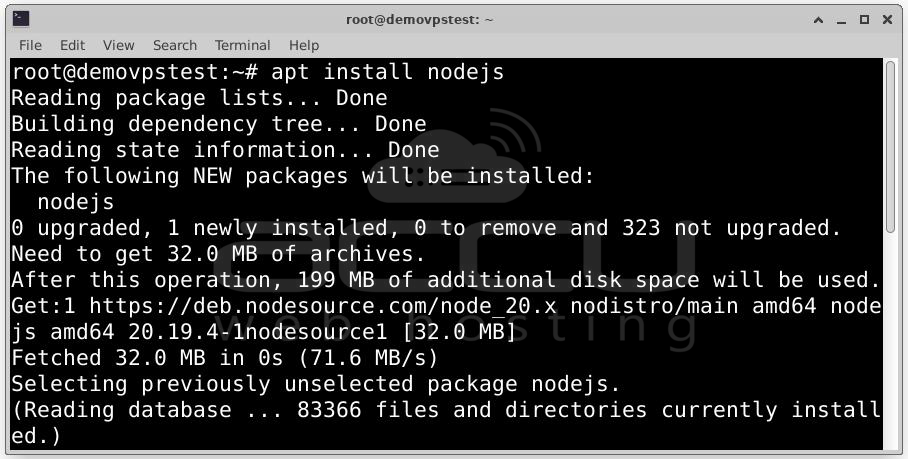
Install Node.js: With the repository added, we can now install Node.js:
Once the installation is complete, confirm the installed version:
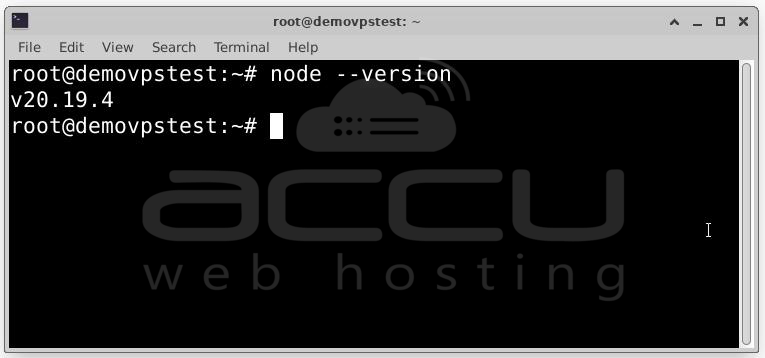
Expected output: v20.11.0
This confirms that Node.js has been installed successfully and you're ready to proceed to the next step.
Step 2: Installing MariaDB Server on Ubuntu OS
To track and store data efficiently, Umami uses a relational database. While it supports PostgreSQL and other options, in this guide, we’ll use MariaDB, that is well-supported and commonly used in production environments.
Installing MariaDB: First, install the MariaDB server using Ubuntu’s package manager:
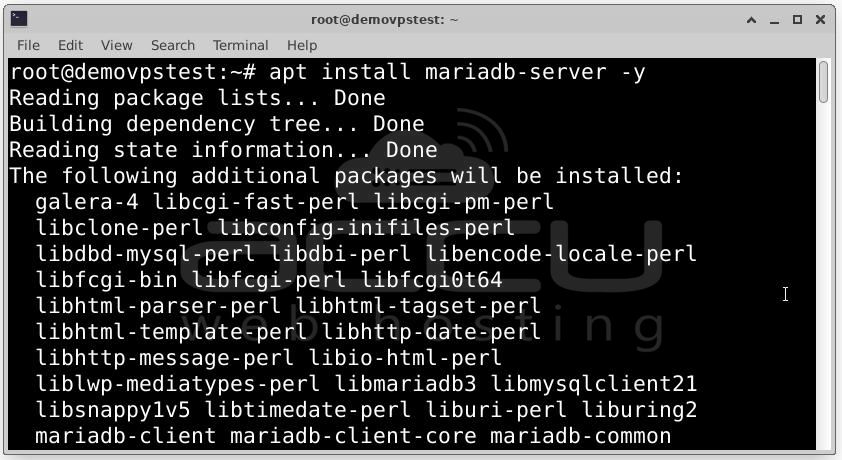
This command installs the latest version of MariaDB available in the official Ubuntu repositories, along with all necessary dependencies.
Creating a Database and User for Umami: Now let’s create a dedicated database and user that Umami will use to store analytics data. This keeps your environment secure and modular, ensuring Umami doesn’t have unnecessary access to other databases.
Start by logging into the MariaDB shell: mysql
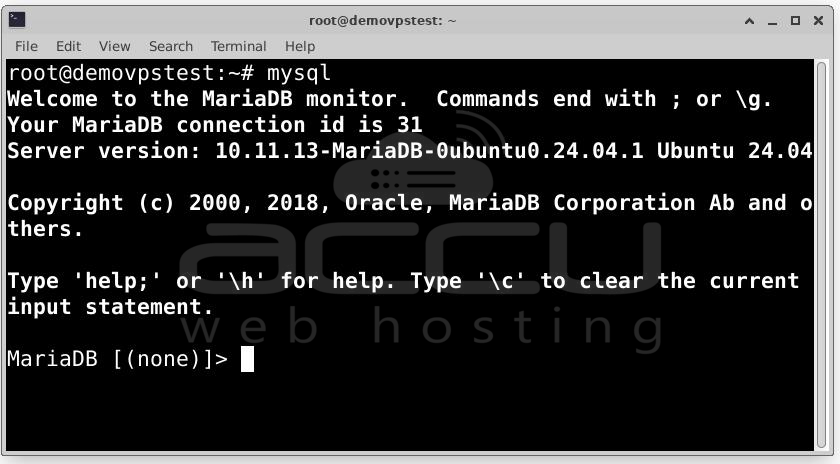
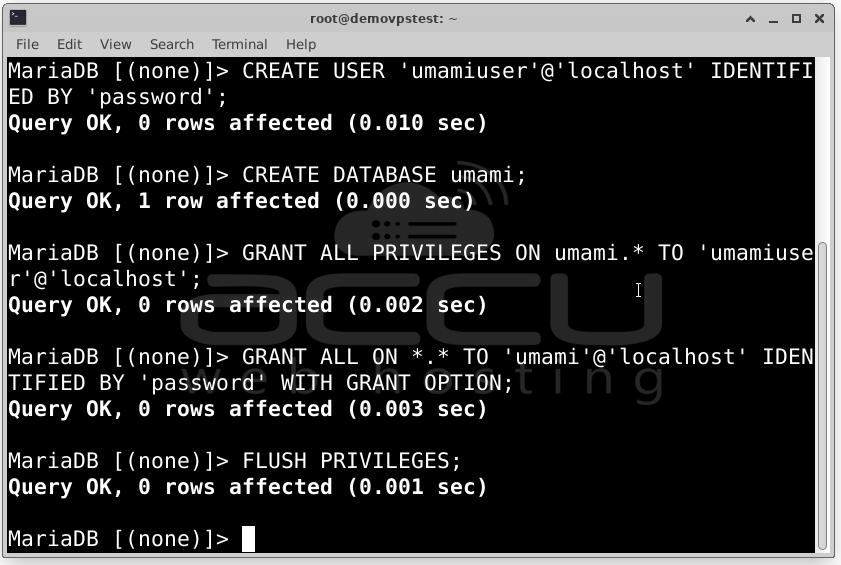
Run the following SQL statements one by one:
CREATE DATABASE umami;
CREATE USER 'umamiuser'@'localhost' IDENTIFIED BY 'password';
GRANT ALL PRIVILEGES ON umami.* TO 'umamiuser'@'localhost';
FLUSH PRIVILEGES;
Step 3: Downloading and Configuring Umami
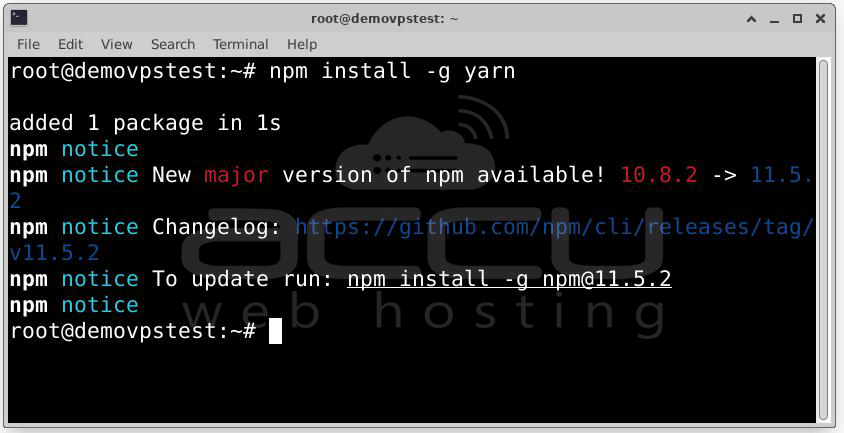
Install Yarn (Package Manager): Before downloading Umami, install Yarn, which is an alternative package manager to npm. It’s often faster and more reliable for handling project dependencies in Node.js environments.
To install Yarn globally:
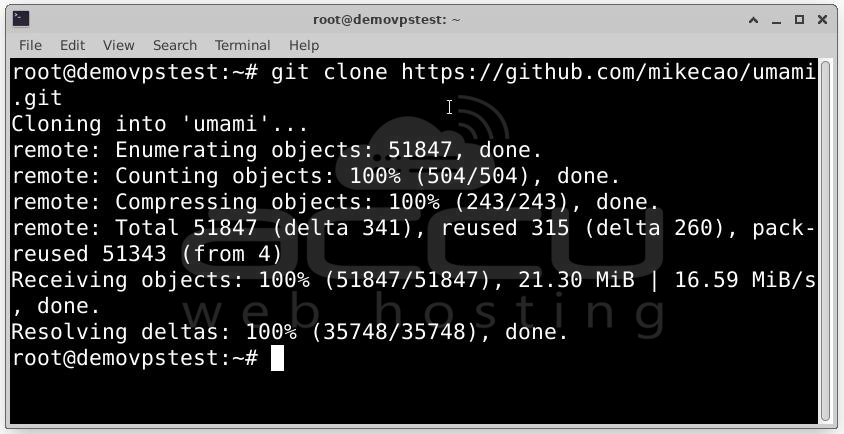
Clone the Umami GitHub Repository: Umami is hosted on GitHub and actively maintained by its open-source community. You can download the latest version by cloning the official repository.
git clone https://github.com/mikecao/umami.git
Move into the newly downloaded folder:
cd umami
This is where all of Umami’s source code and configuration files live.
Install Project Dependencies: Inside the umami directory, run the following to install all required Node.js dependencies:
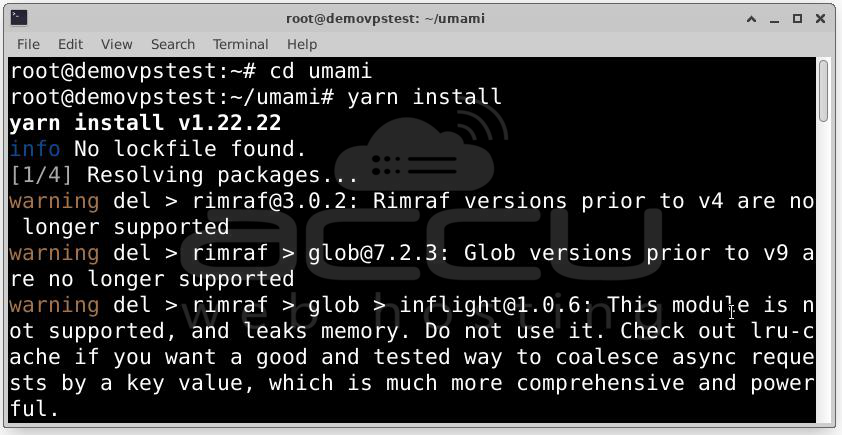
This may take a minute or two, depending on your server’s performance.
If all goes well, you’ll see Yarn downloading packages and eventually completing with:
Done in 30.45s.
Generate a Secret Key: Umami uses a secret key to encrypt session tokens and other sensitive data. You’ll need to generate a strong, random string for this.
Use the following openssl command:

Example output: WPKWGO1bEYMCBmgOl2Ch6AvO+sBs9j6h4BZC/Dw5
Copy this value. You'll need it in the next step.
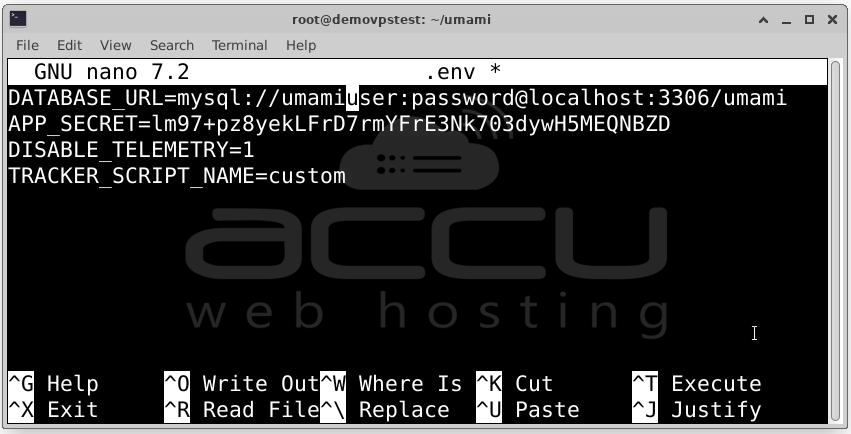
Configure the .env File: Umami uses a .env file to load environment variables at runtime. Let’s create and edit this file.
Inside the Umami project directory: nano .env
Paste the following content into the file:
DATABASE_URL=mysql://umamiuser:password@localhost:3306/umami
APP_SECRET=WPKWGO1bEYMCBmgOl2Ch6AvO+sBs9j6h4BZC/Dw5
DISABLE_TELEMETRY=1
TRACKER_SCRIPT_NAME=custom
Make sure to:
- Replace umamiuser and password with the actual credentials you used when creating your MariaDB user.
- Replace APP_SECRET with the string you generated earlier.
Save and close the file (Ctrl + O, Enter, Ctrl + X in Nano).
Build the Umami Application: With your environment variables configured, it’s time to build the project:
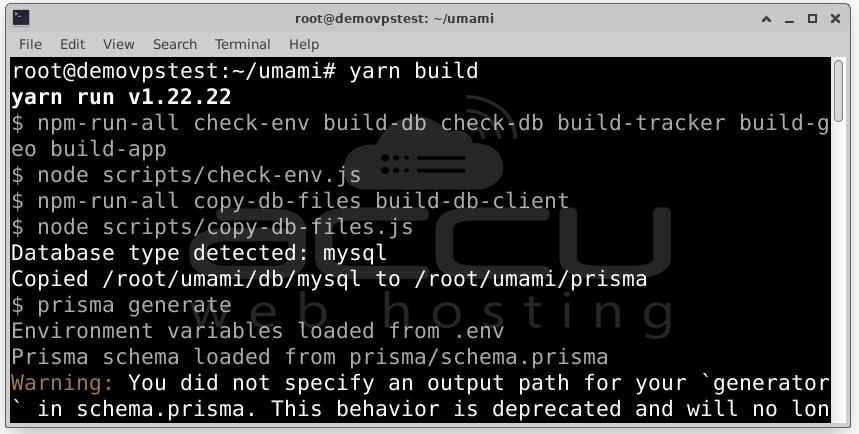
This command bundles all the front-end and server code into production-ready static assets.
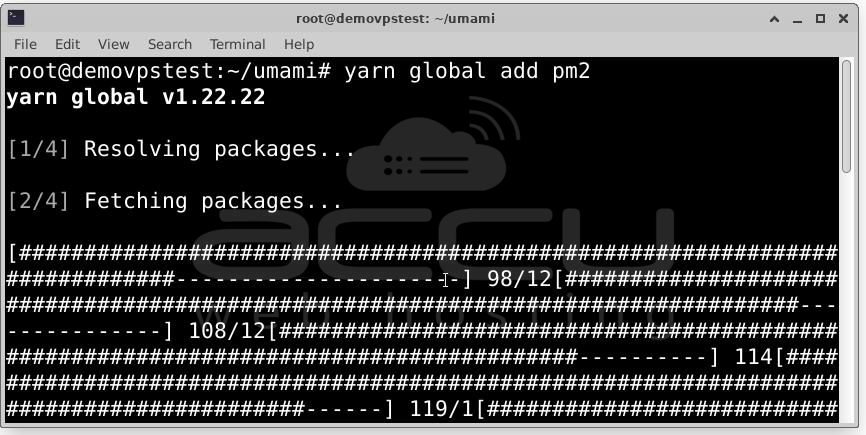
Install and Use PM2 to Run Umami: To keep Umami running in the background and ensure it restarts if the server reboots, we’ll use PM2, a process manager for Node.js applications.
Install PM2 globally:
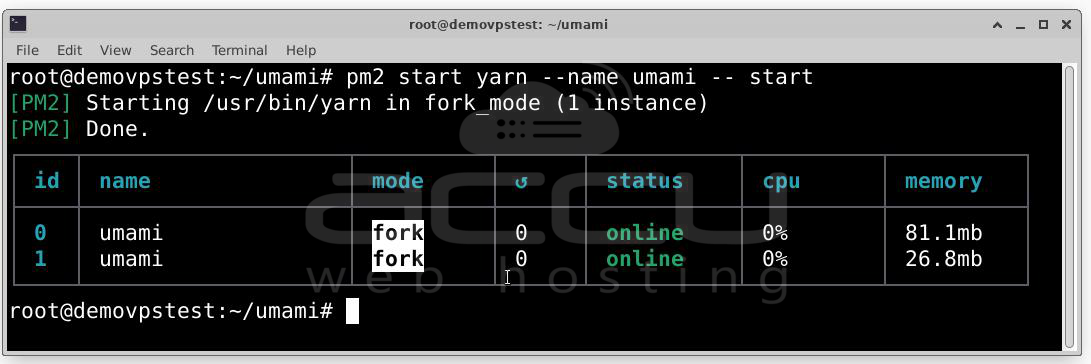
Then, start Umami with PM2:
Step 4: Configure Nginx as a Reverse Proxy for Umami
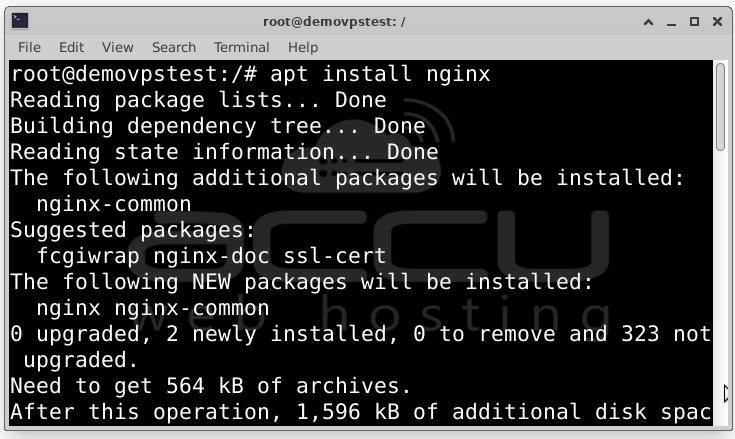
By default, Umami runs on port 3000 and listens only on localhost. To make it accessible to users through a clean, user-friendly URL (like http://umami.example.com), we use Nginx as a reverse proxy.
Install Nginx Web Server:
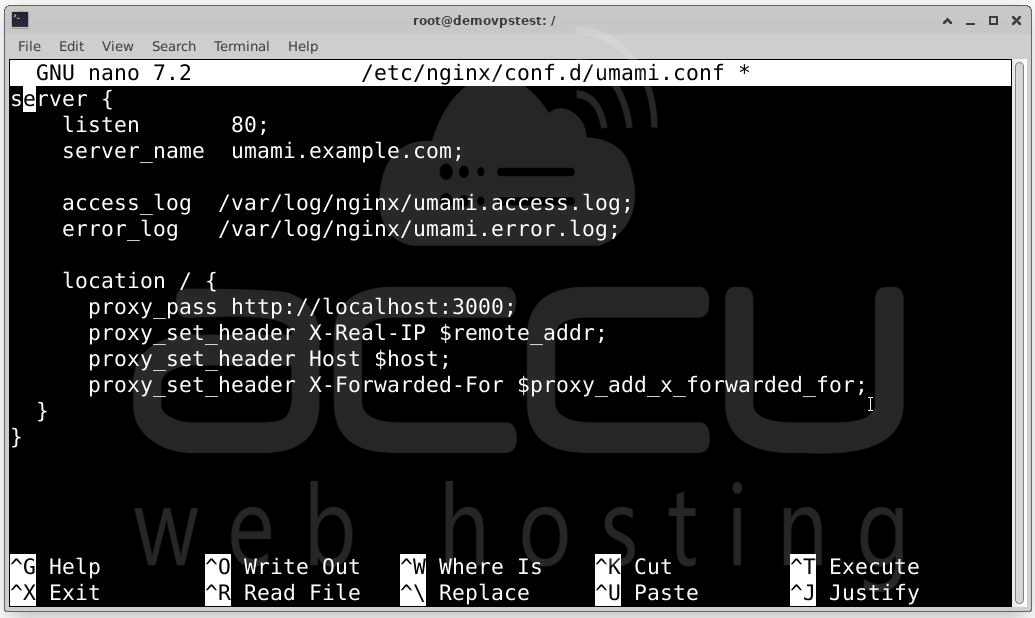
Create Nginx Configuration for Umami: Create a new Nginx server block configuration file:
sudo nano /etc/nginx/conf.d/umami.conf
Paste the following configuration, replacing umami.example.com with your actual domain name or server IP address:
server {
listen 80;
server_name umami.example.com;
access_log /var/log/nginx/umami.access.log;
error_log /var/log/nginx/umami.error.log;
location / {
proxy_pass http://localhost:3000;
proxy_http_version 1.1;
proxy_set_header Upgrade $http_upgrade;
proxy_set_header Connection 'upgrade';
proxy_set_header Host $host;
proxy_set_header X-Real-IP $remote_addr;
proxy_set_header X-Forwarded-For $proxy_add_x_forwarded_for;
proxy_cache_bypass $http_upgrade;
}
}
Adjust Nginx Main Configuration: Ubuntu’s default Nginx configuration may require a tweak to improve handling of longer domain names.
Open the main config: sudo nano /etc/nginx/nginx.conf
Locate the http { block and add:
server_names_hash_bucket_size 64;
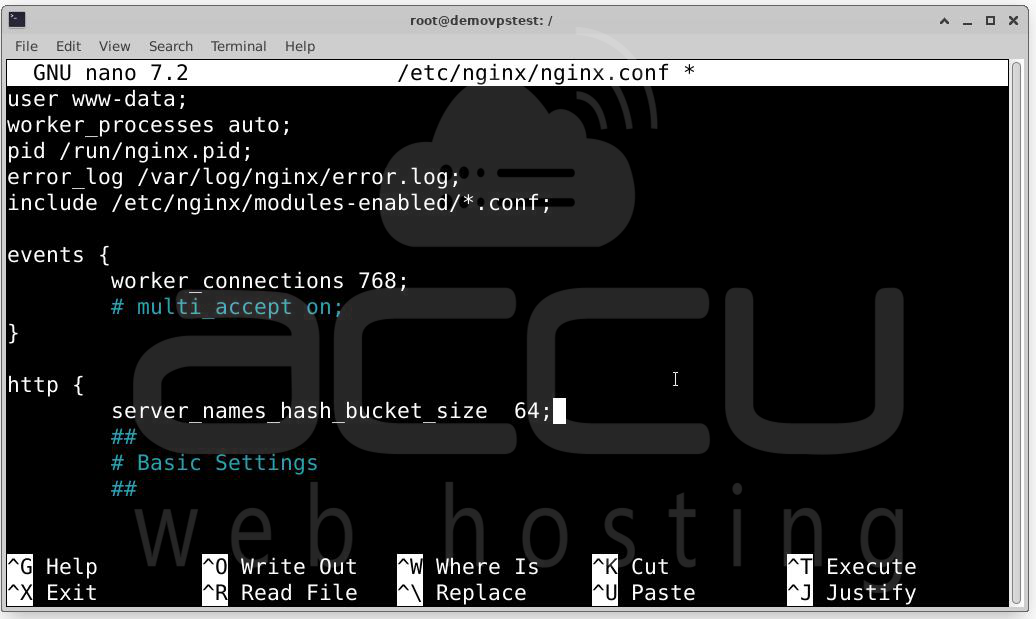
Save and close (Ctrl + O, Enter, Ctrl + X).
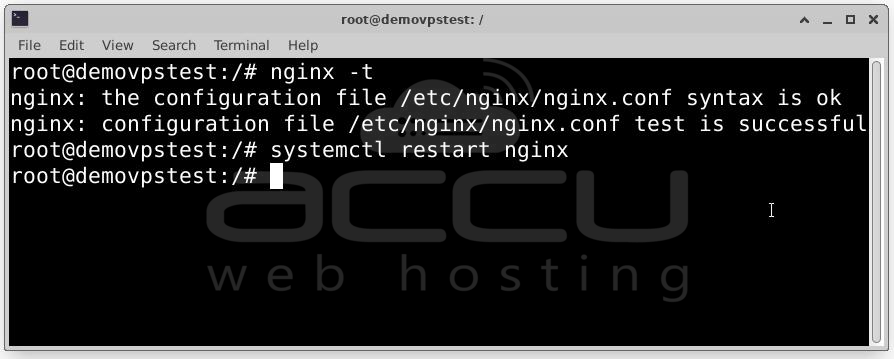
Test and Reload Nginx Configuration: Before applying changes, always check Nginx syntax:
sudo nginx -t
Expected output:
nginx: the configuration file /etc/nginx/nginx.conf syntax is ok
nginx: configuration file /etc/nginx/nginx.conf test is successful
If syntax is good, restart Nginx to apply the new config:
Step 5: Accessing and Using Your Umami Dashboard
Access the Umami Login Page: Open your web browser and visit:
http://umami.example.com
(replace umami.example.com with your actual domain or server IP)
You should see the Umami login screen, which is clean and user-friendly.
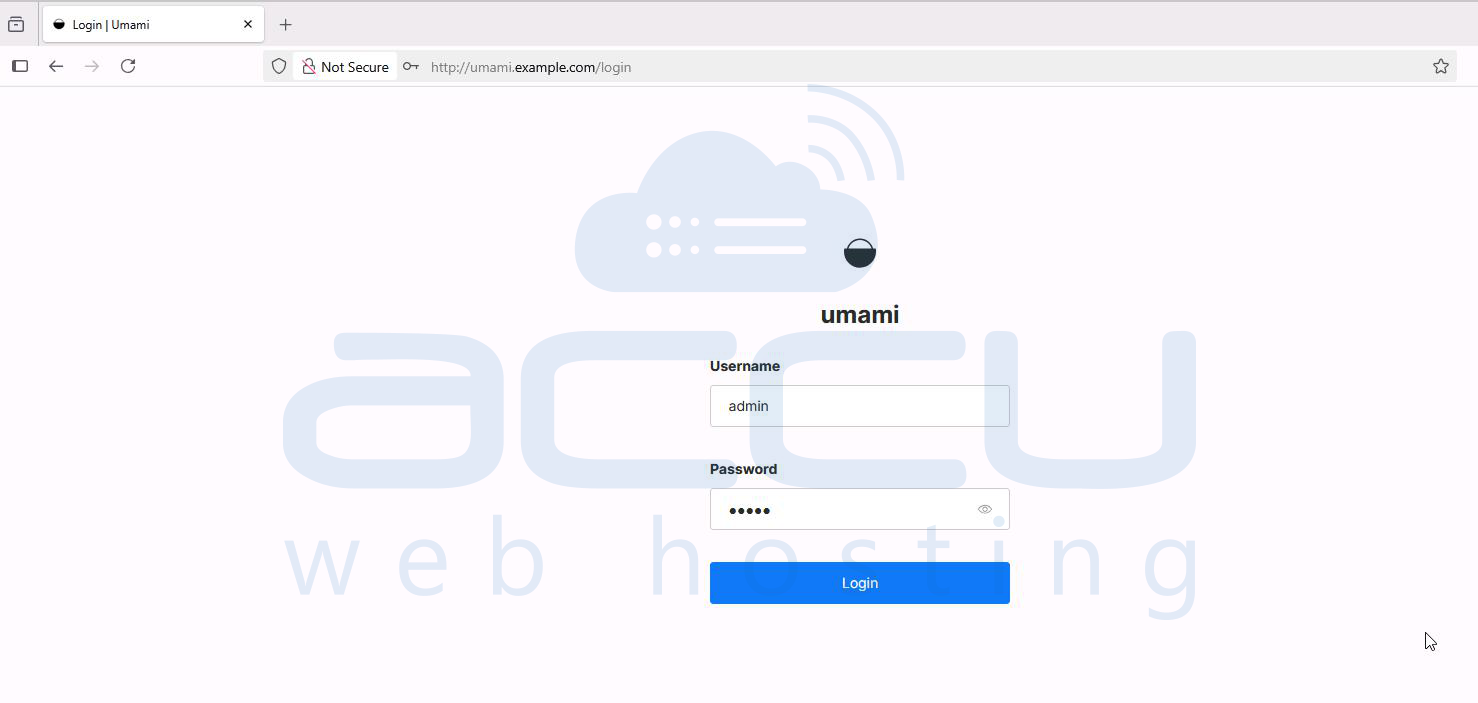
Log In with Default Credentials: By default, Umami uses the following credentials for your first login:
- Username: admin
- Password: umami
Enter these and click Login.

Congratulations! You now have a fully functional, privacy-focused, and self-hosted analytics platform with Umami on Ubuntu.
Conclusion
Umami is a powerful, privacy-focused, and open-source analytics platform that lets you self-host and fully control your website data. In this guide, you learned how to install Umami on Ubuntu 22.04, set up Node.js and MariaDB, configure Umami with PM2, and use Nginx as a reverse proxy to make your dashboard accessible. With Umami, you can track visitor behavior without compromising user privacy or relying on third-party services.
