Introduction
A VPN (Virtual Private Network) is a technology that allows you to create a secure tunnel between your device and a private network over the public internet. Instead of directly exposing your systems to the internet, VPN encrypts the traffic and ensures that communication between clients and servers remains secure.
What is OpenVPN?
OpenVPN Access Server is a secure and flexible VPN solution built on the trusted open-source OpenVPN protocol. It provides additional enterprise-ready features such as a web-based admin interface for easy setup and management.
The server supports multiple platforms, including Windows, macOS, Linux, iOS, and Android, making it accessible on almost any device. In this article, we will guide you through the process of installing OpenVPN on a Ubuntu server.
Steps to configure OpenVPN on ubuntu os
Step 1: Preparing Your Ubuntu Server
OpenVPN Access Server requires a modern Ubuntu distribution (20.04 LTS, 22.04 LTS, or newer).
System Requirements:
- Operating System: Ubuntu Server 20.04+
- RAM: Minimum 1GB (2GB+ recommended for multiple users)
- CPU: 1 vCPU (more for enterprise usage)
- Disk: At least 2GB free
- Network: Public IP address and internet access
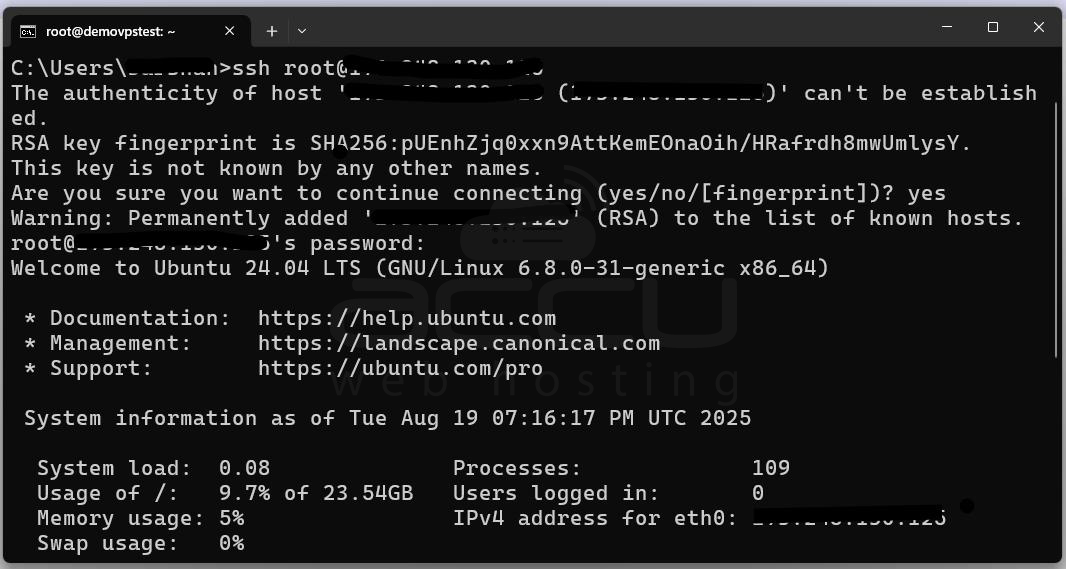
Logging Into Your Server: Use SSH to connect to your Ubuntu machine from your local computer:
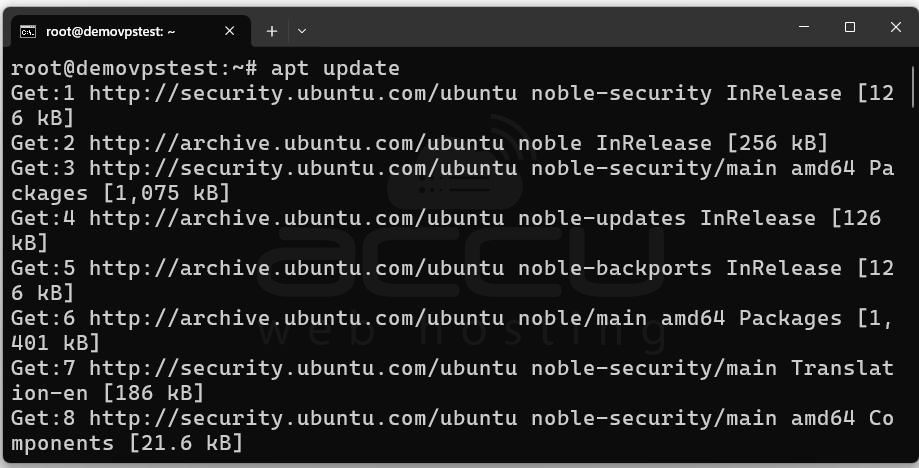
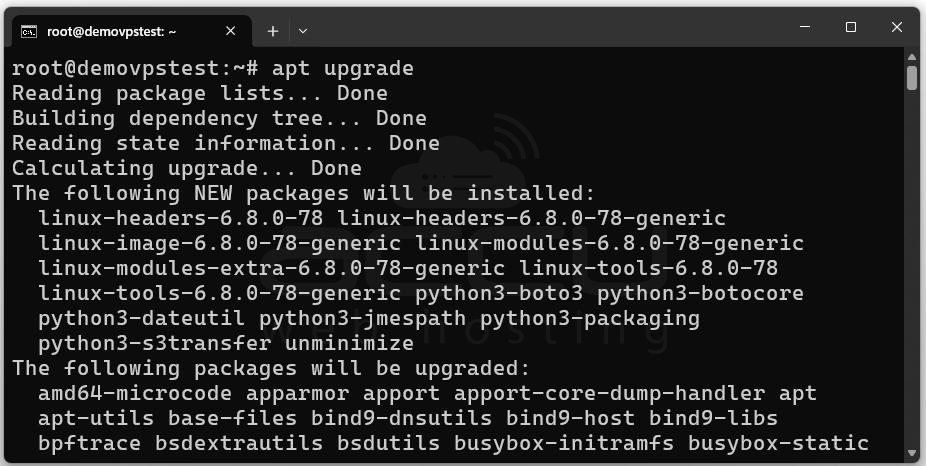
Updating System Packages: Keeping your server up-to-date ensures you have the latest security patches. Run:
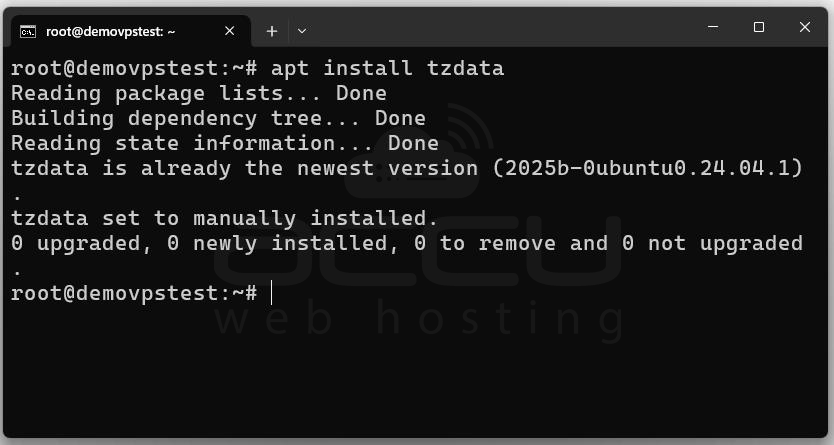
Configuring Time and Time Zone: Accurate time settings are critical for VPNs because SSL certificates and authentication depend on synchronized clocks. Install the timezone package:
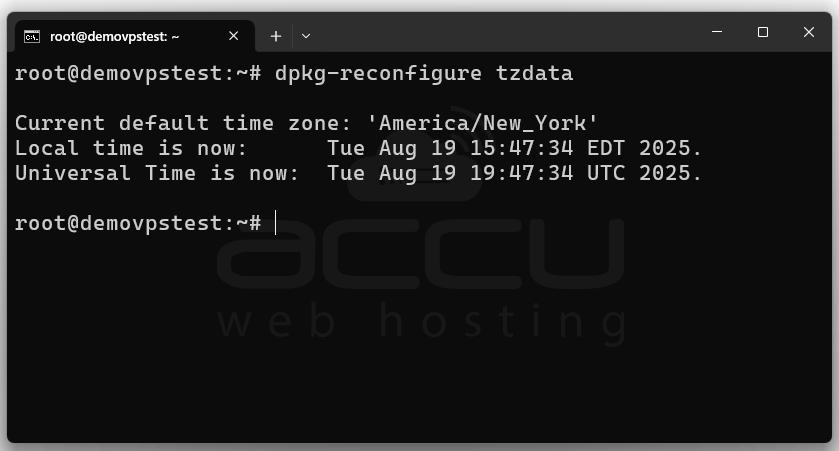
Follow the prompts to select your correct region. At this point, your server is ready for the OpenVPN Access Server installation.
Step 2: Installing OpenVPN Access Server
OpenVPN provides a convenient script that handles installation automatically.
Step 1: Go to the Access Server web portal(https://myaccount.openvpn.com/signin/as) using your browser and enter your account credentials (username and password) to log in.

Step 2: Once logged in, navigate to the dashboard. Locate and click the Install Access Server option to view installation methods.
Step 3: Under the section Install on Linux OS, you will see a bash command generated for installation. Copy this entire command carefully, ensuring no characters are missed.
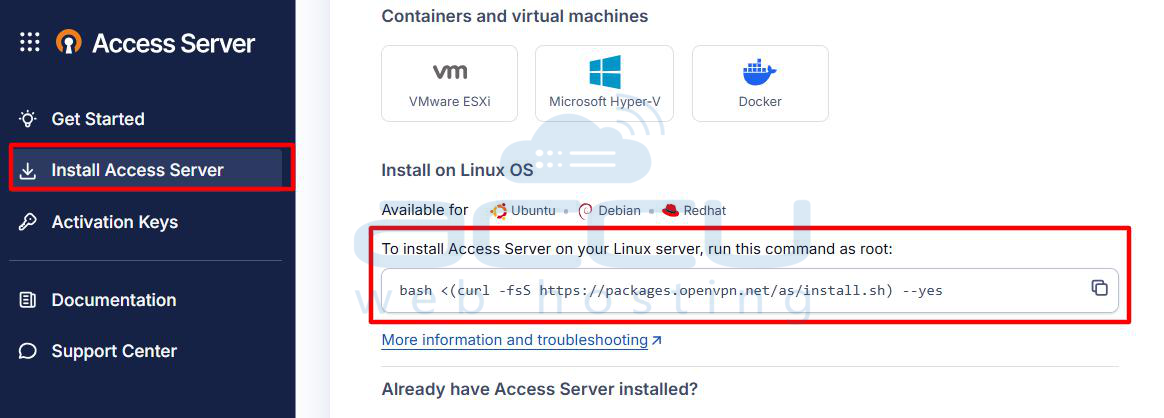
Step 4: Open a terminal on your Linux machine and paste the copied bash command into the terminal. Press Enter to execute the command and begin the installation process.
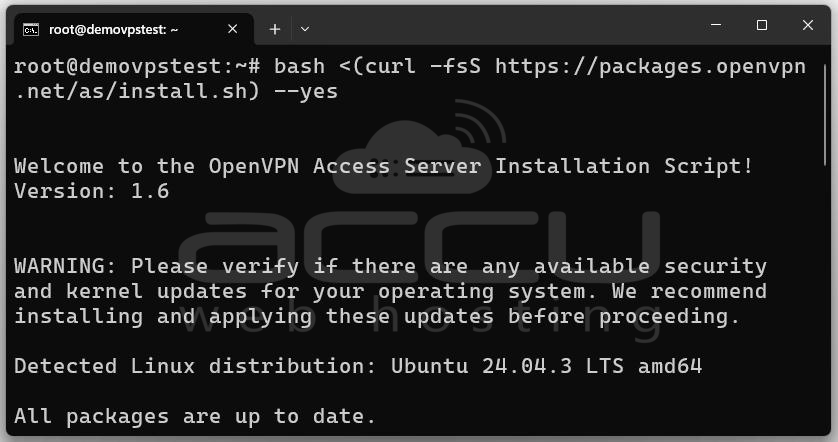
Once executed, the script installs all dependencies, downloads OpenVPN packages, and sets up initial services.
You should see a success message:
Installation successful!
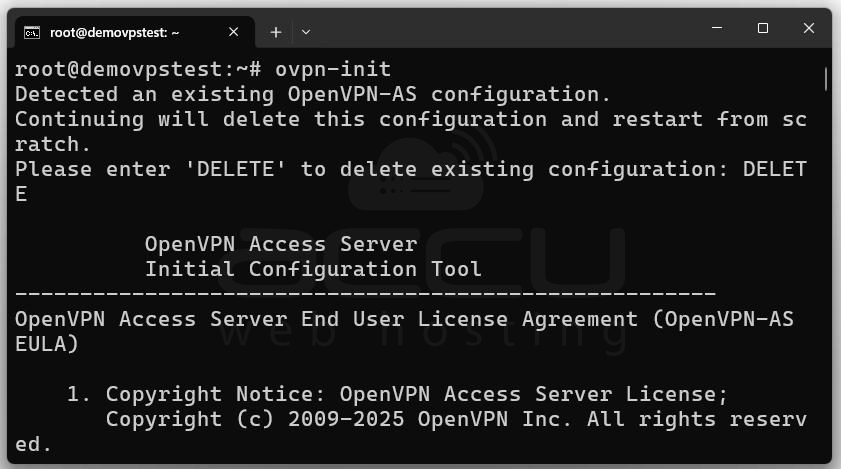
Step 3: Running Initial Configuration with ovpn-init
Installation alone isn’t enough. We now need to configure Access Server using the initialization command:
ovpn-init
This will launch an interactive setup wizard.
Key Prompts and Recommended Choices
Existing Configurations: If prompted about an existing config, type DELETE to reset and start fresh.
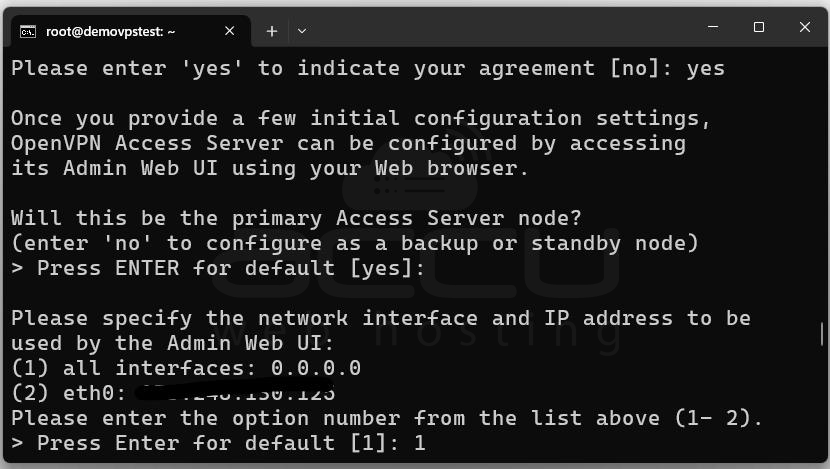
Primary or Backup Node: Will this be the primary Access Server node? [yes]: Press ENTER to accept default (yes).
Network Interface:Please specify the network interface and IP address:
(1) all interfaces: 0.0.0.0
(2) eth0: 111.222.333.444
Choose option 1 (bind to all interfaces).
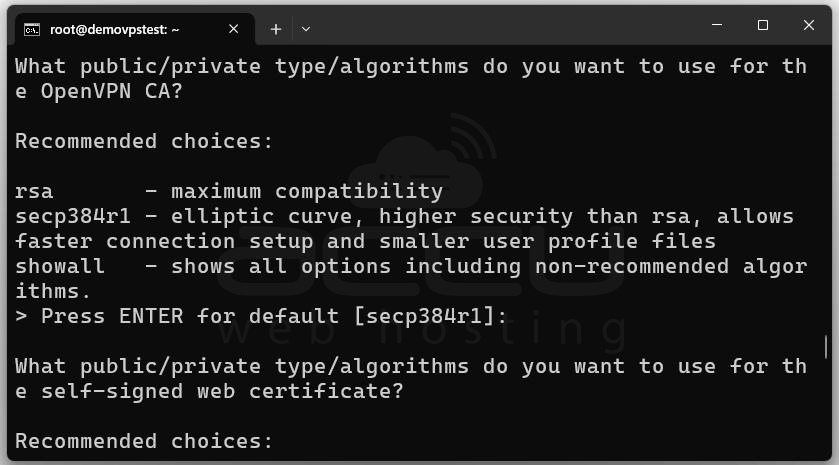
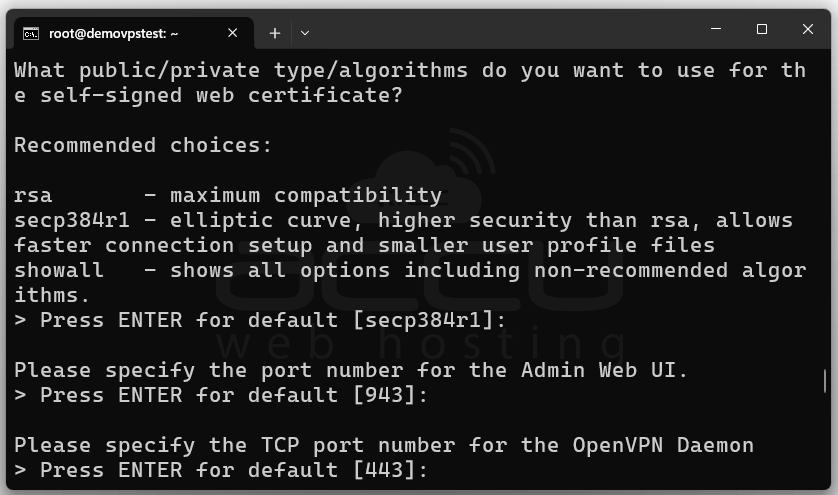
Certificate Algorithm: Recommended choices: rsa, secp384r1. Choose secp384r1 for modern security.
Web Admin Port: Please specify the port number for the Admin Web UI [943]: Press ENTER for default.
VPN TCP Port: Please specify the TCP port number for the OpenVPN Daemon [443]: Press ENTER for default.
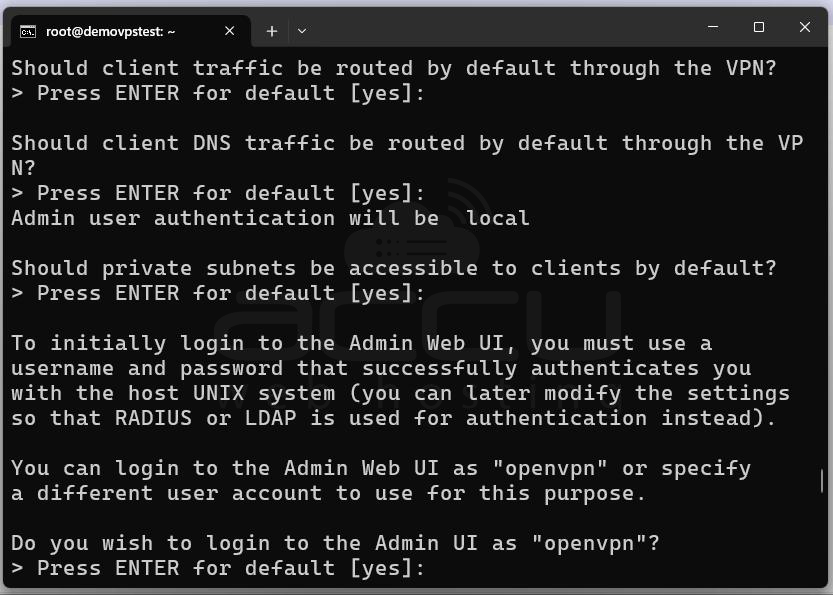
Routing & DNS: Should client traffic be routed by default through the VPN? [yes]
Should client DNS traffic be routed by default through the VPN? [yes] Press ENTER to accept both defaults.
Private Subnet Access: Should private subnets be accessible to clients by default? [yes] Press ENTER for yes.
Admin User Setup
Do you wish to login to the Admin UI as "openvpn"? [yes] Press ENTER for default.
Then set a password for the openvpn user.
Activation Key: You can enter your subscription key or press ENTER to skip and activate later.
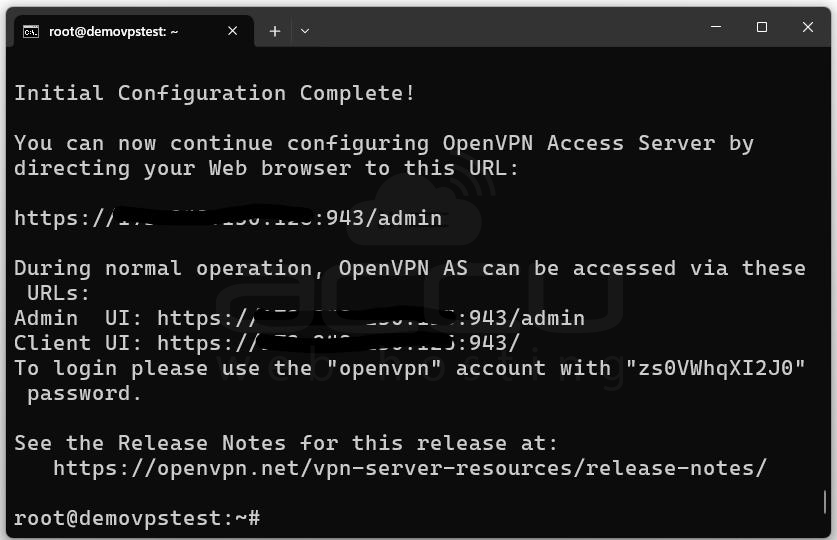
After completing the prompts, the system will finalize setup and display something like:
Admin UI: https://your-server-ip:943/admin
Client UI: https://your-server-ip:943/
Username: openvpn
Password: yourpassword
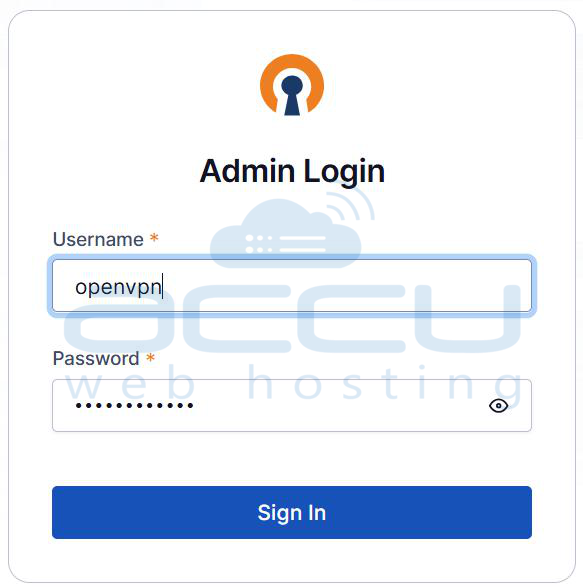
Step 4: Accessing the Web Interfaces
Open a web browser and visit:
-
Admin Web UI: https://your-server-ip:943/admin
-
Client Web UI: https://your-server-ip:943/

Log in using the openvpn account credentials.
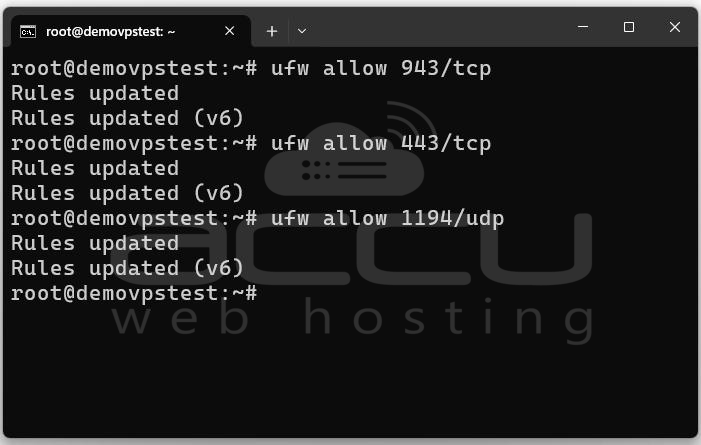
Step 5: Firewall and Networking Configuration
OpenVPN requires specific ports. Ensure your firewall (ufw or iptables) allows them:
ufw allow 443/tcp # VPN over TCP
ufw allow 1194/udp # VPN over UDP (if used)
Step 6: Connecting from Windows Client
Now that the server is live, let’s connect from a Windows machine.
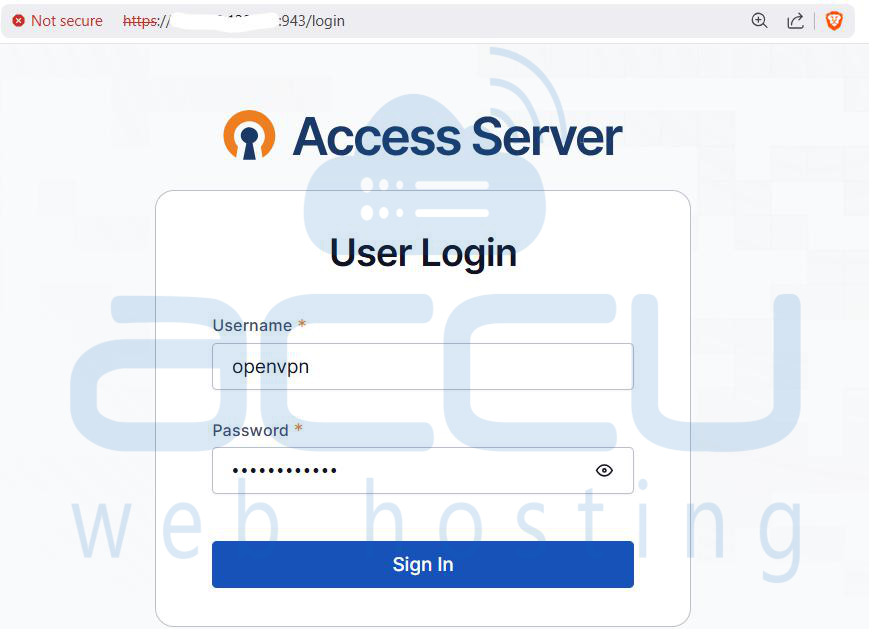
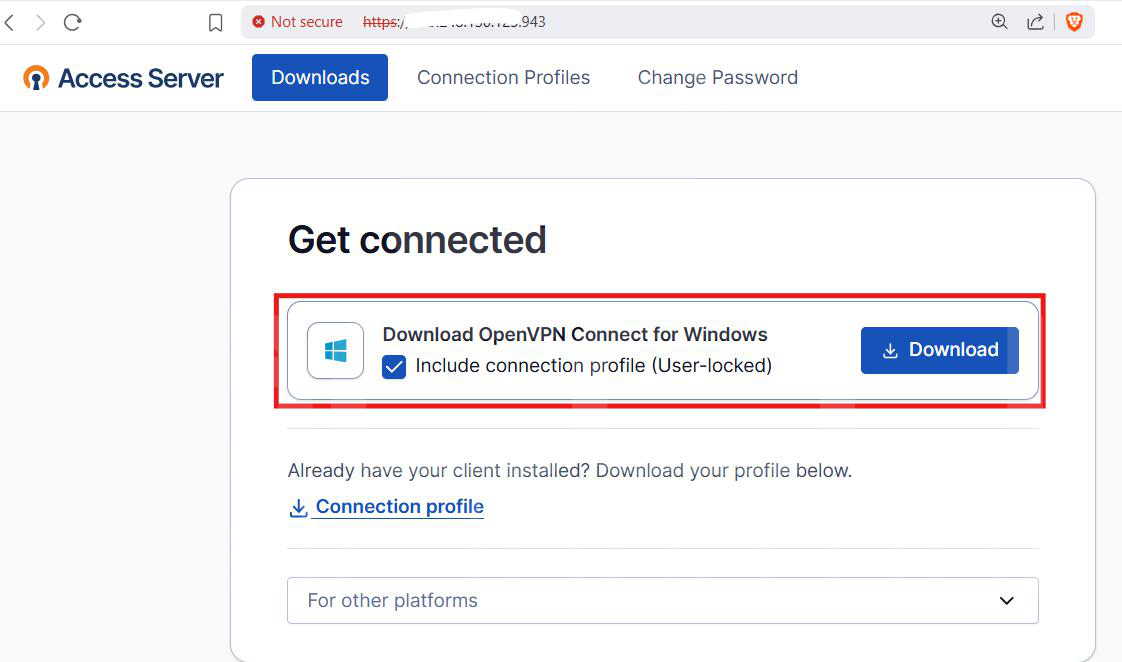
Step 1: To install OpenVPN Connect on your Windows PC, open a browser. Navigate to the Client Web UI: https://your-server-ip:943/. Log in with your username and password.
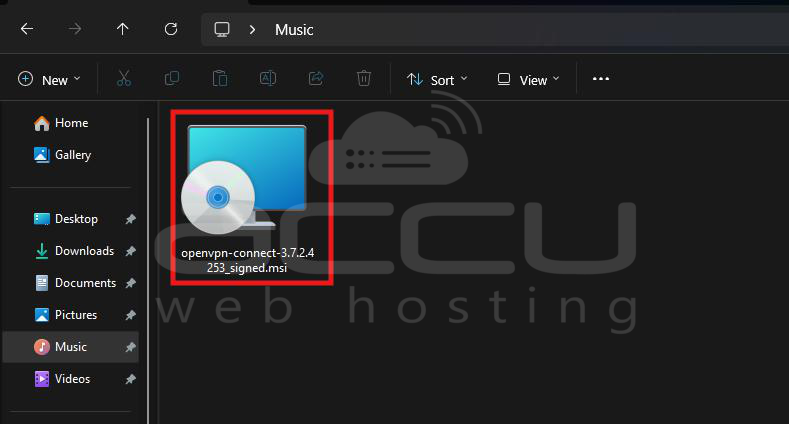
Step 2: Download and install the OpenVPN Connect Client.
Step 3: To import the Connection Profile, launch OpenVPN Connect.
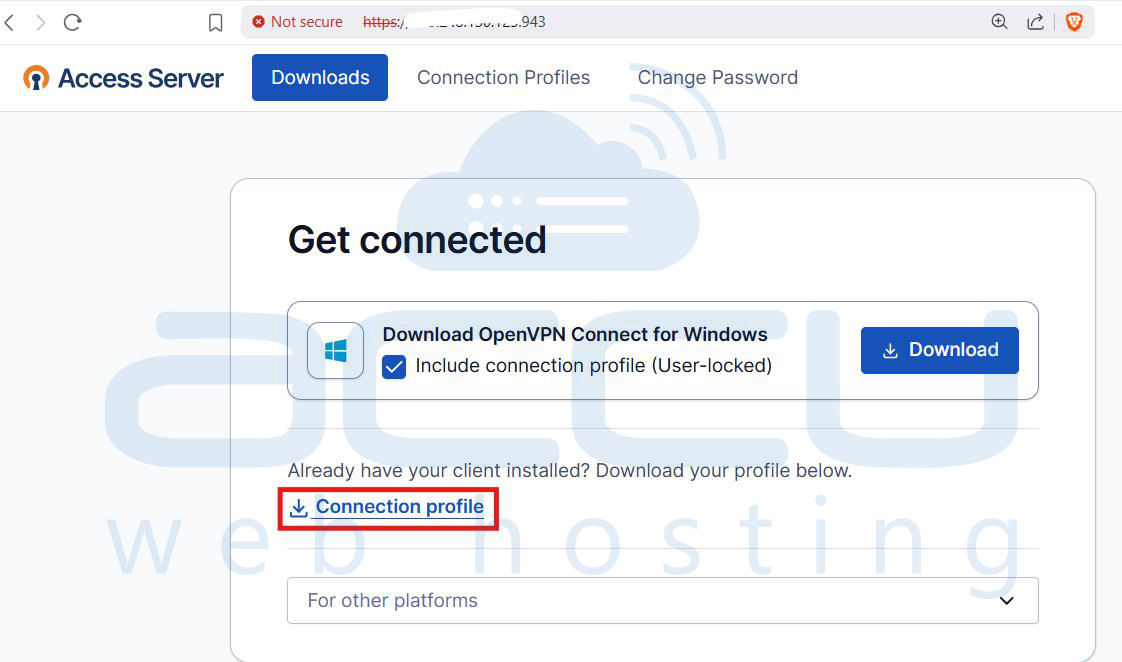
Step 4: Go back to the Client UI and download your .ovpn profile.
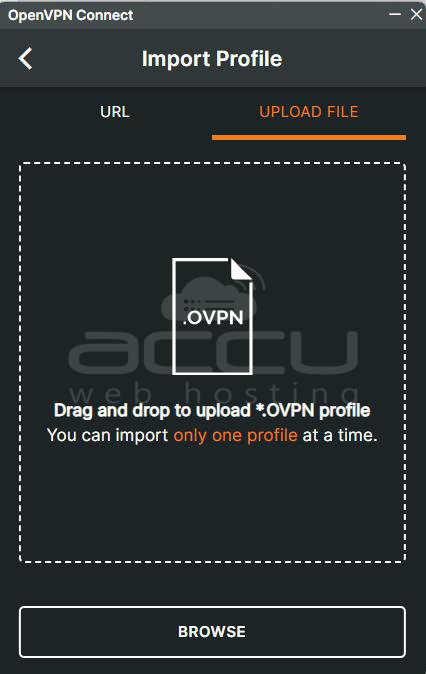
Step 5: In OpenVPN Connect, click + Import and select the file.
Step 6: Connect to VPN. Select the profile.

Step 7: Enter username/password if prompted. Click OK.
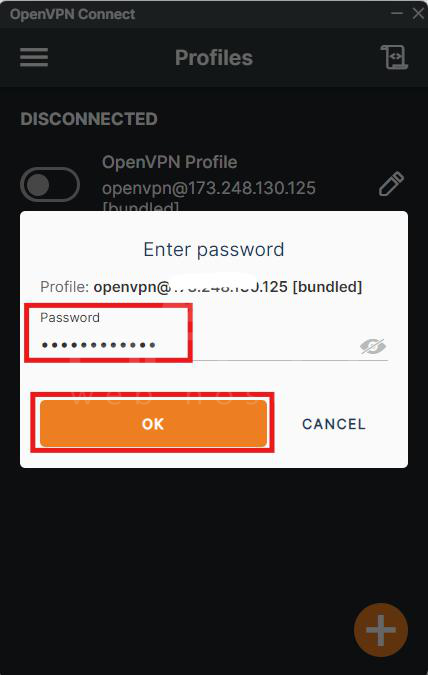
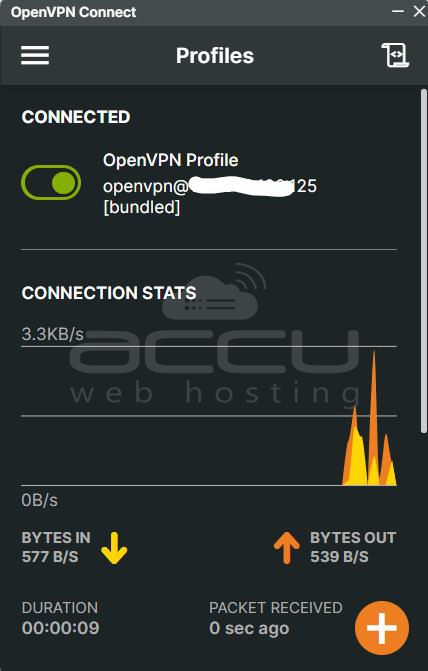
When successful, you’ll see a green status indicator.
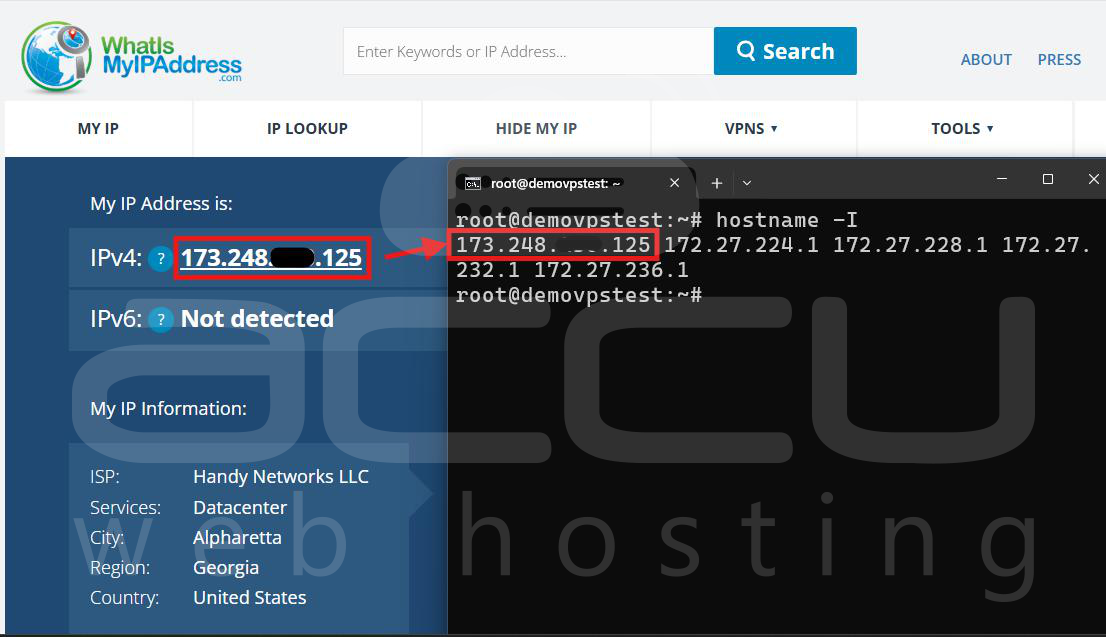
Step 8: To verify the Connection, visit: https://whatismyipaddress.com. Before connecting, you’ll see your ISP/public IP. After connecting, Your IP should match the VPN server’s IP.
You are now connected from Windows to your OpenVPN Access Server.
Conclusion
OpenVPN Access Server on Ubuntu is a reliable and secure VPN solution that works on different platforms. With only a few commands, you can install it, apply secure default settings, and make it available to users. In this guide, we went through preparing and updating Ubuntu, installing the Access Server, running the initial setup, accessing the Admin and Client Web interfaces, configuring the firewall and ports, and connecting from Windows. By completing these steps, you now have a ready-to-use VPN server on Ubuntu that provides encrypted connections for your users and remote devices.
