Firefox is a web browser that lets you explore the internet. It focuses on privacy, has customizable features through extensions, and receives regular updates for improved security and performance. It's an open-source browser, meaning its code is freely available for inspection and modification.
If you want to install Firefox on your computer, especially if you don't like the default Edge browser on Windows or have a new Windows computer without a browser, you can use PowerShell. This article will teach you how to do it. Instead of using another browser, let's try using CMD this time.
What is PowerShell?
PowerShell is a special tool made by Microsoft. It's like the Command Prompt but more advanced. It's for people who want to control and automate tasks on their computer. It's great for system administrators and those who really know their way around a computer.
Why use CMD or PowerShell instead of a browser?
Sometimes, on certain versions of Windows Server, like Windows Server 2019, or Windows Desktop, like Windows 11, there's no regular browser included. Or maybe you just don't want to use a browser to install another browser. In such cases, you can use PowerShell. This method is also handy if you like using PowerShell for automating tasks or writing scripts.
How to Install Firefox on Windows Server 2019 or Windows 11 Using PowerShell?
Step 1: Open PowerShell as administrator
To open PowerShell, find the "Search" icon on your taskbar or press Windows+S on your keyboard. Search for "PowerShell" and click "Run as Administrator."

Running as Administrator gives PowerShell the highest level of permission on your computer. Click "Yes" when prompted to allow changes.
Step 2: Run the PowerShell Script.
The PowerShell Script will:
-> Define the download URL and the destination
-> Download the Firefox installer
-> Install Firefox silently
-> Clean up the installer
You can run the Script this in three ways:
1. Paste the script directly
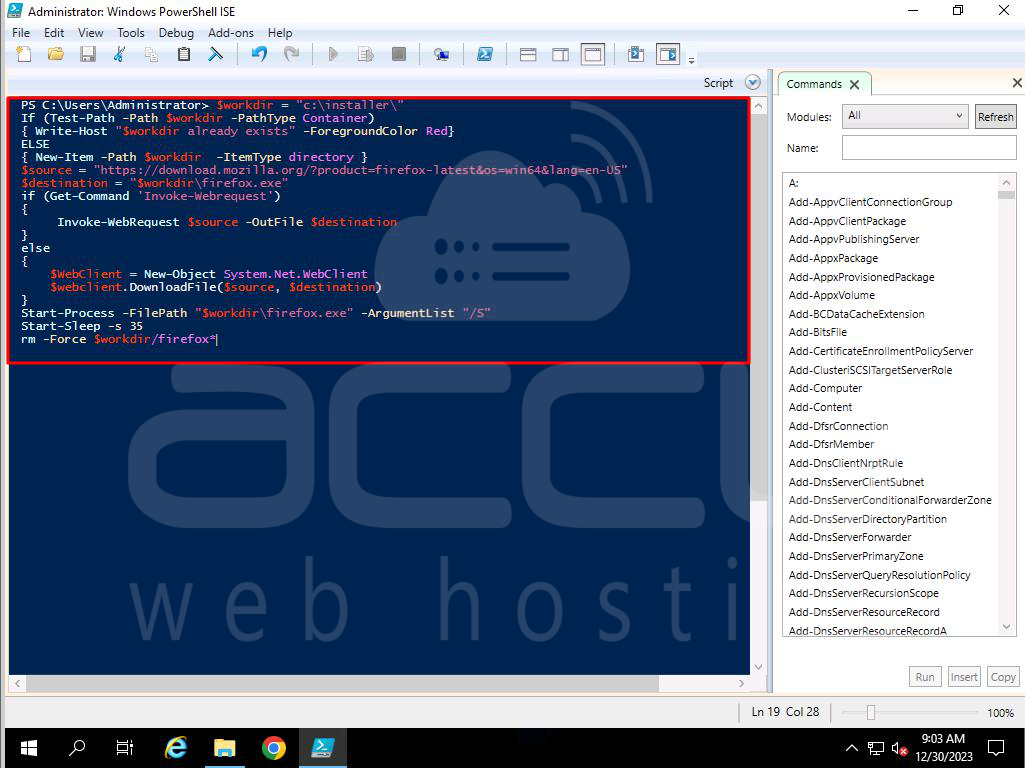
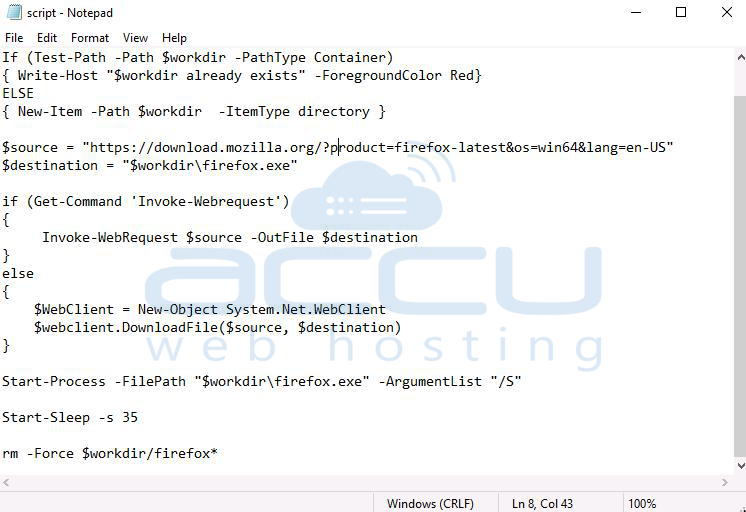
- Paste the following "Powershell Script" directly in powershell:
$workdir = "c:\installer\"
If (Test-Path -Path $workdir -PathType Container)
{ Write-Host "$workdir already exists" -ForegroundColor Red}
ELSE
{ New-Item -Path $workdir -ItemType directory }
$source = "https://download.mozilla.org/?product=firefox-latest&os=win64&lang=en-US"
$destination = "$workdir\firefox.exe"
if (Get-Command 'Invoke-Webrequest')
{
Invoke-WebRequest $source -OutFile $destination
}
else
{
$WebClient = New-Object System.Net.WebClient
$webclient.DownloadFile($source, $destination)
}
Start-Process -FilePath "$workdir\firefox.exe" -ArgumentList "/S"
Start-Sleep -s 35
rm -Force $workdir/firefox*
- Paste it using Ctrl+V or right-clicking on the empty space.
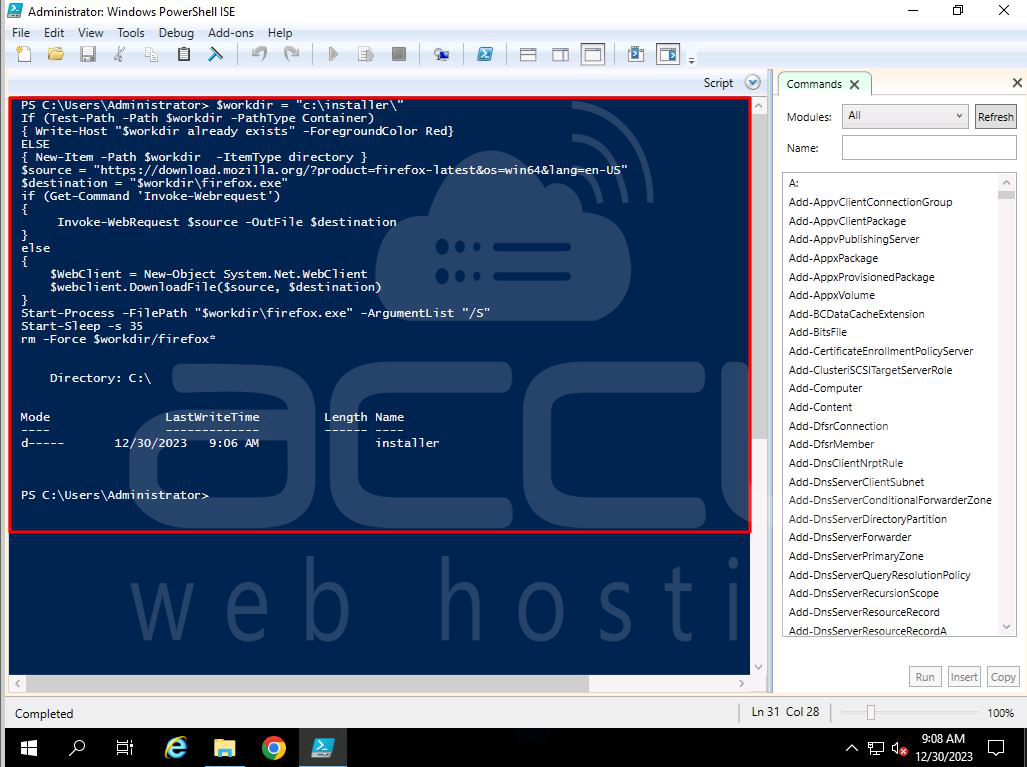
- Press enter to start the download and installation.
2. Manual Download and Execution:
Follow below steps:
- Create a download directory. Add below command in powershell.
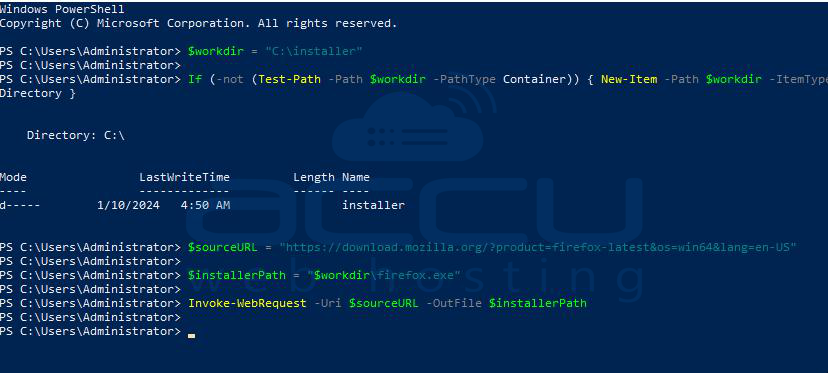
$workdir = "C:\installer"
If (-not (Test-Path -Path $workdir -PathType Container)) { New-Item -Path $workdir -ItemType Directory }
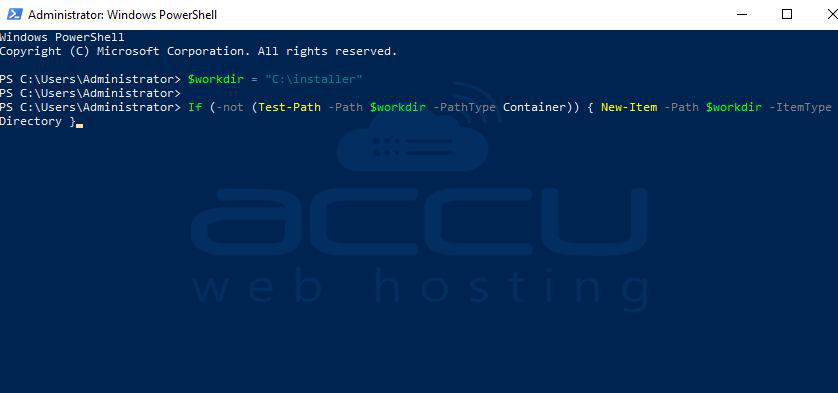
- And then press enter.
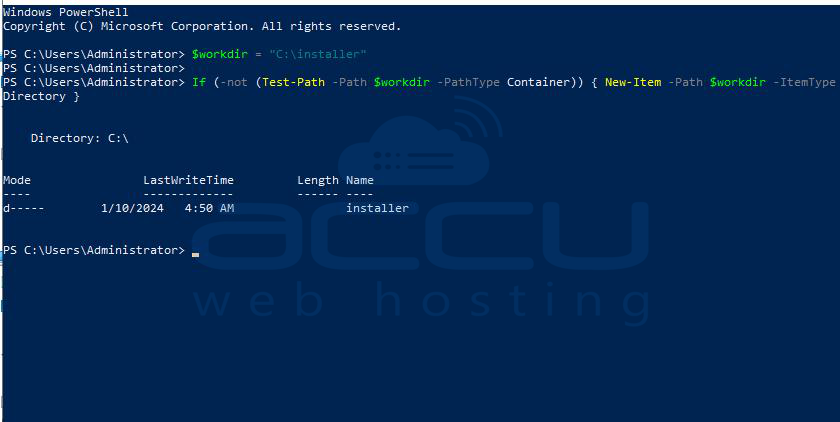
- Now, download the installer. Add below command and press enter. Now wait till the process is finished.
$sourceURL = "https://download.mozilla.org/?product=firefox-latest&os=win64&lang=en-US"
$installerPath = "$workdir\firefox.exe"
Invoke-WebRequest -Uri $sourceURL -OutFile $installerPath
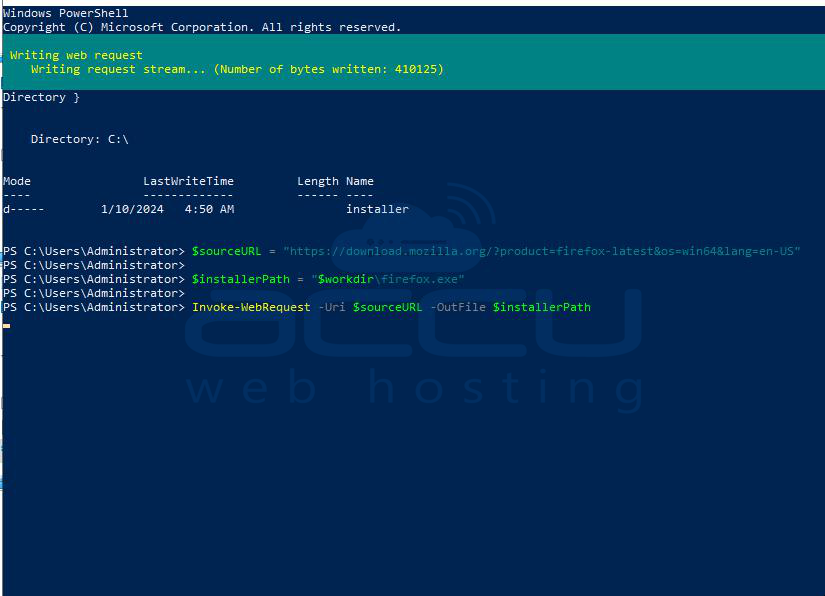
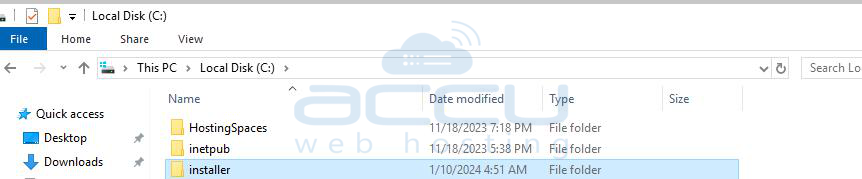
- After the process is finished, you will see below screen. Your installer will be installed in C:.
3. Direct Download and Installation:
This method simplifies the process with one command.
- Add the "Powershell Script" shared initially, in notepad, and save it as .ps1 file. In our case, we have stored the file as script.ps1 file
- Save the file in any path you want. In our case, I have saved the file in C:. So in powershell, I will move to the path I have added the file and then run the file by typing below command:
.\script.ps1
- And then press Enter. You need to wait for some time till the process is completed.

 Once the process is finished, you can close the powershell.
Step 3: Once you have installed the Installer, open the Installer and setup firefox:
1. Go to C: > installer > firefox
2. Double-click on "firefox".

3. It will open Mozilla Firefox setup wizard as seen below. Click on "Next" button.

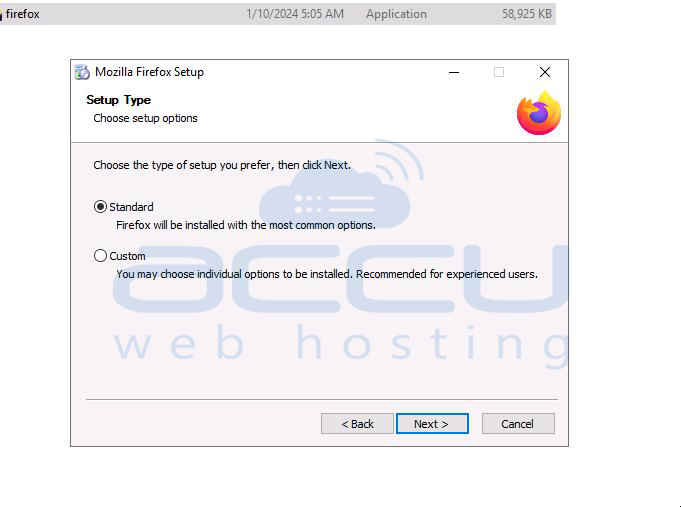
4. You will see the setup type window as seen in the below image. Select the type of Mozilla firefox you wish to install. Here, we have selected the "Standard" option. Then click on Next.
5. Select the location where you wish "Firefox" to be installed. Here, we have selected the path as seen in the image. Then click on "Upgrade" button.

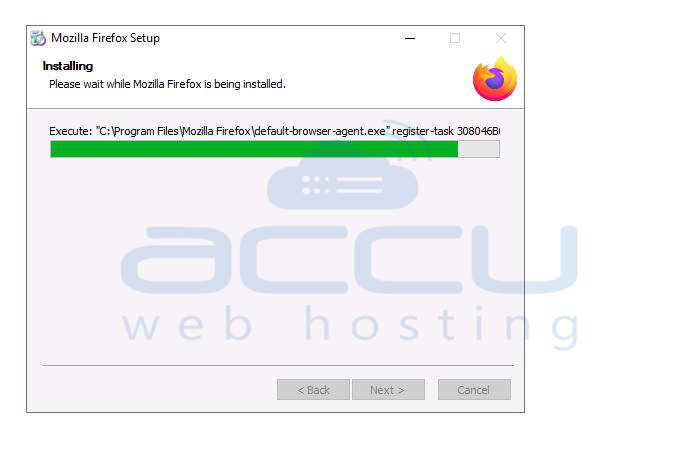
6. Wait till the "Firefox" is being installed.
7. Once installed, you will see the below screen. Click on "Finish".
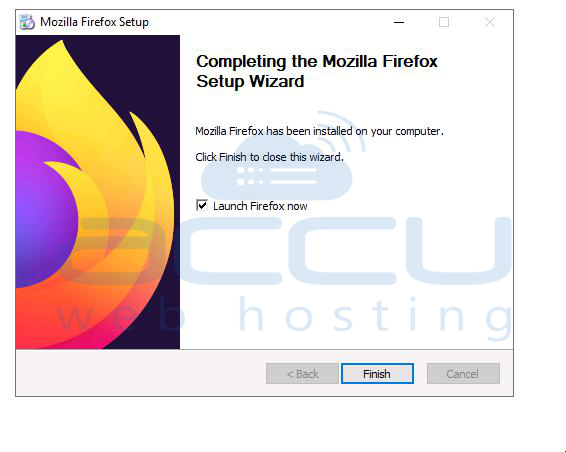
8. If you have selected the "Launch Firefox now" checkbox, then firefox will be launched.
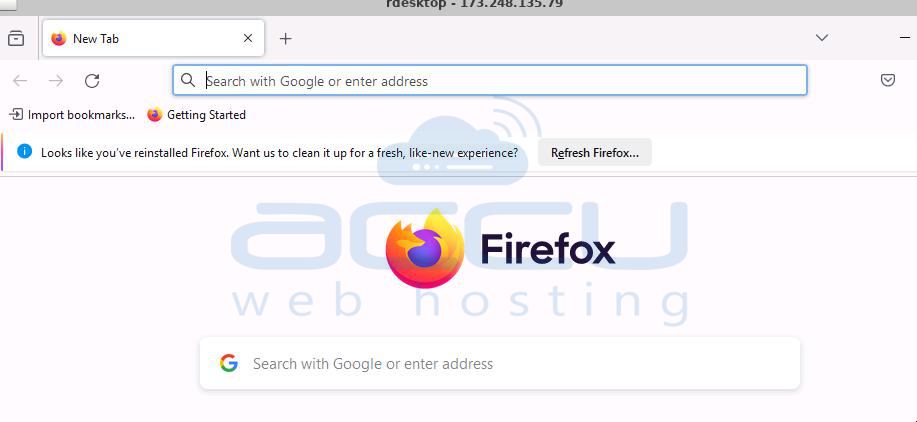
9. Firefox should appear on your desktop.
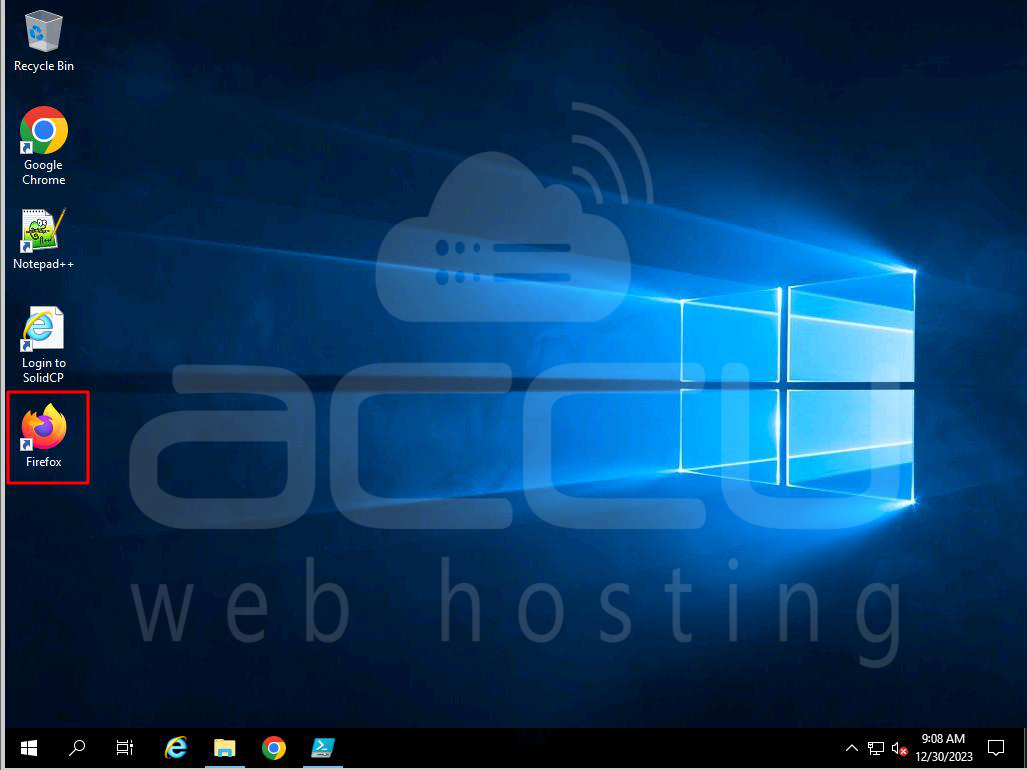
That's it! You've installed Firefox without using a browser.
Conclusion:
PowerShell helps you install Firefox on Windows more easily. This method is efficient and saves time. Whether you're setting up a new computer or updating firefox, PowerShell is a reliable solution. Enjoy browsing with Firefox and its many features.
