Following article will guide you to schedule a task in Windows Server 2019.
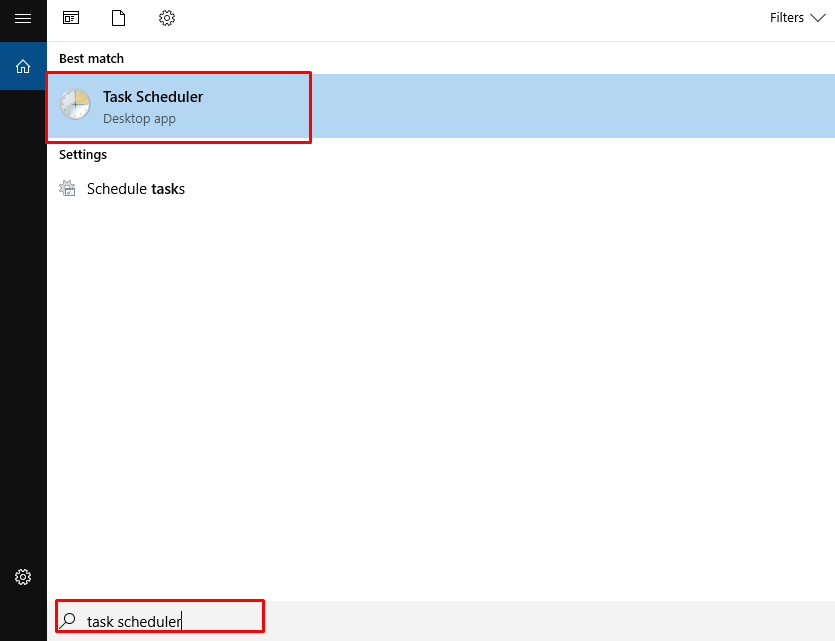
- Go to Start → Type Task Scheduler
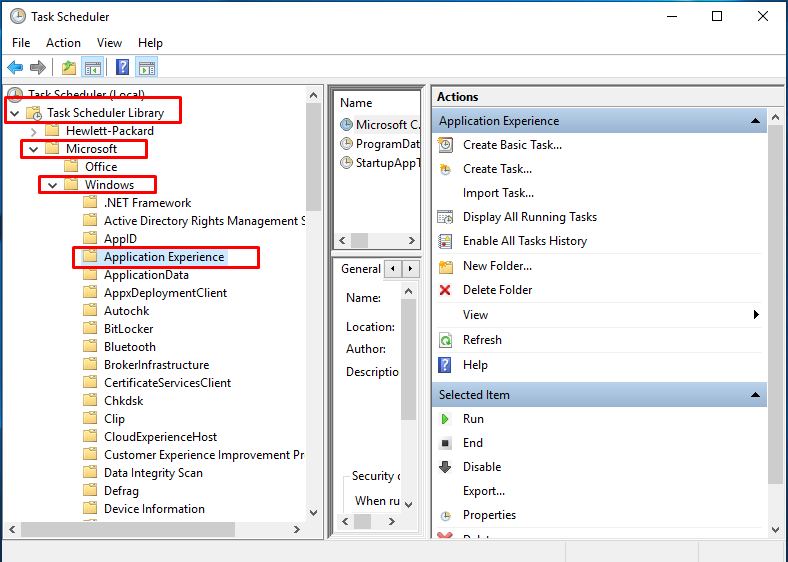
- Locate and click on the task folder at console.
- Here we will select Application Experience. From Task Schedular Library→Microsoft→Windows→Application Experience
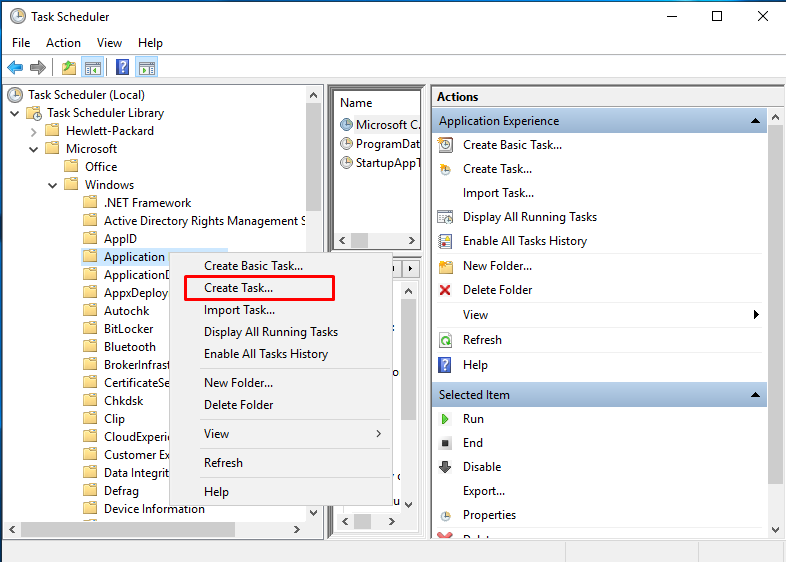
- Right click on Application Experience and then click on Create Task
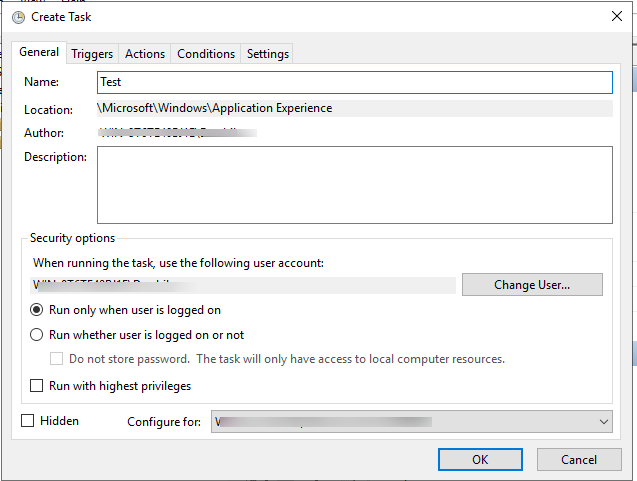
- At General tab of Create Task dialog box, enter name of your task. Fill in or change any of the other properties on the General tab.
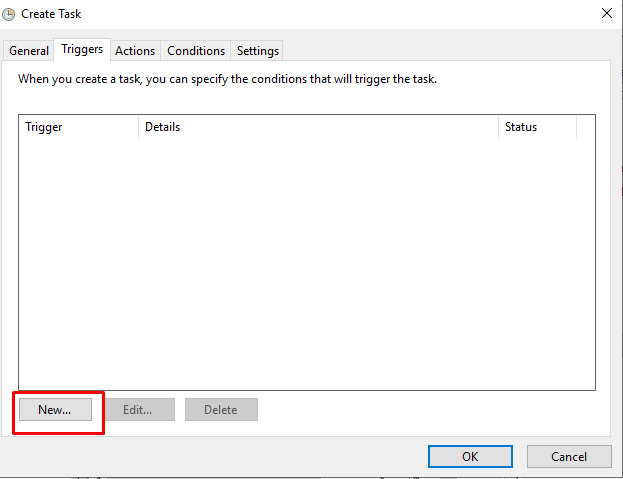
- At the Triggers tab of the Create Task dialog box, click the New button to create a trigger for the task, and add trigger information in the New Trigger dialog box.
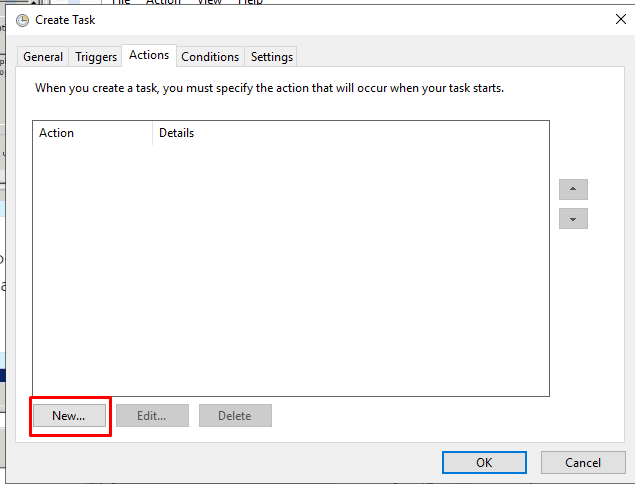
- At the Actions tab of the Create Task dialog box, click the New button to create an action for the task, and enter action information in the New Action dialog box.
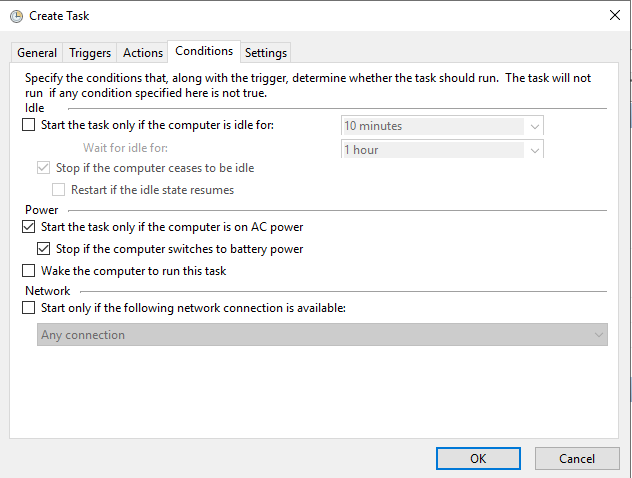
- At the Conditions tab of the Create Task dialog box, enter task conditions.
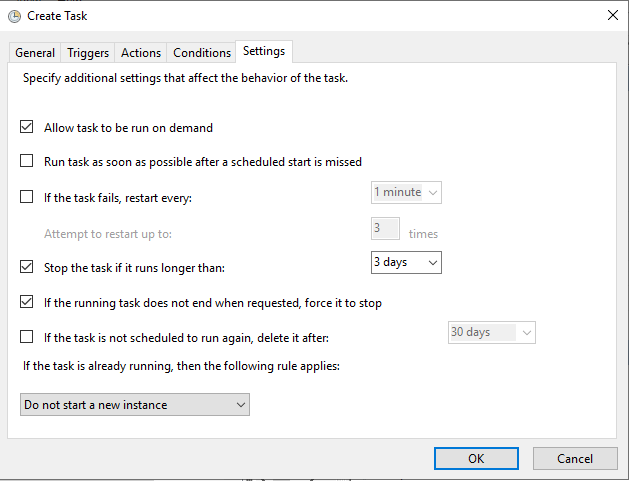
- Change the settings for the task at Settings tab of the Create Task dialog box.
- Click the OK button on the Create Task dialog box.
