WebP is a modern image format developed by Google that provides superior compression for images on the web, with support for both lossy and lossless compression. Compared to formats like JPEG and PNG, WebP reduces file size significantly while maintaining image quality, making websites load faster and improving overall performance.
For a web server like IIS (Internet Information Services) to correctly serve .webp files, it must be configured with the WebP MIME type (image/webp). By default, IIS does not recognize .webp files, so you need to manually add support for this MIME type.
Enabling WebP MIME type on IIS can be done through various methods. I'll outline a few approaches you can consider:
Method 1: IIS Manager GUI
Step 1: Open the IIS Manager.
Step 2: Click the primary server listed in the left pane to ensure we apply changes at the server level (rather than the site level). Afterward, proceed by clicking on the "MIME Types" option.

Step 3: Click on Add link in the right pane of the MIME Types dialog box.
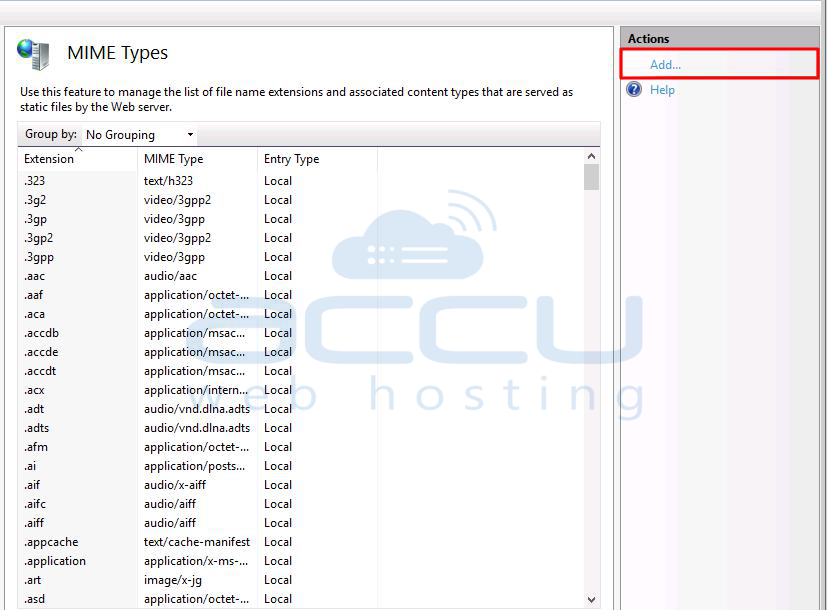
Step 4: We aim to incorporate a new MIME type for WebP as an image format so IIS can effectively manage this new file type.
In the "Add MIME Type" dialogue, input .webp as the file name extension and image/webp as the MIME type. Then select the OK button.

Step 5: Restart IIS: To implement the modifications, initiate a restart of the IIS service, or recycle the application pool linked with your website.
IIS should be set up to serve .webp files upon accomplishing these instructions. You can verify this by attempting to access a .webp file hosted on your server via a web browser. If the configuration is correct, the .webp image should be displayed.
Step 6: After making changes, restart IIS or refresh the application pool connected to your website to apply the updates.

Method 2: Command Line
Step 1: Download and install the WebP codec for IIS.
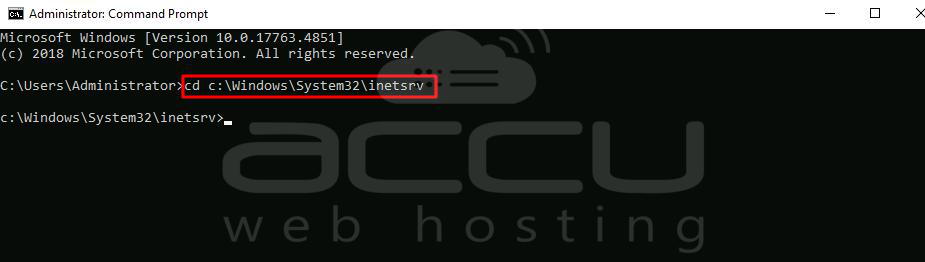
Step 2: Open a Command Prompt as an administrator.
Step 3: Navigate to C:\Windows\System32\inetsrv (or the path where AppCmd.exe is located).
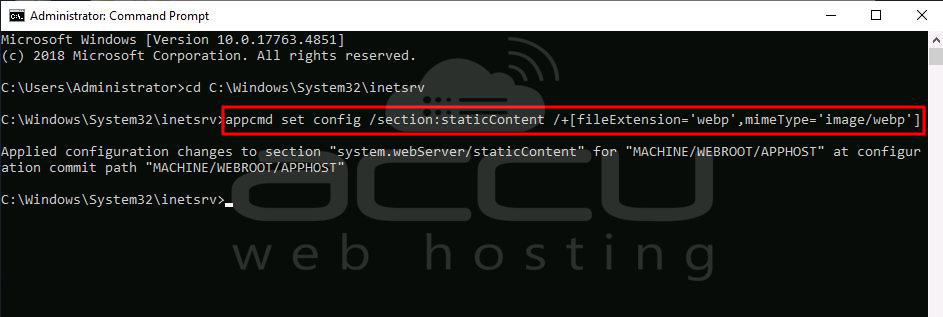
Step 4: Run the following command to add the MIME type
# appcmd set config /section:staticContent /+[fileExtension='webp',mimeType='image/webp']
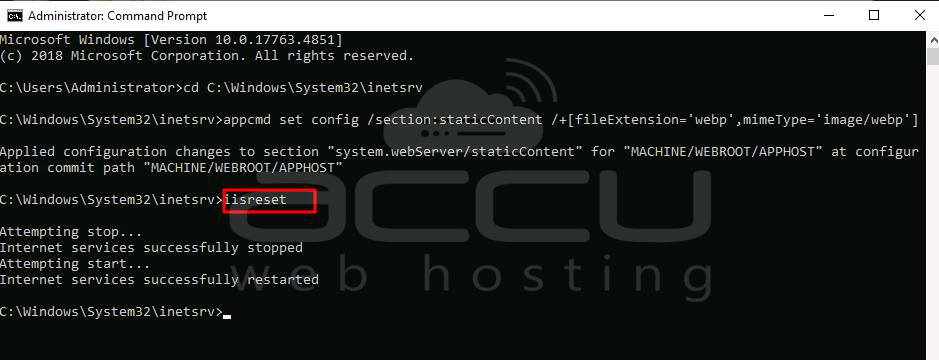
Step 5: Restart IIS to apply the changes.
# iisreset
Method 3: Web.config
Step 1: Download and install the WebP codec for IIS.
Step 2: Open the web.config file for your website.
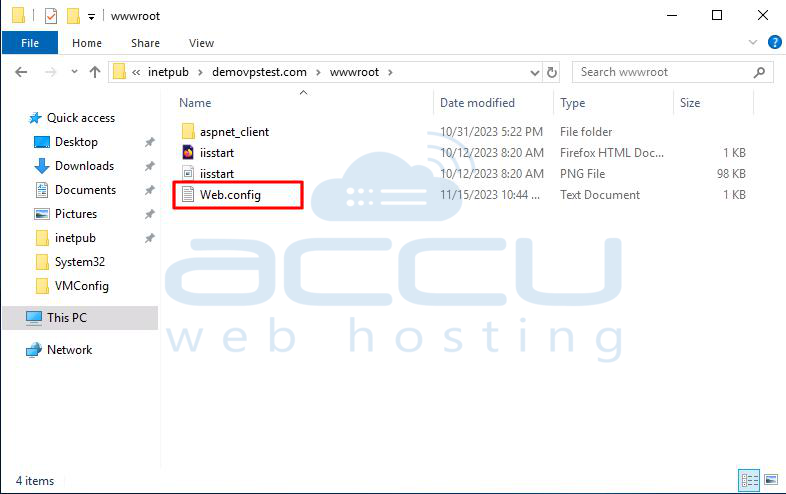
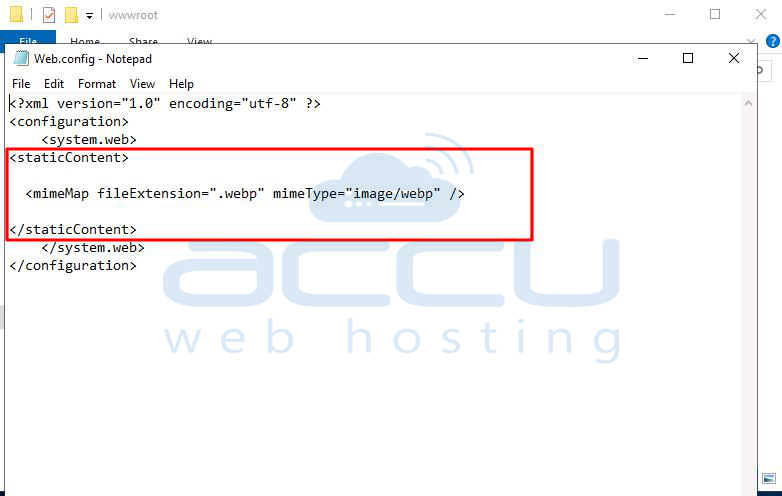
Step 3: Add the following XML within the <system.webServer> section:
<staticContent>
<mimeMap fileExtension=".webp" mimeType="image/webp" />
</staticContent>
Step 4: Restart IIS for the changes to take effect.
Method 4: Registry Editor
Step 1: Download and install the WebP codec for IIS.
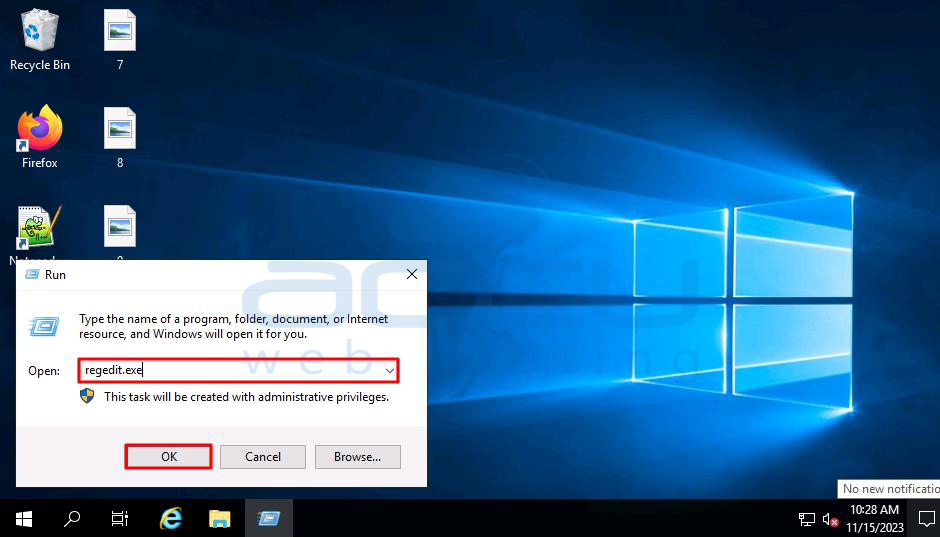
Step 2: Open the Registry Editor (regedit.exe).
Step 3: Navigate to HKEY_LOCAL_MACHINE\SOFTWARE\Microsoft\IIS\StaticCompression\Module.
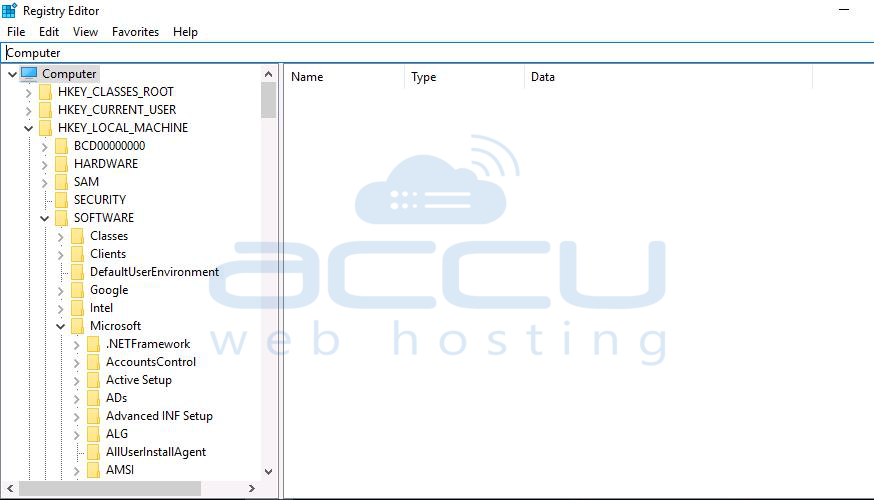
Step 4: Add a new String Value named image/webp with the Data dynamic-compression (this may vary depending on your specific setup).
Step 5: Restart IIS for the changes to take effect.
Conclusion:
Choose the method that best suits your preferences and the requirements of your server environment. Always ensure you have a backup before making changes to server configurations.
By following the above steps, you ensure that your web server recognizes WebP images and sends the appropriate MIME type in the HTTP headers when serving them. This helps browsers interpret the content correctly and enhances the performance and quality of images on your website.
