Network sharing is an essential feature of modern computer operating systems, as it allows multiple devices on a network to access and share files and resources. However, in some cases, you may want to remove the server list from the Network Sharing option in Windows to increase security or prevent unauthorized access to your network. This article will explain how to remove the server list from the Network Sharing option in Windows.

Steps to remove the server list from the Network Sharing option:
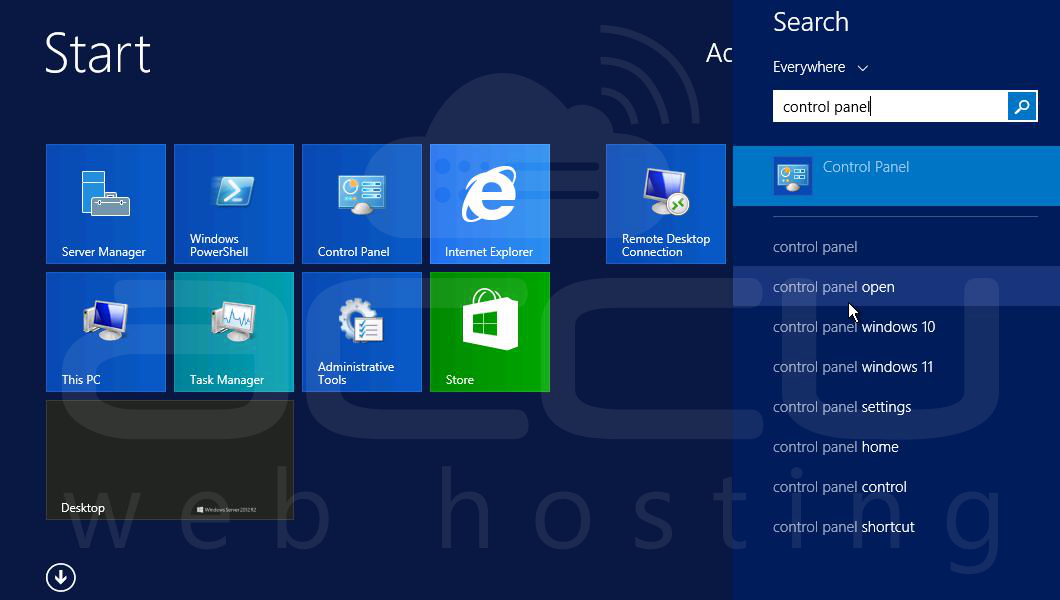
Step 1. The first step is to open the Control Panel on your Windows server. You can do this by clicking on the Start menu and typing Control Panel in the search bar, then select the Control Panel app.
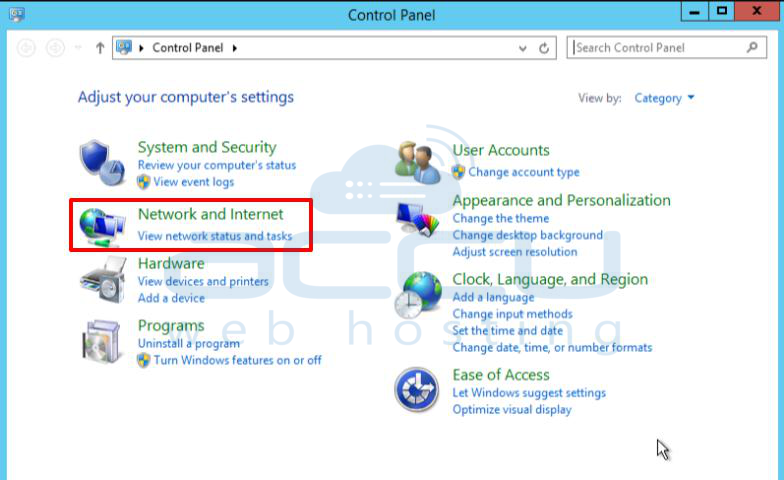
Step 2. Once you are in the Control Panel, click on the Network and Internet option.
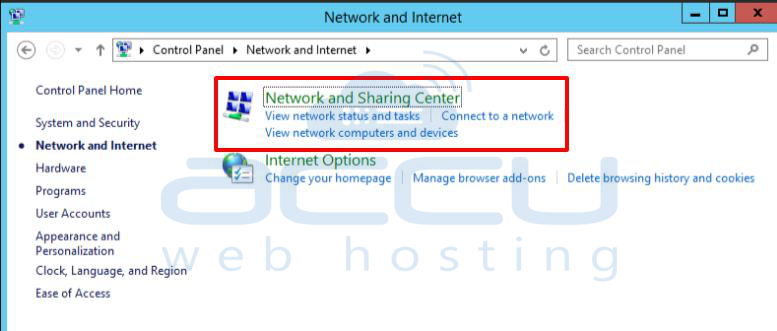
Step 3. Now click on Network and Sharing Center.
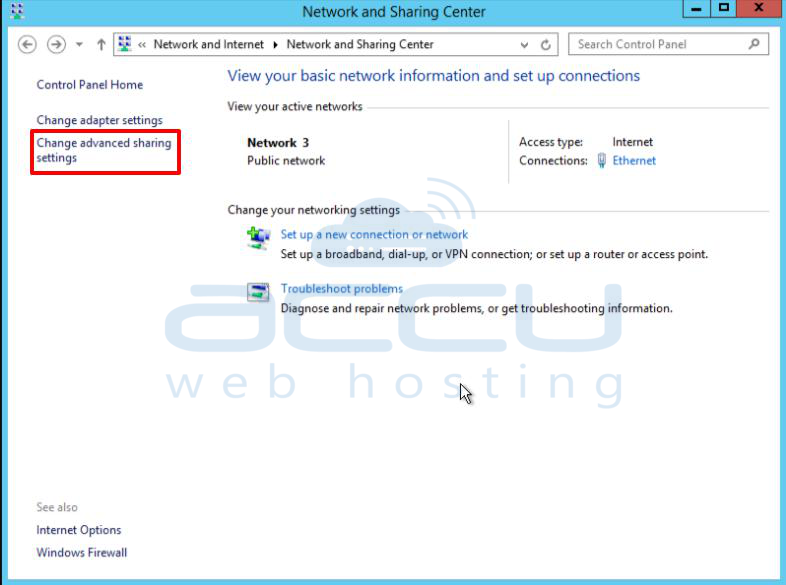
Step 4. In the left-hand panel of the Network and Sharing Center, click on the Change advanced sharing settings link.
Step 5. In the File and printer sharing section tick on the Turn off file and printer sharing option.
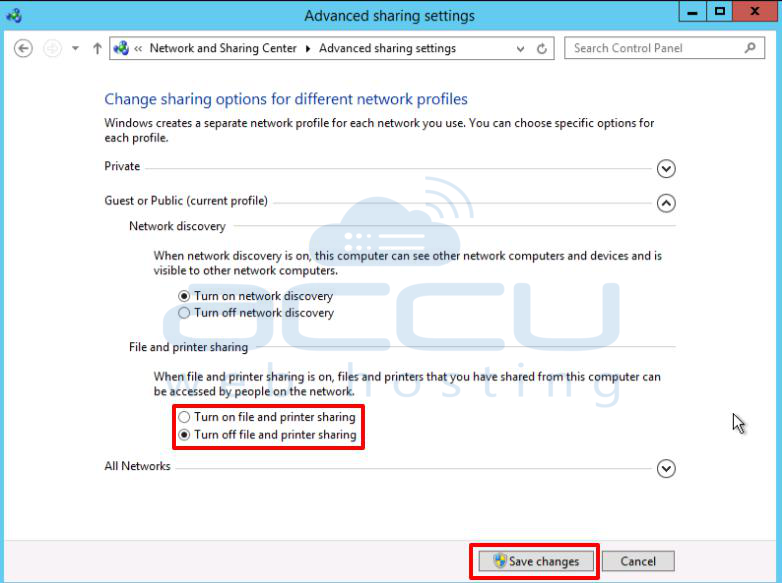
Step 6. Click on the Save changes button to apply the changes.
By following these simple steps, you can remove the server list from the Network Sharing option in Windows. This will help increase your network's security by preventing unauthorized access to your shared files and resources. If you need to re-enable file and printer sharing in the future, you can follow the same steps and select the "Turn on file and printer sharing" option instead.
