This article will guide installing and configuring Django on VPS Hosting and Dedicated Servers.
Prerequisites of Django
- Your system or server must have a clean OS.
- You must have root access or access to a user with sudo privileges.
- It also requires Python.
Please see the table below for the Python versions that work with each version of Django.
| Django version | Python versions | |
|---|---|---|
| 2.2 | 3.5, 3.6, 3.7, 3.8 (added in 2.2.8), 3.9 (added in 2.2.17) | |
| 3.0 | 3.6, 3.7, 3.8, 3.9 (added in 3.0.11) | |
| 3.1 | 3.6, 3.7, 3.8, 3.9 (added in 3.1.3) | |
| 3.2 | 3.6, 3.7, 3.8, 3.9 | |
Here, we recommend installing the latest version of Python on your VPS or Dedicated Server because it is faster, has more features, and is better supported.
Installation of Django
To install Django, you first need to create a virtual environment for Python using the virtualenv tool; then, you activate the virtual environment. You can use the pip installer to install Django.
Refer to the following steps to install Python, create a virtual environment, and install Django –
1. Log in to your server or system using SSH with the root user.
2. Enter the following commands in the terminal according to your Linux distribution.
CentOS and Fedora:
# yum install python34
# yum install python34-pip
# pip install virtualenv
Debian and Ubuntu:
# apt-get install python3
# apt-get install python3-pip -y
# pip3 install virtualenv
3. Login with a non-root user (other than the root user) and execute the following commands in the terminal –
$ cd ~
$ mkdir django-apps
$ cd django-apps
$ virtualenv env
$ source env/bin/activate
$ pip install django
4. Django is installed on your server and system, and you can check its version by typing the following command in the terminal –
$ django-admin --version
Configuration of Django
Now, we will create and configure a Django application by performing the following steps –
1. Log in to your server or system with a non-root user (other than the root user).
Enter the following commands in the terminal –
$ cd ~/django-apps
$ django-admin startproject mysite
2. Use a text editor to open the settings.py file under this path – /home/username/django-apps/mysite/mysite/settings.py
Note: Replace the username with the actual username that you have.
3. In the file, you need to confirm that debug mode is enabled.
DEBUG = True

4. Search the ALLOWED_HOSTS line, and modify it. Replace ['IP_address'] with the actual IP address of your server and system.
Do not forget to close the IP address with single inverted commas like '192.168.2.152'
ALLOW_HOSTS = ['IP_address']

5. Save the changes to the settings.py file.
Now, you need to start the development web server.
6. Type the following commands in the terminal.
$ python ~/django-apps/mysite/manage.py runserver IP_address:8000
Note - Please do not forget to replace the IP_address with the actual IP address of your server or system.
7. Go to the browser and visit http://IP_address:8000.
Replace the IP_address with your actual server or system IP address.
You will get the below message on the screen –
The install worked successfully! Congratulations!

Configure the Administration Interface
Django offers an administration interface that you can use to modify website applications, manage users and groups, and more. To configure the Django administration interface, you need to perform the following steps.
1. Log in to your server or system with a non-rooted user.
2. Enter the following commands in the terminal –
$ cd ~
$ python ~/django-apps/mysite/manage.py migrate
$ python ~/django-apps/mysite/manage.py createsuperuser
3. In the Username field, enter administrator and press enter. You can also use another name you want to set as an administrator user.
4. In the Email address field, enter the email address and press enter.
5. In the Password field, type the password which you want to set.
6. In the Password Again field, enter the same password which you have typed in the password field.
7. Once you enter the password, you will get a message on the screen – 'Superuser created successfully.
8. If the development web server is not running, enter the following command in the terminal.
$ python ~/django-apps/mysite/manage.py runserver IP_address:8000
Note
Replace the IP address with the actual IP address of your system or server.
9. Again, go to the browser and visit http://IP_address:8000/admin.
Replace the IP address with your actual server or system IP address.
Once you browse it, you will get the administration login page.

10. Log in to your administration interface using the username and password you set in the Step 3 and Step 5.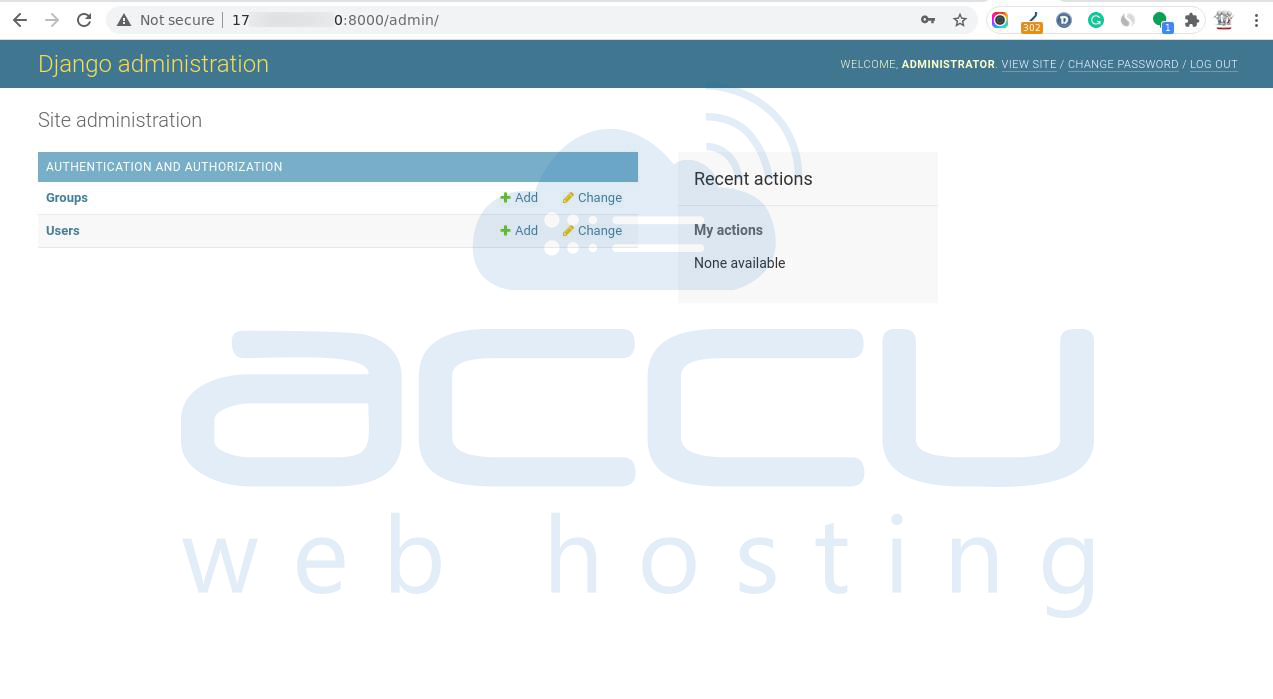
That's all.
These steps will enable you to install and configure Django on VPS Hosting and Dedicated Server.


