The Extended Exim Log helps troubleshoot Exim issues on the Linux server by allowing you to add additional details to the Exim main log file (var/log/exim_mainlog).
After doing this, you can find from and to the addresses of your messages using Exim as an email service.
Enable Extended Logging from the WHM panel:
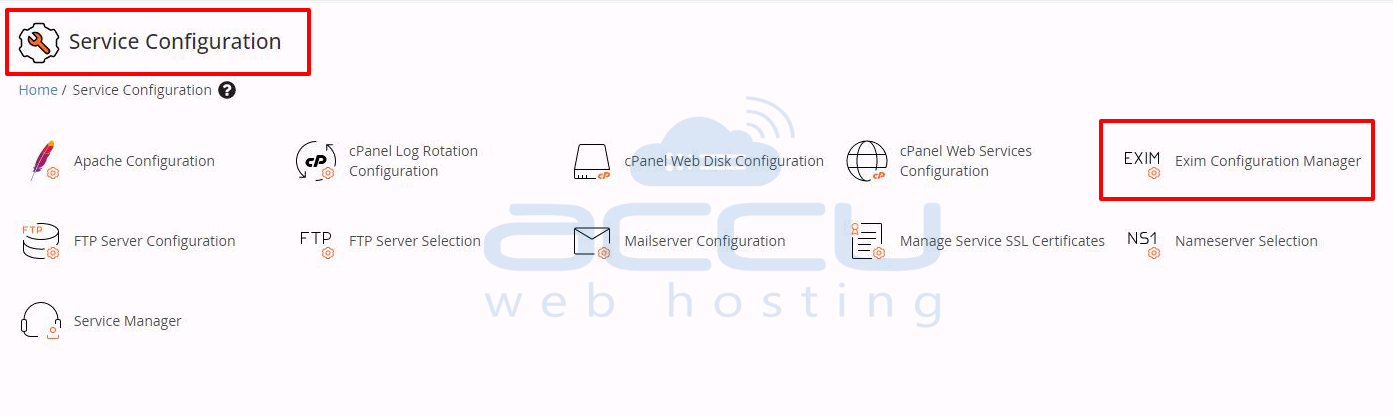
Step 1: Log in to the WHM Panel, go to Service Configuration, and click on the Exim Configuration.
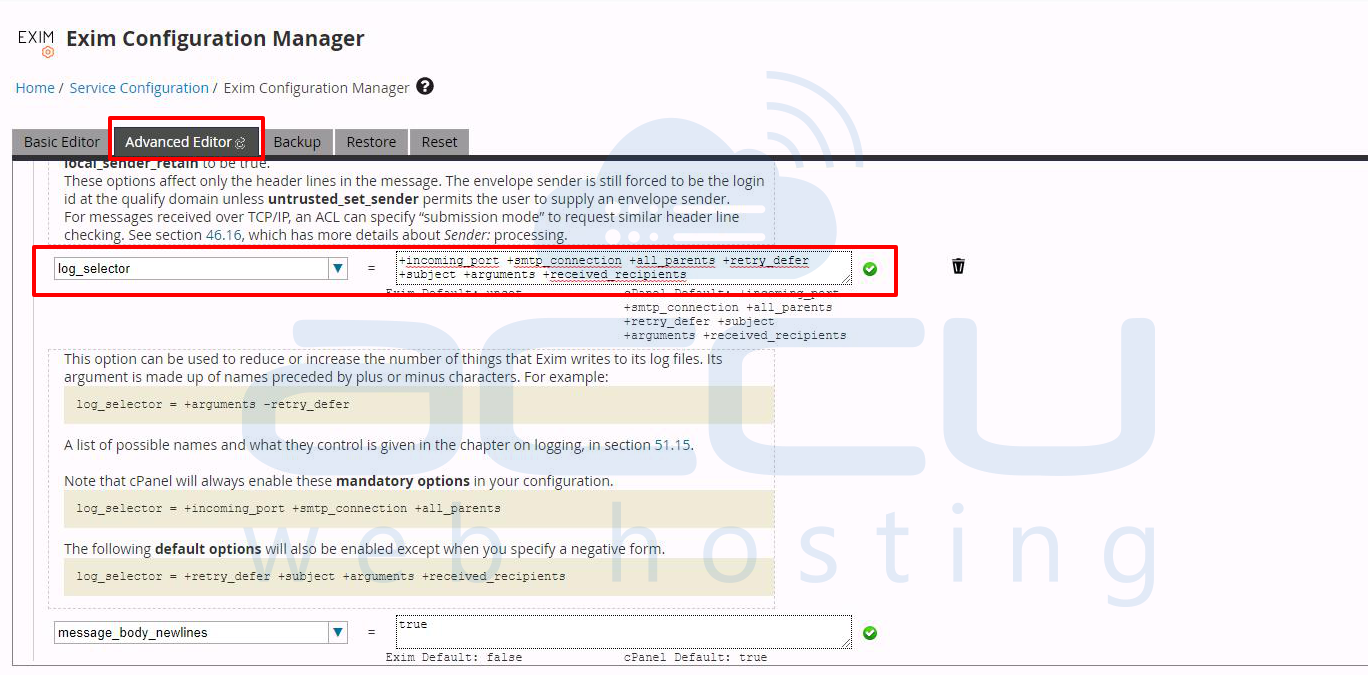
Step 2: Click on Advanced Editor.
Step 3: Here, we will edit, and it will update the exim.conf file. Add the given line inside the log_selector box:
log_selector = +addressrewrite +all_parents +arguments +subject
Step 4: Click the Save button after scrolling down, and you will see the added entry in your exim_mainlog file.
Enable Extended Logging using the command in SSH:
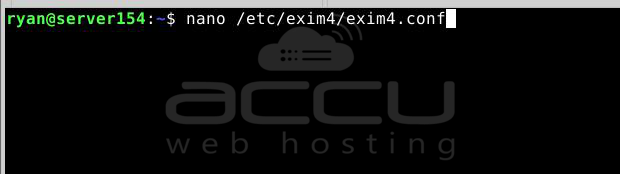
Step 1: Log in to the server with the root user via SSH.
Step 2: Go to the Exim Configuration file /etc/exim.conf using your preferred text editor.
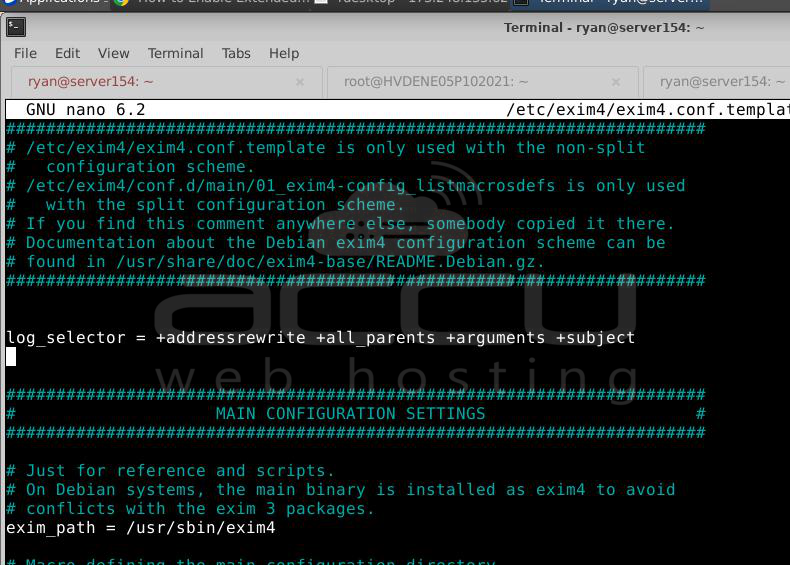
Step 3: Find auth_relay_hosts inside the Exim configuration file and add the line given below:
log_selector = +addressrewrite +all_parents +arguments +subject
Step 4: Save the file using :wq and restart the Exim service.
# service exim restart
In this way, we can enable the extended logging from Exim.
