Protecting your server from a Brute Force Attack on the internet is vital. In a Brute Force Attack, an attacker sends repeated login attempts using combinations of usernames and passwords, potentially causing high I/O usage, slow performance, and unauthorized access.
To mitigate this, you can install and configure Fail2Ban, an effective intrusion prevention framework for your Ubuntu server.
What is a Brute Force Attack?
In a Brute Force Attack, the attacker repeatedly attempts to log in with various username-password combinations from their precompiled databases. These attempts are logged in your system’s log files, including the IP addresses of the attacker.
Manually identifying and blocking each malicious IP is inefficient. Instead, you can automate this process using Fail2Ban, which scans logs for suspicious patterns and bans offending IPs.
Install Fail2Ban on Ubuntu
Follow these steps to install Fail2Ban on your Ubuntu VPS:
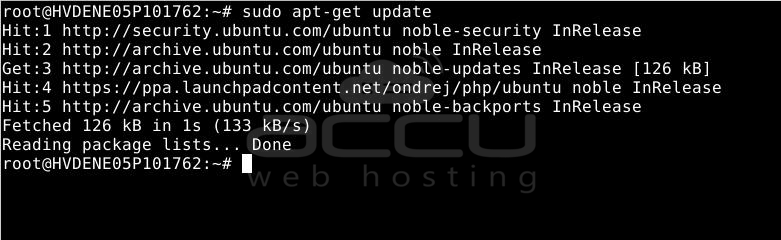
Step 1: Update packages:
# sudo apt-get update
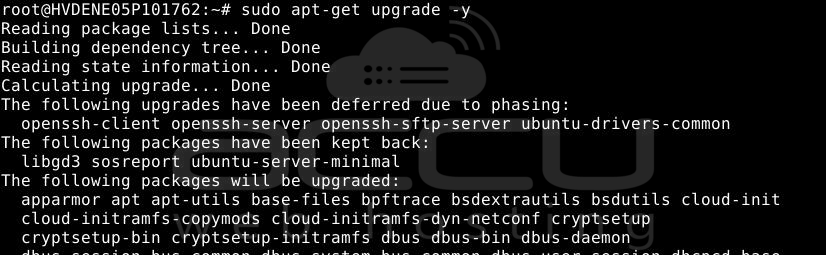
# sudo apt-get upgrade -y
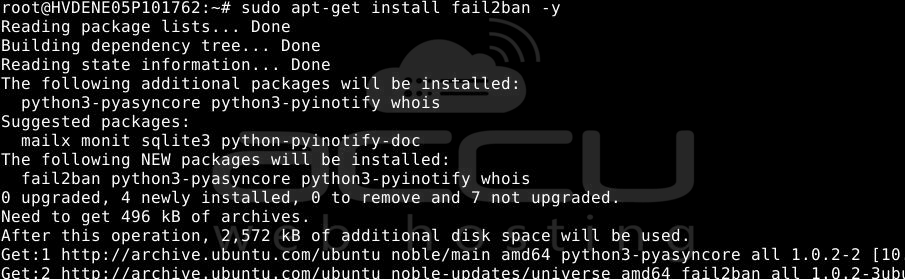
Step 2: Install Fail2Ban:
# sudo apt-get install fail2ban -y
Step 3: Allow SSH and enable the firewall:
# sudo ufw allow ssh
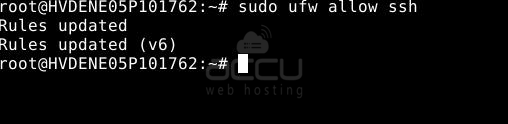
# sudo ufw enable

SSH must be allowed before enabling the firewall to avoid getting locked out of your server.
Configure Fail2Ban
Step 1: Create a local configuration file:
# sudo nano /etc/fail2ban/jail.local
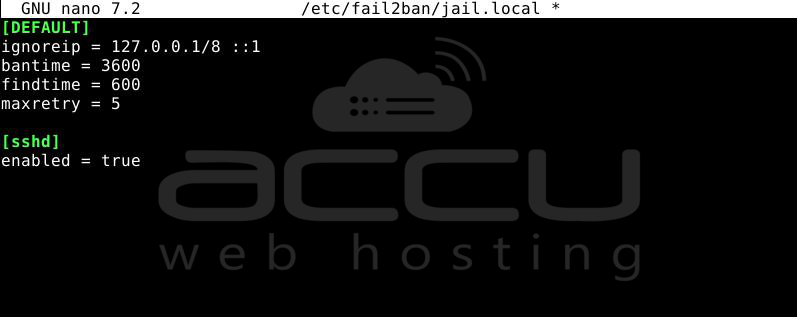
Step 2: Paste the following configuration:
[DEFAULT]
ignoreip = 127.0.0.1/8 ::1
bantime = 3600
findtime = 600
maxretry = 5

[sshd]
enabled = true
Explanation of Key Settings
ignoreip: Enter the IP addresses that we do not want to ban. Here, we have entered the Local Host IP Addresses in both IPv4 and IPv6 formats. It means that Fail2Ban will not ban the server itself from logging in.
bantime: It is real-time in seconds for which the blocked IP address will not be able to log in. Once the IP Address is blocked, you cannot log in again for 3600 seconds.
findtime: findtime is a time frame in which counting will happen. In this case, the findtime is 600 seconds or 10 minutes. So, if someone fails to log in X times in 10 minutes, Fail2Ban will block the IP Address.
maxretry: maxretry is the number of failed login attempts. In this case, it is 5. It means that after five failed tries, Fail2Ban will block the IP Address.
Step 3: Restart Fail2Ban to apply the configuration:
# sudo service fail2ban restart

This is how you can use Fail2Ban to protect your server from brute-force attacks.
Conclusion:
Fail2Ban is a simple yet powerful tool that acts as your server's first line of defense against brute force attacks. By automatically detecting failed login attempts and banning suspicious IPs, it helps secure your SSH and other services while minimizing manual firewall maintenance.
With the configuration steps above, your Ubuntu server is now better protected, and you’ve set up a proactive system to keep unauthorized users out. Always monitor your Fail2Ban logs (/var/log/fail2ban.log) to ensure it’s working as expected and update your IP whitelist (ignoreip) carefully to avoid banning trusted users.
