In some hosting environments, you may need to run multiple versions of PHP on the same server, especially when hosting applications that require different PHP versions (e.g., PHP 7.1 for one application and PHP 7.2 for another).
This guide will show you how to install and configure multiple PHP versions with Nginx on Ubuntu.
Here are the steps to run multiple PHP versions.
Step 1: Add the PHP Repository
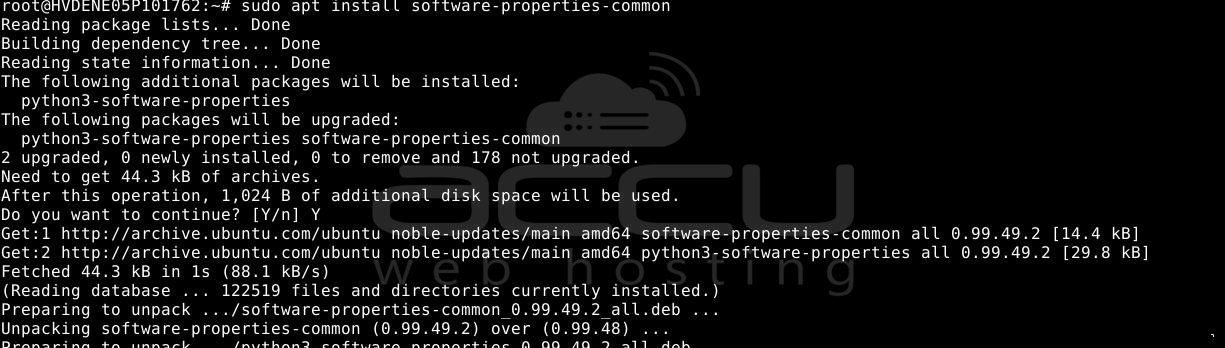
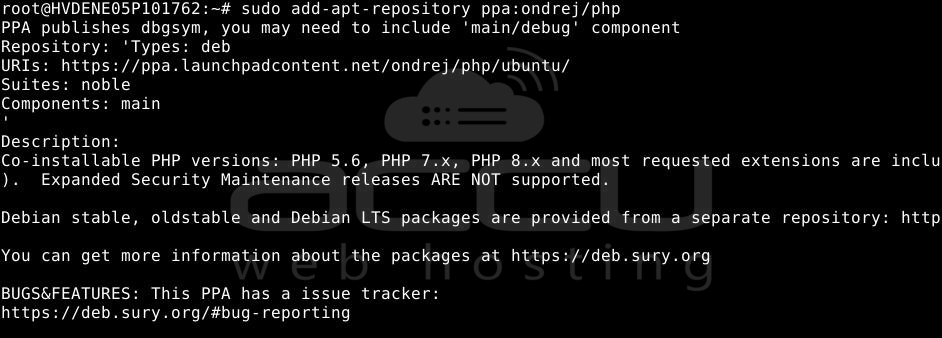
Install required tools and add the PPA repository:
# sudo apt install software-properties-common
# sudo add-apt-repository ppa:ondrej/php
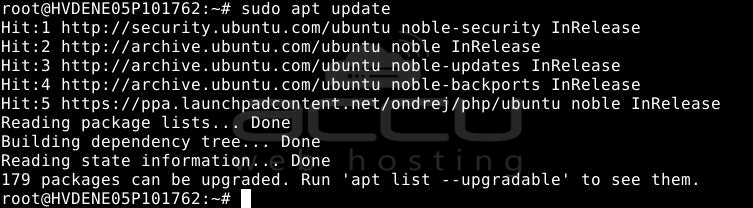
Run the update command.
# sudo apt update
Step 2: Install PHP Versions and Extensions
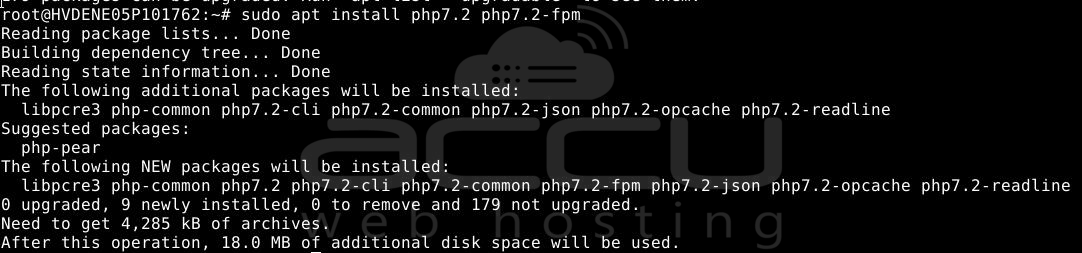
Install PHP 7.2 with this command.
# sudo apt install php7.2 php7.2-fpm
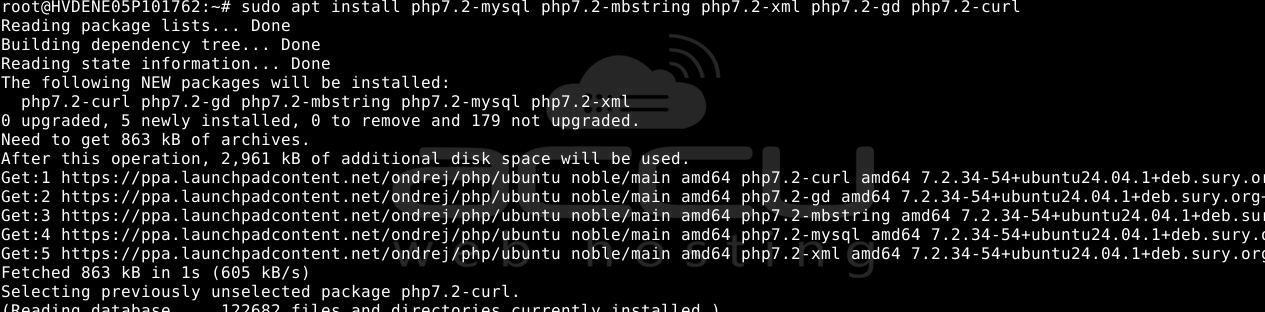
Install PHP extensions using this command –
# sudo apt install php7.2-mysql php7.2-mbstring php7.2-xml php7.2-gd php7.2-curl
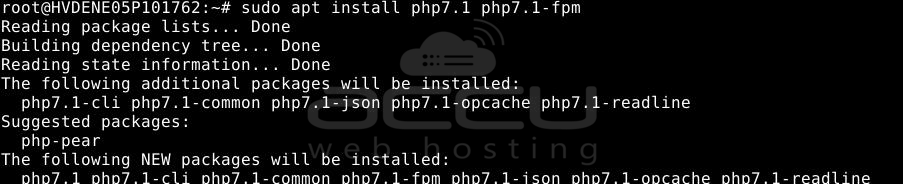
Now, install PHP 7.1 using this command:
# sudo apt install php7.1 php7.1-fpm
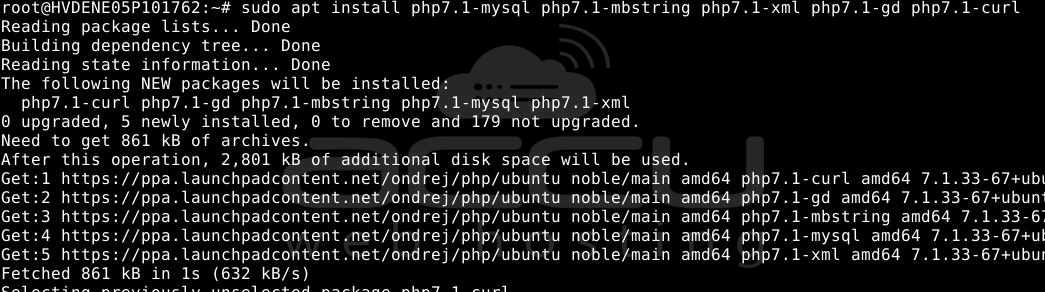
Install common PHP 7.1 extensions.
# sudo apt install php7.1-mysql php7.1-mbstring php7.1-xml php7.1-gd php7.1-curl
You can install PHP 7.0, as we have installed PHP 7.1 and 7.2
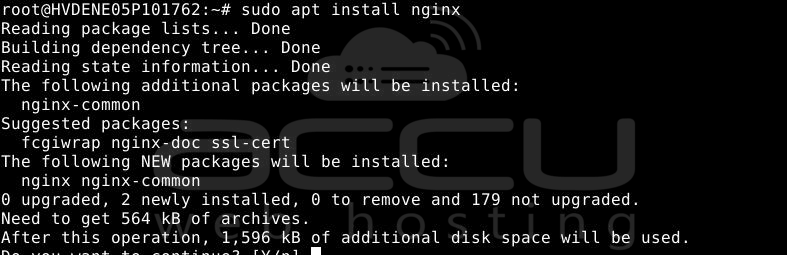
Step 3: Install Nginx Web Server
# sudo apt install nginx
Step 4: Create Test Website Directories
Create directories with test phpinfo() pages:
# mkdir -p /var/www/php71
# mkdir -p /var/www/php72

# echo "<?php phpinfo(); ?>" | sudo tee /var/www/php71/index.php
# echo "<?php phpinfo(); ?>" | sudo tee /var/www/php72/index.php

Step 5: Configure Nginx Virtual Hosts
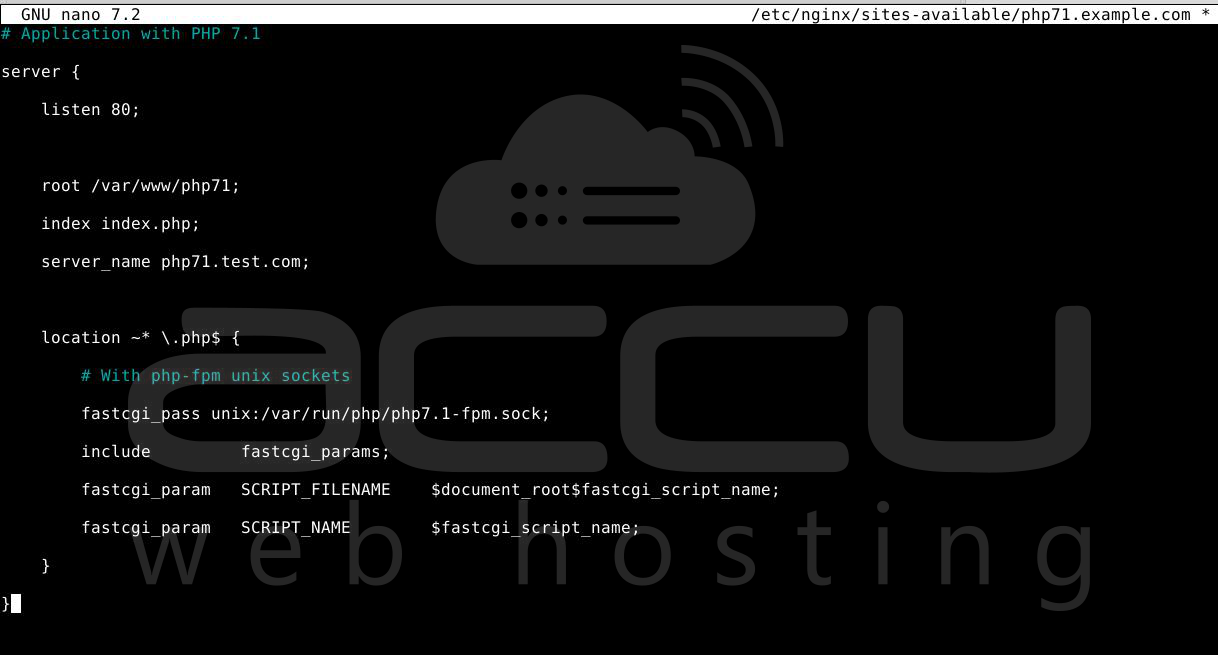
Create a virtual host for PHP 7.1:
# sudo nano /etc/nginx/sites-available/php71.example.com
Content:
# Application with PHP 7.1
server {
    listen 80;
    root /var/www/php71;
    index index.php;
    server_name php71.test.com;
    location ~* \.php$ {
        # With php-fpm unix sockets
        fastcgi_pass unix:/var/run/php/php7.1-fpm.sock;
        include         fastcgi_params;
        fastcgi_param   SCRIPT_FILENAME    $document_root$fastcgi_script_name;
        fastcgi_param   SCRIPT_NAME        $fastcgi_script_name;
    }
}
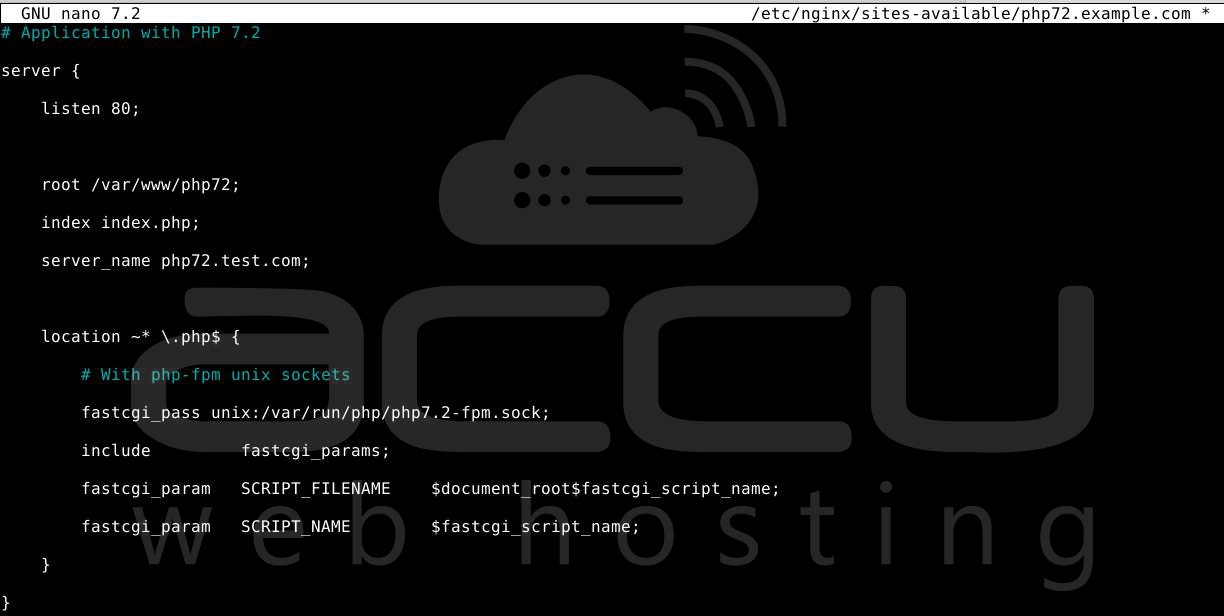
Create another virtual host for PHP 7.2:
# sudo nano /etc/nginx/sites-available/php72.example.com
Content:
# Application with PHP 7.2
server {
    listen 80;
    root /var/www/php72;
    index index.php;
    server_name php72.test.com;
    location ~* \.php$ {
        # With php-fpm unix sockets
        fastcgi_pass unix:/var/run/php/php7.2-fpm.sock;
        include         fastcgi_params;
        fastcgi_param   SCRIPT_FILENAME    $document_root$fastcgi_script_name;
        fastcgi_param   SCRIPT_NAME        $fastcgi_script_name;
    }
}
Step 6: Enable Nginx Server Blocks
Create a symbolic link for both config files under the /etc/nginx/sites-enabled directory.
# sudo ln -s /etc/nginx/sites-available/php71.example.com /etc/nginx/sites-enabled/
# sudo ln -s /etc/nginx/sites-available/php72.example.com /etc/nginx/sites-enabled/

Step 7: Restart Nginx
# sudo systemctl restart nginx.service

Conclusion:
By following the above steps, you can successfully run multiple PHP versions side by side with Nginx on Ubuntu. Each application can be configured to use a specific PHP version, offering flexibility when managing different project requirements on the same server.
