In certain scenarios—like assigning multiple IPs to a server or configuring static routes—you may need to manually add an IP address to a network interface in Ubuntu. This can be done easily via the terminal using the steps outlined below.
Steps to Add an IP Address in Ubuntu:
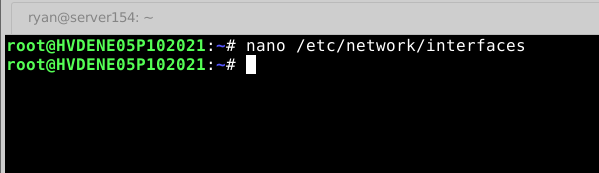
Step 1: Log in to the Ubuntu server via SSH. Execute the following command:
# nano /etc/network/interfaces
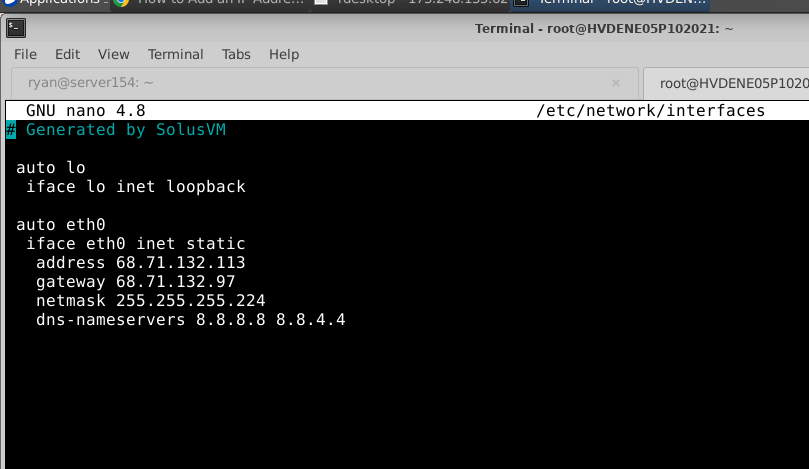
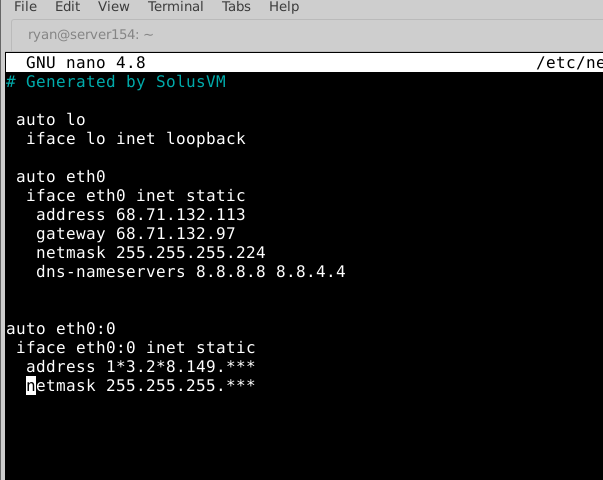
Step 2: Enter the interface alias eth0:0 as mentioned below:
secondary ip address
auto eth0:0
iface eth0:0 inet static
address 1*3.2*8.149.***
netmask 255.255.255.***
Note: If you already have an interface alias eth0:0, then you can add eth0:1 or eth0:2 for an additional IP Address.
Step 3: You're creating a new virtual network interface eth0:0, assigning it the IP address 1*3.2*8.149, and activating it.
# ifconfig eth0:0 1*3.2*8.149.*** up
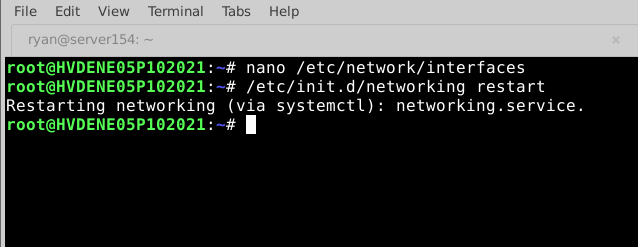
Step 4: Restart the network service.
# /etc/init.d/networking restart
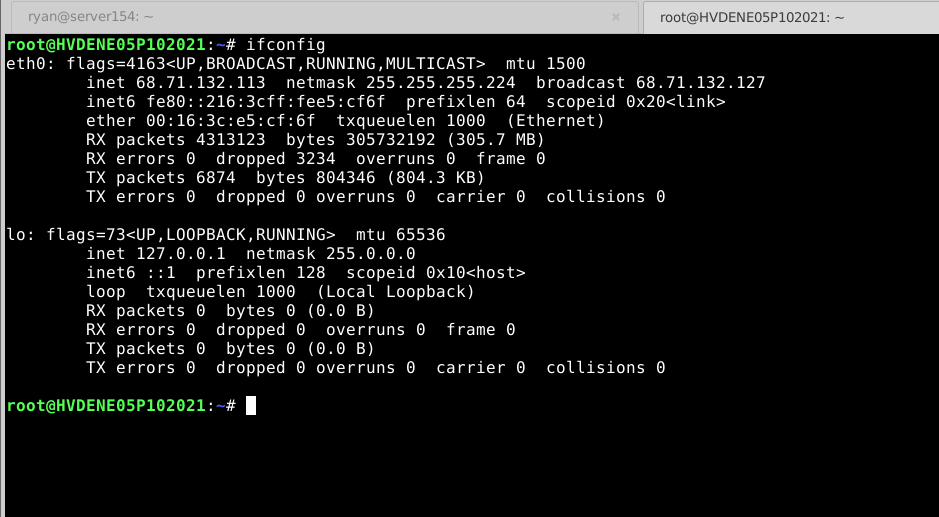
Step 5: Check the newly added IP Address with the below command:
# ifconfig
Conclusion:
That’s it. You’ve successfully added a secondary IP address on an Ubuntu server. This method is useful for temporary interface aliasing or basic multi-IP setups. For persistent and production-grade configurations, consider migrating to netplan or systemd-networkd if you're using newer Ubuntu versions.
