We offer a SolusVM VPS management portal with Linux VPS on the Denver location.
The following article will assist you in managing your Linux VPS from the SolusVM portal.
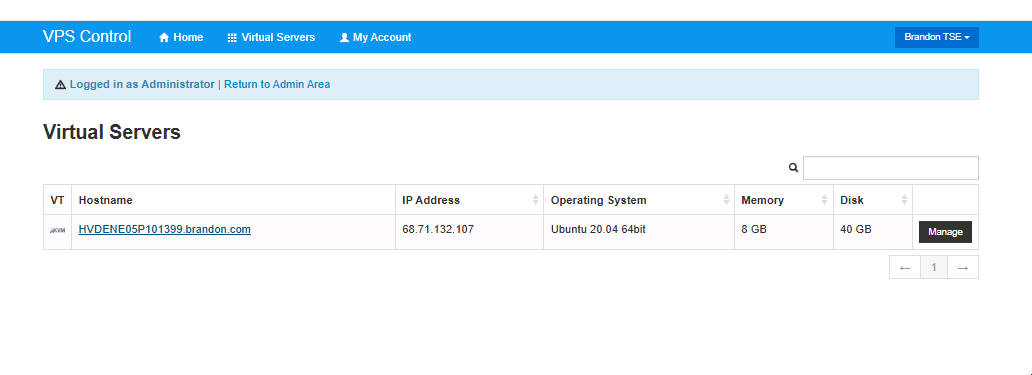
1. Log in to the SolusVM control panel.
2. You will see options from the main navigation menu, such as Home, Virtual Servers, My Account, etc.
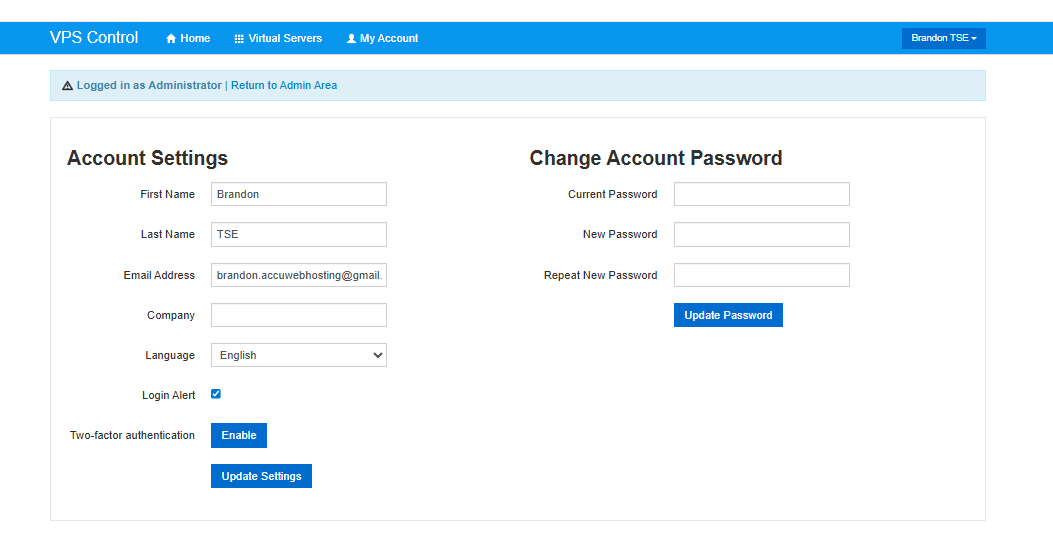
Under the Virtual Servers menu, you can list the number of virtual machines under the same account. This option is only useful when you have added multiple VMs under the same account. From the My Account menu, you can change the account information and reset the VPS Management password.
3. On the SolusVM dashboard, you would see the configuration information of your VPS, such as Operating system, IP address, Disk space, Bandwidth, Virtualization type, RAM, VPS hostname, Status, etc. On the same screen, you can also access your VPS Serial Console and monitor VPS bandwidth and disk space usage.
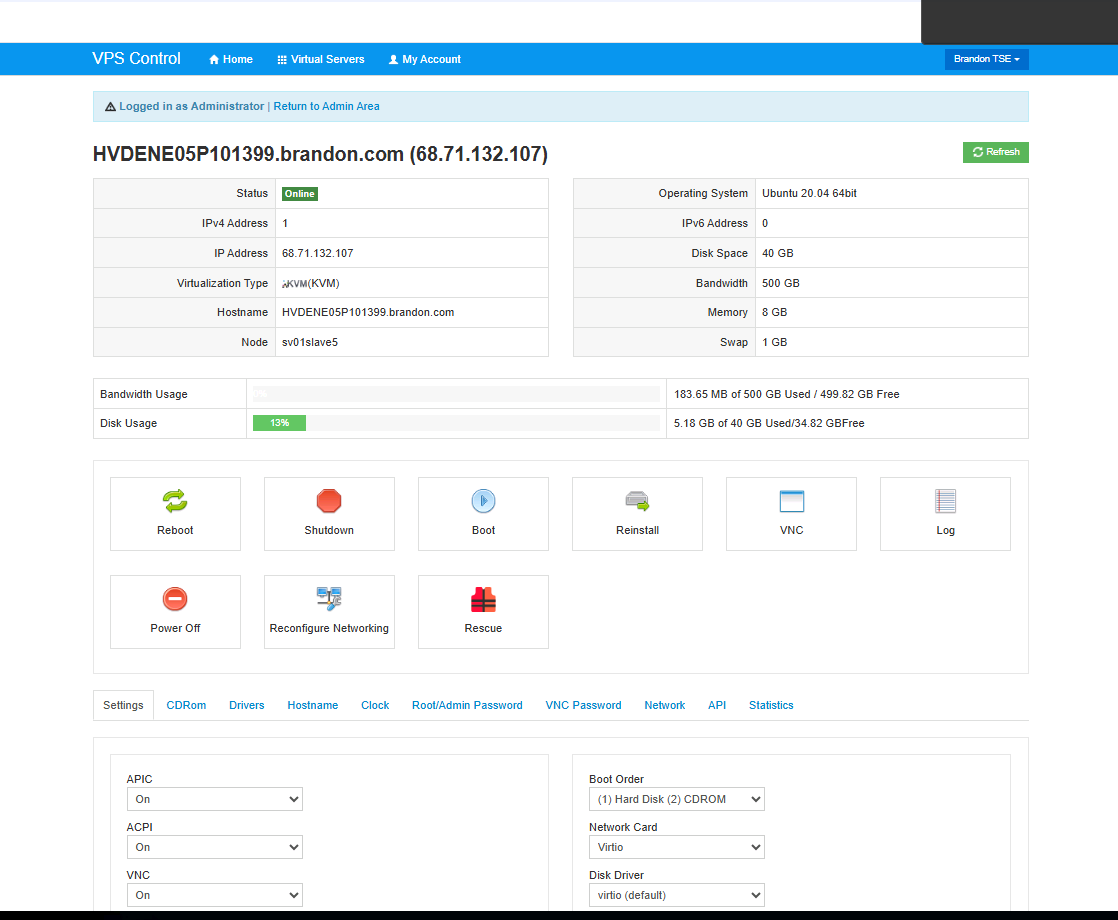
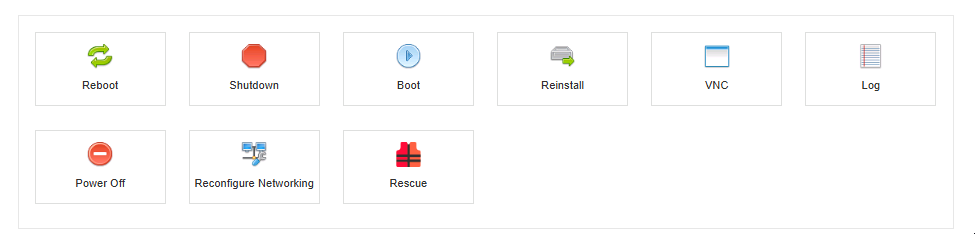
4. Under the Controls section, you will see several tabs to perform various operations.
5. Under the General tab, there are buttons to reboot, Shutdown, Boot, or Reinstall your VPS. Under the Hostname tab, you can change the Hostname of your VPS.
6. You can set a new SSH password for the root user under the Root Password tab. Under the Statistics tab, you can check the incoming/ outgoing traffic statistics and monitor the hard disk activities (read and write operations) of your VPS in graphical format.

Conclusion:
Managing your SSD or Traditional Linux VPS is effortless with the SolusVM control panel. Whether you’re rebooting your VPS, resetting the root password, or monitoring resource usage, SolusVM gives you full control through a clean, user-friendly interface.
Whether you're managing a single server or multiple virtual machines, SolusVM makes VPS management simple, efficient, and accessible
