This article explains how to register and configure custom (also known as private or child) nameservers from the client area.
Register Custom Nameservers for Your Domain
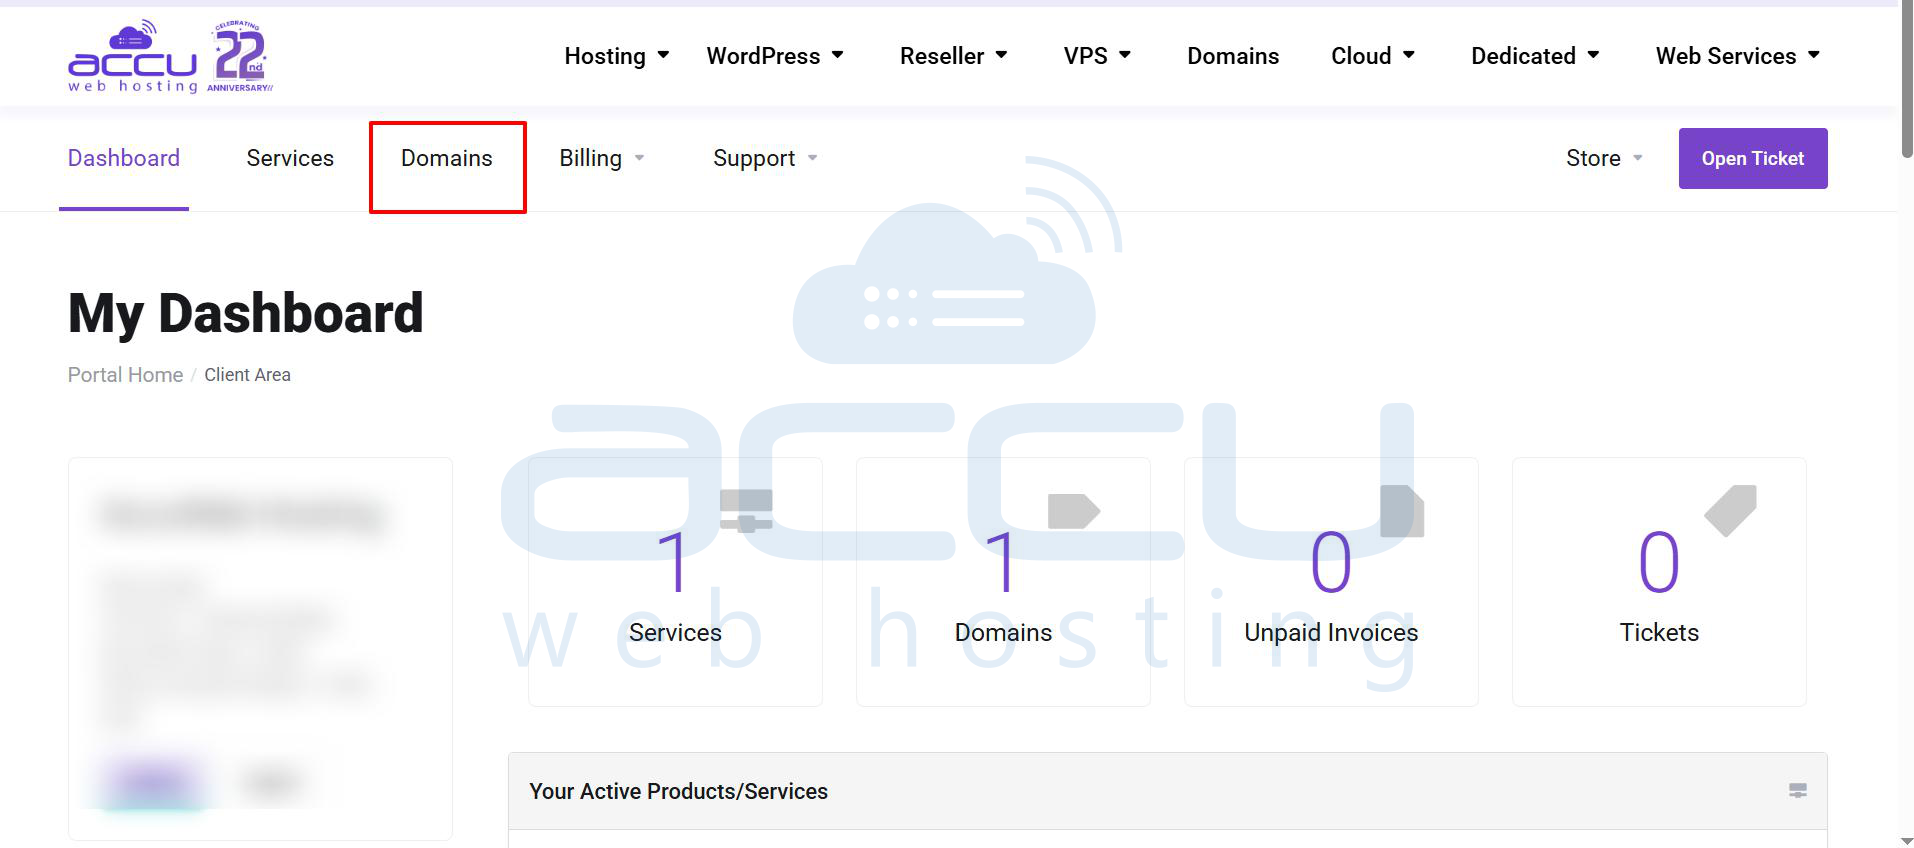
- Log in to the client area.
- Navigate to Domains >> My Domains.
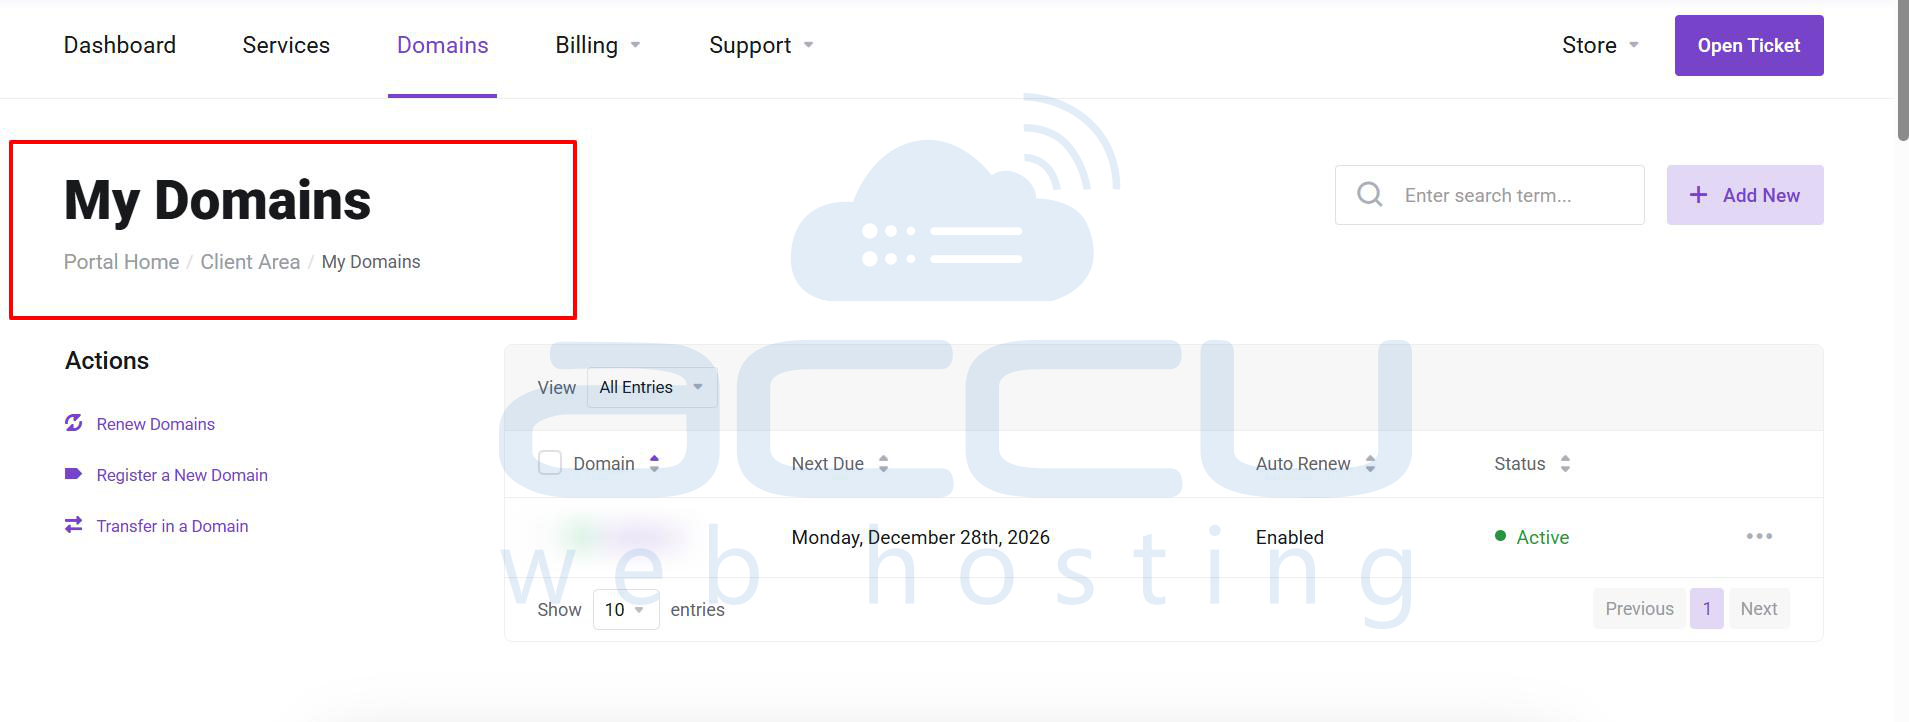
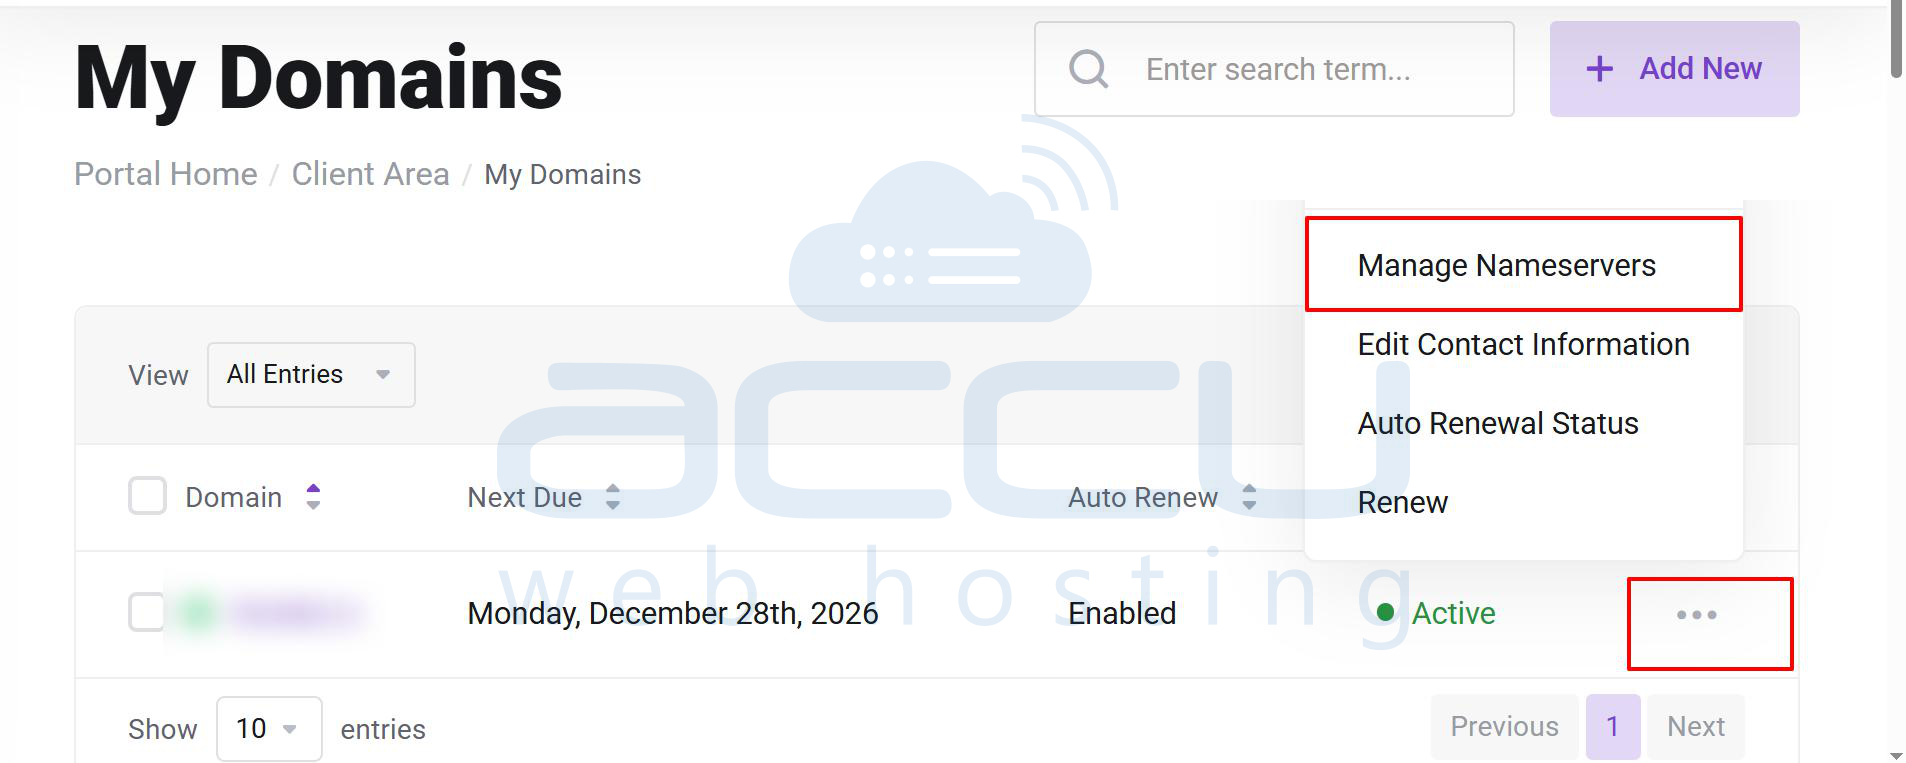
- Locate your domain name, click the three dots on the right-hand side, and select Manage Nameservers.
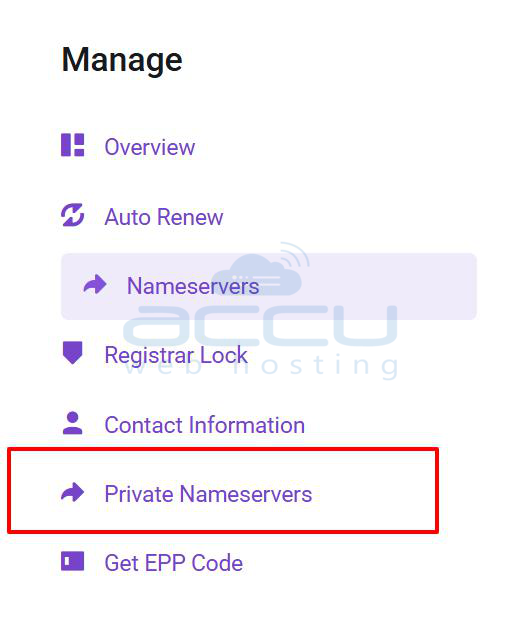
- From the left-hand panel, click Private Nameservers.
- Under Register a NameServer Name, enter ns1 in the Nameserver field.
- Enter the IP address of your VPS.
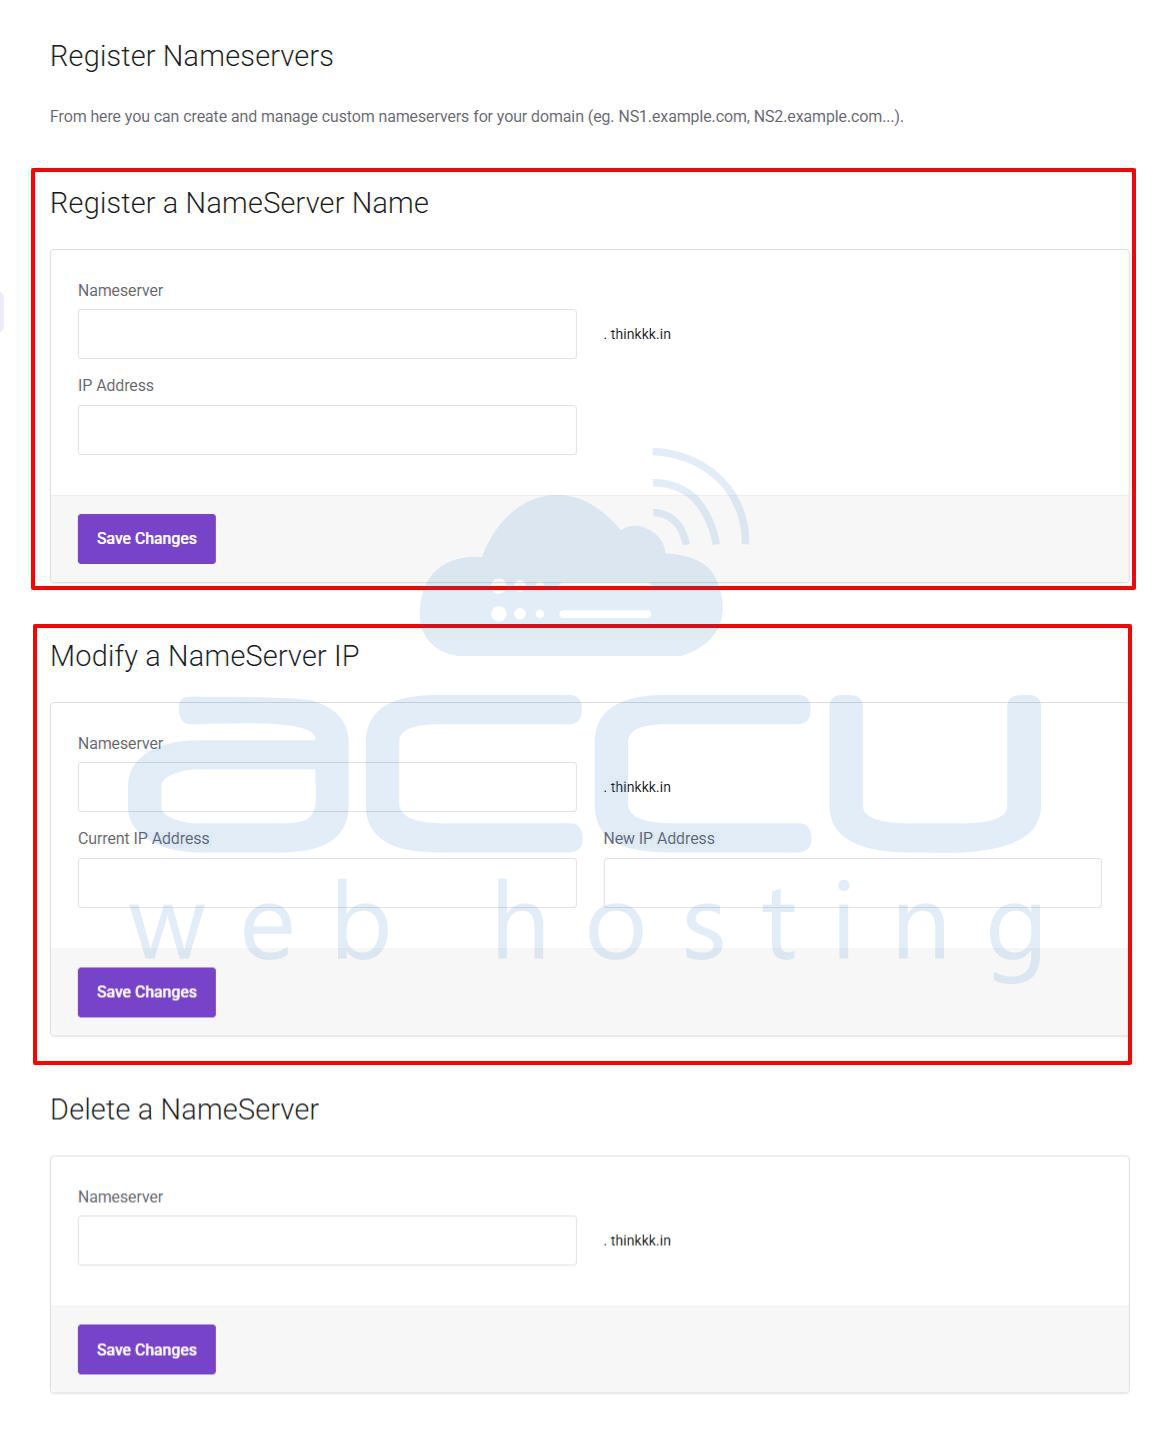
- Click Save Changes.
- Repeat Steps 5 and 6 to register ns2, using the same VPS IP address.
Set Custom Nameservers for Your Domain
Once nameservers have been registered, you can assign/set these private nameservers to the domain. To do that, perform below steps.
- Click the Nameservers link in the left-hand panel.
- Select Use custom nameservers.
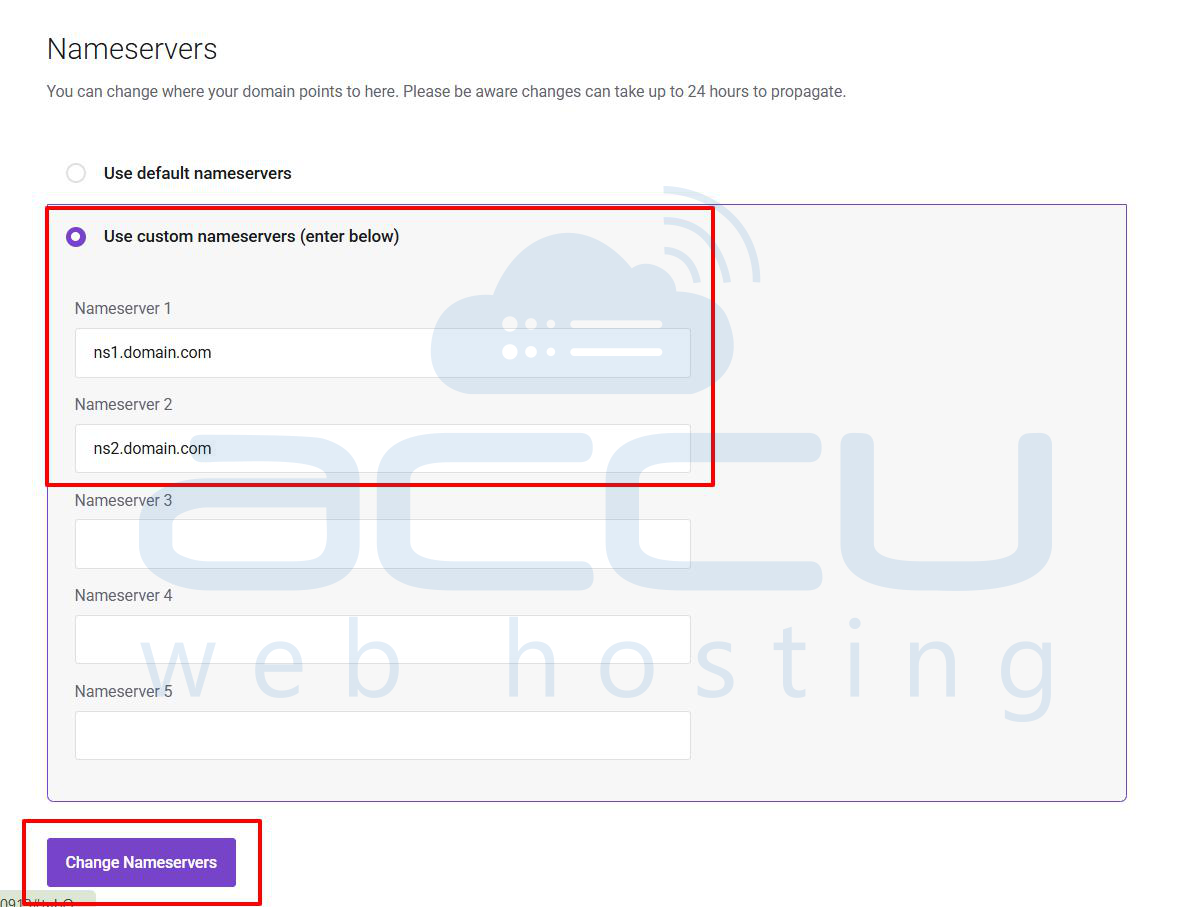
- Enter your private nameservers in Nameserver 1 and Nameserver 2.
- Click Change Nameservers.
Note: Nameserver changes may take 24 to 48 hours to propagate globally.
