This article will assist you in managing your Linux Cloud VPS from the client area (though you will have a separate portal to manage your Linux Cloud VPS).
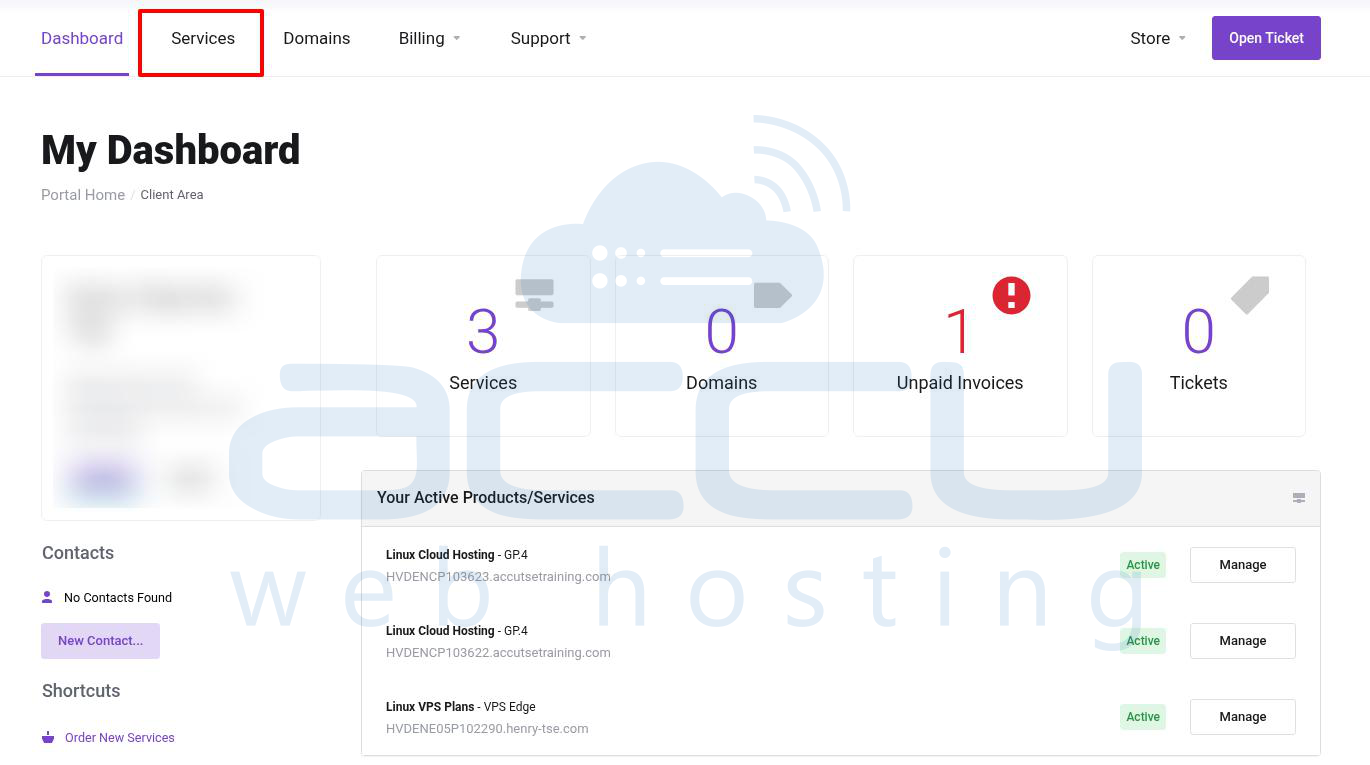
- Log in to your Client Area.
- Click on Services.
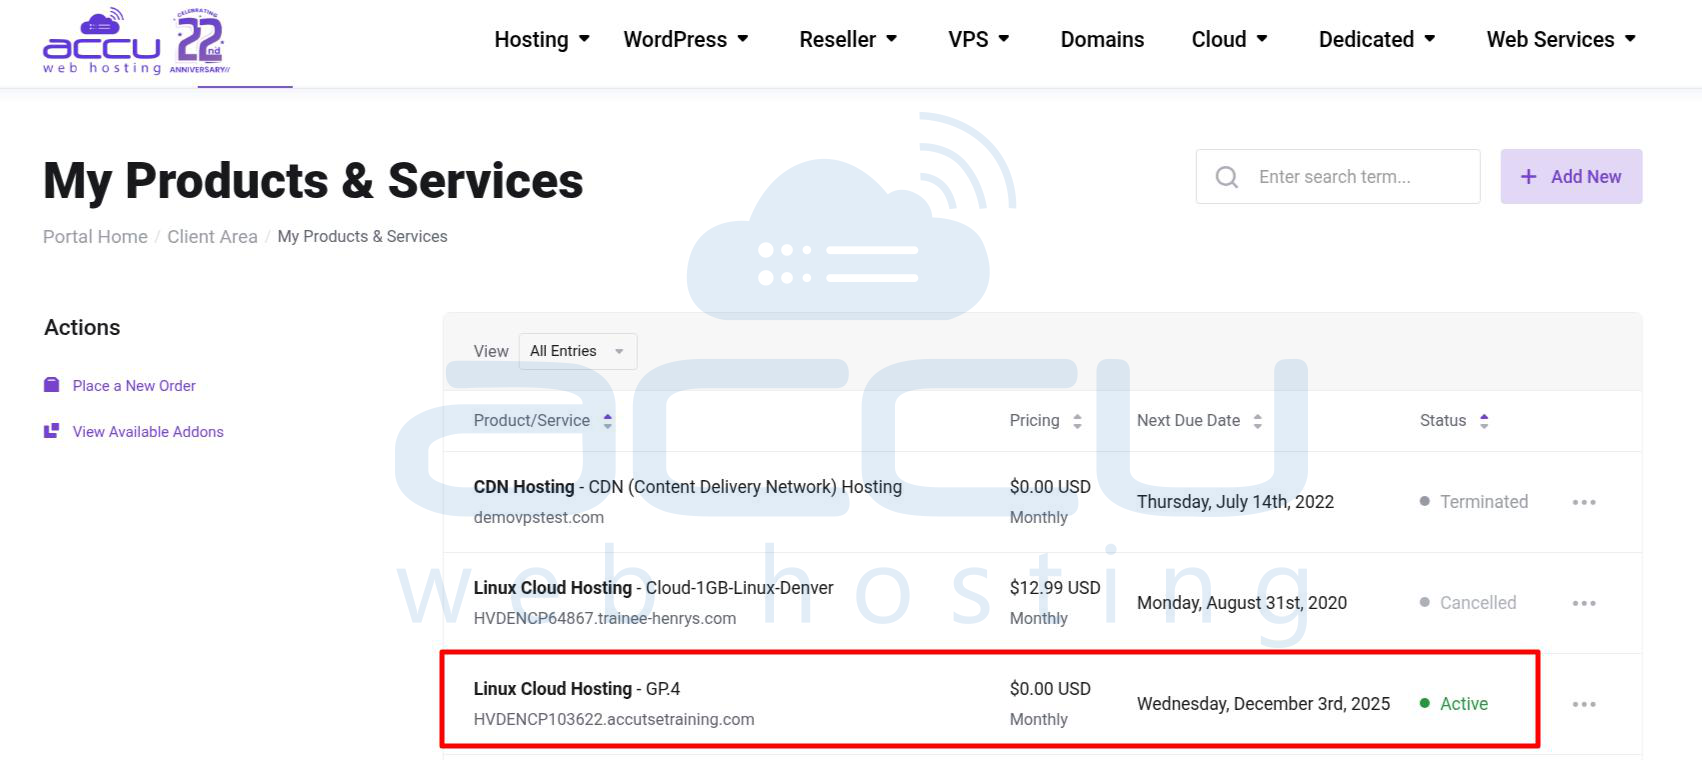
- Locate and click on the Linux Cloud VPS name that you wish to manage.
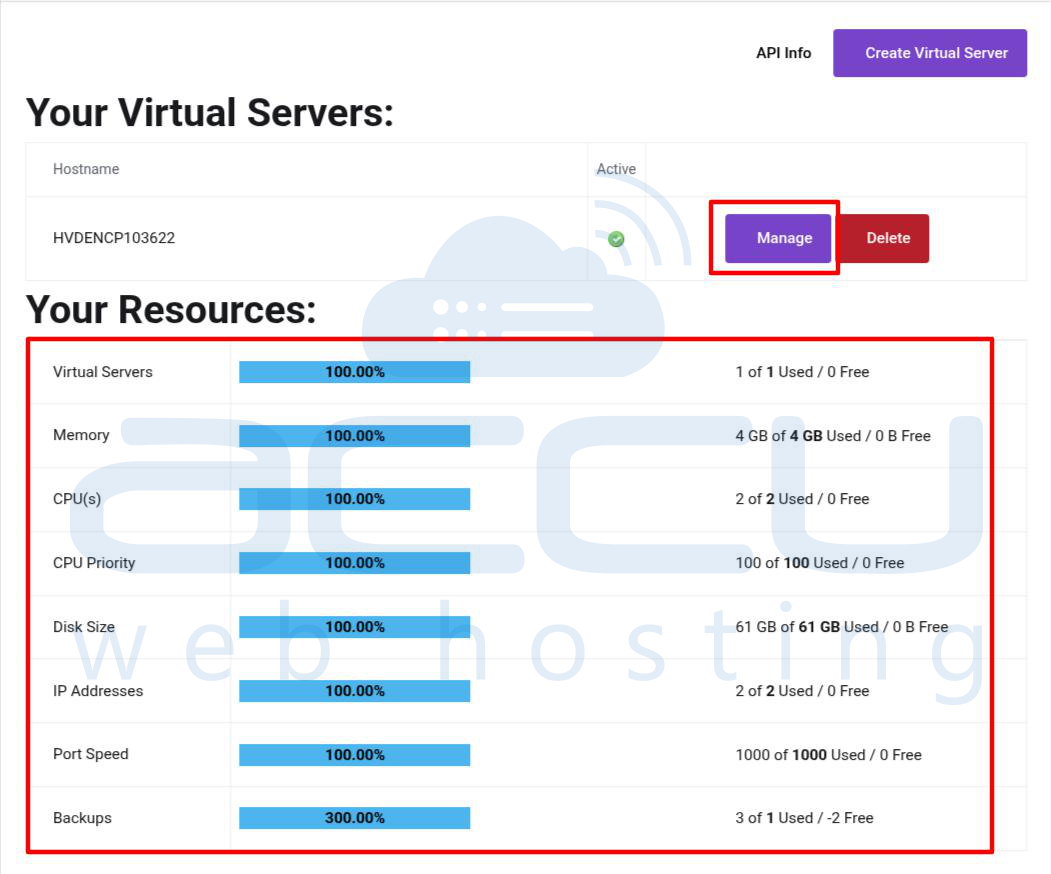
- At the Manage Product page, you would see your Virtual servers' Resource usage chart. Click on Manage button near the VPS you wish to manage.
- Here, you will have the following options to manage VPS:
- As you can see, there is are list of buttons to Start, Stop, Shutdown, and Reboot the VM. You are also allowed to start your VPS in Recovery Mode and rebuild the VPS with your desired OS.
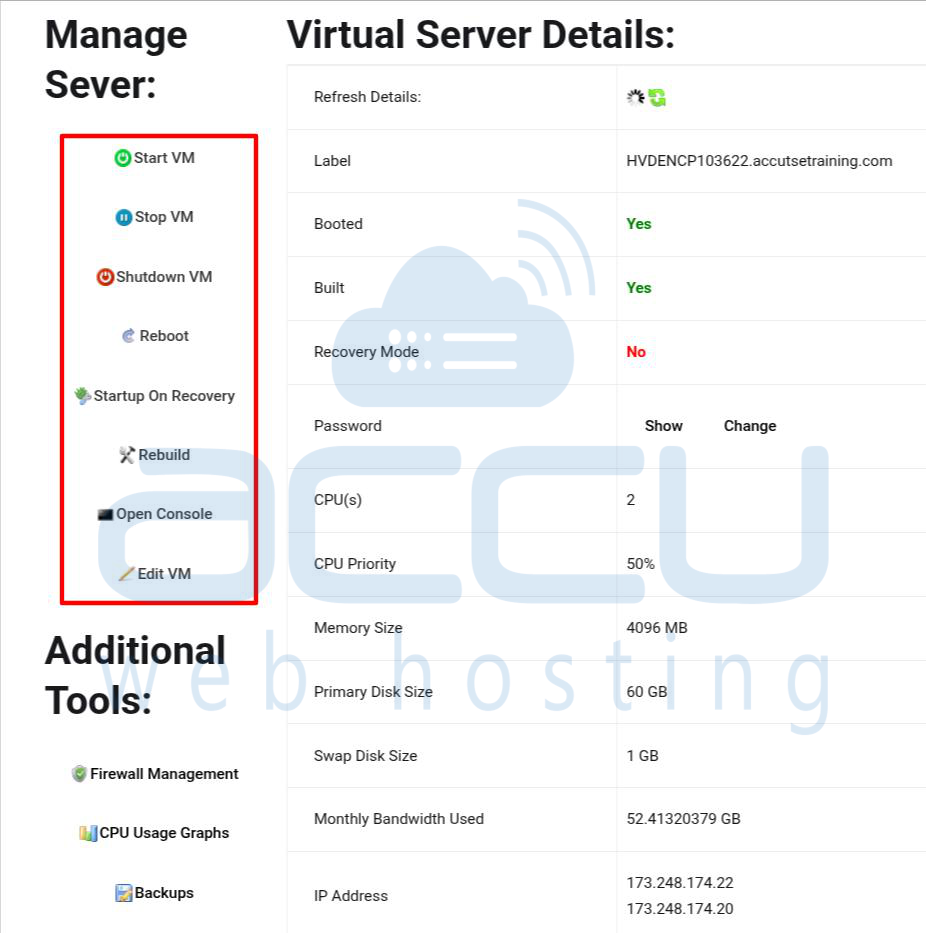
- In case you are unable to connect to your VPS through SSH, you can connect to it through the Console.
- Under Additional Tools, you would see the following options:
Firewall Management
IP Address: You can see the assigned IP address to your VPS.
- Under CPU Usage Graphs, you can check the CPU usage statistics in a graphical format.
- Under Activity Logs, you will see a list of all logs with exact action, timestamp, and action status.
- As you can see, there is are list of buttons to Start, Stop, Shutdown, and Reboot the VM. You are also allowed to start your VPS in Recovery Mode and rebuild the VPS with your desired OS.
