cPanel facilitates completing a full cPanel account along with websites, email accounts, MySQL databases, and all other cPanel settings.
In this article, you will learn about taking a full cPanel backup and restoring it to another cPanel server.
Step 1: Before you generate a full cPanel backup, ensure you have enough free disk space to store the backup file.
Step 2: Now, generate a full cPanel backup by following the steps below:
- Log in to your cPanel. [Usually, https://yourdomainname.com:2083.
- Go to Files >> Backup Wizard.
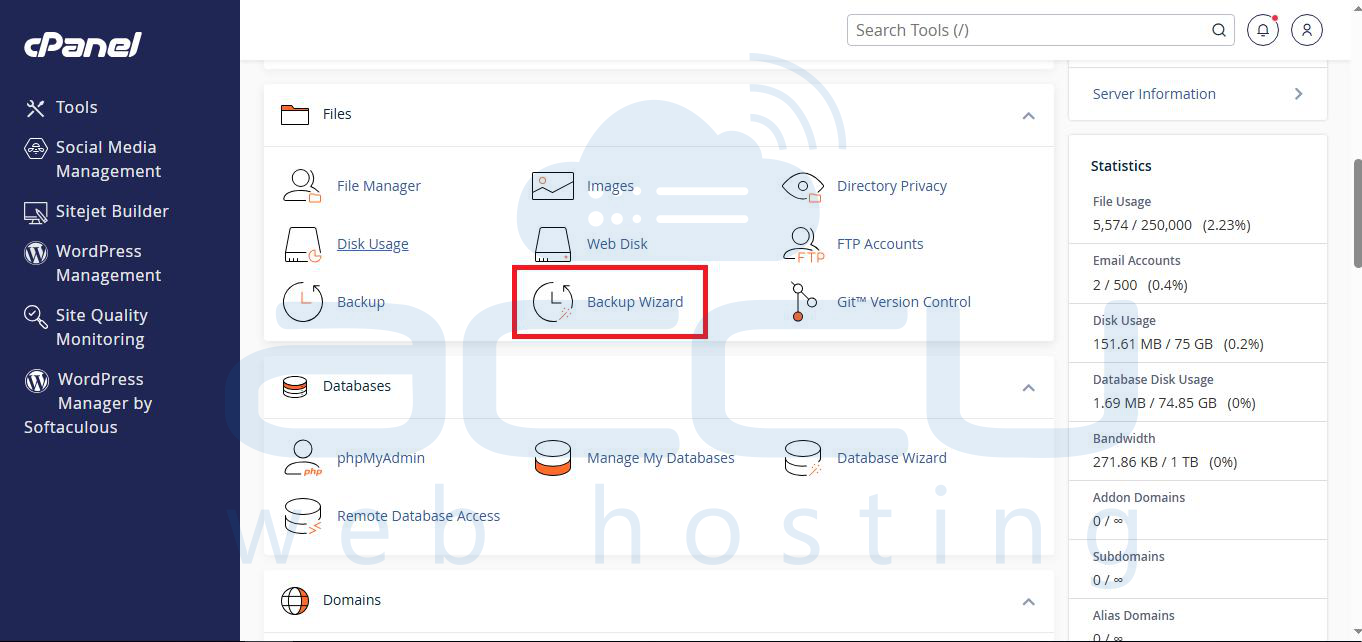
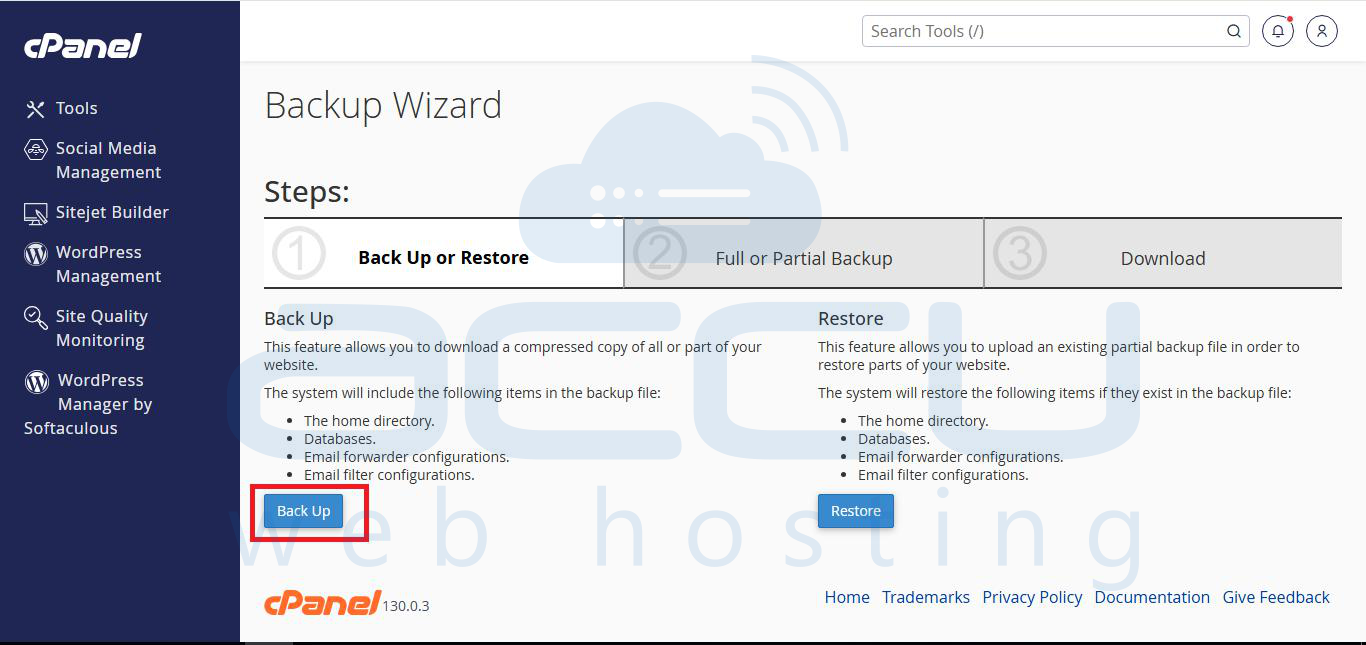
Step 3: At the Backup Wizard window, click on the Backup option.
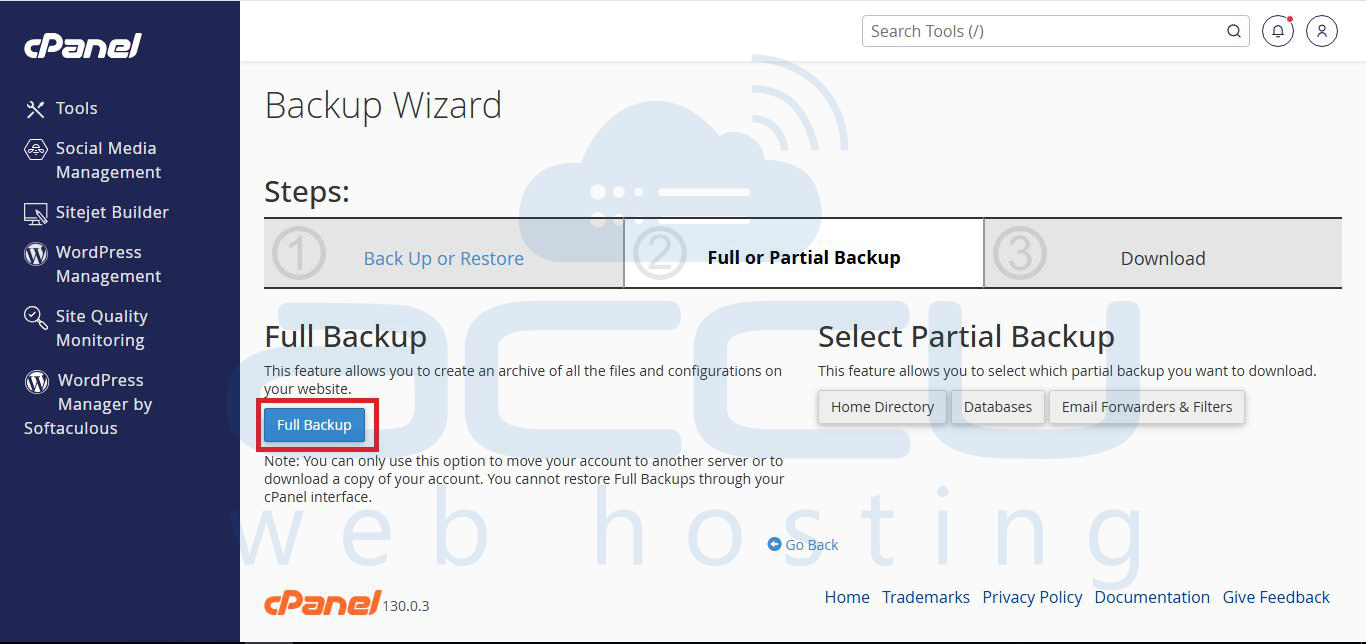
Step 4: Click on Full Backup.
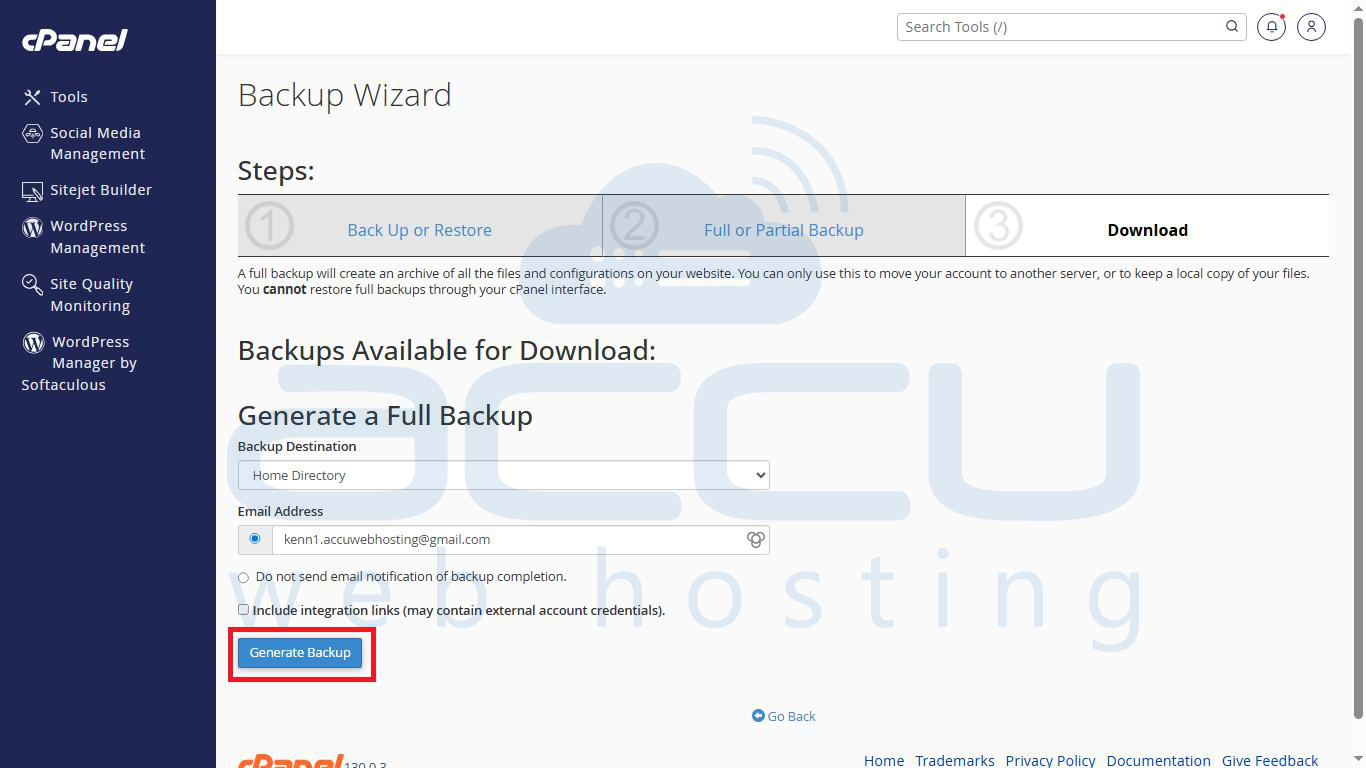
Step 5: Select the backup destination as Home Directory. You can also select Remote FTP Server and SCP options based on remote server settings.
Click on Generate Backup to start the backup process.
The backup process may take some time, depending on the size of your cPanel account. Once the backup is taken, download it to your local computer (3rd step shown in the above image).
Step 6: Transfer the generated backup from your shared hosting account to your VPS or dedicated server via FTP.
Here is a Complete FTP guide you can refer to configure your choice of FTP client and upload the backup files.
Note: Before restoring your backup, ensure you have enough free disk space on the destination server. You will need at least three times more space than your backup file, i.e., if you have a 5 GB backup file, you will need at least 15 GB of free space on your server.
Step 7: Once you upload the backup file, move it to the /home directory.
Step 8: Now, log in to WHM.
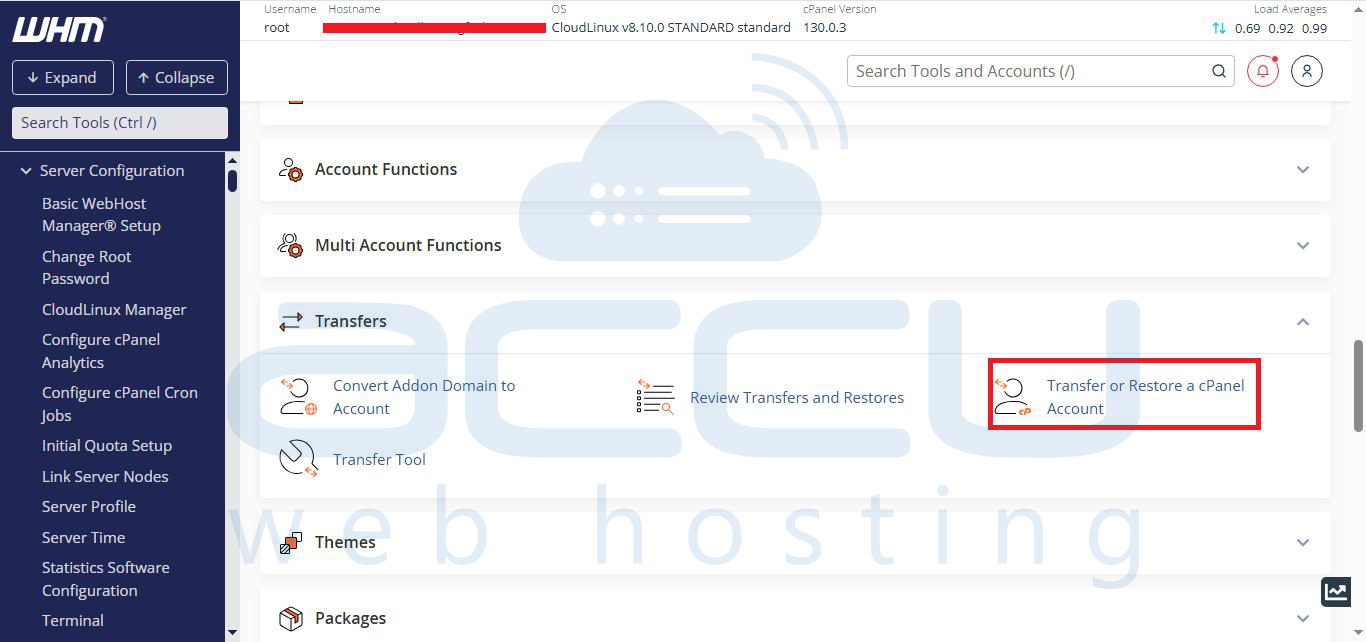
Step 9: Under the Transfers section, select the Transfer or Restore a cPanel Account option.
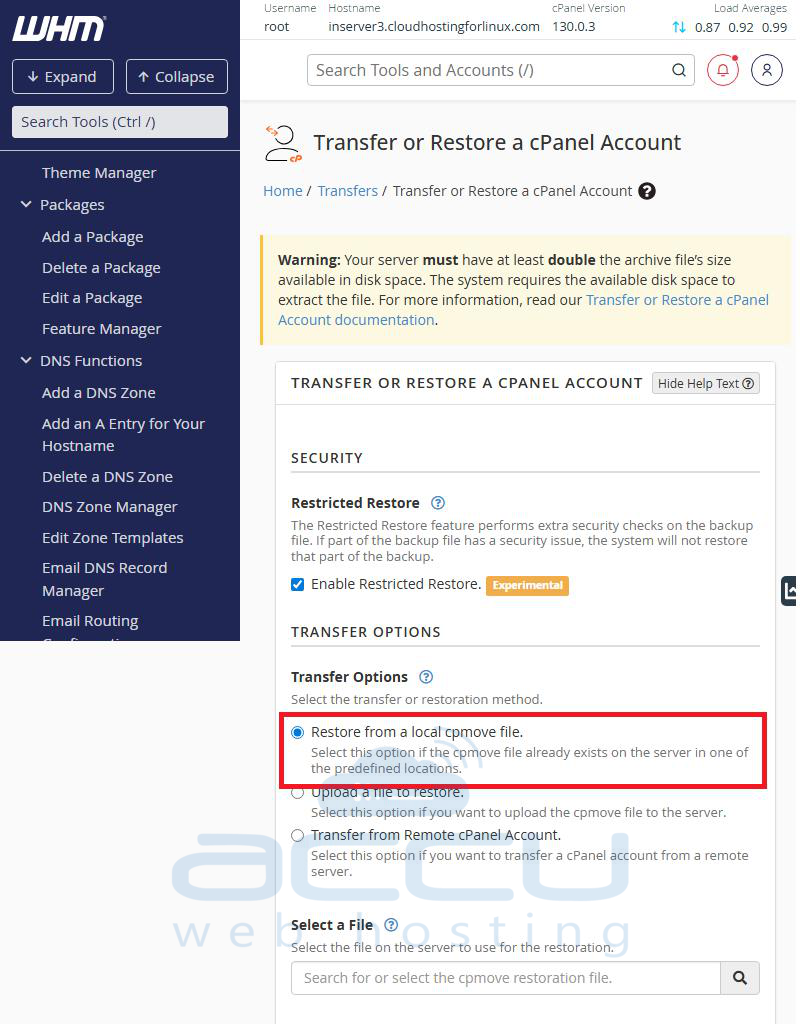
Step 10: Under Transfer options, keep the Restore from a local cpmove file option checked on the Settings page.
Step 11: Under Select a File, select the uploaded backup file from the drop-down and click the Restore button to start the restore process.
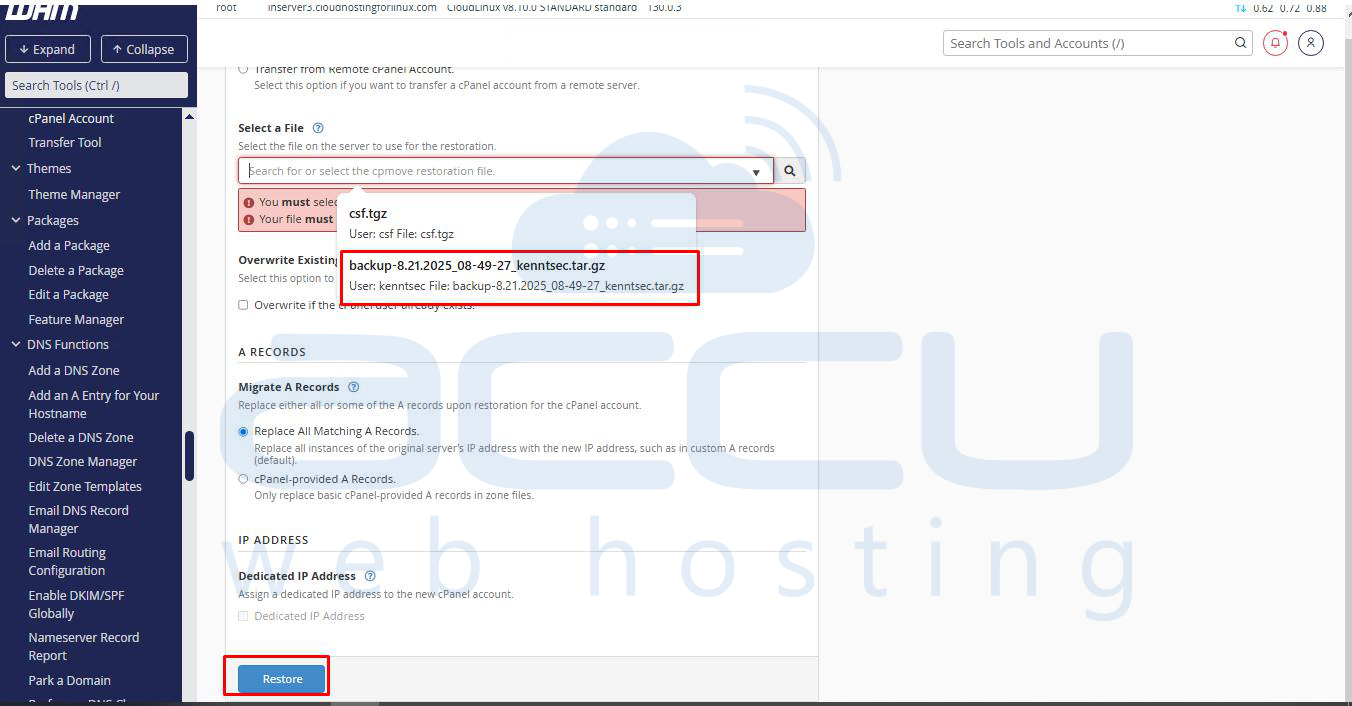
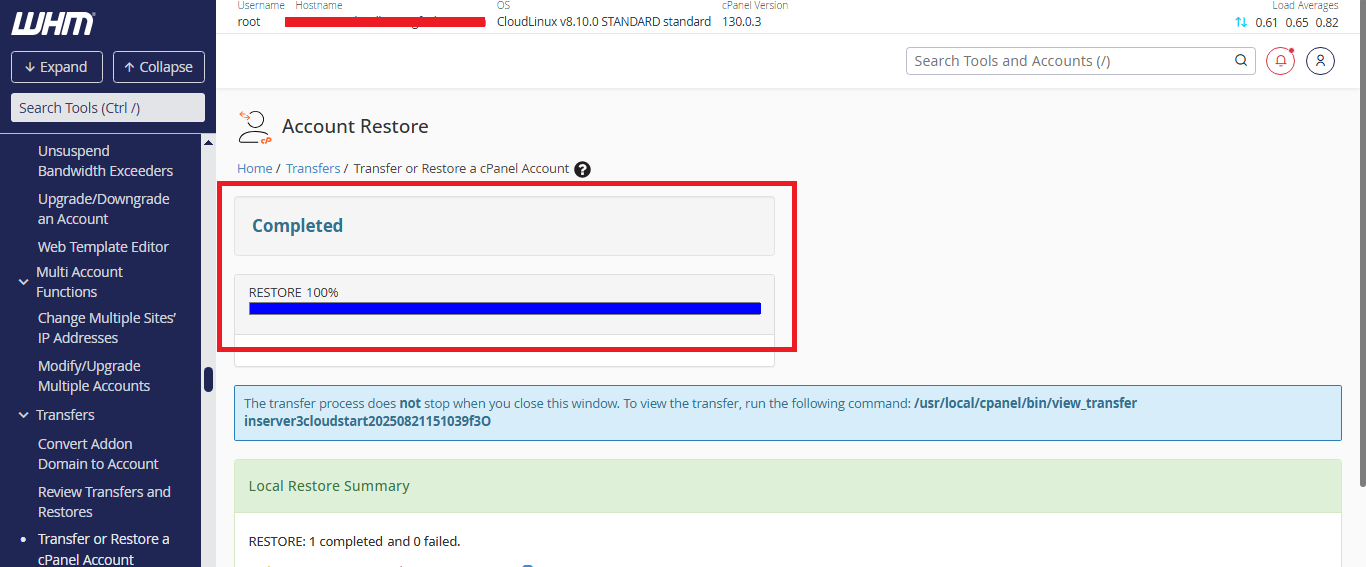
The restoration process may take some time, depending on your account size.
Step 12: When the restoration process is completed, browse your website with the temporary URL (http://new-server-IP-address/~cpanel-username).
Step 13: If everything works perfectly on the new server, change the nameservers.
Conclusion:
By following the above steps, you can successfully create a full cPanel backup and restore it to a new cPanel server. This process ensures that all your websites, email accounts, databases, and settings are transferred seamlessly without data loss. Always make sure you have sufficient disk space before starting both the backup and restore processes, and test your website using the temporary URL to confirm everything is working correctly. Once verified, update your domain nameservers to point to the new server, and your site will be fully live on the new environment.
