
Introduction:
DNSControl is an open-source Infrastructure as Code (IaC) tool that lets you manage DNS records using configuration files instead of manually editing them through a web interface. When used with PowerDNS Authoritative Server, DNSControl communicates with the PowerDNS REST API to create, update, and delete DNS records safely and consistently.
In this article, we will explain how to install PowerDNS Authoritative Server, enable its REST API, install DNSControl, and connect the two so you can manage your DNS zones from the command line.
What is DNSControl?
DNSControl is an open-source Infrastructure as Code (IaC) tool that helps you manage DNS records using configuration files instead of manually editing them through a web-based control panel.
With DNSControl, you define all your DNS records in a single configuration file. Whenever you need to make changes, you simply update the file and let DNSControl apply those changes automatically to your DNS provider or DNS server.
This approach makes DNS management more reliable, consistent, and easier to maintain, especially if you manage multiple domains or servers.

Key Features of DNSControl:
Manage DNS records using simple configuration files.
Automatically detect and apply only the required DNS changes.
Supports version control systems such as Git, allowing you to track every DNS modification.
Works with many popular DNS providers and self-hosted DNS servers.
Reduces the risk of manual configuration errors.
Makes it easy to manage multiple domains from a single location.
Allows you to preview changes before applying them.
Benefits of DNSControl:
Consistency: Keep DNS records identical across multiple environments.
Automation: Reduce repetitive manual tasks.
Version History: Track every DNS change with Git.
Faster Recovery: Restore DNS configurations quickly if needed.
Scalability: Easily manage hundreds or thousands of DNS records.
What is PowerDNS?
PowerDNS is a powerful, open-source DNS server that provides authoritative DNS services and recursive DNS resolution. It is designed for high performance, flexibility, and reliability, making it a popular choice for hosting providers, enterprises, cloud platforms, and large-scale infrastructures.
Unlike traditional DNS servers that primarily use static zone files, PowerDNS can store DNS records in databases such as MySQL, MariaDB, PostgreSQL, or SQLite. This makes DNS management more dynamic and easier to integrate with web applications and automation tools.
Prerequisites:
Before you begin, ensure you have:
Ubuntu 24.04 VPS
Root or sudo privileges
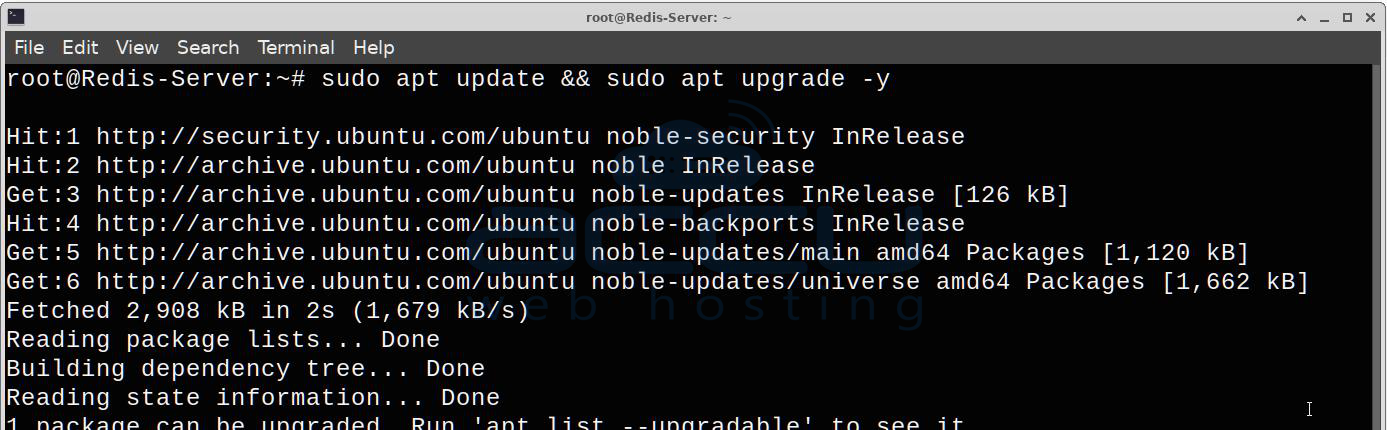
Step 1: Update the System
sudo apt update && sudo apt upgrade -y
Step 2: Install PowerDNS
For this article, we'll use the SQLite backend, which is simple to set up and ideal for learning or small deployments.
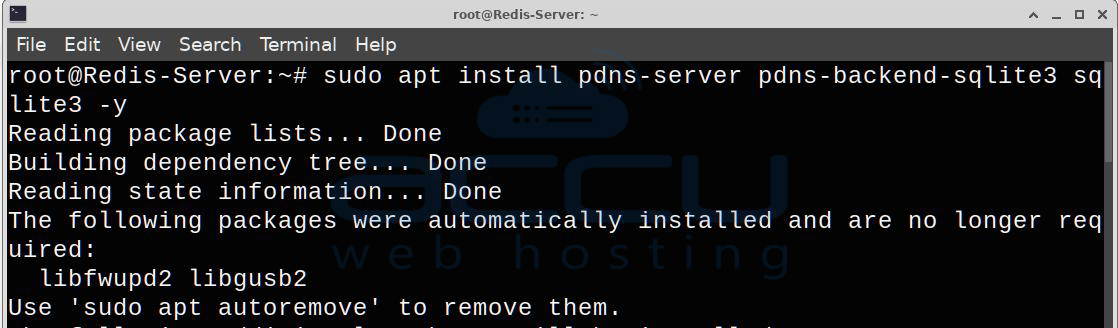
Install PowerDNS and the SQLite backend:
sudo apt install pdns-server pdns-backend-sqlite3 sqlite3 -y
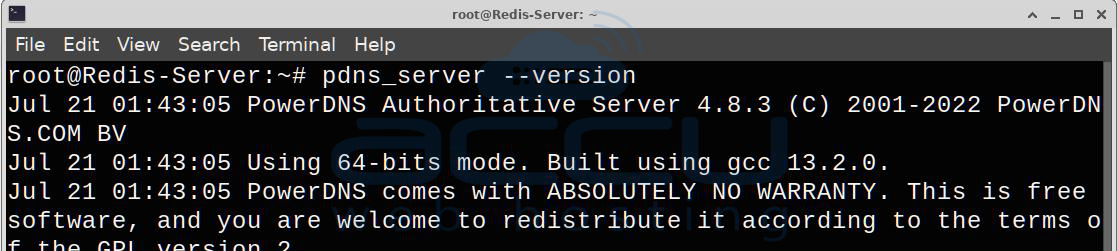
Verify the installation:
pdns_server --version
Step 3: Configure the SQLite Database
Create the database directory:
sudo mkdir -p /var/lib/powerdns
Create the database:
sudo sqlite3 /var/lib/powerdns/pdns.sqlite3
Inside the SQLite prompt, create the required tables:
CREATE TABLE domains (
id INTEGER PRIMARY KEY,
name VARCHAR(255) NOT NULL,
master VARCHAR(128) DEFAULT NULL,
last_check INTEGER DEFAULT NULL,
type VARCHAR(8) NOT NULL,
notified_serial INTEGER DEFAULT NULL,
account VARCHAR(40) DEFAULT NULL
);
CREATE UNIQUE INDEX name_index ON domains(name);
CREATE TABLE records (
id INTEGER PRIMARY KEY,
domain_id INTEGER DEFAULT NULL,
name VARCHAR(255) DEFAULT NULL,
type VARCHAR(10) DEFAULT NULL,
content VARCHAR(65535) DEFAULT NULL,
ttl INTEGER DEFAULT NULL,
prio INTEGER DEFAULT NULL,
disabled TINYINT DEFAULT 0,
ordername VARCHAR(255),
auth TINYINT DEFAULT 1
);
.quit
Setting permissions on the SQLite database:
sudo chown -R pdns:pdns /var/lib/powerdns
sudo chmod 700 /var/lib/powerdns
sudo chmod 600 /var/lib/powerdns/pdns.sqlite3
Step 4: Configure PowerDNS
Open the configuration file:
sudo nano /etc/powerdns/pdns.conf
Add or modify these settings:
launch=gsqlite3
gsqlite3-database=/var/lib/powerdns/pdns.sqlite3
api=yes
api-key=YourStrongAPIKey
webserver=yes
webserver-address=127.0.0.1
webserver-port=8081
Save the file.
Step 5: Restart PowerDNS
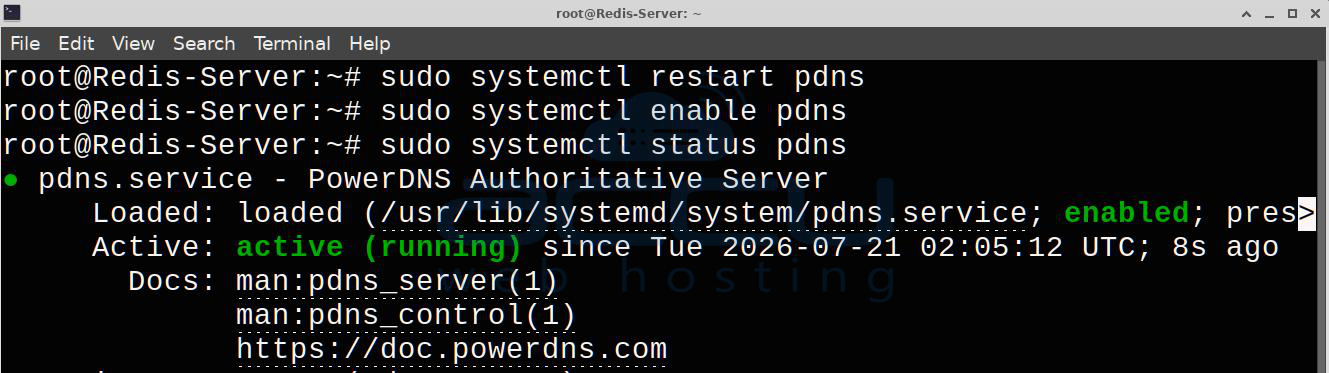
sudo systemctl restart pdns
Enable it to start automatically:
sudo systemctl enable pdns
Verify the service:
sudo systemctl status pdns
Step 6: Test the PowerDNS API
Run:
curl -H "X-API-Key: YourStrongAPIKey" \
http://127.0.0.1:8081/api/v1/servers
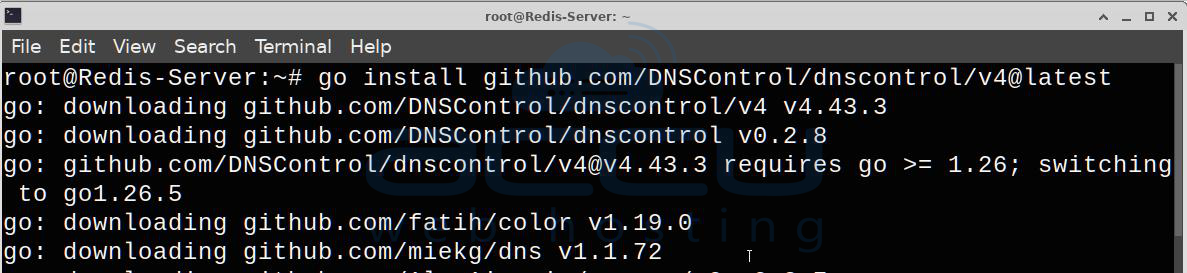
If you receive this response, the API is working correctly.
Step 7: Install Go
sudo apt install golang-go -y
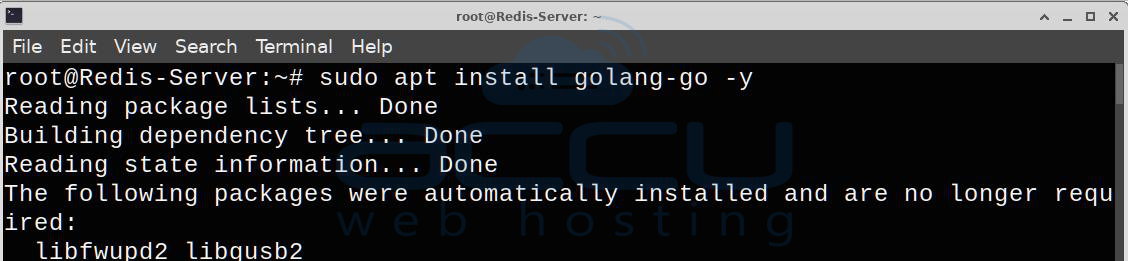
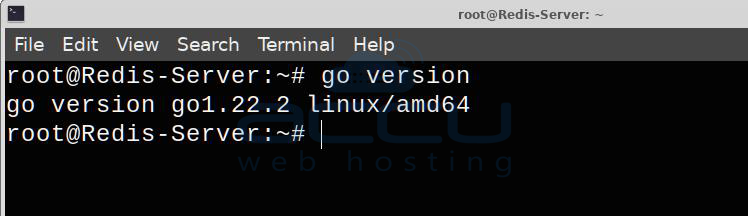
Verify:
go version
Step 8: Install DNSControl
Install the latest version:
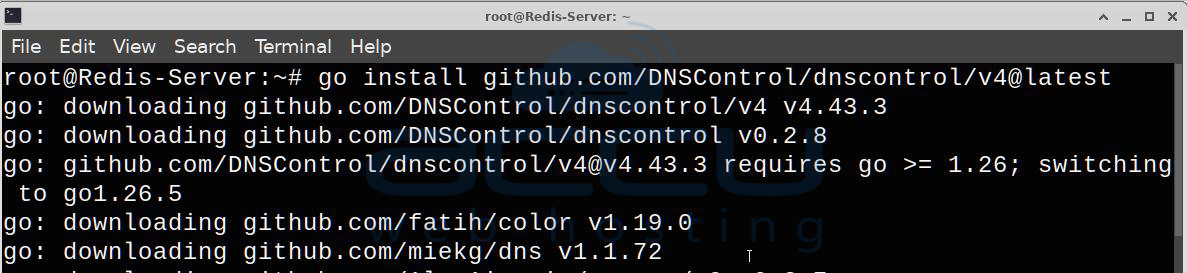
go install github.com/DNSControl/dnscontrol/v4@latest
Add Go to your PATH:
echo 'export PATH=$PATH:$HOME/go/bin' >> ~/.bashrc
source ~/.bashrc

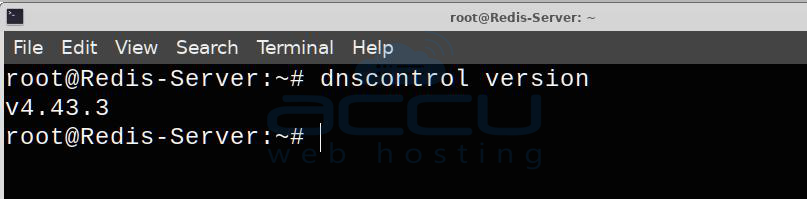
Verify:
dnscontrol version
Step 9: Create a Working Directory
mkdir ~/dnscontrol
cd ~/dnscontrol
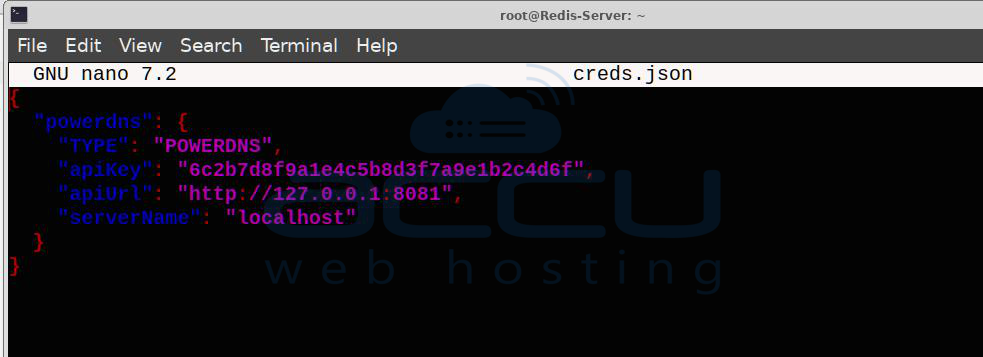
Step 10: Create creds.json
nano creds.json
{
"powerdns": {
"TYPE": "POWERDNS",
"apikey": "YourStrongAPIKey",
"serverurl": "http://127.0.0.1:8081"
}
}
Step 11: Create dnsconfig.js
nano dnsconfig.js
Example:
var REG_NONE = NewRegistrar("none");
var PDNS = NewDnsProvider("powerdns");
D("example.com",
REG_NONE,
DnsProvider(PDNS),
A("@", "203.0.113.10"),
A("www", "203.0.113.10"),
MX("@", 10, "mail.example.com."),
TXT("@", "v=spf1 mx -all")
);
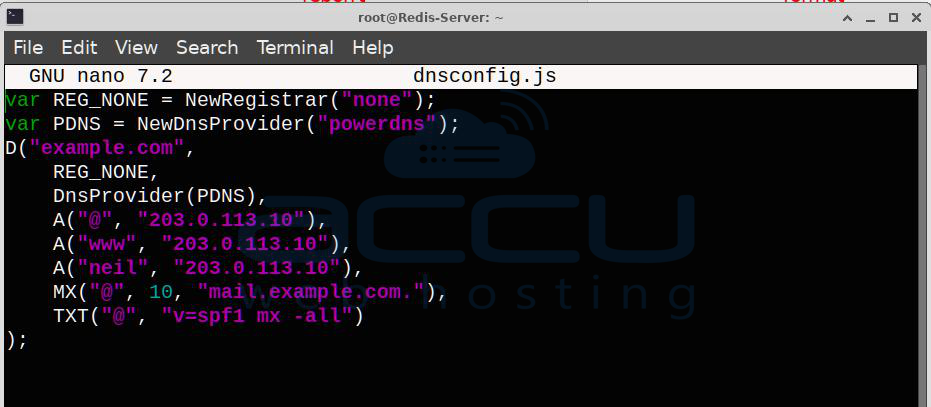
Note: Please replace the example domain and IP addresses with your own.
Initialize the Zone in PowerDNS:
Create the zone in PowerDNS:
sudo pdnsutil create-zone example.com ns1.example.com
Set SOA-EDIT-API so DNSControl can manage serial numbers automatically:
sudo pdnsutil set-meta example.com SOA-EDIT-API DEFAULT
Validating Configurations (dnscontrol check):
Before running preview or push, mention running:
dnscontrol check
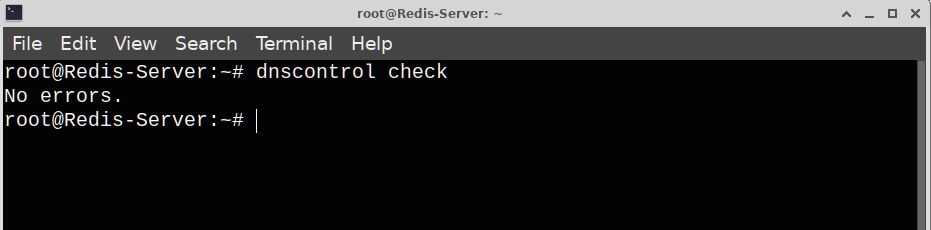
This checks dnsconfig.js for syntax errors or invalid domain names without opening an HTTP connection to the API.
Step 12: Preview Changes
dnscontrol preview
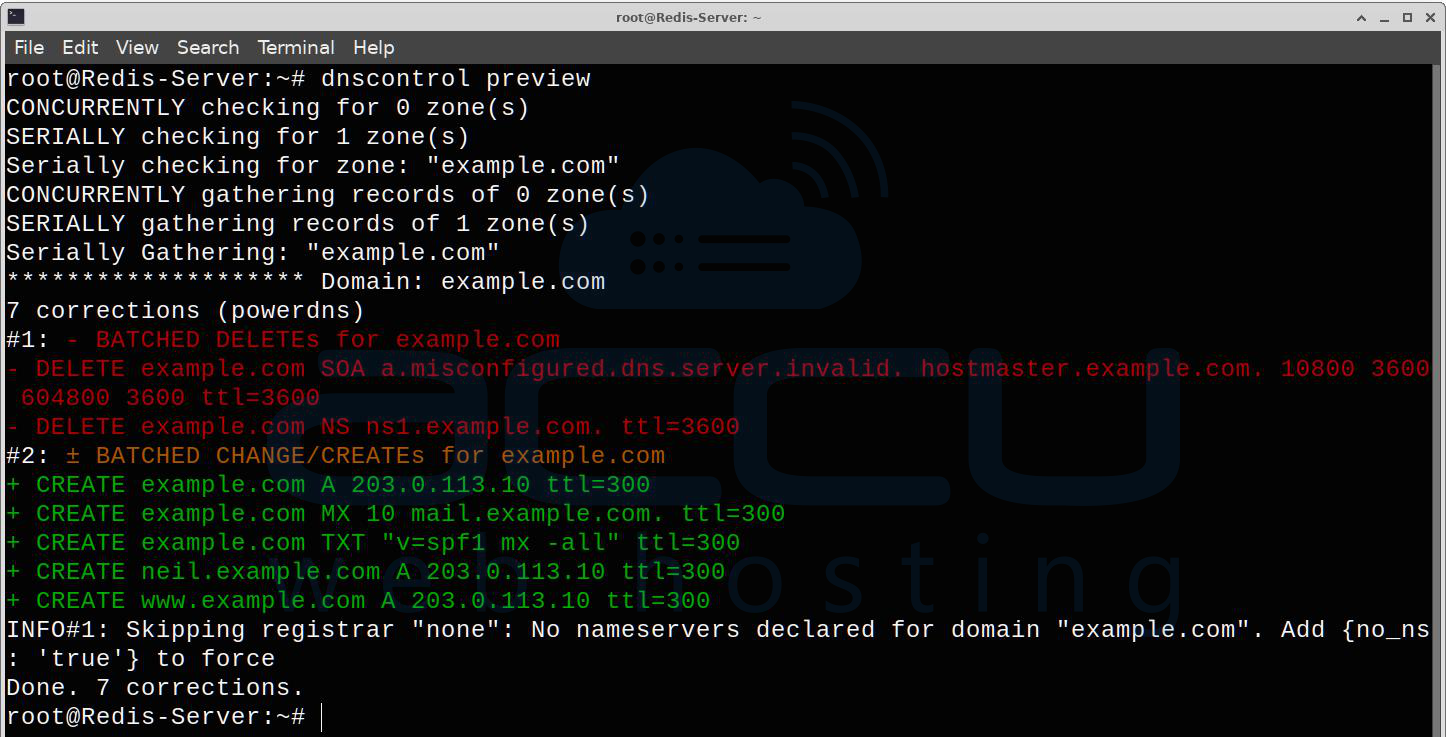
This command shows what changes will be made without modifying any DNS records.
Step 13: Apply Changes
dnscontrol push
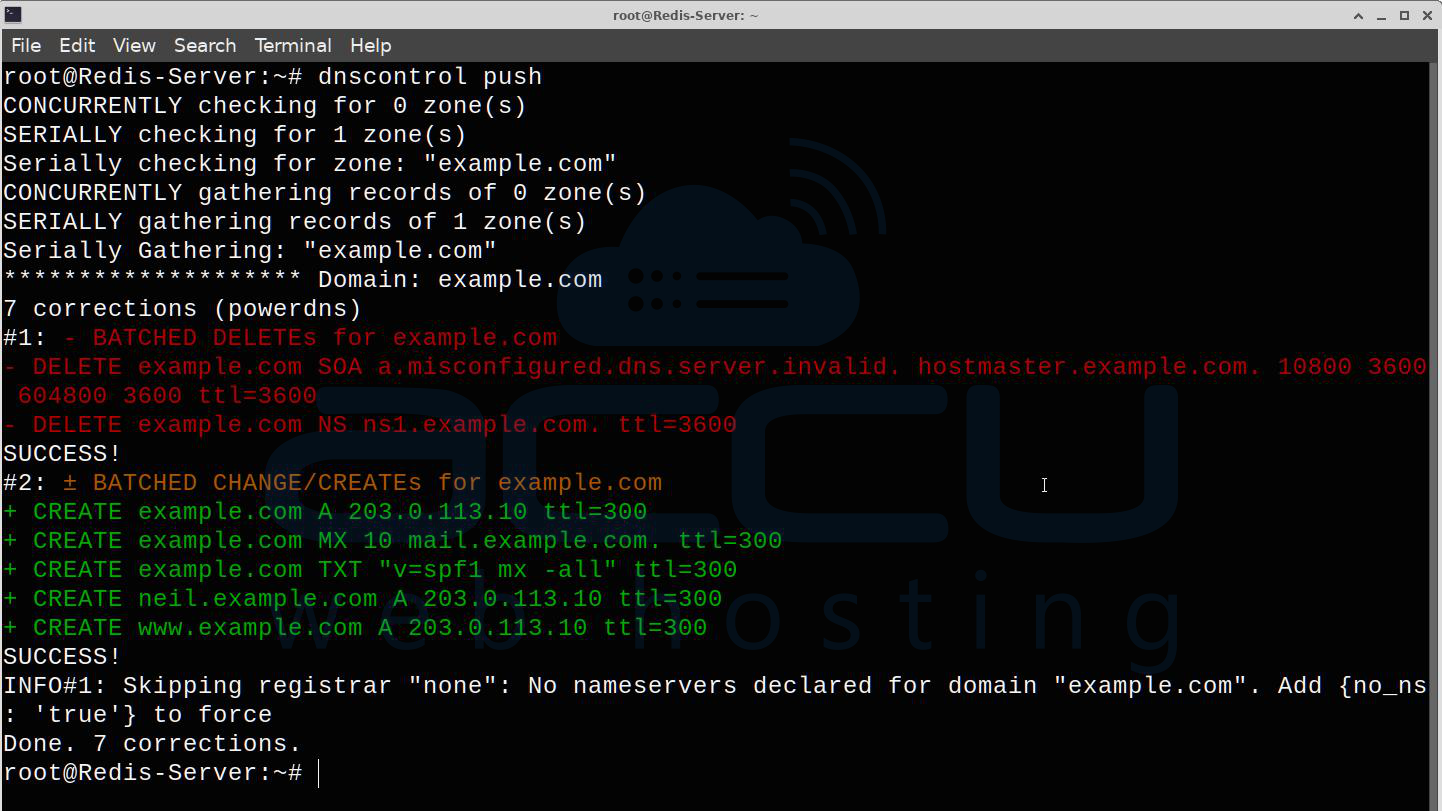
DNSControl will update your PowerDNS server with the changes defined in your configuration.
Step 14: Verify the Record
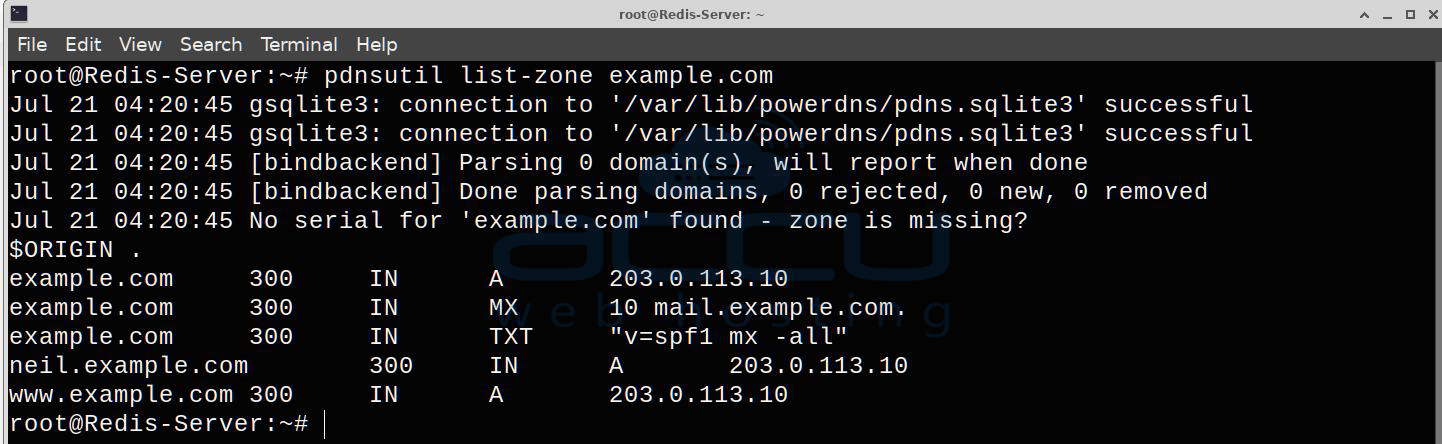
You can verify that the record was created using PowerDNS's CLI tool:
pdnsutil list-zone example.com
Conclusion:
DNSControl and PowerDNS are powerful tools that simplify modern DNS management. PowerDNS provides a fast, flexible, and reliable DNS server, while DNSControl makes it easy to manage DNS records through configuration files and automation.
When used together, they create an efficient, version-controlled, and scalable DNS management solution that reduces manual work, minimizes configuration errors, and streamlines DNS administration. Whether you're managing a single website or a large enterprise environment, this combination can help make DNS management more organized, secure, and easier to maintain.