
Remote server management is essential in modern infrastructure. SSH is commonly used for fast command-line access, but many tasks still require a graphical interface such as trading tools, web admin panels, or desktop applications for non-technical users.
x11vnc is different from traditional VNC solutions like TigerVNC or TightVNC because it does not create a separate virtual desktop. Instead, it connects directly to an active X11 session and mirrors everything shown on the physical or existing desktop in real time, including all running applications.
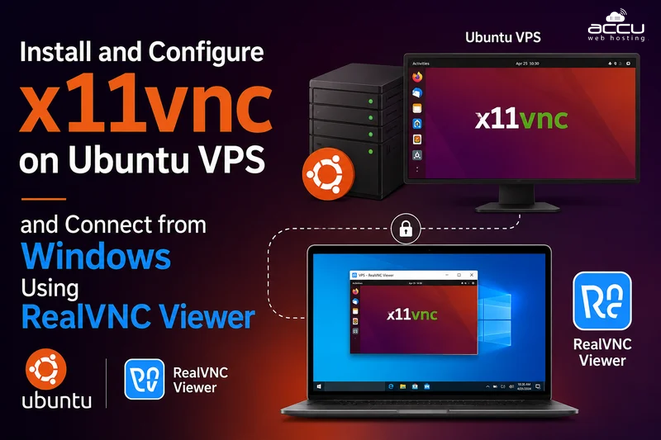
This guide covers a production-level setup workflow: installing XFCE desktop on an Ubuntu VPS, configuring the X11 display server stack, deploying and securing x11vnc with a password, verifying an active graphical session, and finally connecting from a Windows client using RealVNC Viewer to access the remote desktop.
2. Understanding x11vnc Architecture
Before touching the terminal, it's worth understanding what's actually happening under the hood, because almost every problem you'll encounter later traces back to a gap in this mental model.
2.1 What is x11vnc?
x11vnc is a VNC server program that:
-
Connects to an already-running X server process (conventionally on display :0)
-
Continuously captures the pixel buffer of that display
-
Encodes and streams those frames to any connecting VNC client over the RFB (Remote Framebuffer) protocol
-
Forwards keyboard and mouse events received from the client back into the X server, so the remote user can actually interact with the desktop
The critical distinction from other VNC servers is that x11vnc does not own or create the display — it borrows one that already exists. If no X server and no desktop session are running, x11vnc has nothing to attach to and will fail immediately.
2.2 Requirement Model
For x11vnc to function correctly, four things must all be true simultaneously:
|
Component |
Requirement |
|
Xorg server |
Must be actively running as a process |
|
Desktop environment |
XFCE, GNOME, KDE, or similar must be running on top of Xorg |
|
Display session |
The :0 display (or whichever display number is in use) must be active and have a socket present |
|
Authentication cookie |
A valid .Xauthority file or display-manager-generated auth cookie must exist and be readable by x11vnc |
Miss any one of these four, and x11vnc either won't start, will start but show a black screen, or will start and immediately reject client connections.
2.3 Limitations on a Fresh VPS
A newly provisioned Ubuntu VPS typically has none of the above. Specifically:
-
No graphical desktop package is installed
-
No X server process is running
-
No display session exists at all
-
There is no .Xauthority file for the root or working user
This means x11vnc will fail on a fresh server unless XFCE and Xorg are explicitly installed and a session is explicitly started first. Understanding this up front saves a lot of confusion later, because the error messages you'll get (auth guess failed, connection refused, etc.) are symptoms of this missing chain, not bugs in x11vnc itself.
Step 1 – Update Ubuntu VPS
Every setup should begin with a full system update. This ensures the package repositories are current and that you're not installing XFCE or Xorg against an outdated package index, which can cause dependency resolution failures later.
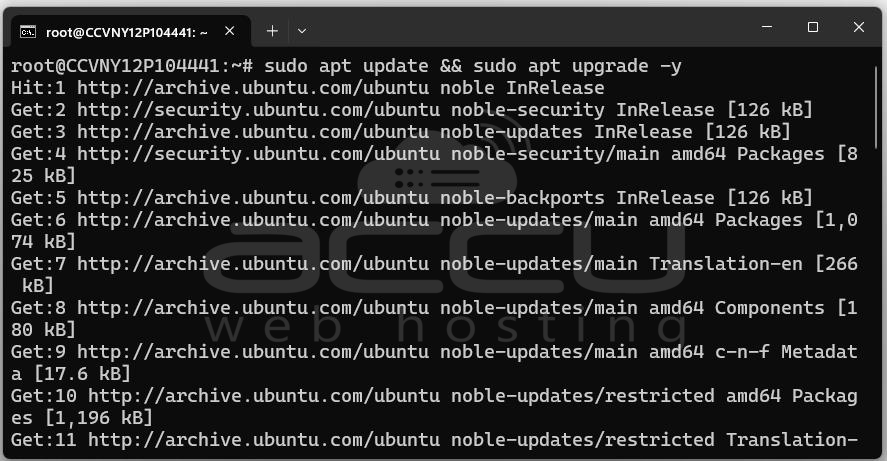
sudo apt update && sudo apt upgrade -y
What each part does
-
sudo apt update refreshes the local package index by contacting Ubuntu's configured repositories and downloading the latest list of available package versions.
-
sudo apt upgrade -y then installs the newest available versions of every already-installed package, applying security patches and bug fixes.
Step 2 – Install XFCE Desktop Environment
With the base system updated, the next step is installing a desktop environment. Without one, Xorg has nothing meaningful to render, you'd just get a blank X server with no windows, panels, or file manager.
Why XFCE specifically
XFCE is the standard recommendation for VPS and remote-desktop scenarios because:
-
It is lightweight, using significantly less RAM and CPU than GNOME or KDE Plasma
-
It remains stable under high-latency, low-bandwidth remote connections
-
It has a mature, well-tested compositor that behaves predictably over VNC (GNOME's animations and compositing effects often render poorly or lag badly over VNC)
-
It is broadly compatible with x11vnc, TigerVNC, and most remote desktop tooling without extra configuration
Installation command
sudo apt install xfce4 xfce4-goodies -y
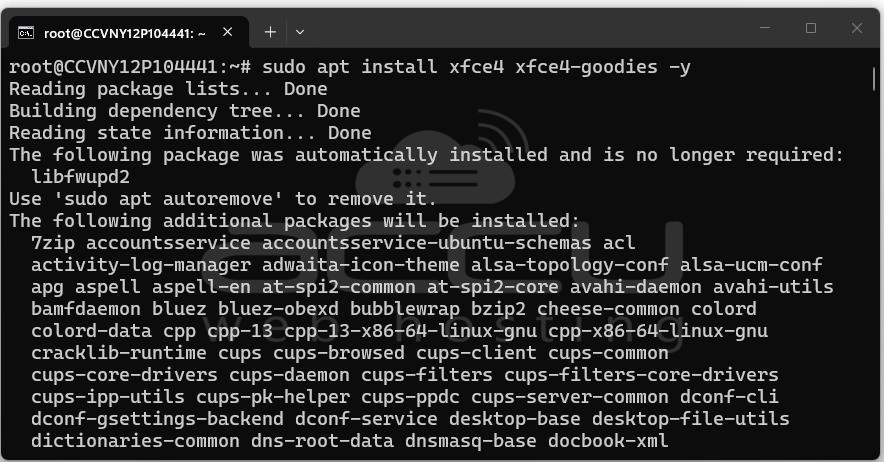
This installation typically downloads several hundred megabytes of packages depending on what's already present on the system, so on a slow connection this step can take a few minutes. Once complete, XFCE is installed but not yet running — no session has been started.
Step 3 – Install Xorg Server Components
XFCE is just the desktop environment layer; it needs an underlying display server to actually render anything to a framebuffer. That's Xorg's job.
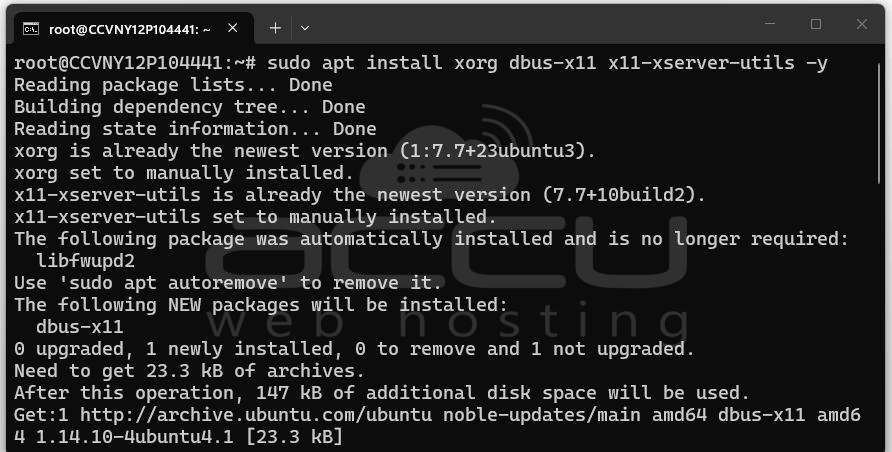
sudo apt install xorg dbus-x11 x11-xserver-utils -y
-
Xorg: This is the core X11 display server. It provides the graphical display system, basic drivers, and font support required to run a GUI environment.
-
dbus-x11: This enables D-Bus session bus support for X11 environments. It is required for proper communication between desktop components; without it, several XFCE services may fail or behave incorrectly.
-
X11-xserver-utils: This package provides essential X11 command-line utilities such as xauth, xrandr, and xset. These tools are used for display configuration and authentication management, with xauth being especially important for secure X session access in later steps.
It's worth noting that on many minimal VPS images, dbus-x11 is missing by default even if other desktop packages are pulled in as dependencies of xfce4. Installing it explicitly here avoids a class of subtle session-startup failures where XFCE panel or session manager processes silently crash or fail to communicate.
Step 4 – Install x11vnc
With the desktop stack in place, install the VNC server itself.
sudo apt install x11vnc -y
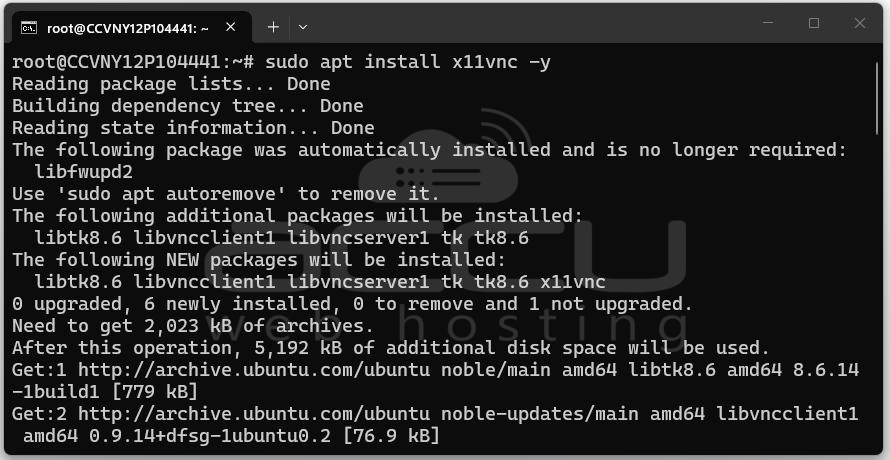
This pulls x11vnc from Ubuntu's standard repositories along with any required libraries (typically VNC/RFB protocol libraries and image compression libraries used for encoding the framebuffer stream).
Verifying the installation
x11vnc -version
A successful installation prints the installed version string, something like:
x11vnc: 0.9.16 lastmod: 2019-01-05
If this command returns "command not found," the package installation failed silently or the shell's PATH hasn't been refreshed — try opening a new SSH session and re-running the install command.
Step 5 – Create a VNC Password
x11vnc supports several authentication modes, but the simplest and most commonly used is a stored VNC password file, separate from any Linux user password.
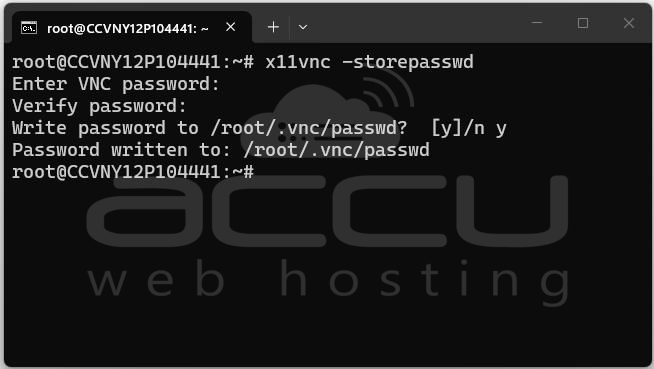
x11vnc -storepasswd
What happens
The command interactively prompts:
Enter VNC password:
Verify password:
Write password to /root/.vnc/passwd
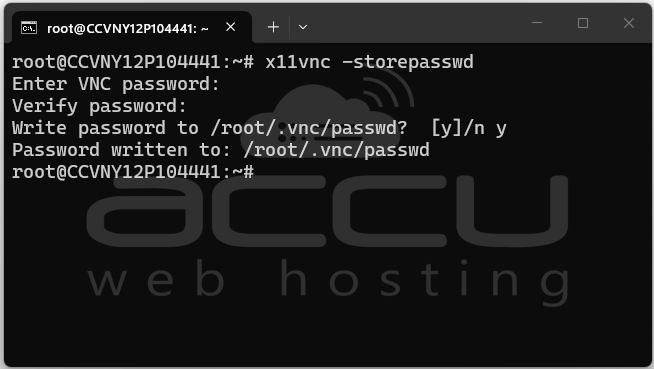
You type a password (input is hidden), confirm it, and x11vnc writes an obfuscated (not strongly encrypted, but not plaintext either) password file to ~/.vnc/passwd, by default under the home directory of whichever user ran the command, so if you're running as root, this ends up at /root/.vnc/passwd.
This password file is what will later be referenced with the -rfbauth flag when starting the server, and it's what the RealVNC Viewer client will prompt you for when connecting from Windows.
Step 6 – Start the XFCE Desktop Session
Installing packages doesn't start anything automatically. At this point, Xorg and XFCE are installed, but no display session actually exists yet. You need to manually launch one.
startxfce4 &
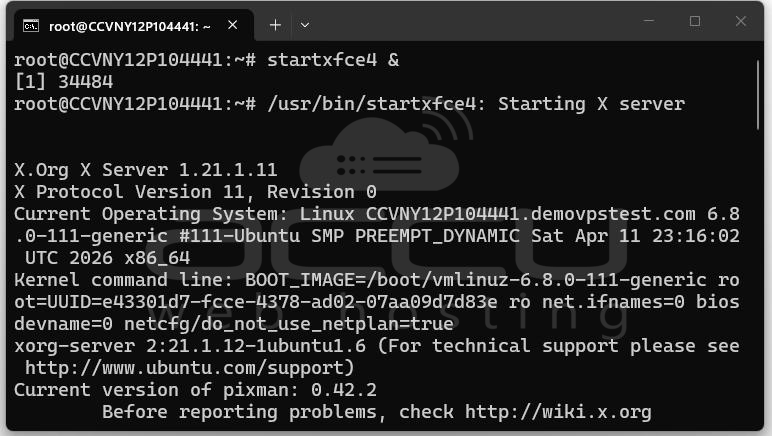
What this does
-
startxfce4 is the standard XFCE session-startup script. It initializes the X server (if not already running), starts the D-Bus session bus, launches the window manager, panel, desktop manager, and any autostart applications.
-
The trailing & runs this process in the background of your current shell, so your SSH session doesn't hang waiting for the desktop to exit.
Step 7 – Verify the X11 Session Is Actually Running
Before attempting to attach x11vnc, verify that the desktop session actually came up successfully. Skipping this verification is the single biggest cause of wasted troubleshooting time later, because if the session never started, every subsequent x11vnc error will look like an authentication problem when the real issue is that there's no session to authenticate into.
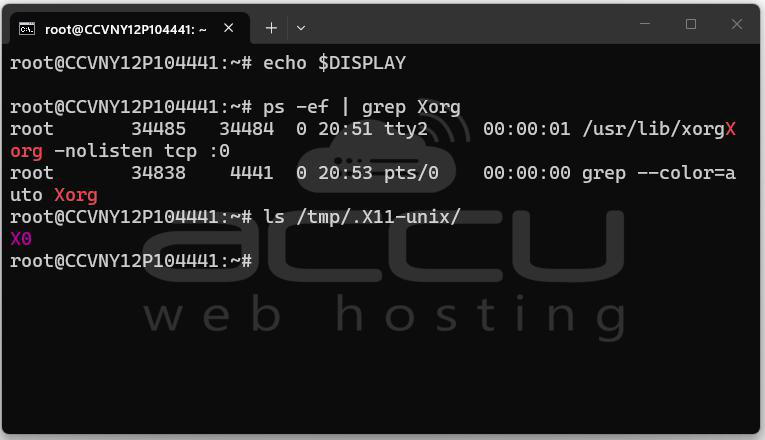
Check the DISPLAY variable: echo $DISPLAY
Expected output: :0
If this returns empty, your shell session doesn't have the DISPLAY variable set, you may need to export DISPLAY=:0 manually before proceeding.
Check that the Xorg process is running: ps -ef | grep Xorg
Expected output includes a line similar to:
root 1234 1 2 10:00 ? 00:00:05 /usr/lib/xorg/Xorg :0
The presence of /usr/lib/xorg/Xorg :0 confirms that the X server process is alive and bound to display :0. If grep returns nothing (aside from the grep command itself matching its own process), Xorg never started, and you need to revisit Step 6.
Check for the X11 socket: ls /tmp/.X11-unix/
Expected output: X0
The X0 file is the Unix domain socket that local clients use to connect to display :0. Its presence confirms the display is not just running as a process but is actually accepting connections locally. If this directory is empty, something failed during Xorg initialization even if the process itself appears to be running.
Step 8 – Start x11vnc (Initial Attempt)
With the session confirmed active, attempt to start x11vnc and bind it to the running display.
export DISPLAY=:0
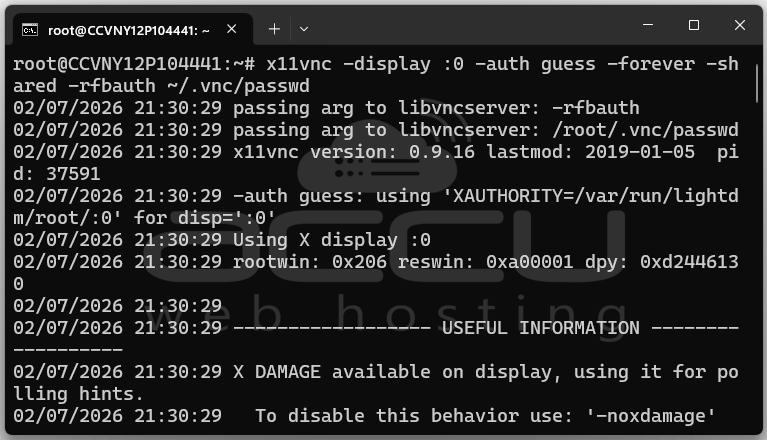
x11vnc -display :0 -auth guess -forever -shared -rfbauth ~/.vnc/passwd
Flag breakdown
-
-display :0 explicitly tells x11vnc which X display to attach to
-
-auth guess instructs x11vnc to attempt to automatically locate the correct X authentication file rather than requiring you to specify it manually
-
-forever keeps the server running and listening for new connections after a client disconnects, rather than exiting after the first session ends
-
-shared allows multiple VNC clients to connect simultaneously without kicking each other off
-
-rfbauth ~/.vnc/passwd points x11vnc at the password file created in Step 5, enforcing password authentication on incoming connections
Expected success output
When everything lines up correctly, you'll see:
The VNC desktop is: hostname:0
PORT=5900
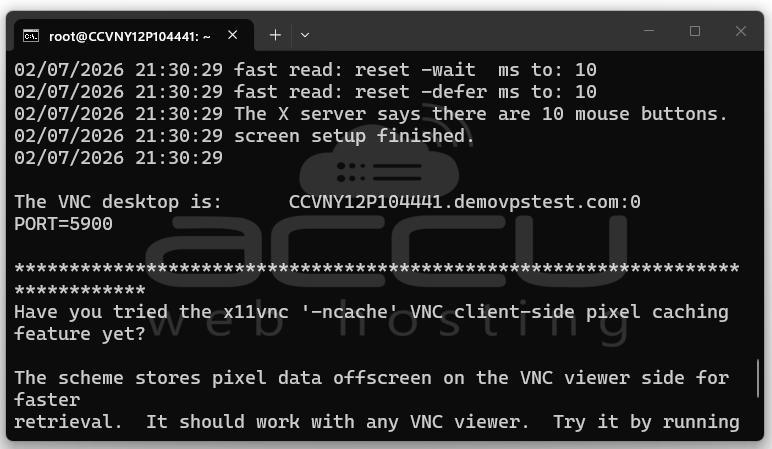
This confirms x11vnc successfully attached to the display and is now listening on TCP port 5900 (the default VNC port, calculated as 5900 + display number).
Step 9 – Confirm x11vnc Is Actually Listening
Once x11vnc starts without errors, confirm it's genuinely bound to the expected network port before attempting a connection from Windows.
ss -tlnp | grep 5900
Expected output:
LISTEN 0 32 0.0.0.0:5900 0.0.0.0:* users:(("x11vnc",pid=5678,fd=6))
The 0.0.0.0:5900 portion confirms x11vnc is listening on all network interfaces on port 5900, meaning it's reachable from outside the server (pending firewall rules, addressed next). If this command returns nothing, x11vnc either isn't running or crashed shortly after starting; check for error output in the terminal where you launched it.
Step 10 – Configure Firewall Access
Even with x11vnc listening correctly, the connection will be blocked at the network layer unless the firewall explicitly permits traffic on port 5900.
Install UFW if not already present: sudo apt install ufw -y
Most Ubuntu server images include UFW by default, but it's worth confirming.
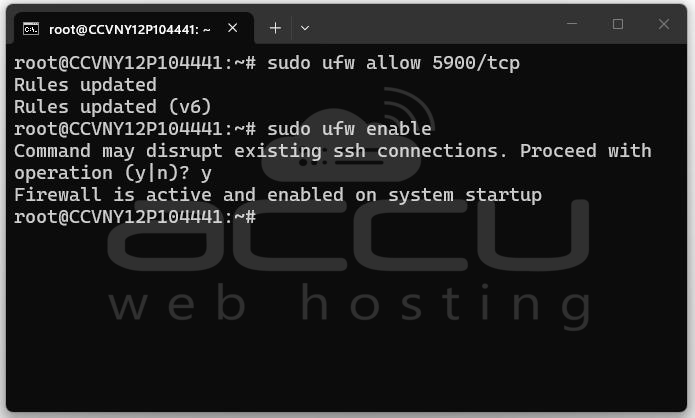
Allow the VNC port: sudo ufw allow 5900/tcp
This creates a rule permitting inbound TCP traffic on port 5900 from any source. (See the Security Considerations section for why restricting this to specific IPs is strongly advisable in production.)
Enable the firewall: sudo ufw enable
If UFW wasn't previously active, this command turns it on. Be cautious here: if you haven't already allowed SSH (port 22) through UFW, enabling it can lock you out of the server entirely. Always run sudo ufw allow OpenSSH or sudo ufw allow 22/tcp before enabling UFW on a remote server you only access via SSH.
Step 11 – Install RealVNC Viewer on Windows
With the server side fully configured, move to the Windows machine that will be used to connect.
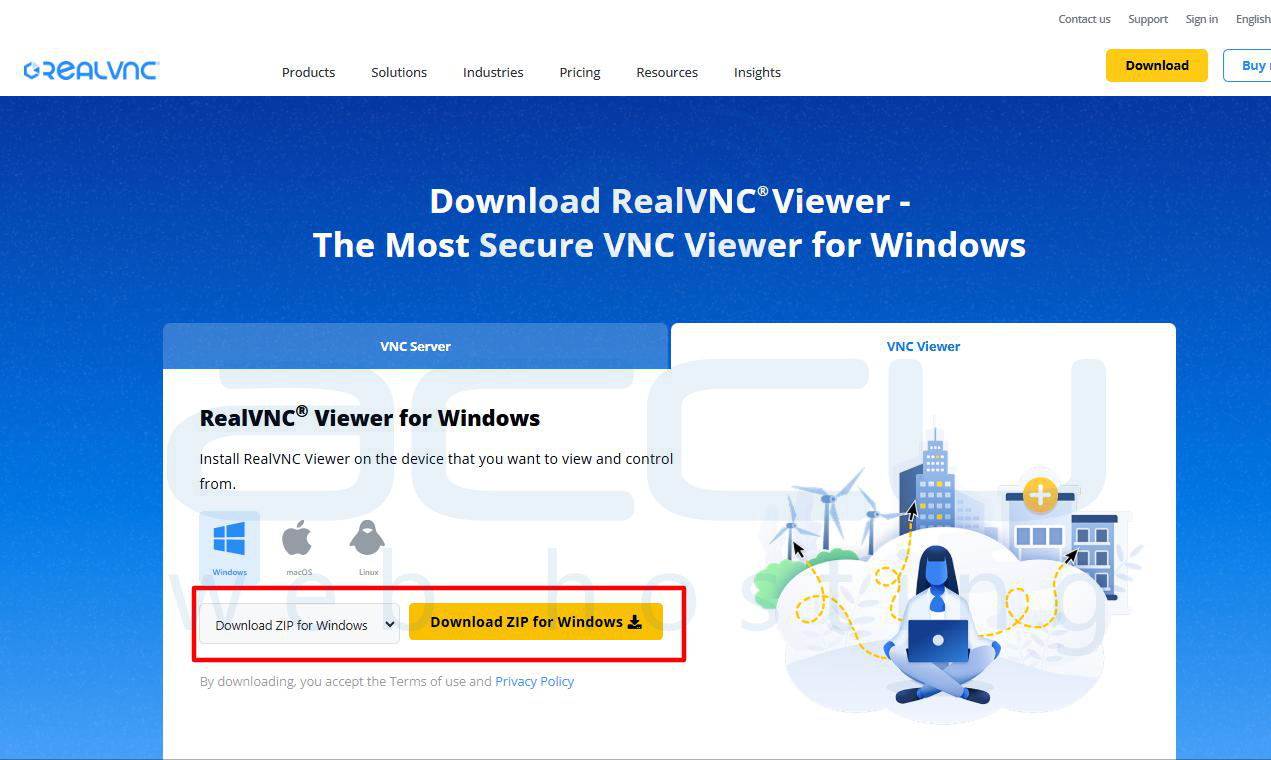
Download
Download the official installer from RealVNC's site:
https://www.realvnc.com/en/connect/download/viewer/
Always use the official RealVNC domain rather than third-party download mirrors, both for security and to ensure you get a current, unmodified build.
Install
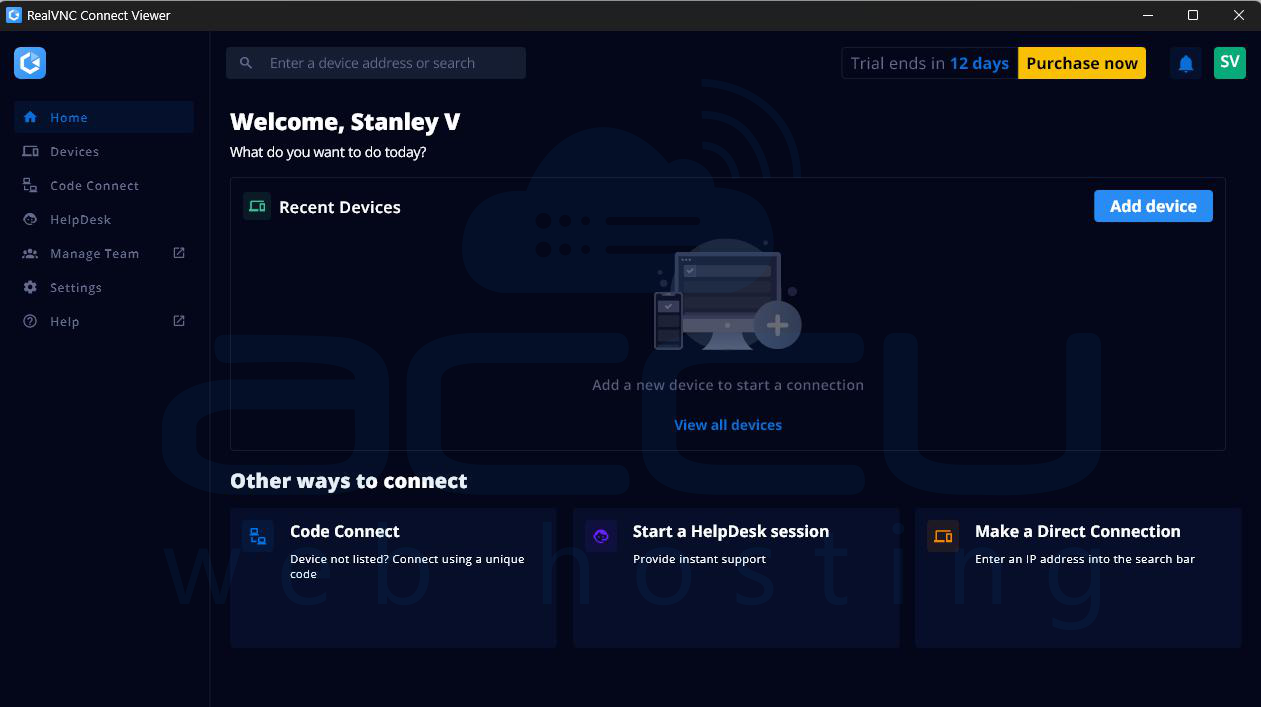
Run the downloaded installer, accept the license terms, and complete the setup wizard using default options unless you have a specific reason to change install paths. Once finished, launch RealVNC Viewer from the Start Menu.
RealVNC Viewer's free tier is sufficient for direct IP-based connections like the one used in this guide, no RealVNC account or Cloud Connect setup is required.
Step 12 – Connect to the VPS from Windows
15.1 Enter the server address
In RealVNC Viewer's address bar, enter the VPS's public IP address followed by a colon and the port number:
<VPS_IP>:5900
For example:
192.168.1.10:5900
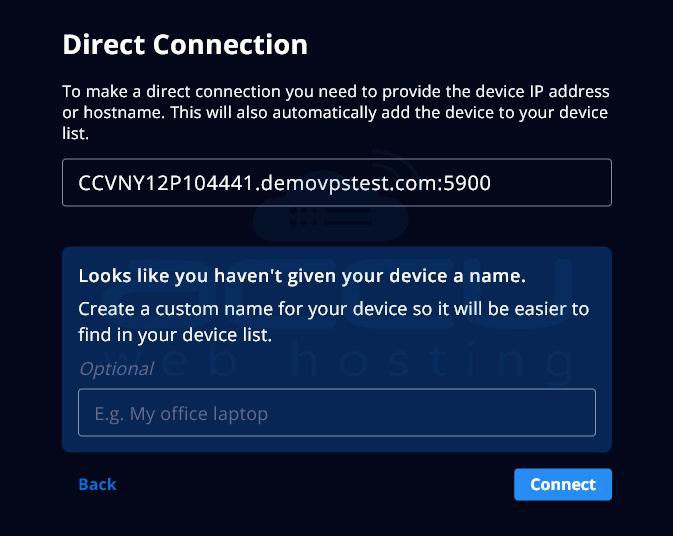
Press Enter to initiate the connection.
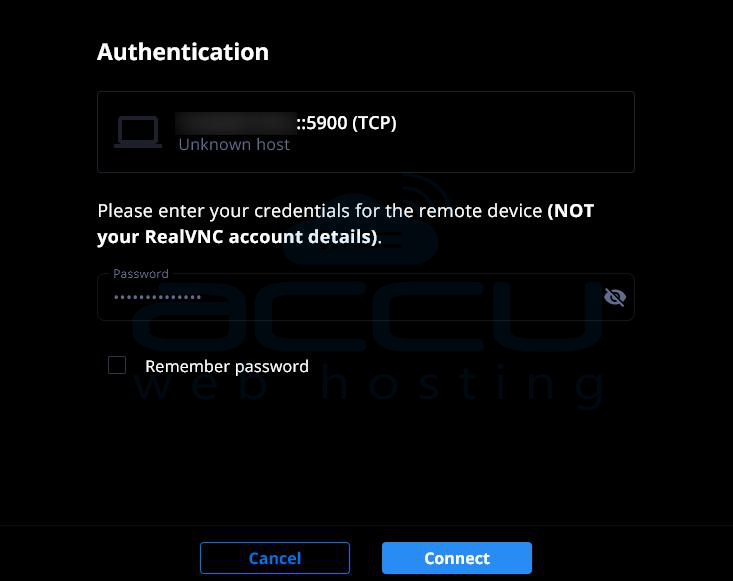
Authenticate: RealVNC Viewer will prompt for a password. Enter the exact password you created earlier with x11vnc -storepasswd. RealVNC Viewer typically offers to remember this credential for future connections if you check the appropriate box.
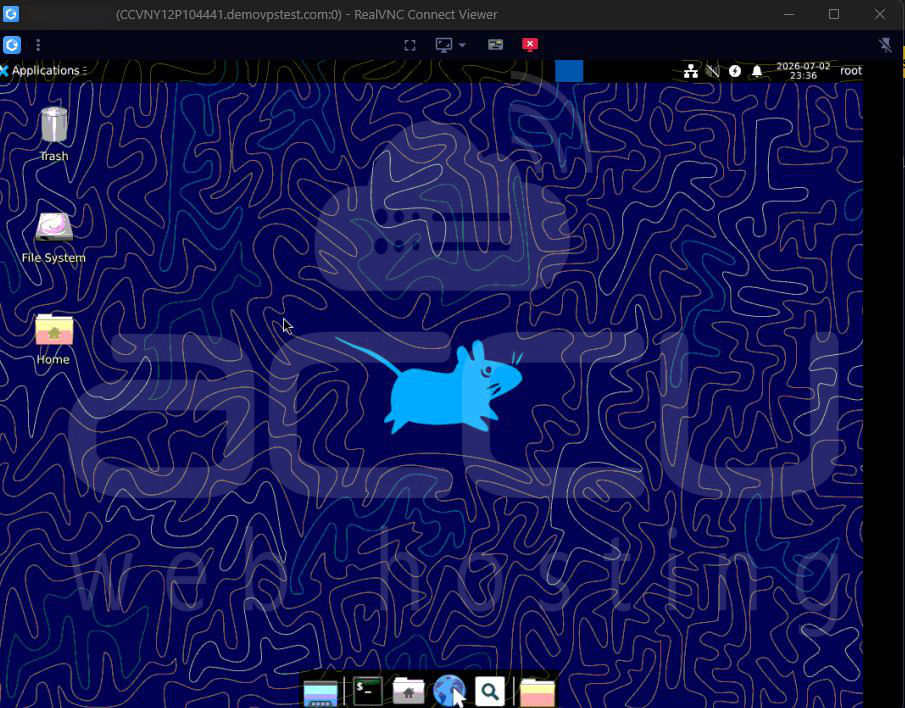
Successful connection: Once authenticated, RealVNC Viewer opens a window displaying the live XFCE desktop running on the VPS. At this point:
-
Mouse movement and clicks within the viewer window are forwarded to the remote desktop in real time
-
Keyboard input is likewise forwarded
-
Any application already running on the VPS's display :0 is visible exactly as it would be on a local monitor
-
You can launch new applications, open the file manager, or interact with the desktop exactly as if sitting at the physical machine
Alternative Recommendation
For scenarios where a persistent, self-contained virtual desktop is preferable to mirroring a real session, TigerVNC is generally a better fit for production VPS deployments:
-
It creates its own independent virtual desktop session via vncserver, entirely decoupled from any physical or manually-started X session
-
It has no dependency on guessing or locating an existing Xorg authentication file, since it manages its own session and credentials from the start
-
It is generally more stable for long-running, unattended deployments
-
It is easier to automate and integrate into systemd service definitions for automatic startup on boot
Conclusion
Setting up x11vnc on an Ubuntu VPS requires a working understanding of both Linux's graphical session architecture and the VNC networking model layered on top of it. The process, while involving more moving parts than a simple apt install, breaks down into a clear, repeatable sequence:
Once every piece is correctly aligned, the VPS behaves as a fully functional remote desktop system, accessible from any Windows machine running RealVNC Viewer, with the added benefit of mirroring the exact live session state on the server rather than a fresh, disconnected one.