
Introduction:
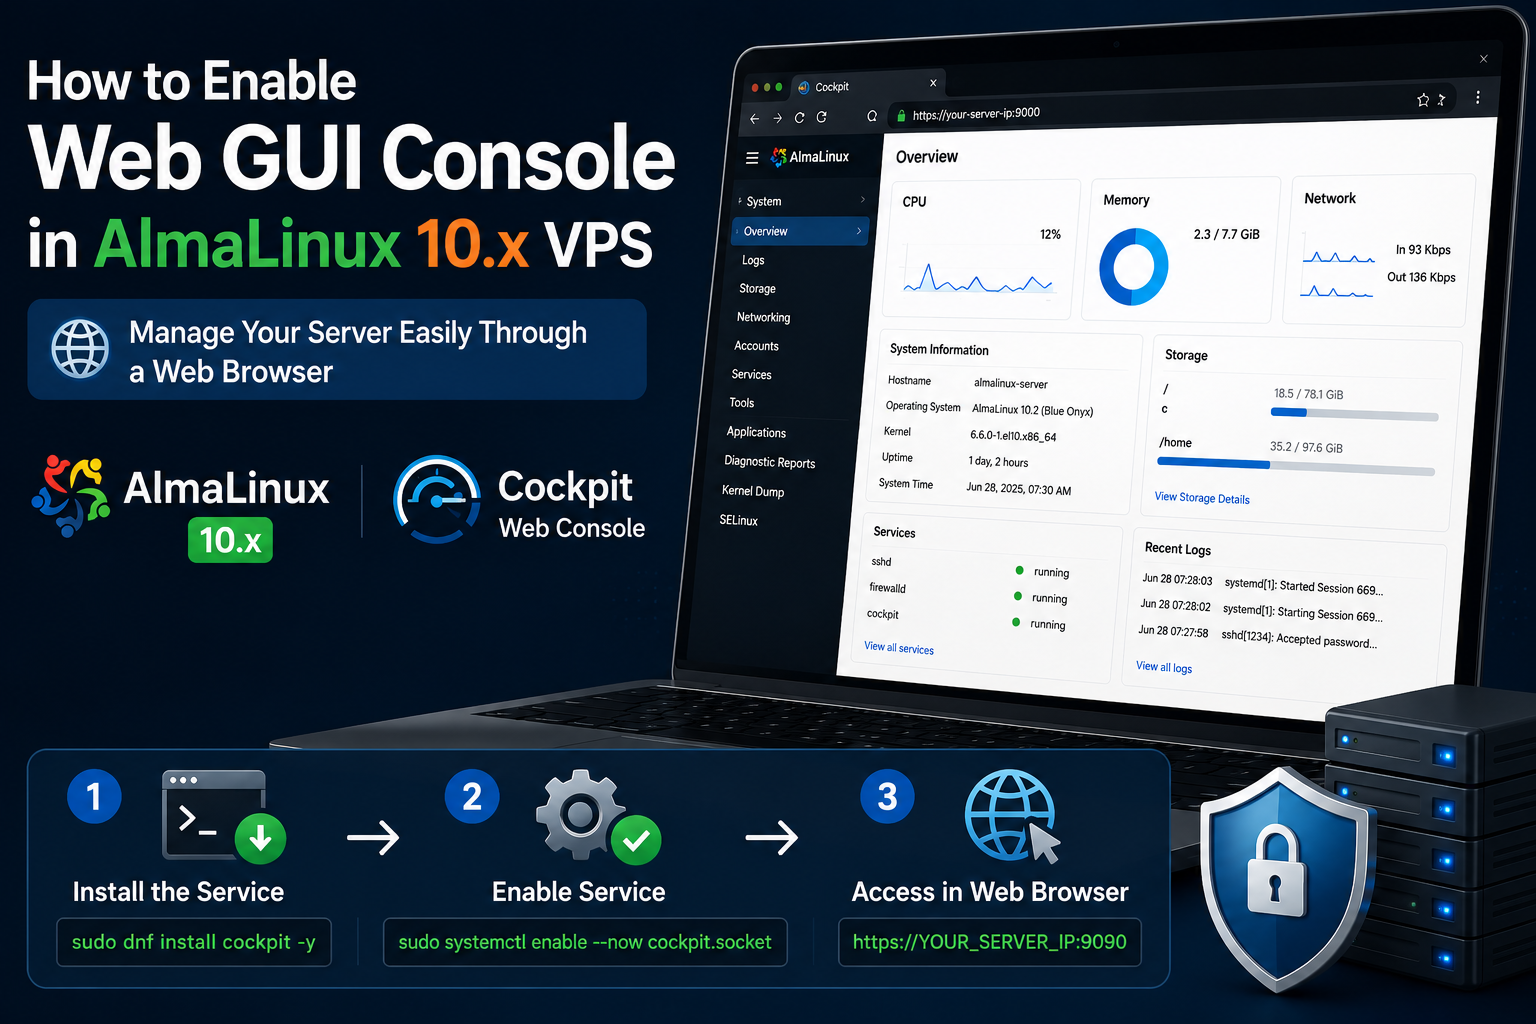
Managing a Linux server through the command line is powerful, but it can be challenging for users who prefer a graphical interface or are new to Linux administration. Fortunately, Cockpit provides a modern, browser-based web console that makes server management much simpler without requiring any additional desktop environment.
With Cockpit, you can securely monitor your server's health, manage users and services, configure networking and storage, view system logs, and even access a web-based terminal all from your web browser. It is lightweight, easy to install, and officially supported on AlmaLinux and other Red Hat Enterprise Linux (RHEL)-based distributions.
Cockpit allows you to monitor system resources, manage services, users, storage, networking, logs, and even access a web terminal, all from your browser.
In this article, we will explain how to install and enable the Cockpit Web GUI Console on AlmaLinux 10.x, configure the required settings, and access the web interface.
Prerequisites:
Before you begin, ensure that:
-
You have SSH access to the server.
-
You have root or sudo privileges.
Step 1: Update the System
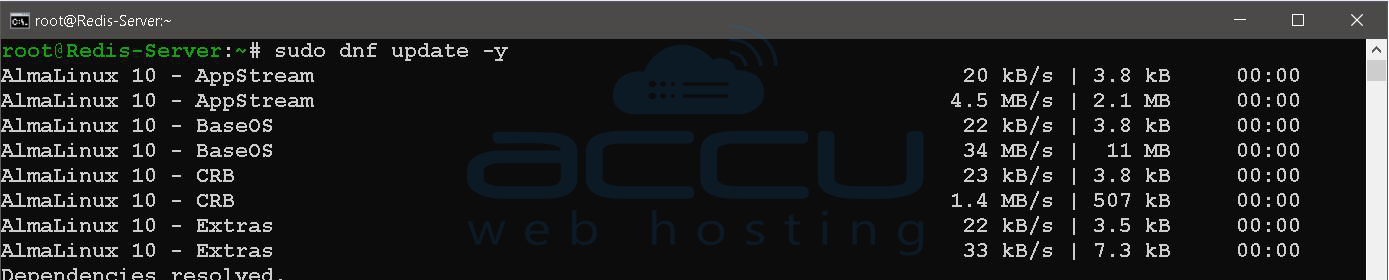
First, update your package repositories and install the latest updates.
sudo dnf update -y
Step 2: Install Cockpit
Install the Cockpit package.
sudo dnf install cockpit -y

This installs the required web console components.
Step 3: Enable and Start the Cockpit Service
Cockpit uses a systemd socket rather than running continuously as a traditional service.
Enable it with:
sudo systemctl enable --now cockpit. socket
Verify that it is running:
sudo systemctl status cockpit.socket

You should see output similar to:
Active: active (listening)
This indicates that Cockpit is ready to accept connections.
Step 4: Allow Root User to Log in to Cockpit
By default, Cockpit blocks the root user. To enable root login:
nano /etc/cockpit/disallowed-users
Change this:
root
To this:
# root
Or delete the root line entirely.
Then restart the Cockpit service:
systemctl restart cockpit.socket
Step 5: Access the Web Console
Open your browser and navigate to: https://YOUR_SERVER_IP:9090
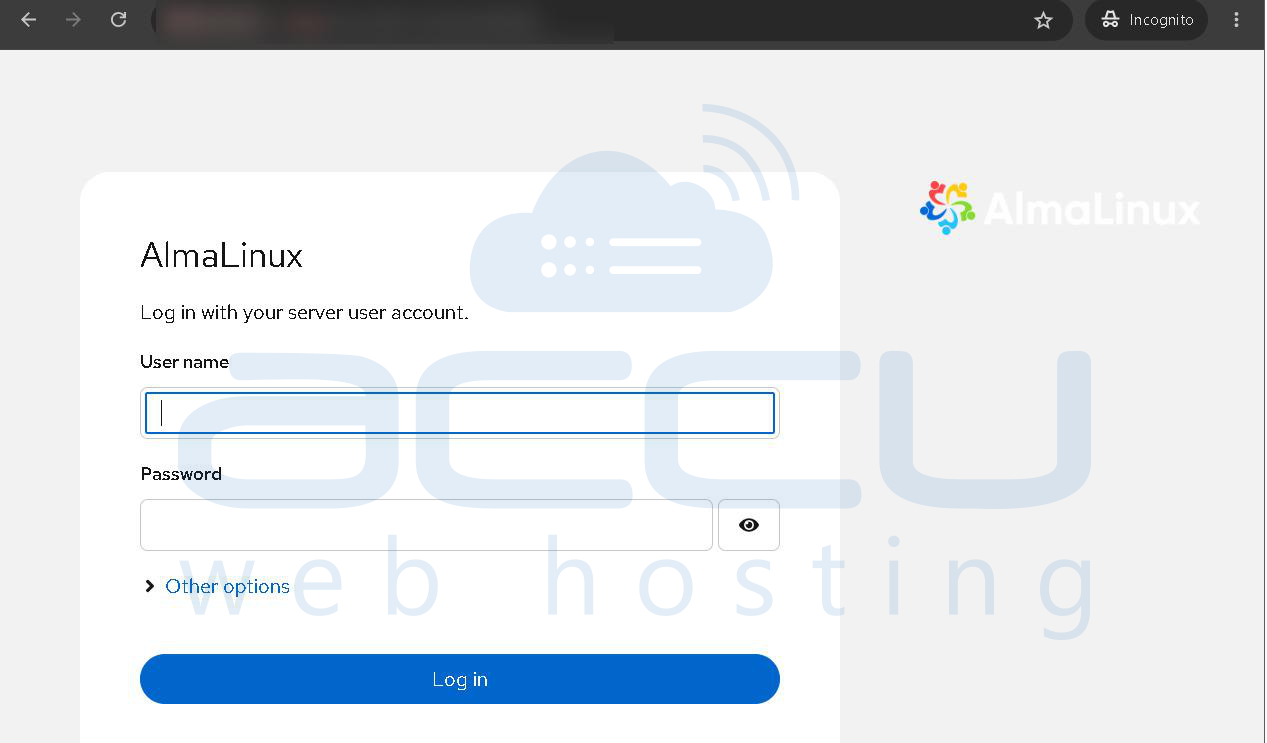
Since Cockpit uses a self-signed certificate by default, your browser will display a security warning on the first visit. Proceed to the website if you trust your server.
Step 6: Log In
Use one of the following accounts:
-
root (if root login is permitted)
-
Any user with sudo privileges
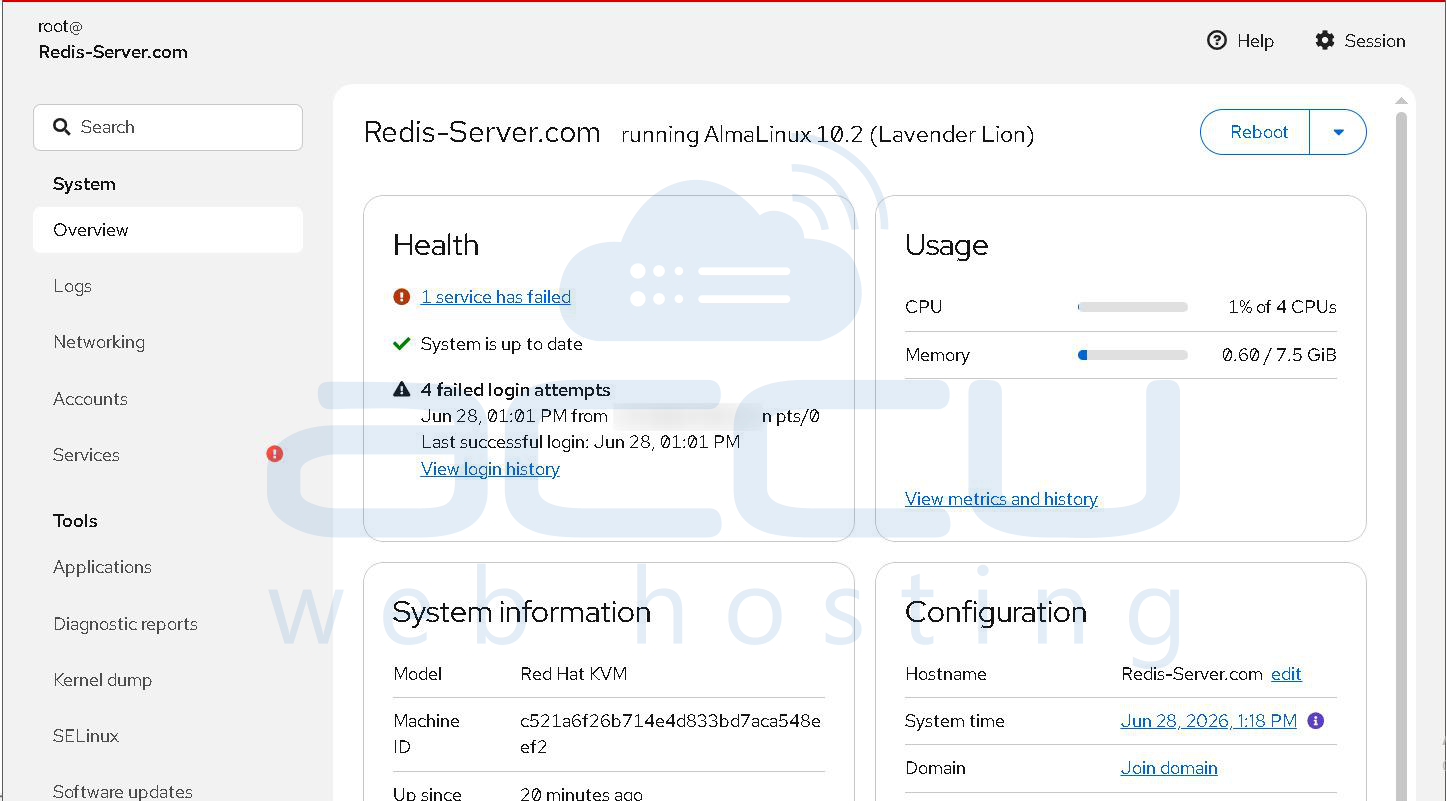
Once authenticated, you'll have access to the Cockpit dashboard.
Verify Cockpit is Listening
To confirm that Cockpit is listening on port 9090:
sudo ss -tlnp | grep 9090
Example output:
LISTEN 0 4096 *:9090
Useful Optional Modules
You can extend Cockpit with additional management modules.
Storage Management
sudo dnf install cockpit-storaged -y

Package Updates
sudo dnf install cockpit-packagekit -y
Network Management
sudo dnf install cockpit-networkmanager -y
Features Available in Cockpit:
Once logged in, you can manage many aspects of your AlmaLinux VPS through a graphical interface, including:
-
System overview and health monitoring
-
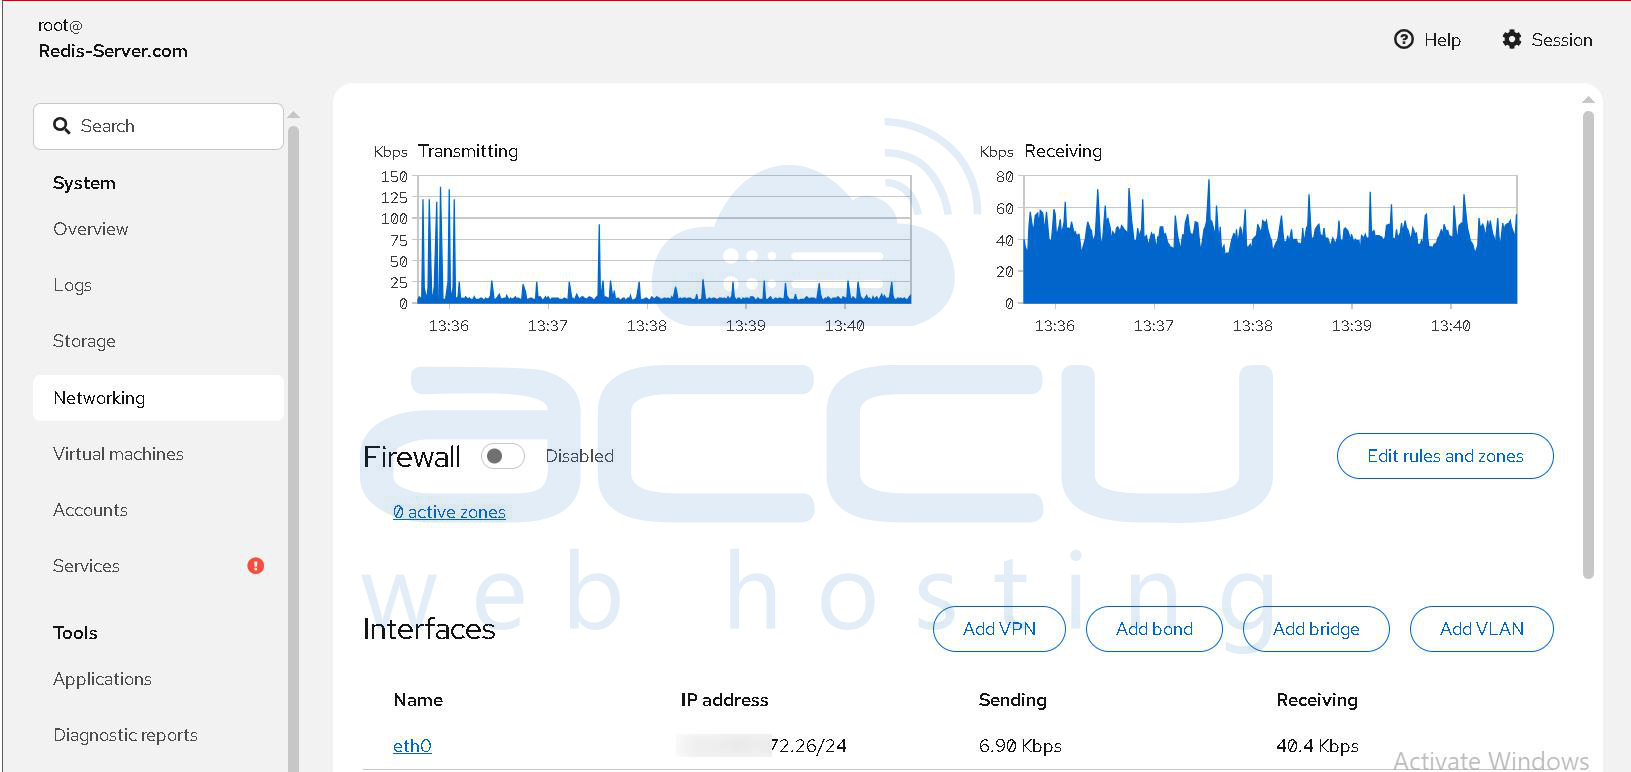
CPU, memory, disk, and network usage
-
Running services
-
Software updates
-
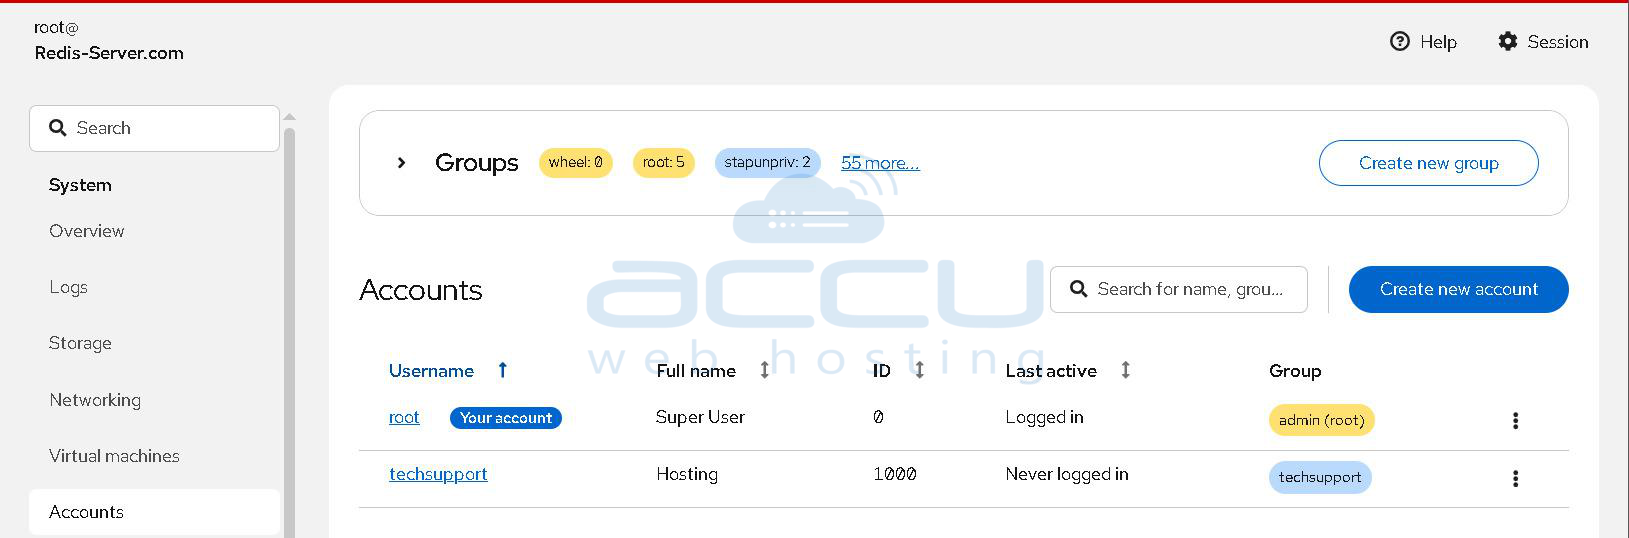
User and group management
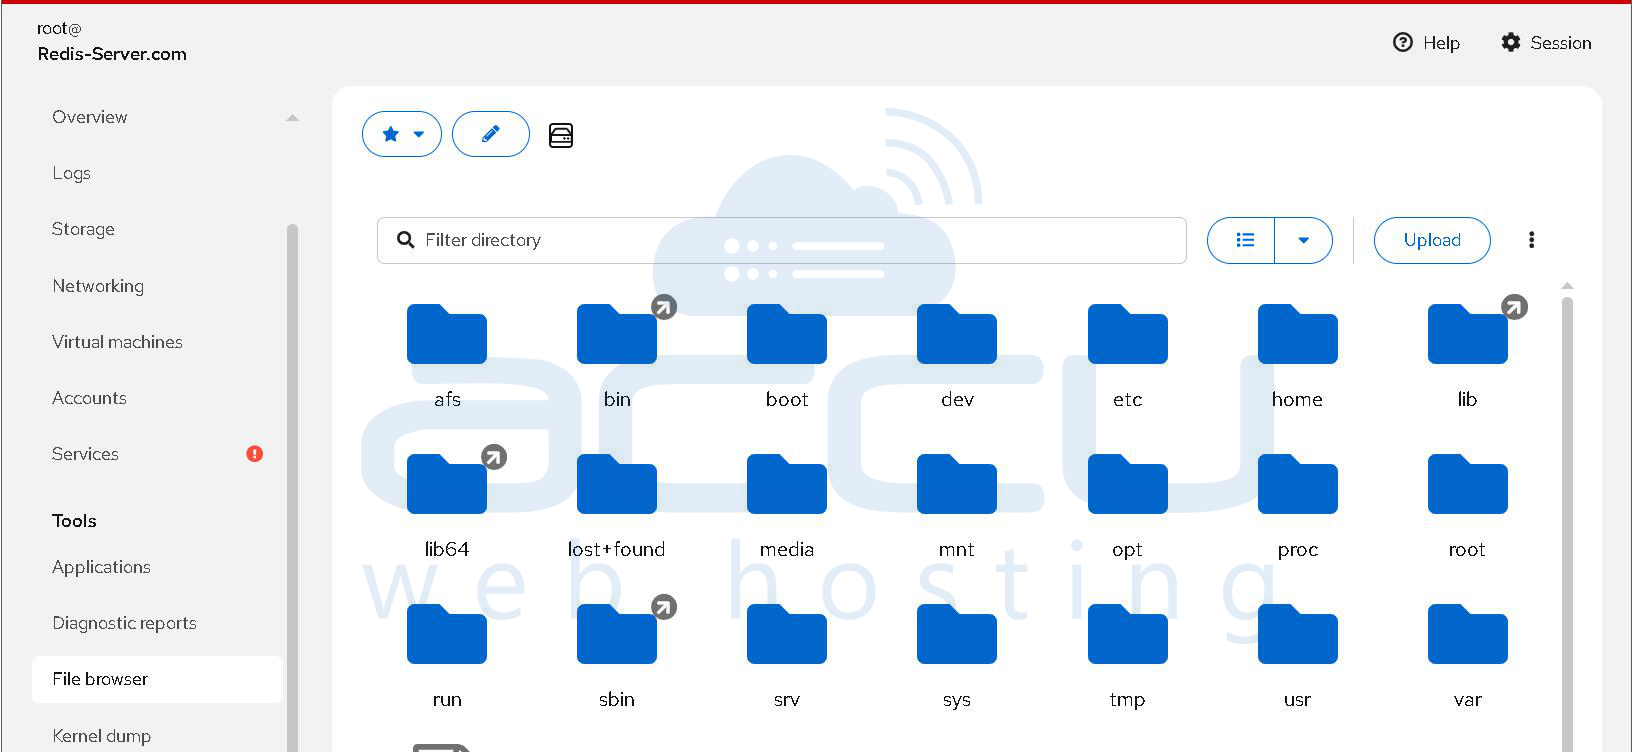
- Storage and filesystem management
-
Network configuration
-
System logs (Journal)
-
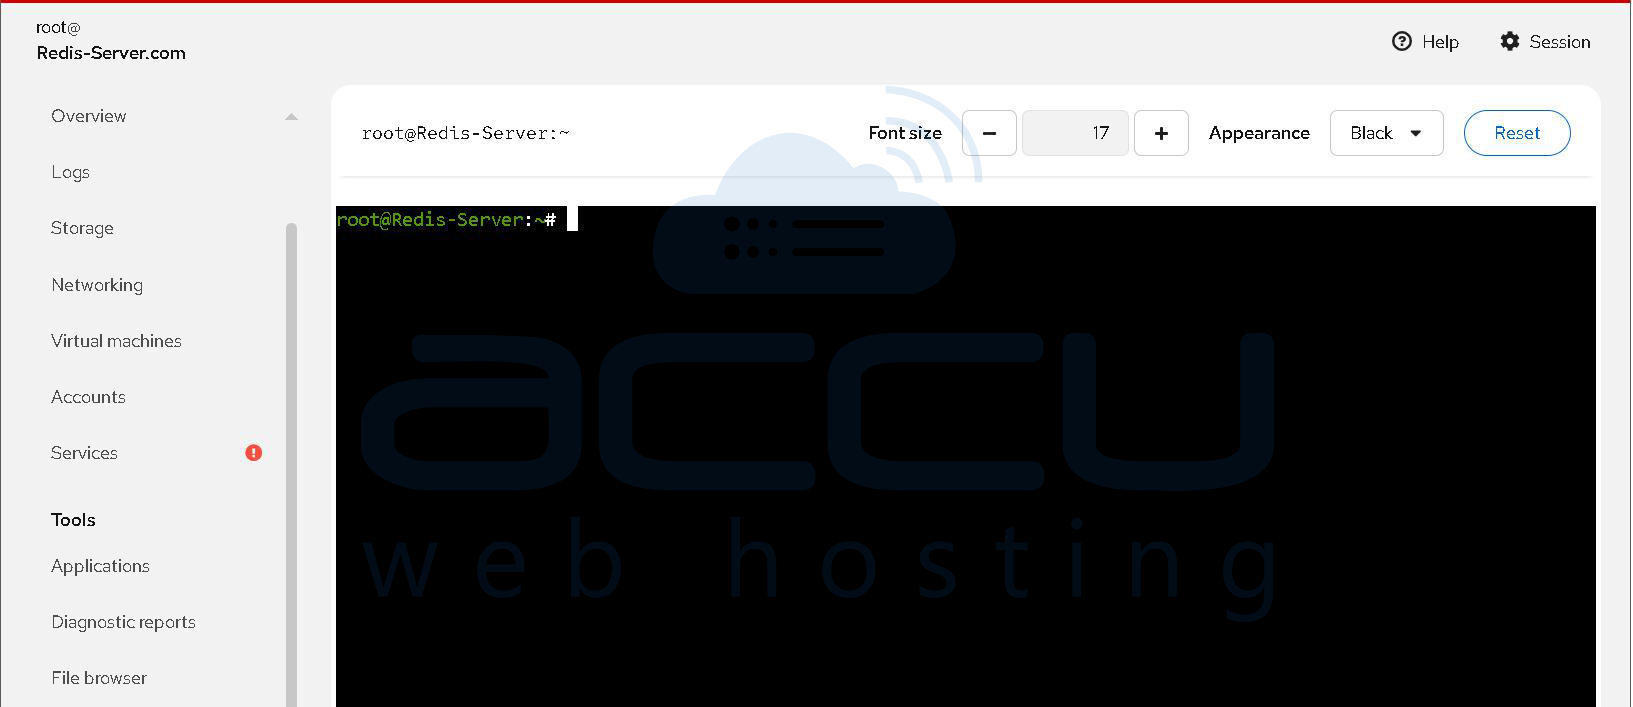
Web-based terminal
-
Scheduled tasks
Conclusion
Cockpit is an excellent web-based administration tool for AlmaLinux 10.x that simplifies many day-to-day server management tasks. Whether you're monitoring system performance, managing services, configuring storage, or troubleshooting issues, Cockpit provides a clean and intuitive interface that reduces the need to memorize complex command-line operations.
Its lightweight design, secure authentication, and seamless integration with AlmaLinux make it a valuable addition to any VPS or dedicated server. By following the steps in this article, you can quickly enable the Cockpit Web GUI Console and begin managing your server more efficiently through a secure web browser.