
Introduction:
ownCloud is a popular open-source file sharing and collaboration platform that allows you to securely store, sync, and access your files from anywhere. Whether you are setting up a personal cloud storage solution or deploying a file-sharing platform for your organization, ownCloud provides a flexible and reliable option.
In this article, we will walk you through the complete process of installing ownCloud on Ubuntu 24.04. The tutorial covers the installation of Apache, MariaDB, PHP, Redis, SSL configuration with Let's Encrypt, and the initial ownCloud setup. By following these steps, you will have a fully functional and secure ownCloud server running on your domain.
Step 1: Point Your Domain to the Server(Optional)
Create an A Record in your domain DNS zone:
|
Type |
Host |
Value |
|
A |
ownCloud |
Your VPS IP |
Verify:
ping ownCloud.demovpstest.com
Step 2: Update Ubuntu
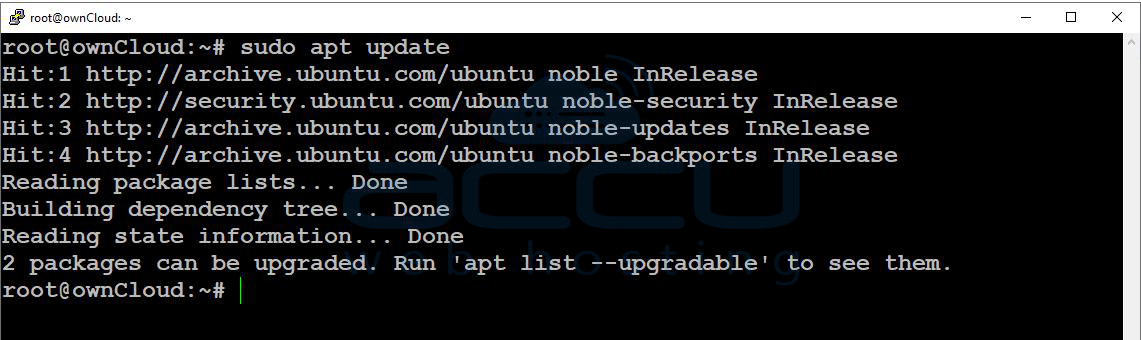
Update your system package:
sudo apt update
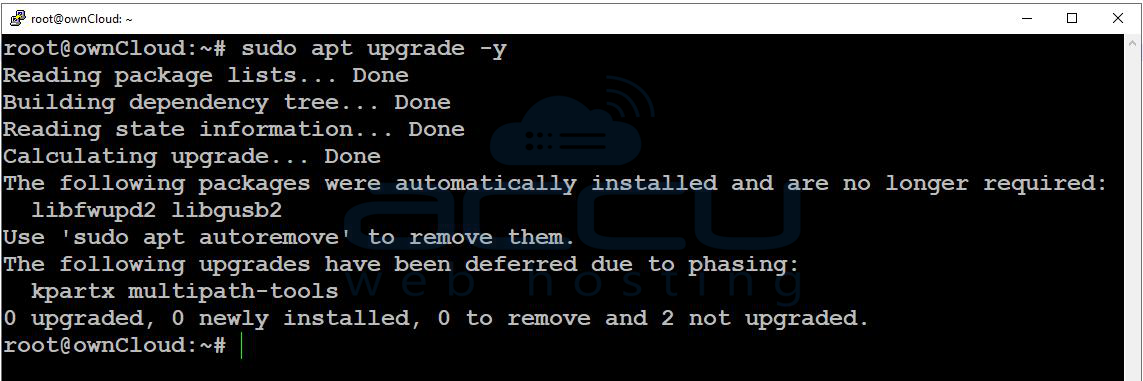
sudo apt upgrade -y
Step 3: Install PHP 7.4 Repository
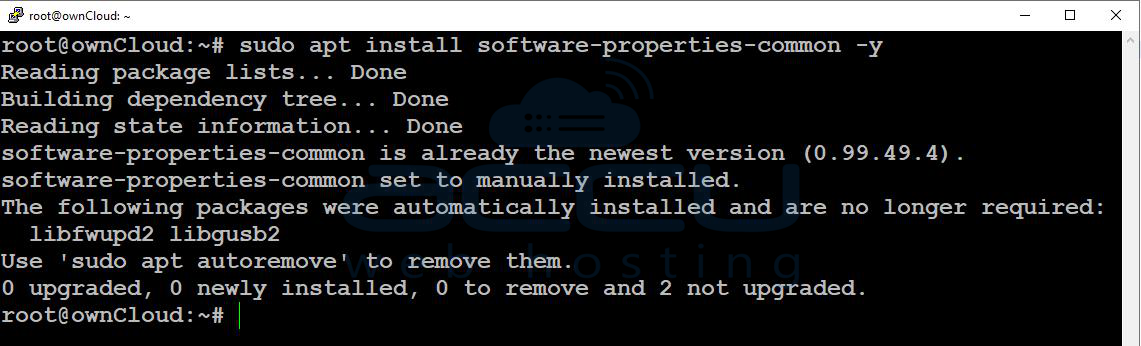
sudo apt install software-properties-common -y
sudo add-apt-repository ppa:ondrej/php -y

sudo apt update
Step 4: Install Apache, MariaDB, Redis, and PHP
sudo apt install -y \
apache2 mariadb-server redis-server wget unzip \
libapache2-mod-php7.4 \
php7.4 php7.4-mysql php7.4-xml php7.4-curl \
php7.4-gd php7.4-intl php7.4-mbstring \
php7.4-zip php7.4-bcmath php7.4-gmp \
php7.4-imagick php7.4-apcu php7.4-redis
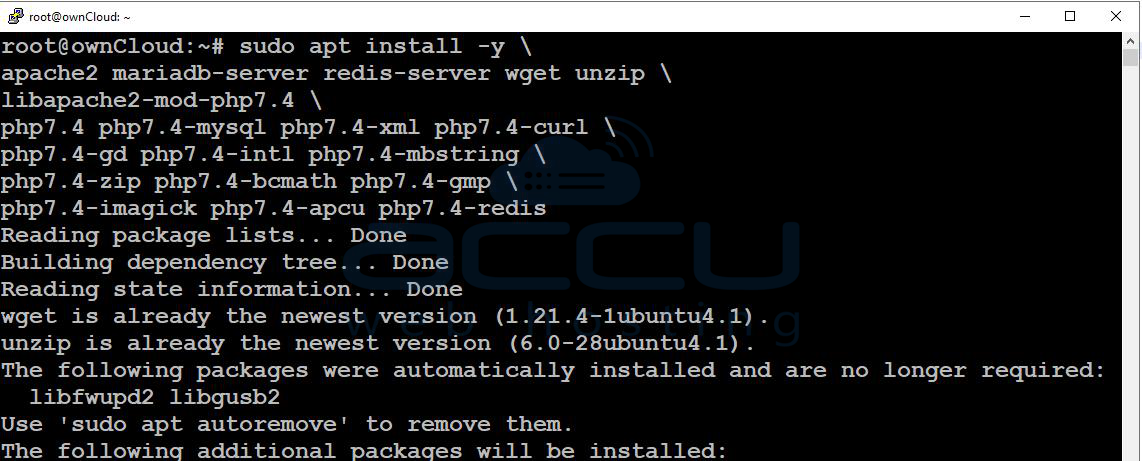
These packages are based on the official ownCloud installation requirements. (doc.owncloud.com)
Step 5: Enable Required Apache Modules
sudo a2enmod rewrite headers env dir mime ssl
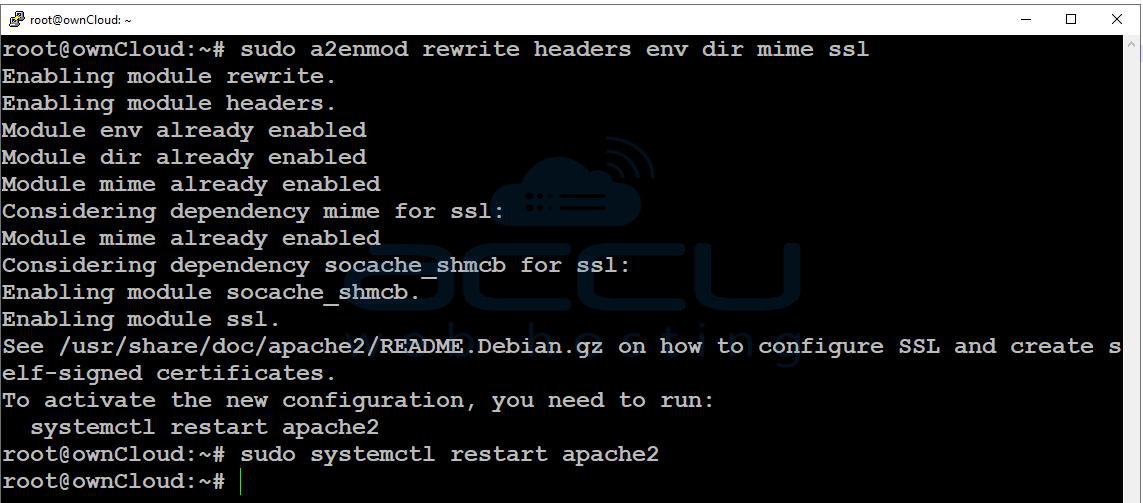
sudo systemctl restart apache2
Step 6: Secure MariaDB
Run:
sudo mysql_secure_installation
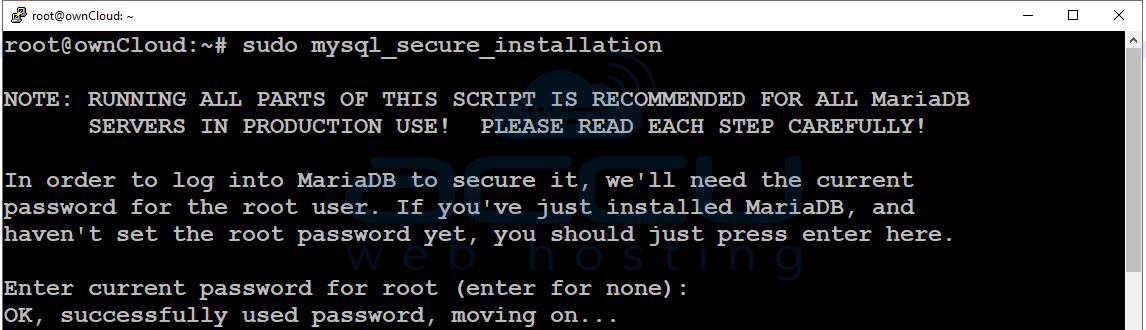
Answer the prompts according to your security requirements. Follow the prompts to set up a root password and secure your MySQL installation.
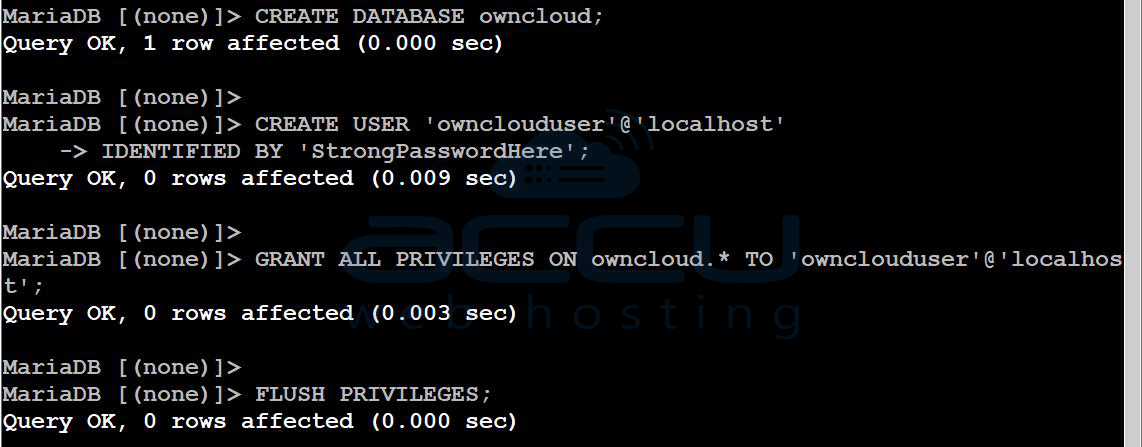
Step 7: Create ownCloud Database
To create a new database for your ownCloud application, log in to MySQL:
sudo mysql. Then, run the following SQL commands to create the database and user:
Create database and user:
CREATE DATABASE owncloud;
CREATE USER 'ownclouduser'@'localhost'
IDENTIFIED BY 'StrongPasswordHere';
GRANT ALL PRIVILEGES ON owncloud.* TO 'ownclouduser'@'localhost';
FLUSH PRIVILEGES;
EXIT;
Step 8: Download ownCloud
Go to the www folder:
cd /var/www
Download the ownCloud setup using wget.
sudo wget https://download.owncloud.com/server/stable/owncloud-complete-latest.tar.bz2
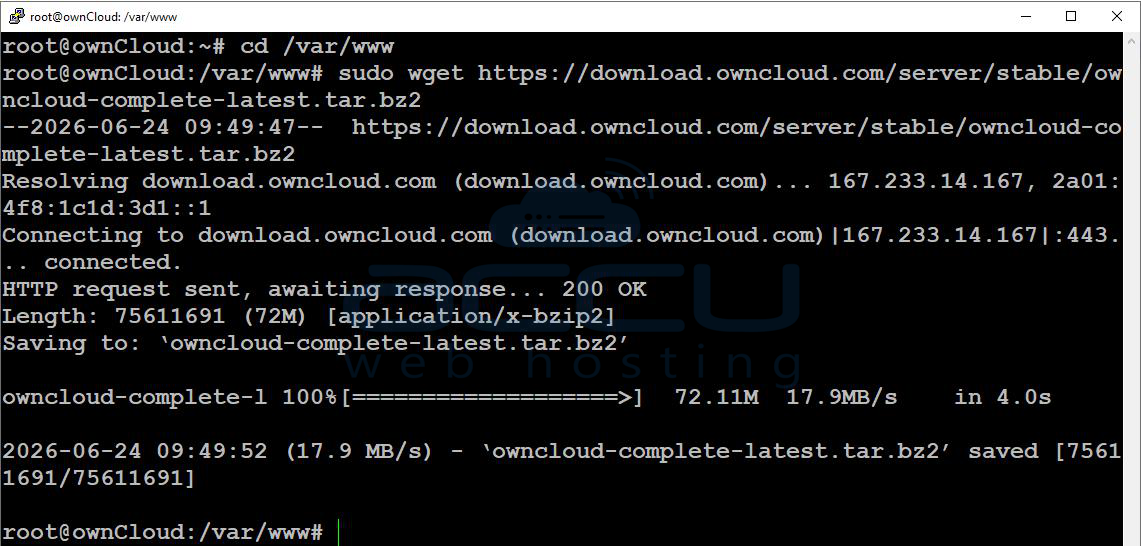
Extract the download zip file:
sudo tar -xjf owncloud-complete-latest.tar.bz2
Step 9: Set Permissions
Set correct permissions: ownCloud needs certain directories to be writable, like the ownCloud. Set the correct permissions by running:
sudo chown -R www-data:www-data /var/www/owncloud
sudo find /var/www/owncloud/ -type d -exec chmod 750 {} \;
sudo find /var/www/owncloud/ -type f -exec chmod 640 {} \;

Step 10: Create an Apache Virtual Host
Next, we need to configure Apache to serve the ownCloud application. Create a new configuration file for your site:
sudo nano /etc/apache2/sites-available/owncloud.conf
Paste this configuration (replace ownCloud.demovpstest.com with your domain or VPS IP):
<VirtualHost *:80>
ServerName ownCloud.demovpstest.com
DocumentRoot /var/www/owncloud
<Directory /var/www/owncloud>
Options FollowSymLinks
AllowOverride All
Require all granted
</Directory>
ErrorLog ${APACHE_LOG_DIR}/owncloud_error.log
CustomLog ${APACHE_LOG_DIR}/owncloud_access.log combined
</VirtualHost>
Save and exit.
Enable site:
sudo a2ensite owncloud.conf
sudo systemctl reload apache2

Disable the Default Apache Site:
sudo a2dissite 000-default.conf
sudo systemctl reload apache2
Step 11: Complete Web Installation
Open: http://ownCloud.demovpstest.com
Fill in:
Admin Account
Username: admin
Password: StrongAdminPassword
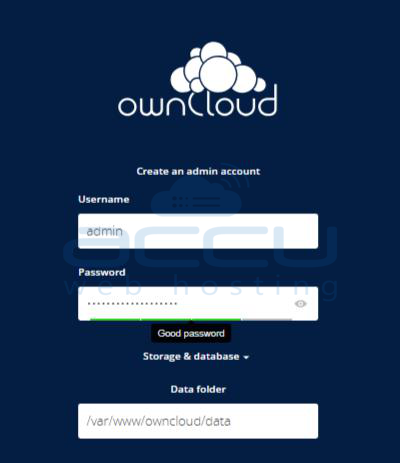
Database Settings
Database User: ownclouduser
Database Password: StrongPasswordHere
Database Name: owncloud
Host: localhost
Click Finish Setup.
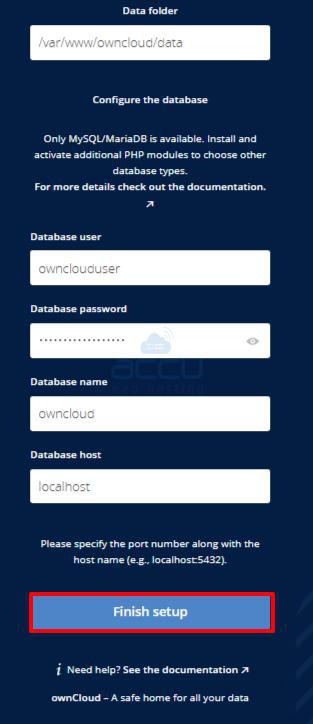
Please replace the ownCloud database settings with the database name, username, and password that you created in Step 7 of this guide.
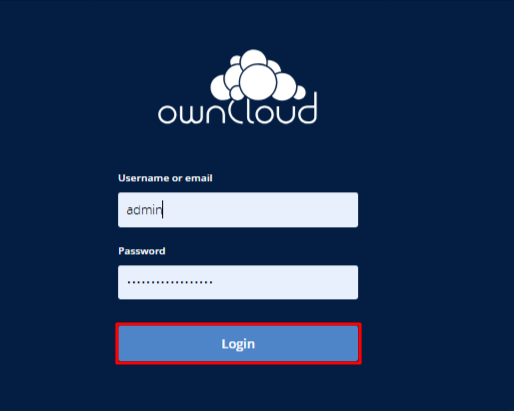
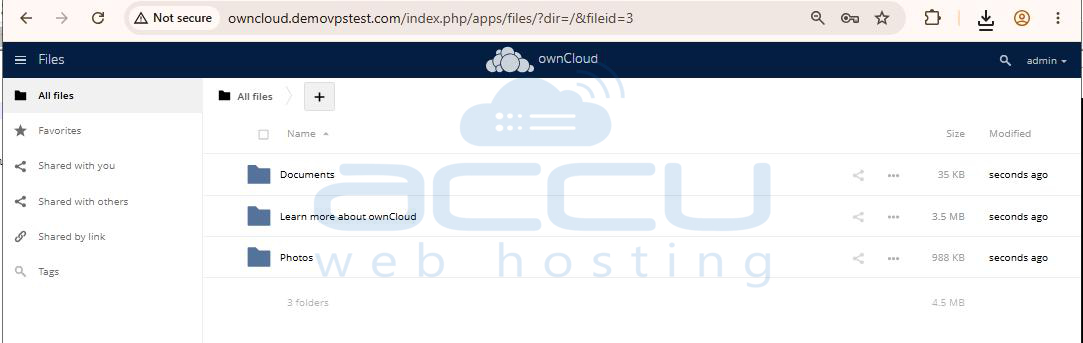
Now log in to ownCloud and verify the login details are working:
Enable HTTPS with Let's Encrypt
Install Certbot:
sudo apt install certbot python3-certbot-apache -y

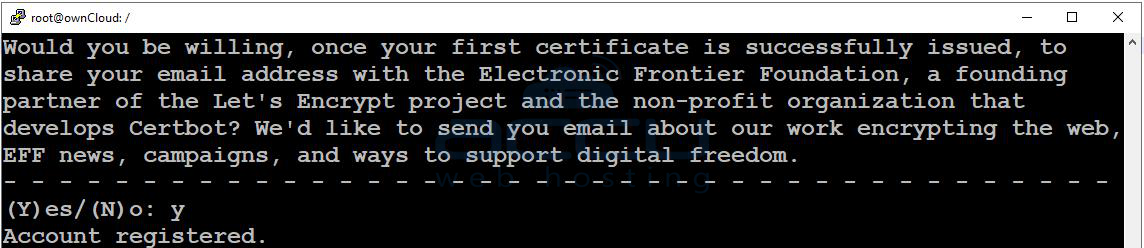
Generate SSL:
sudo certbot --apache -d ownCloud.demovpstest.com
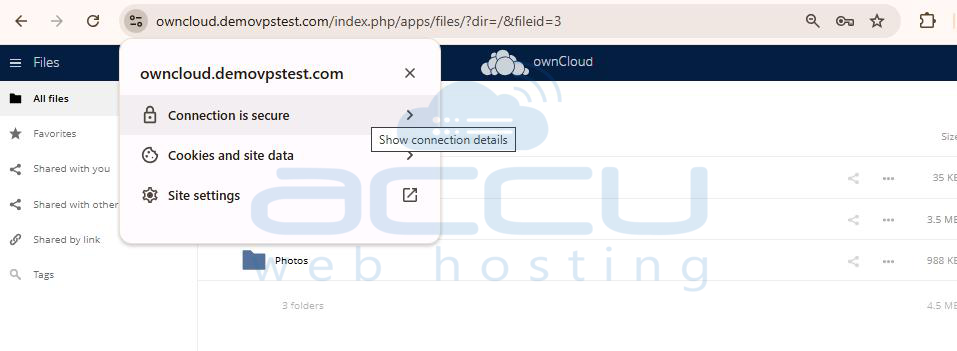
Verify:
https://ownCloud.demovpstest.com
Step 12: Configure Cron Jobs
Edit crontab:
sudo crontab -u www-data -e
Add:
*/15 * * * * php -f /var/www/owncloud/cron.php
Step 13: Configure Redis Caching
Edit:
sudo nano /var/www/owncloud/config/config.php
Add:
'memcache.local' => '\OC\Memcache\APCu',
'memcache.locking' => '\OC\Memcache\Redis',
'redis' => [
'host' => '127.0.0.1',
'port' => 6379,
],
Redis significantly improves performance and file locking.
Conclusion:
You have successfully installed and configured ownCloud on Ubuntu 24.04. The setup includes Apache as the web server, MariaDB as the database server, Redis for improved performance, and SSL encryption to secure connections to your ownCloud instance.
Regularly updating your server, monitoring available storage space, and keeping backups of your data and database will help ensure a stable and secure ownCloud environment.
If you encounter any issues during installation, please feel free to contact us via chat or support. Our support team will assist you with the installation process.