A Windows VPS or VM may become inaccessible via RDP or other services when it is accidentally configured to boot into Safe Mode. In Safe Mode, Windows loads only core system drivers and essential services, which disables remote access services such as Remote Desktop Protocol (RDP) and network-dependent services. This results in a situation where the server is running, but it cannot be accessed remotely.
Symptoms
When the issue occurs, the following behavior is typically observed:
-
RDP connection fails completely
-
Web services (HTTP/HTTPS) may also be unavailable
-
Azure or virtualization console shows the VM is running normally
-
Network interface services may not be active inside the OS
-
Boot diagnostics may show normal boot but no network connectivity
Root Cause
The issue occurs because the system is configured to boot into Safe Mode using the Boot Configuration Data (BCD) settings.
Safe Mode types include:
-
Safe Mode (Minimal)
-
Safe Mode with Networking
In both modes:
-
RDP service is not started
-
Many network drivers and services are disabled
-
Remote access becomes unavailable
Recovery Methods
There are two primary ways to recover the system:
Method 1: Using Serial Console (Preferred if available)
Step 1: Connect to the VM using Serial Console and open a command prompt.
Step 2: Check Boot Configuration Run the following command:
bcdedit /enum
Look for the entry: safeboot
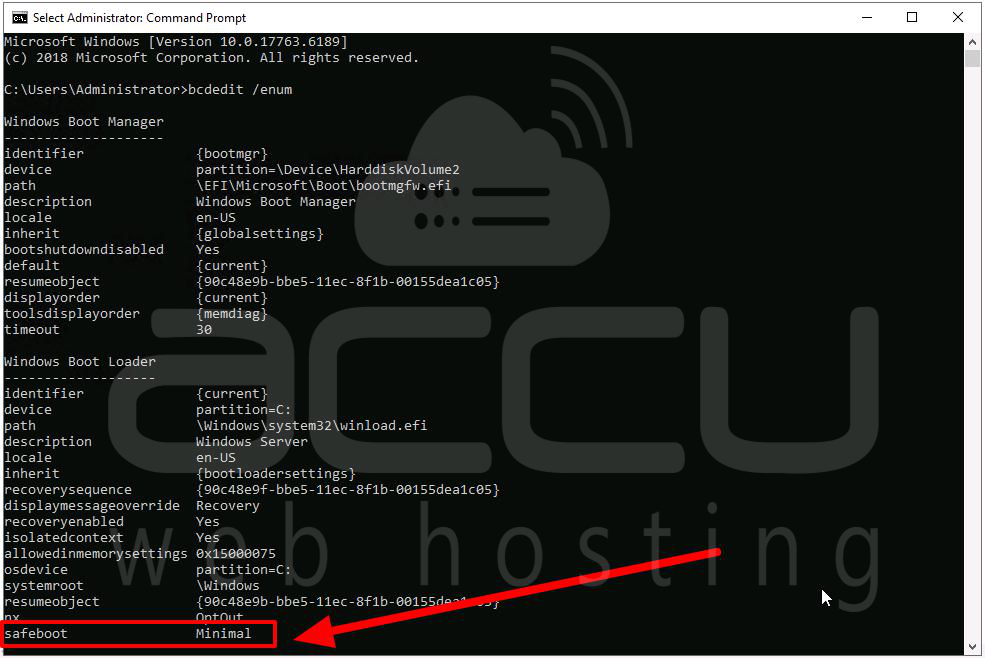
If present, it confirms the VM is forced into Safe Mode.
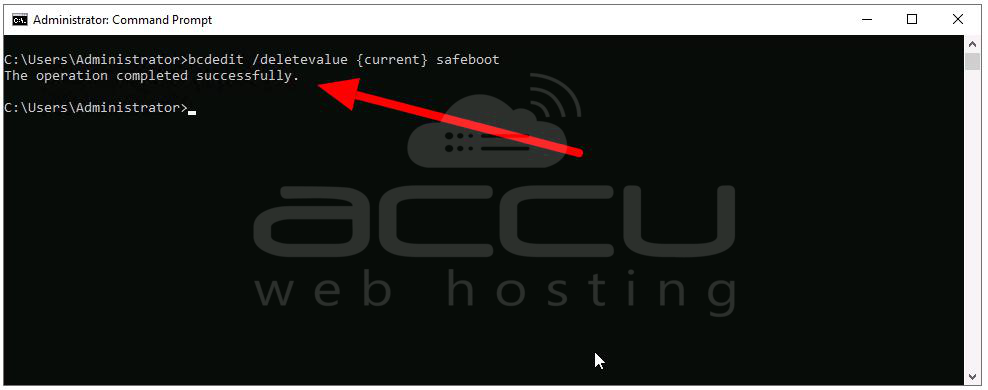
Step 3: Remove Safe Mode Configuration
Execute: bcdedit /deletevalue {current} safeboot
This removes Safe Mode boot configuration.
Step 4: Verify Changes.
Run again: bcdedit /enum
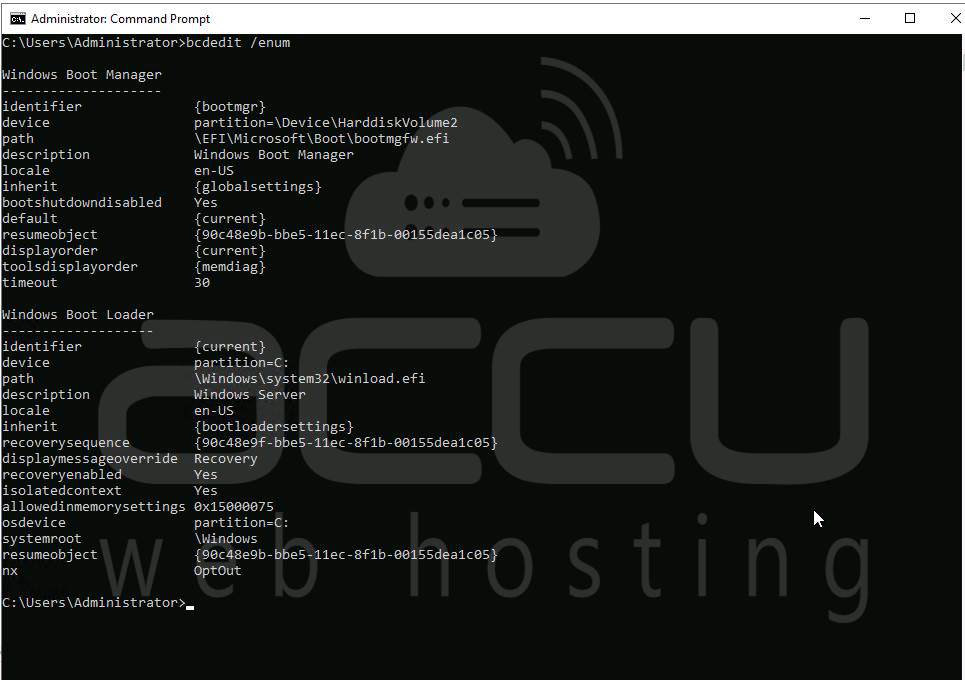
Ensure safeboot is no longer listed.
Step 5: Reboot the system. After restart, Windows should boot normally and RDP access should be restored.
Method 2: Offline Repair (If Serial Console is not available)
If you cannot access Serial Console, use a recovery VM.
Step 1: Take Backup Snapshot. Create a snapshot of the OS disk for safety.
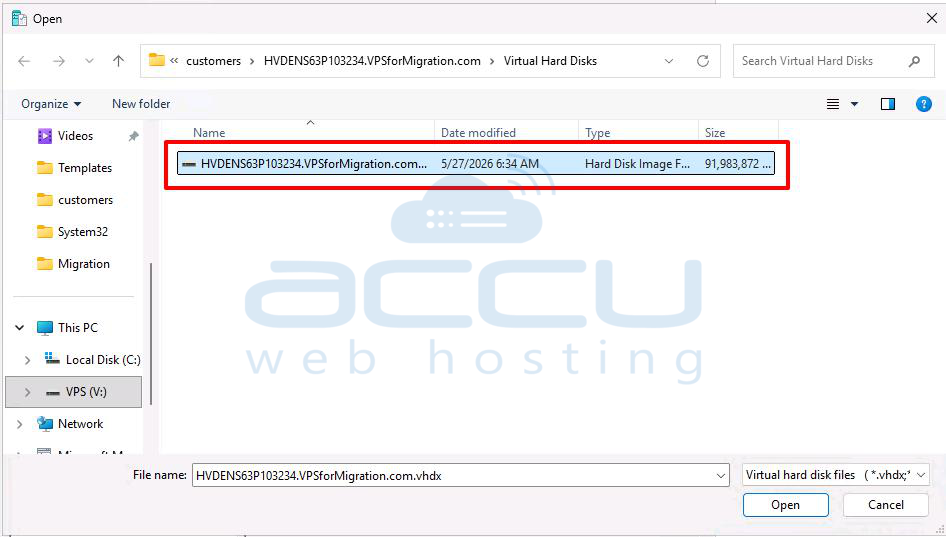
Step 2: Attach OS Disk to Recovery VM
-
Attach the affected disk to a working VM
-
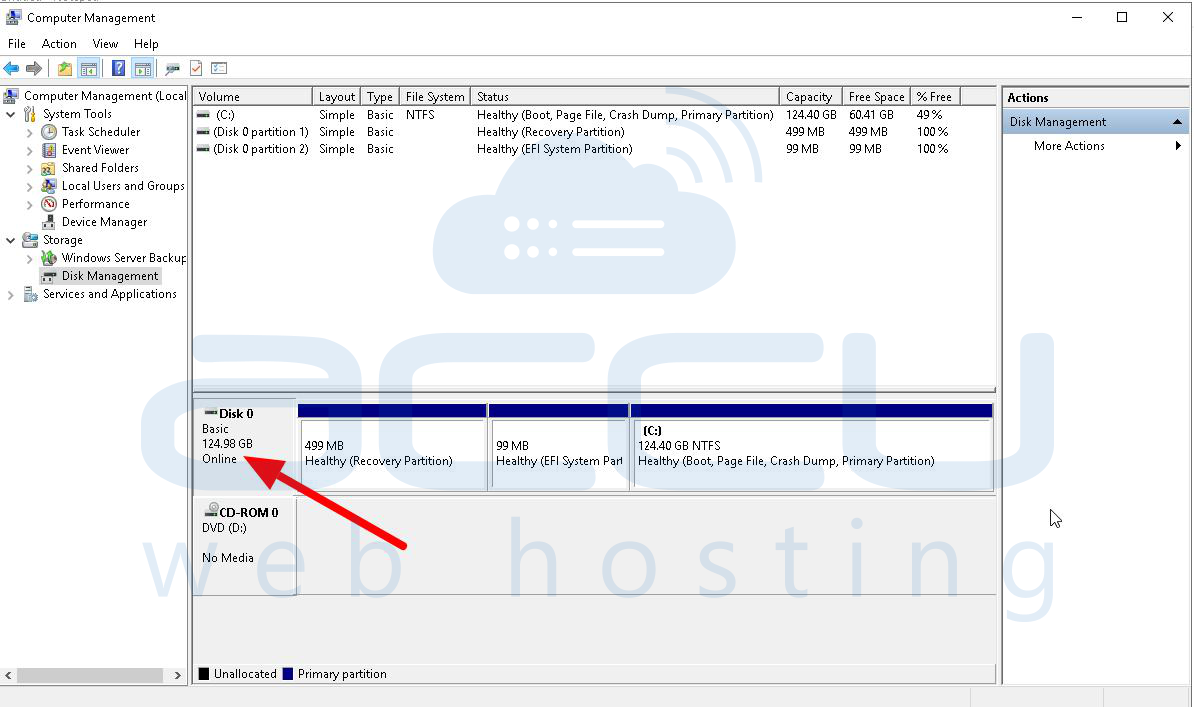
Open Disk Management
-
Ensure disk is Online
-
Note assigned drive letter (example: F:)
Step 3: Load System Hive (Optional for diagnostics): reg load HKLM\BROKENSYSTEM F:\Windows\System32\config\SYSTEM
Step 4: Enable Boot Repair Settings (Optional logging/config)
bcdedit /store F:\boot\bcd /set {bootmgr} displaybootmenu yes
bcdedit /store F:\boot\bcd /set {bootmgr} timeout 5
bcdedit /store F:\boot\bcd /set {bootmgr} bootems yes
Step 5: Remove Safe Boot Flag.
Check boot entries: bcdedit /store F:\boot\bcd /enum
Then remove Safe Mode setting:
bcdedit /store F:\boot\bcd /deletevalue {Default} safeboot
Step 6: Verify Configuration.
bcdedit /store F:\boot\bcd /enum
Confirm safeboot is removed.
Step 7: Detach the disk from recovery VM, reattach to original VM and start VM normally.
Method 3: Using System Configuration (msconfig)
Step 1: Connect VPS from HyperV. Press Windows + R.
Step 2: Type msconfig and press Enter.
Step 3: Go to the Boot tab.
Step 4: Under Boot options, uncheck Safe boot.
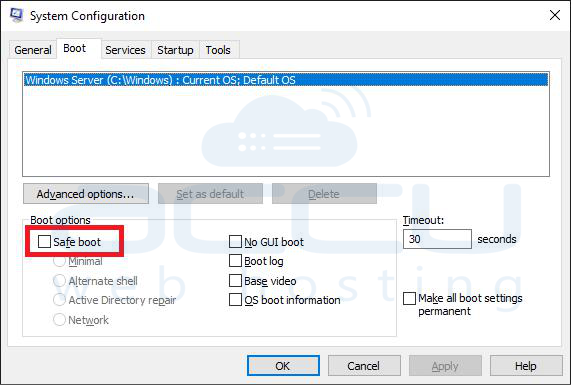
Step 5: Click Apply → OK.
Step 6: Restart your computer.
Conclusion
A Windows VPS becomes inaccessible via RDP when it is forced into Safe Mode because networking and RDP services are disabled. Recovery requires removing the safeboot flag from Boot Configuration Data (BCD). The issue can be resolved using Serial Console (direct fix) or Offline disk repair (recovery VM method). Once corrected, the server will boot in normal mode and remote access will be restored.
