Introduction:
Managing and tracking ports across multiple servers can quickly become difficult, especially in growing environments where many applications and services are running at the same time. PortNote is a lightweight and self-hosted solution that helps system administrators and developers organize, monitor, and document used ports through a simple web-based interface.
Using PortNote, you can centralize port management, avoid port conflicts, and keep your infrastructure more organized and easier to maintain.
In this article, we will explain how to install and run PortNote on a Debian 12 VPS using Docker and Docker Compose
It provides:
- Centralized port management
- Automatic port scanning
- Server and VM organization
- Port conflict prevention
- Simple web-based interface
Prerequisites:
Before you begin, ensure you have:
- A Debian 12 VPS
- Root or sudo access
- At least 1 GB RAM
- A domain name (optional for HTTPS)
Note: Please replace portnote.example.com with your actual domain name, and replace StrongDBPassword with a strong password of your choice in the script or code.
Step 1: Update Debian 12
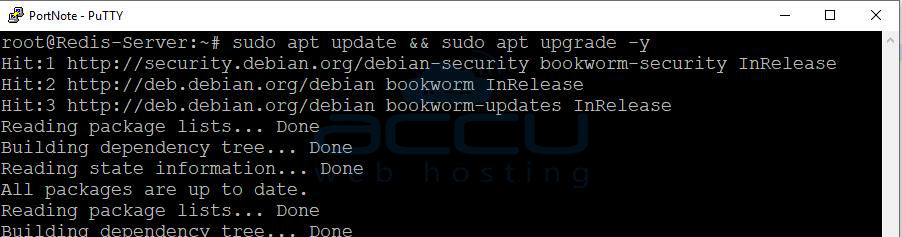
First, update your system packages:
sudo apt update && sudo apt upgrade -y
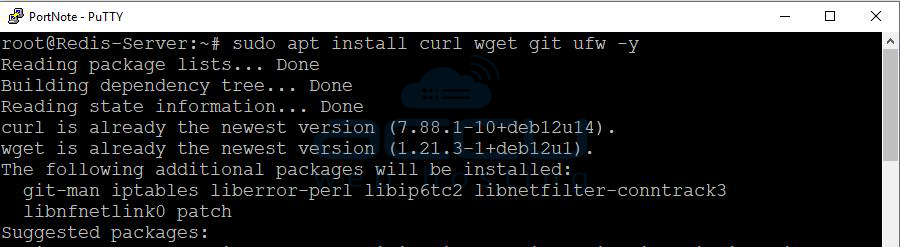
Install some required utilities:
sudo apt install curl wget git ufw -y
Step 2: Configure Firewall
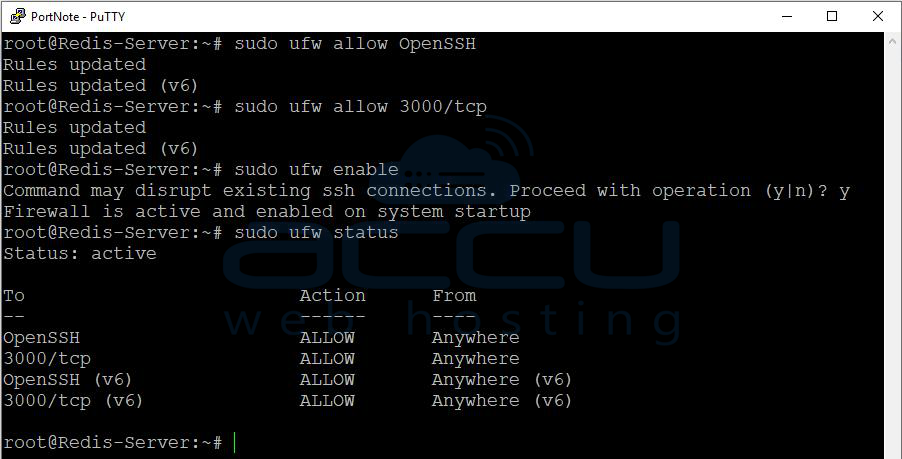
Allow SSH access:
sudo ufw allow OpenSSH
Allow PortNote web interface:
sudo ufw allow 3000/tcp
Enable firewall:
sudo ufw enable
Check status:
sudo ufw status
Step 3: Install Docker
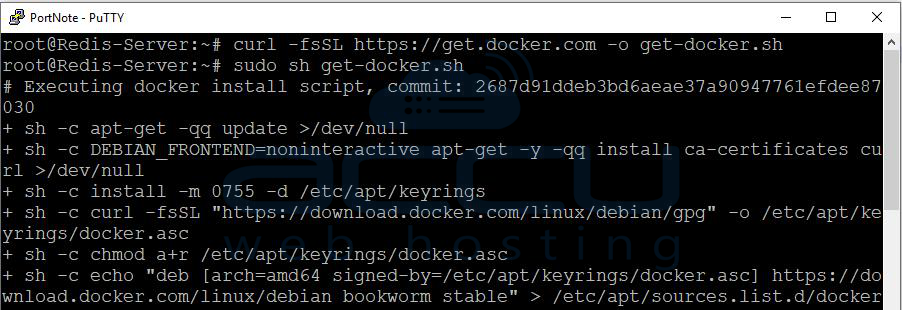
Download and install Docker:
curl -fsSL https://get.docker.com -o get-docker.sh
sudo sh get-docker.sh
Enable Docker service:
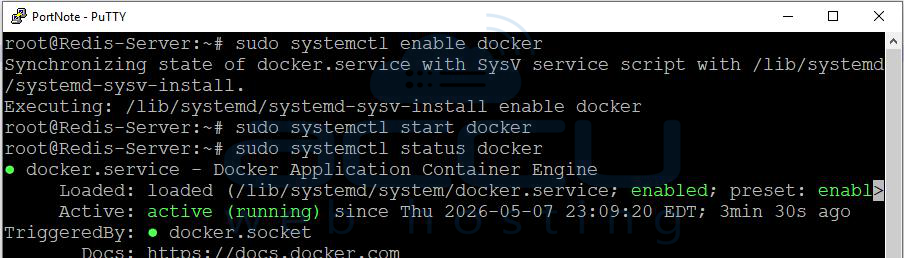
sudo systemctl enable docker
sudo systemctl start docker
Verify Docker installation:
docker --version

Step 4: Install Docker Compose Plugin
Install Docker Compose plugin:
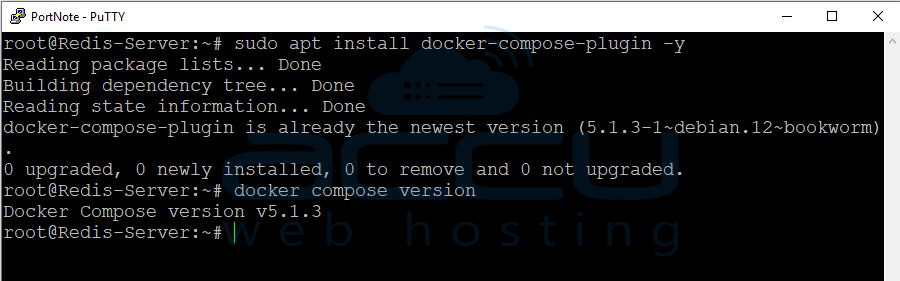
sudo apt install docker-compose-plugin -y
Verify installation:
docker compose version
Step 5: Create PortNote Directory
Create a working directory:
mkdir -p ~/portnote
cd ~/portnote
Step 6: Create Docker Compose File
Create a new Docker Compose file:
vi docker-compose.yml
Add the following configuration:
services:
web:
image: haedlessdev/portnote:latest
container_name: portnote-web
restart: unless-stopped
ports:
- "3000:3000"
environment:
JWT_SECRET: supersecretjwtkey
USER_SECRET: supersecretuserkey
LOGIN_USERNAME: admin
LOGIN_PASSWORD: StrongPassword123
DATABASE_URL: "postgresql://postgres:postgres@db:5432/postgres"
depends_on:
- db
agent:
image: haedlessdev/portnote-agent:latest
container_name: portnote-agent
restart: unless-stopped
environment:
DATABASE_URL: "postgresql://postgres:postgres@db:5432/postgres"
depends_on:
- db
db:
image: postgres:17
container_name: portnote-db
restart: unless-stopped
environment:
POSTGRES_USER: postgres
POSTGRES_PASSWORD: postgres
POSTGRES_DB: postgres
volumes:
- postgres_data:/var/lib/postgresql/data
volumes:
postgres_data:
Save and exit.
Step 7: Start PortNote
Launch the containers:
docker compose up -d
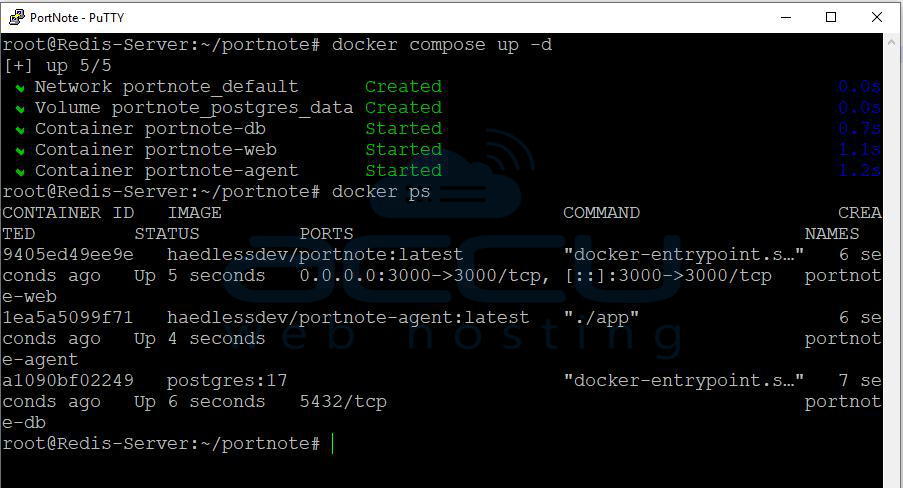
Check running containers:
docker ps
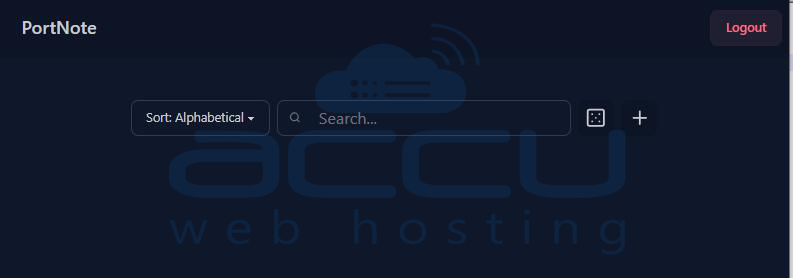
Step 8: Access PortNote
Open your browser and visit:http://YOUR_SERVER_IP:3000

Login using:
-
Username: admin
-
Password: StrongPassword123
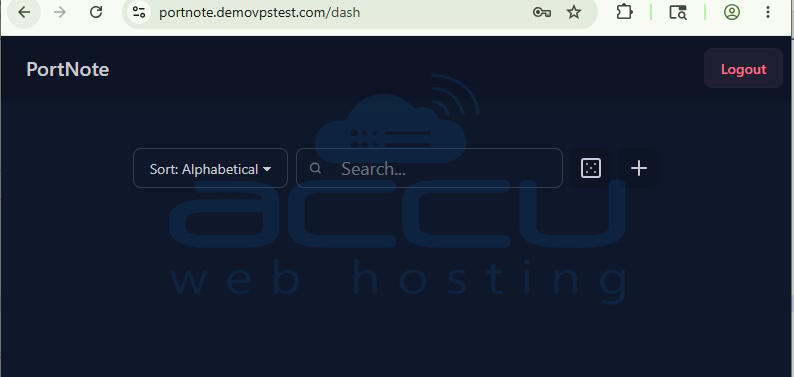
You can now start adding servers and managing ports.
Optional: Configure Nginx Reverse Proxy
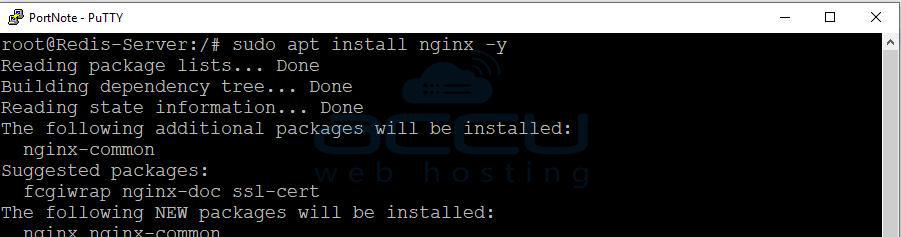
Install Nginx:
sudo apt install nginx -y
Create a new virtual host:
sudo vi /etc/nginx/sites-available/portnote
Add:
server {
listen 80;
server_name portnote.example.com;
location / {
proxy_pass http://localhost:3000;
proxy_set_header Host $host;
proxy_set_header X-Real-IP $remote_addr;
proxy_set_header Upgrade $http_upgrade;
proxy_set_header Connection "upgrade";
}
}
Enable configuration:
sudo ln -s /etc/nginx/sites-available/portnote /etc/nginx/sites-enabled/
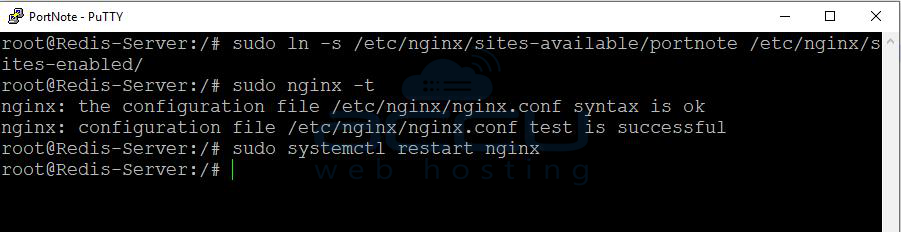
Test Nginx:
sudo nginx -t
Restart Nginx:
sudo systemctl restart nginx
Secure with Free SSL Certificate
Install Certbot:
sudo apt install certbot python3-certbot-nginx -y
Generate SSL certificate:
sudo certbot --nginx -d portnote.example.com
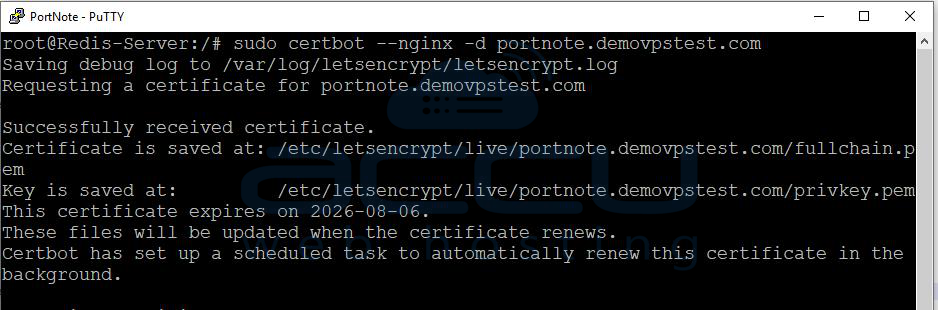
Your PortNote instance will now be accessible securely via HTTPS.
Conclusion:
You have successfully installed and configured PortNote on your Debian 12 VPS using Docker Compose. With PortNote running on your server, you can now manage and document ports more efficiently through an easy-to-use web interface.
Your server can now:
-
Track used ports
-
Prevent conflicts
-
Organize services
-
Scan server ports automatically
-
Manage infrastructure more efficiently
Installing PortNote on an Ubuntu VPS is simple and can be completed in just a few steps. If you encounter any issues during installation, please feel free to contact us via chat or support. Our support team will assist you with the installation process.
