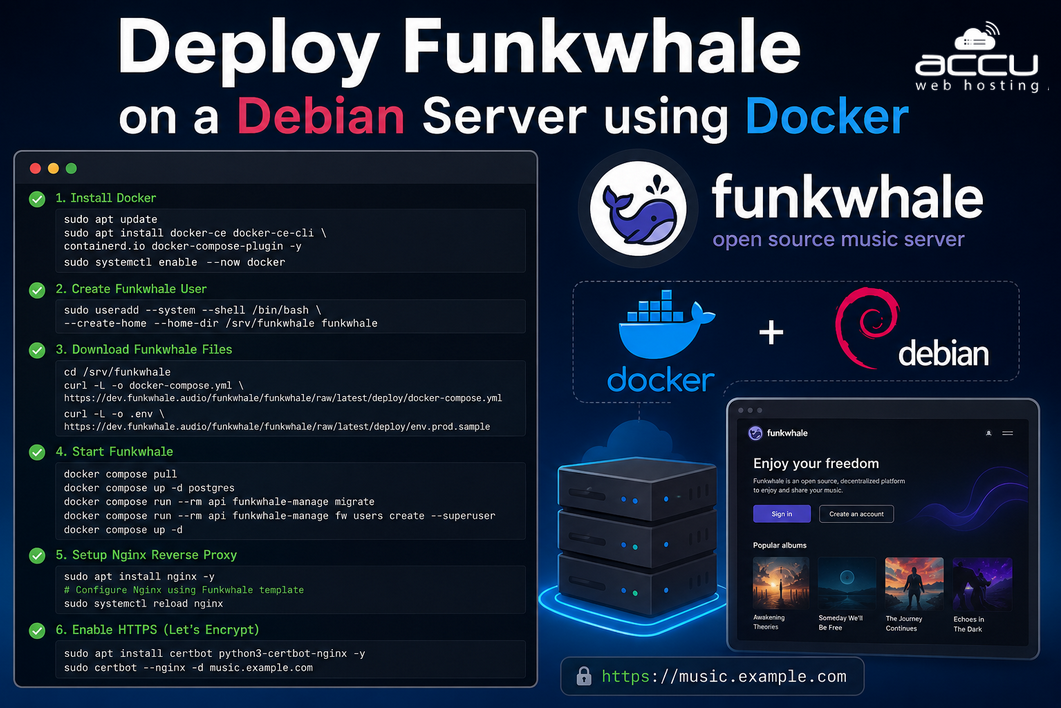
Funkwhale is a self-hosted, federated audio streaming platform that allows you to host and share your music library. It supports federation through the ActivityPub protocol, making it possible to connect with other Funkwhale instances across the decentralized web. In this guide, we are going to walk through the entire process of deploying Funkwhale on a Debian server using Docker. By the end of this guide, your Funkwhale pod will be live, secured, and ready for use.
Prerequisites
Before starting, ensure you have the following:
Server Requirements
- Debian 11 or Debian 12 server
- Root or sudo access
- Minimum 2 GB RAM
- At least 20 GB storage
- A domain name pointed to your server IP
- Open ports:
- 80 (HTTP)
- 443 (HTTPS)
Deploy Funkwhale on a Debian Server
Step 1: Install Docker on Debian
Funkwhale's recommended deployment method uses Docker and Docker Compose. Docker allows Funkwhale and all of its dependencies, the API server, database, cache, and frontend, to run as isolated containers without interfering with anything else on your system.
The version of Docker that ships with Debian's default package repositories is often outdated. For the best experience, you should install Docker directly from Docker's official repository.
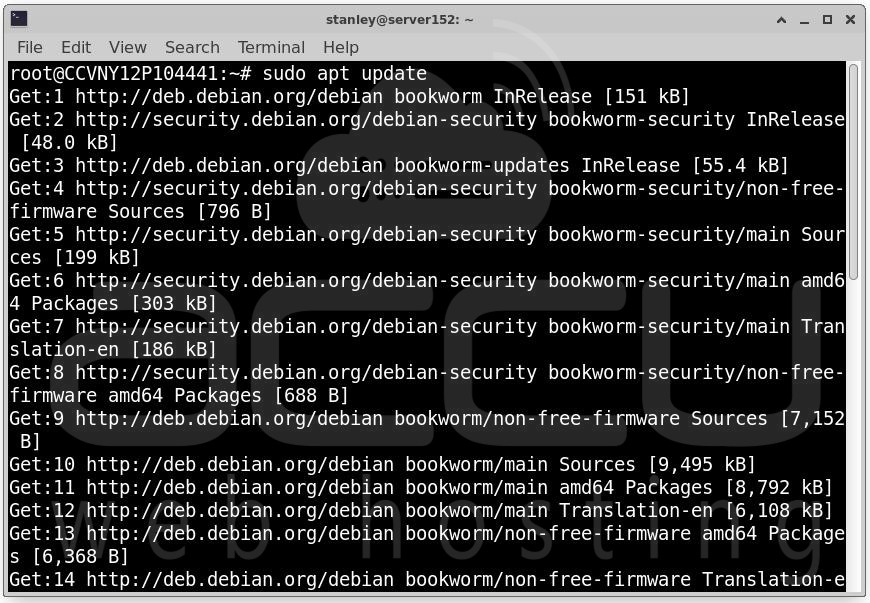
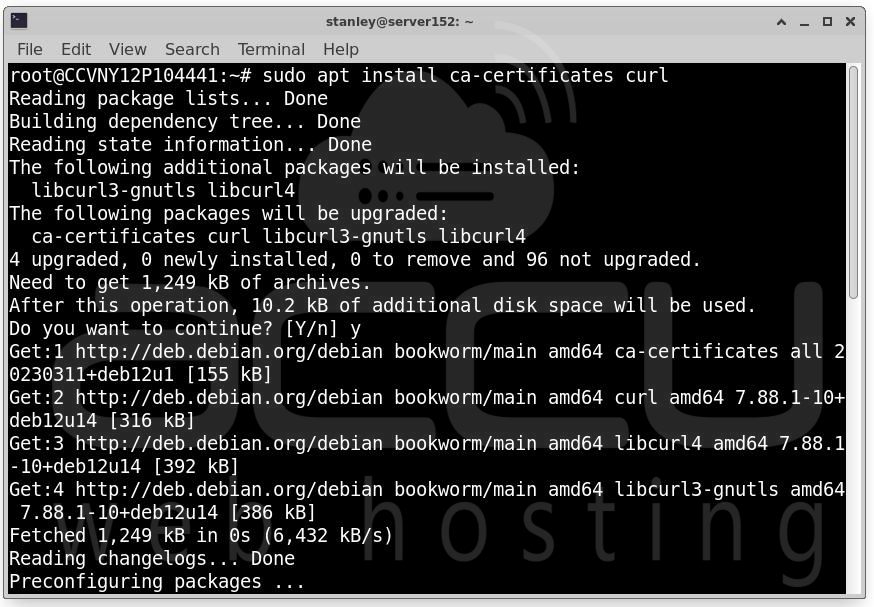
Start by updating your package index and installing the prerequisite packages that allow apt to use a repository over HTTPS:
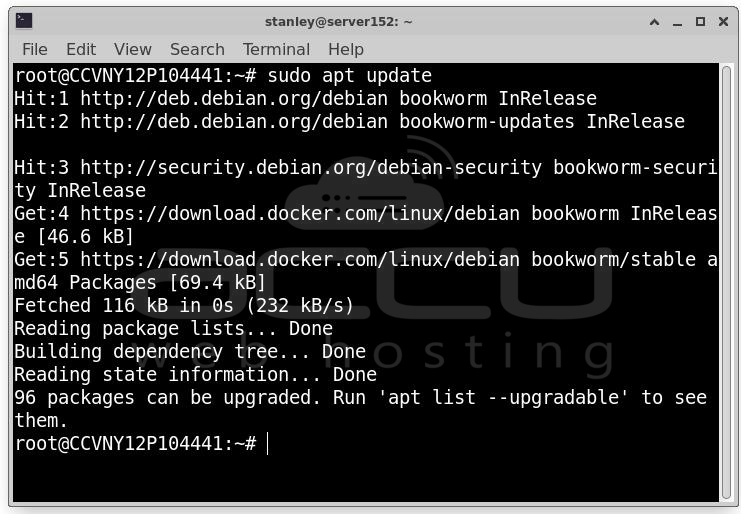
sudo apt update
sudo apt install ca-certificates curl
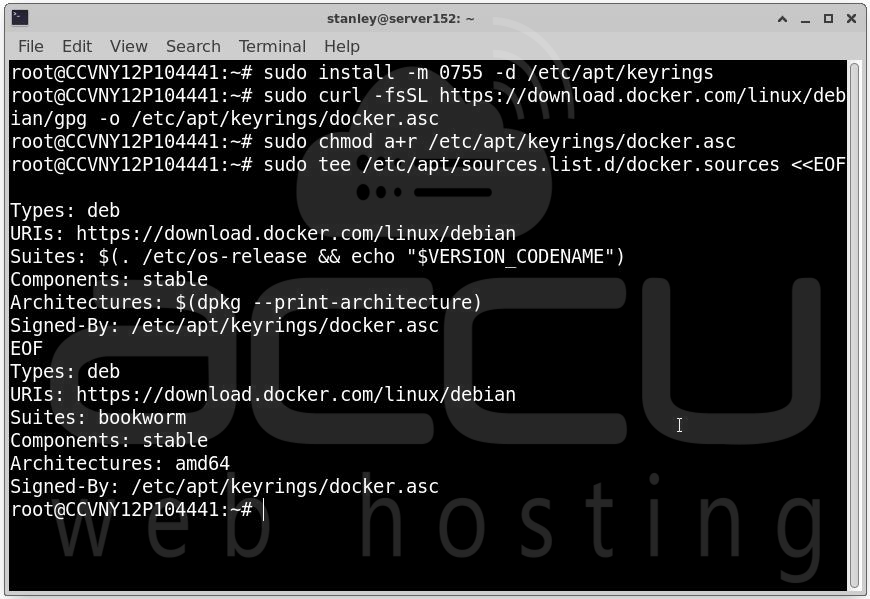
Next, create the directory where apt stores its keyring files. The -m 0755 flag sets appropriate permissions on the directory:
sudo install -m 0755 -d /etc/apt/keyrings
Now download Docker's official GPG key and save it to the keyrings directory. This key is used by apt to verify that the packages you download from Docker's repository are authentic and have not been tampered with:
sudo curl -fsSL https://download.docker.com/linux/debian/gpg -o /etc/apt/keyrings/docker.asc
sudo chmod a+r /etc/apt/keyrings/docker.asc
With the key in place, add Docker's official repository to your apt sources. The following command reads your Debian version information from /etc/os-release and uses it to configure the correct repository for your release:
sudo tee /etc/apt/sources.list.d/docker.sources <<EOF
Types: deb
URIs: https://download.docker.com/linux/debian
Suites: $(. /etc/os-release && echo "$VERSION_CODENAME")
Components: stable
Architectures: $(dpkg --print-architecture)
Signed-By: /etc/apt/keyrings/docker.asc
EOF
Update your package index again to pick up the new Docker repository:
sudo apt update
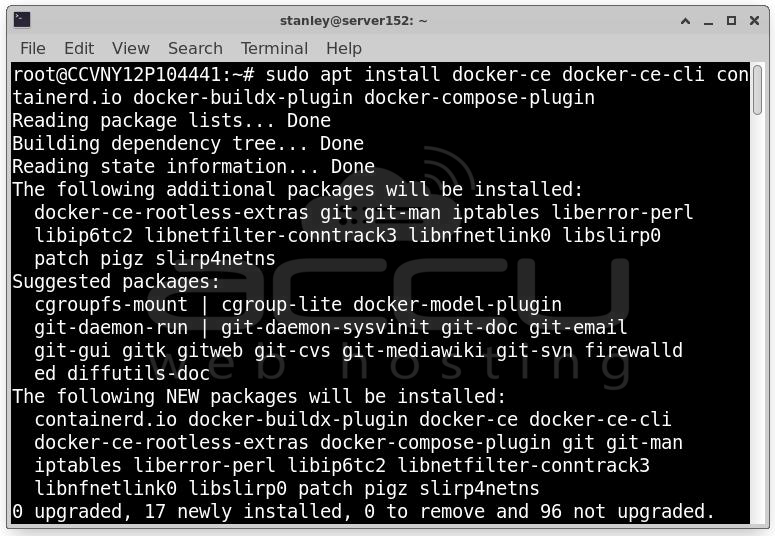
Now install Docker and all of its related components:
sudo apt install docker-ce docker-ce-cli containerd.io docker-buildx-plugin docker-compose-plugin
After installation finishes, verify that Docker is running properly:
sudo systemctl status docker
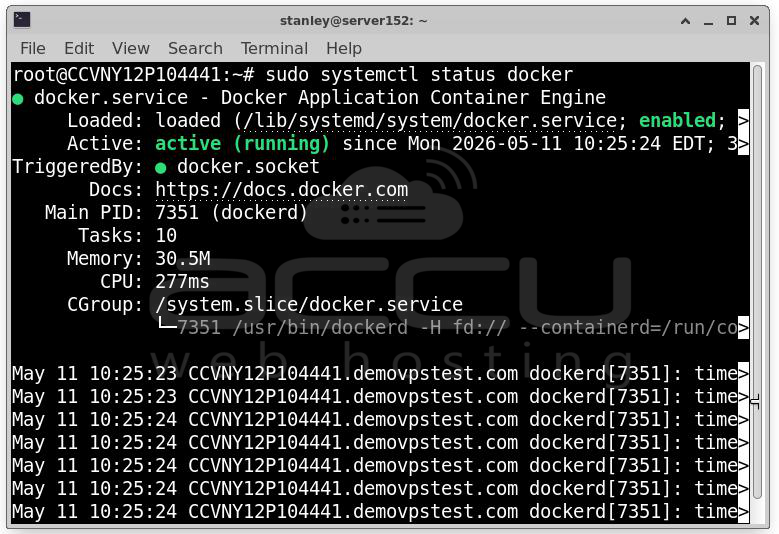
You should see output indicating that the Docker service is active and running. If it is not, start it with sudo systemctl start docker and enable it to start automatically on boot with sudo systemctl enable docker.
At this point, Docker is fully installed and ready to go.
Step 2: Create a Dedicated Funkwhale System User
Running services as the root user is a security risk. It is best practice to create a dedicated system user for Funkwhale administration. This isolates Funkwhale's files and processes from the rest of your system and reduces the blast radius if something ever goes wrong.
Create a new system user named funkwhale. The --system flag creates it as a system account rather than a regular interactive user. The --shell /bin/bash flag gives it a usable shell. The --create-home and --home-dir flags set up a home directory at /srv/funkwhale, which will also serve as the main directory for all Funkwhale files:
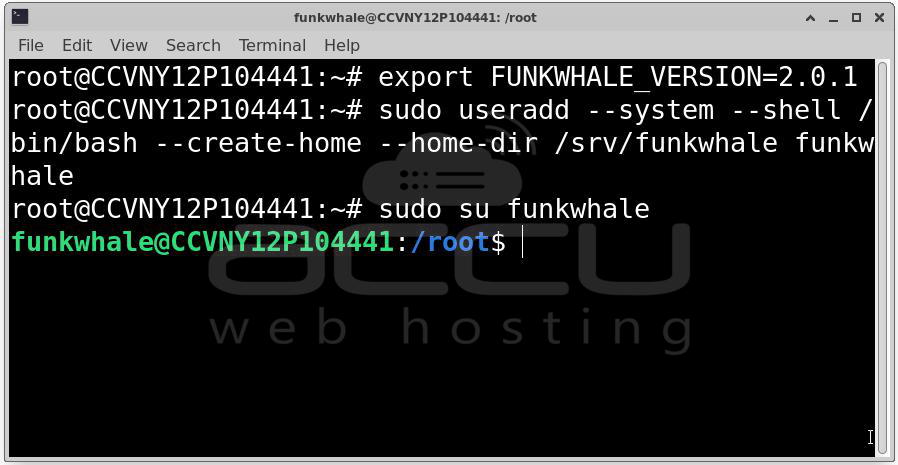
sudo useradd --system --shell /bin/bash --create-home --home-dir /srv/funkwhale funkwhale
From this point on, whenever you need to run a command in the context of the Funkwhale installation, you can do one of two things. You can either prefix your command with sudo -u funkwhale to run a single command as the funkwhale user:
sudo -u funkwhale <command>
Or you can switch into the funkwhale user session entirely for the duration of a series of commands:
sudo su funkwhale
When you are done with the funkwhale session, type exit to return to your regular user.
This separation of concerns is a small thing that pays dividends in clarity and security over time. All of the Funkwhale-related files will live in /srv/funkwhale, owned by this user.
Step 3: Download the Project Files
Funkwhale's Docker deployment is built around a docker-compose.yml file that defines all the containers your pod needs and how they communicate with each other. Before downloading anything, you need to decide which version of Funkwhale you want to run.
Set an environment variable for the version. Replace 2.0.1 with the latest stable release available on Funkwhale's release page at the time you are setting this up:
export FUNKWHALE_VERSION="2.0.1"
Setting this as a variable now means you can use it consistently throughout the rest of the setup without having to type the version number repeatedly.
Make sure the project directory structure exists. The main /srv/funkwhale directory was created when you made the funkwhale user, but create the nginx subdirectory as well since you will need it later:
mkdir /srv/funkwhale /srv/funkwhale/nginx
If /srv/funkwhale already exists, this command will give you a warning about that directory, which you can safely ignore.
Navigate to the project directory:
cd /srv/funkwhale
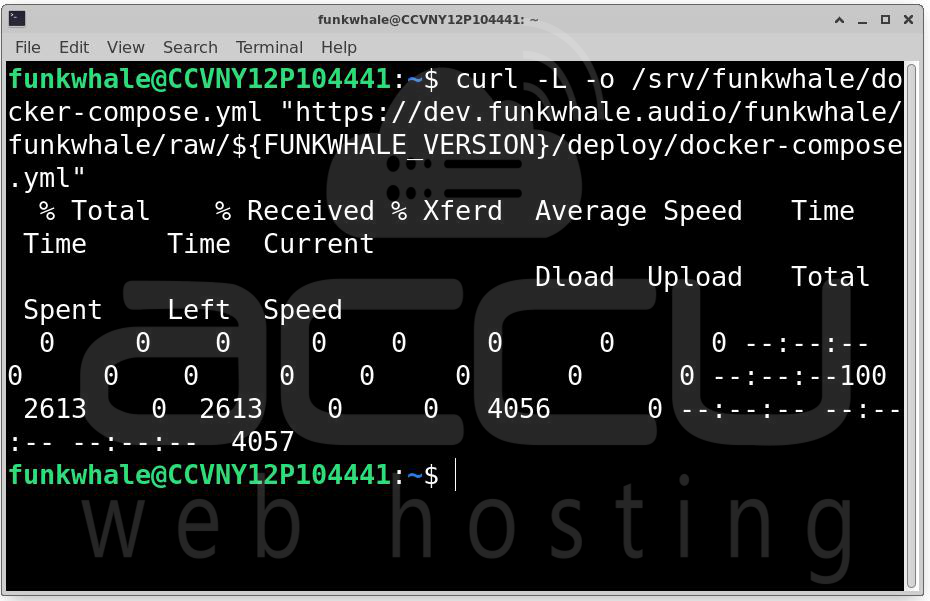
Now download the Docker Compose template file from Funkwhale's official repository. This file describes all the services that make up a Funkwhale pod, the API backend, the Celery worker for background tasks, the PostgreSQL database, the Redis cache, and the frontend Nginx server:
curl -L -o /srv/funkwhale/docker-compose.yml "https://dev.funkwhale.audio/funkwhale/funkwhale/raw/${FUNKWHALE_VERSION}/deploy/docker-compose.yml"
With the docker-compose file in place, your project structure is ready.
Step 4: Configure Your Environment File
The environment file is the heart of your Funkwhale configuration. It is a plain text file containing key-value pairs that control almost every aspect of how your Funkwhale pod behaves, from the database credentials to the hostname to the secret key used for cryptographic operations.
Download the sample environment file from Funkwhale's repository:
curl -L -o /srv/funkwhale/.env "https://dev.funkwhale.audio/funkwhale/funkwhale/raw/${FUNKWHALE_VERSION}/deploy/env.prod.sample"
This .env file is pre-populated with sensible defaults, but there are a few things you must customize before it will work.
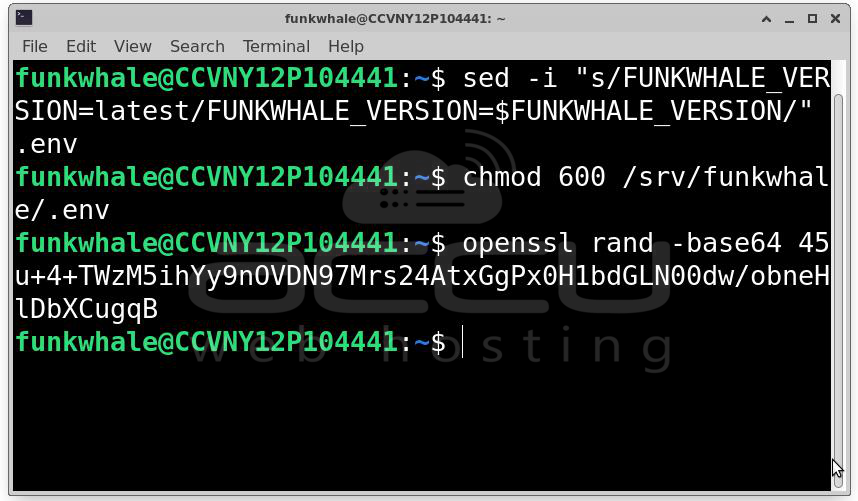
The first thing to fix is the version string. The sample file contains a placeholder that needs to be replaced with your actual version number. Use sed to make this substitution automatically:
sed -i "s/FUNKWHALE_VERSION=latest/FUNKWHALE_VERSION=$FUNKWHALE_VERSION/" .env
This command finds the line FUNKWHALE_VERSION=latest and replaces it with FUNKWHALE_VERSION=2.0.1 (or whichever version you set earlier).
Next, tighten the file permissions on your .env file. Because this file will contain secrets like your database password and Django secret key, it should only be readable and writable by your user, no one else:
chmod 600 /srv/funkwhale/.env
Now generate a strong, random secret key. Django uses this key for cryptographic signing of cookies, sessions, and other security-sensitive operations. It needs to be long, random, and private:
openssl rand -base64 45
This command produces a random 45-byte string encoded in base64. Copy the output — it will look something like xKz3m8N1pQoRvW7yLdA2fBcEjHtGusMnPiZe4ThVkXwJqY6 — and keep it ready for the next step.
Open the .env file in a text editor. Nano is a straightforward choice:
nano /srv/funkwhale/.env
Inside the file, locate the DJANGO_SECRET_KEY field and paste in the key you just generated. It should look like this after editing:
DJANGO_SECRET_KEY=xKz3m8N1pQoRvW7yLdA2fBcEjHtGusMnPiZe4ThVkXwJqY6
Then find the FUNKWHALE_HOSTNAME field and set it to the domain name you are using for this server. Do not include https:// here — just the bare domain name:
FUNKWHALE_HOSTNAME=music.yourdomain.com
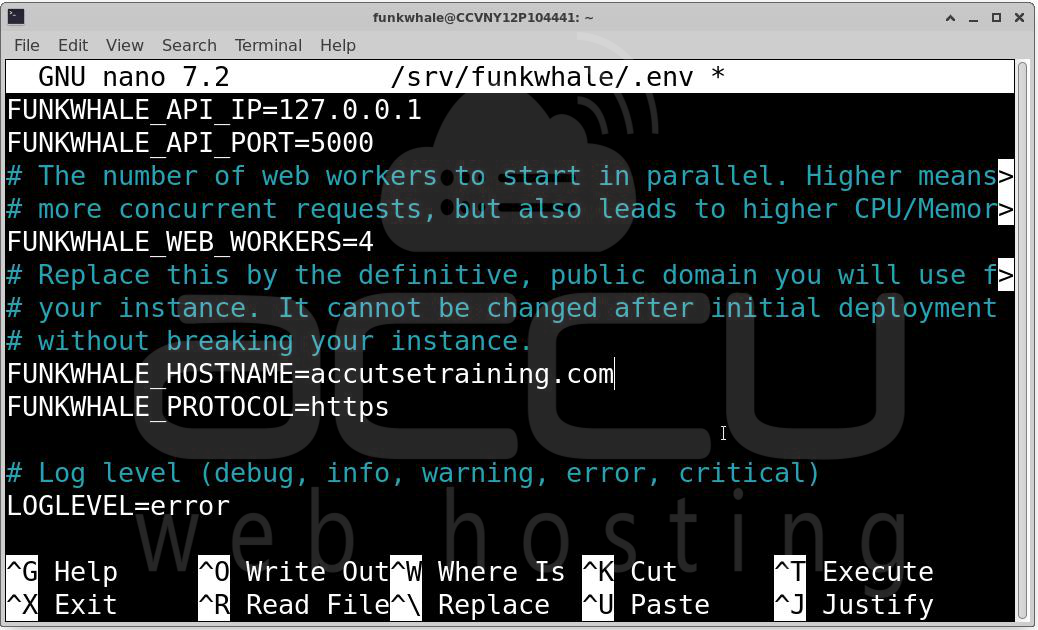
There are many other settings in this file worth exploring, such as MUSIC_DIRECTORY_PATH for configuring where uploaded files are stored, email settings for sending account confirmation messages, and federation settings. For a basic working installation, the secret key and hostname are the critical ones. Save the file and exit nano by pressing Ctrl+X, then Y, then Enter.
Your environment file is now configured and your pod is ready to be set up.
Step 5: Initialize the Database and Create Your Admin Account
With the environment file ready, you can now pull the Docker images, run database migrations, and create your first superuser account.
cd /srv/funkwhale
docker compose pull
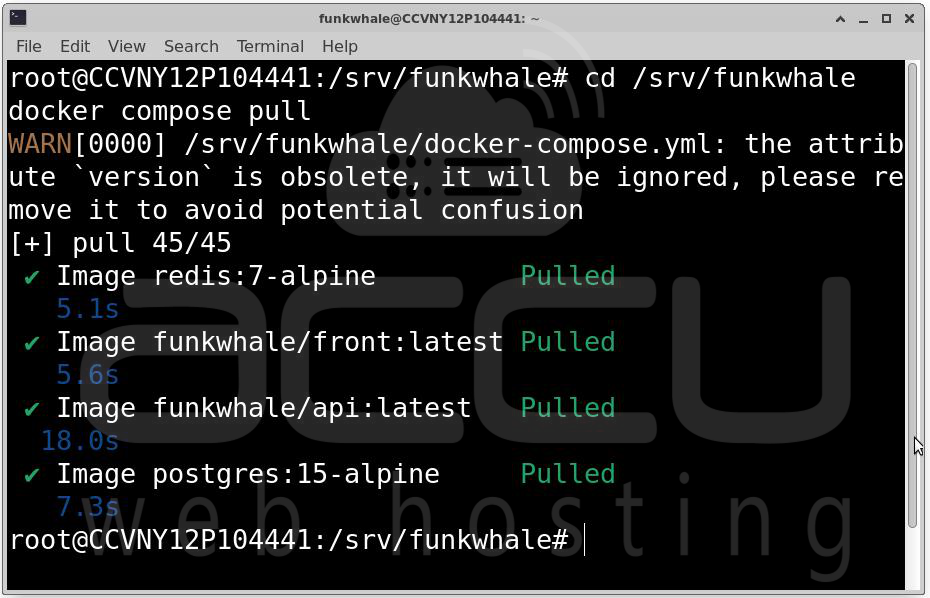
You will see progress bars as each image layer is downloaded. Docker is efficient about this, if you ever update Funkwhale in the future, only the layers that have changed need to be re-downloaded.
Before running migrations, bring up just the PostgreSQL database container. The migration command needs a running database to connect to, and it is good practice to start the database first and confirm it is healthy before running anything against it:
docker compose up -d postgres
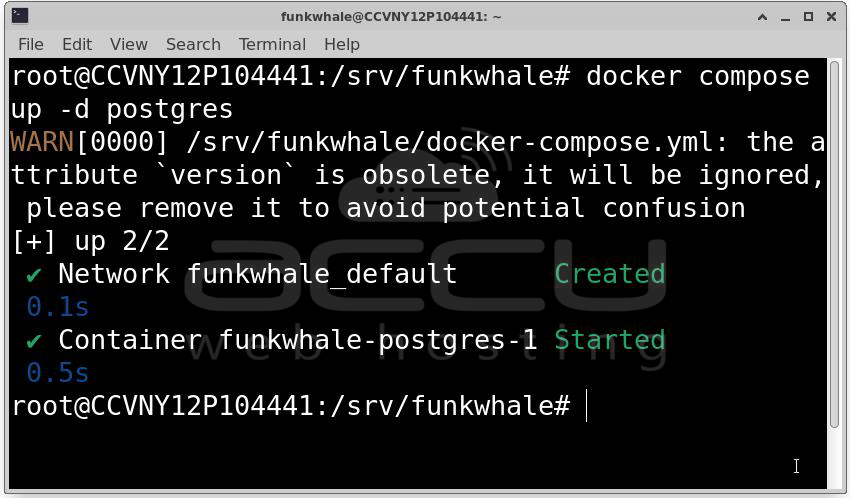
The -d flag runs the container in detached mode, meaning it runs in the background and returns your terminal prompt immediately. Give it a few seconds to start up fully before proceeding.
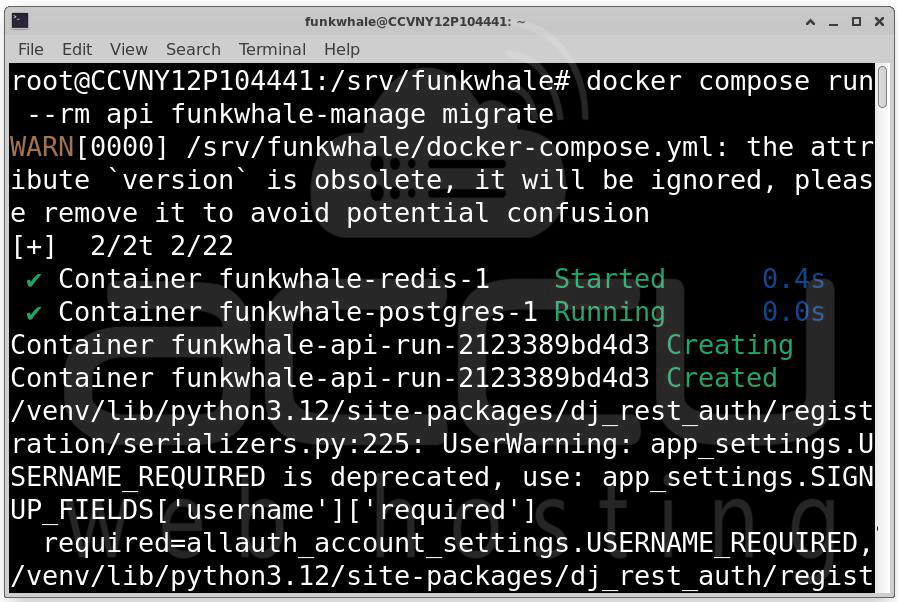
Now run the database migrations. Migrations are the mechanism Django uses to set up and update the database schema — creating tables, relationships, and indexes that Funkwhale needs to store its data:
docker compose run --rm api funkwhale-manage migrate

This command starts a temporary instance of the API container, runs the migration command inside it, and then removes the container when done (that is what --rm does). You will see a long list of migration operations scroll by. This is normal.
docker compose run --rm api funkwhale-manage fw users create --superuser
You will be prompted to provide a username, email address, and password for this account. Choose a strong password. This account has full administrative access to your Funkwhale pod, so treat its credentials with care.
Once you have created your superuser, bring all the remaining containers up together:
docker compose up -d
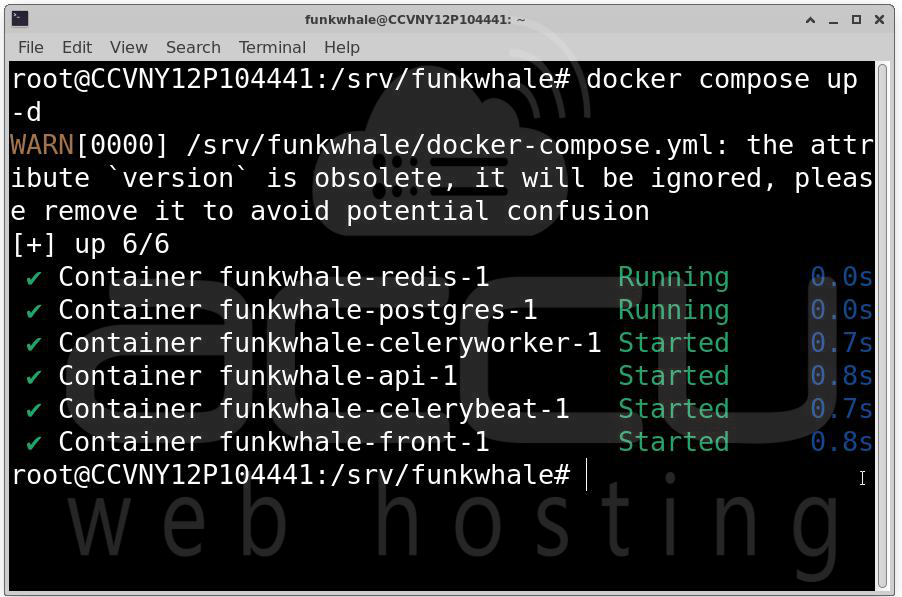
This starts all the services defined in your docker-compose.yml, the API, the Celery worker, Redis, and the frontend. After a moment, everything should be running. You can verify this by checking the status of all containers:
docker compose ps
You should see all services listed as Up or running. If any container shows as Exit or Restarting, check its logs with docker compose logs <service-name> to diagnose the issue.
Your Funkwhale backend is now running. However, it is not yet accessible from the internet because there is no reverse proxy handling incoming web requests. That is what we will set up next.
Step 6: Set Up Nginx as a Reverse Proxy
Funkwhale's containers are not directly exposed to the internet. Instead, incoming HTTP and HTTPS requests are handled by Nginx, which acts as a reverse proxy, it receives requests from users' browsers and forwards them to the appropriate Funkwhale container.
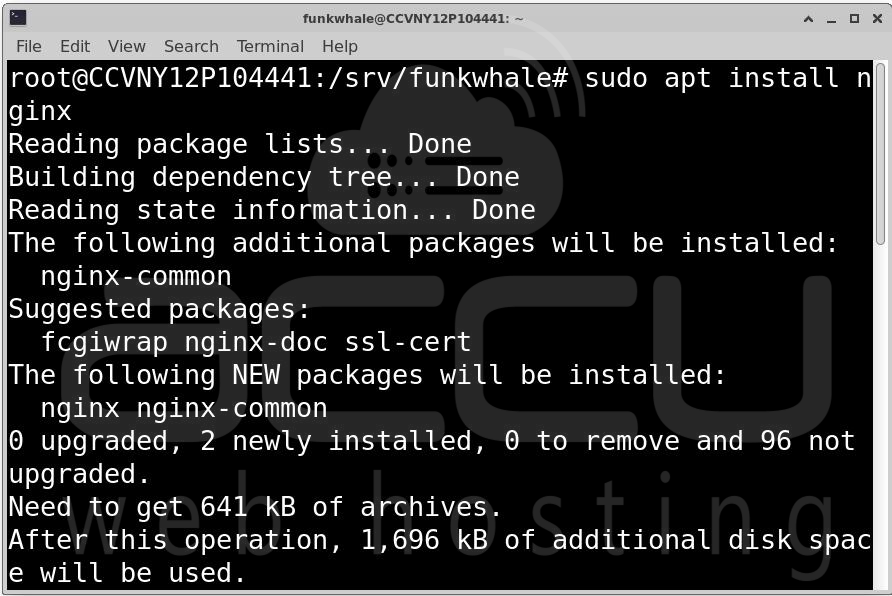
Nginx is not installed on Debian by default, so install it first:
sudo apt update
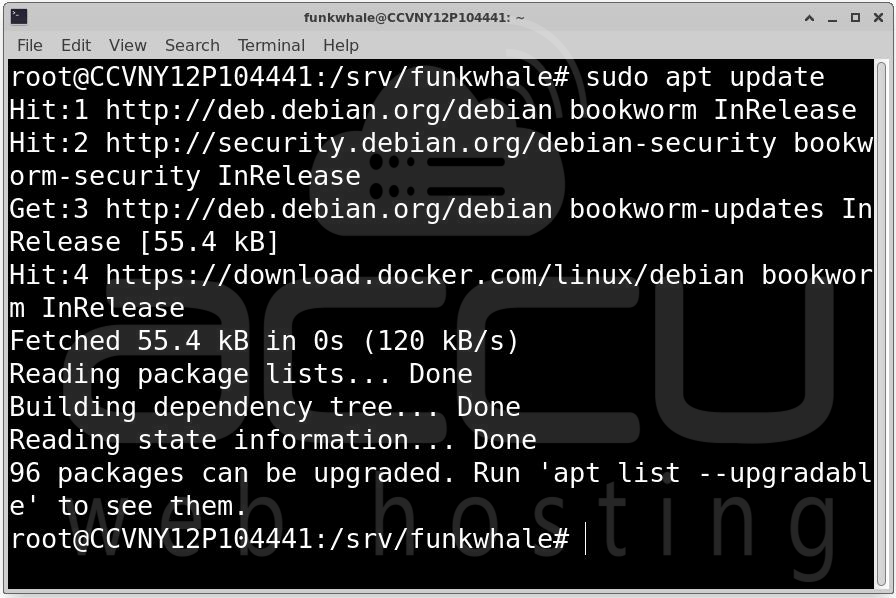
sudo apt install nginx
With Nginx installed, switch to a root shell to make the configuration changes:
sudo su
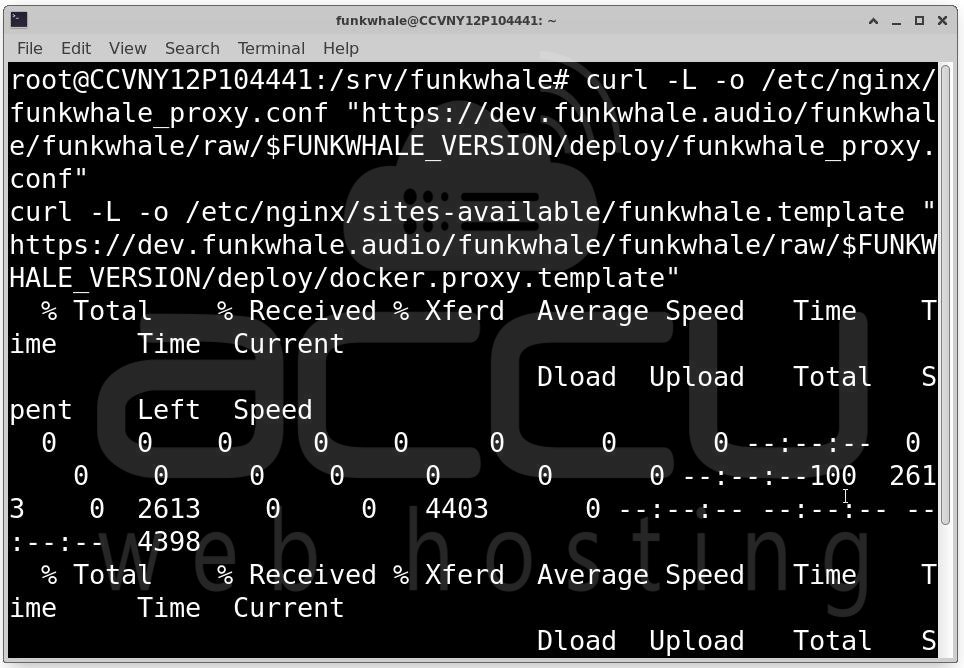
Download the Funkwhale-specific Nginx configuration files. Funkwhale provides two files: a proxy configuration snippet (funkwhale_proxy.conf) that defines how Nginx should forward requests to the Funkwhale containers, and a site template (docker.proxy.template) that defines the virtual host configuration for your domain:
curl -L -o /etc/nginx/funkwhale_proxy.conf "https://dev.funkwhale.audio/funkwhale/funkwhale/raw/$FUNKWHALE_VERSION/deploy/funkwhale_proxy.conf"
curl -L -o /etc/nginx/sites-available/funkwhale.template "https://dev.funkwhale.audio/funkwhale/funkwhale/raw/$FUNKWHALE_VERSION/deploy/docker.proxy.template"
The template file contains placeholders like ${FUNKWHALE_HOSTNAME} and ${FUNKWHALE_API_PORT} that need to be replaced with actual values from your .env file before Nginx can use the configuration.
Load the variables from your .env file into the current shell session, and then use envsubst to process the template and generate a real configuration file:
set -a && source /srv/funkwhale/config/.env && set +a
envsubst "`env | awk -F = '{printf \" $%s\", $$1}'`" \
< /etc/nginx/sites-available/funkwhale.template \
> /etc/nginx/sites-available/funkwhale.conf
The set -a command tells the shell to automatically export all variables that are set or modified, so that envsubst can see them. The source command loads the .env file. The envsubst command reads the template, substitutes all environment variable references with their actual values, and writes the result to funkwhale.conf.
After running this, verify that the substitution worked correctly. The following command searches for any remaining placeholder-style variable references (${...}) in the output file. If the substitution was successful, this command should produce no output:
grep '${' /etc/nginx/sites-available/funkwhale.conf
If you see any output, it means some variables were not substituted. Check that your .env file is complete and that you sourced it correctly.
Enable the Funkwhale site by creating a symbolic link from sites-available to sites-enabled:
ln -s /etc/nginx/sites-available/funkwhale.conf /etc/nginx/sites-enabled/
Nginx reads configurations from sites-enabled. Creating a symlink here is the standard Debian way of enabling a site without duplicating files — if you ever want to disable the site, you just remove the symlink.
Test your Nginx configuration for syntax errors before reloading:
nginx -t
If the test says the configuration is OK, reload Nginx to apply the changes:
systemctl reload nginx
Nginx is now configured as a reverse proxy for your Funkwhale pod. At this point, your Funkwhale instance should be accessible over plain HTTP at http://your-domain.com. However, you should not stop here, serving audio and user data over unencrypted HTTP is a serious security concern. The next step sets up HTTPS.
Step 7: Customize Nginx Templates (Optional but Recommended)
Funkwhale's front container ships with its own internal Nginx configuration for serving the Vue.js frontend. In most cases the defaults work fine, but if you need to customize headers, caching behavior, or other Nginx-level settings, you can override these files.
Create a dedicated directory in your Funkwhale project to hold the custom templates:
mkdir /srv/funkwhale/nginx
Download the internal Nginx template files from Funkwhale's repository:
curl -L -o /srv/funkwhale/nginx/funkwhale.template "https://dev.funkwhale.audio/funkwhale/funkwhale/raw/${FUNKWHALE_VERSION}/front/docker/funkwhale.conf.template"
curl -L -o /srv/funkwhale/nginx/funkwhale_proxy.conf "https://dev.funkwhale.audio/funkwhale/funkwhale/raw/${FUNKWHALE_VERSION}/front/docker/funkwhale_proxy.conf"
Make whatever changes you need to these files. Then open your docker-compose.yml in a text editor:
nano /srv/funkwhale/docker-compose.yml
Find the front service section and look for the commented-out volumes lines. Uncomment them by removing the # characters:
version: "3"
services:
front:
volumes:
- "./nginx/funkwhale.template:/etc/nginx/conf.d/funkwhale.template:ro"
- "./nginx/funkwhale_proxy.conf:/etc/nginx/funkwhale_proxy.conf:ro"
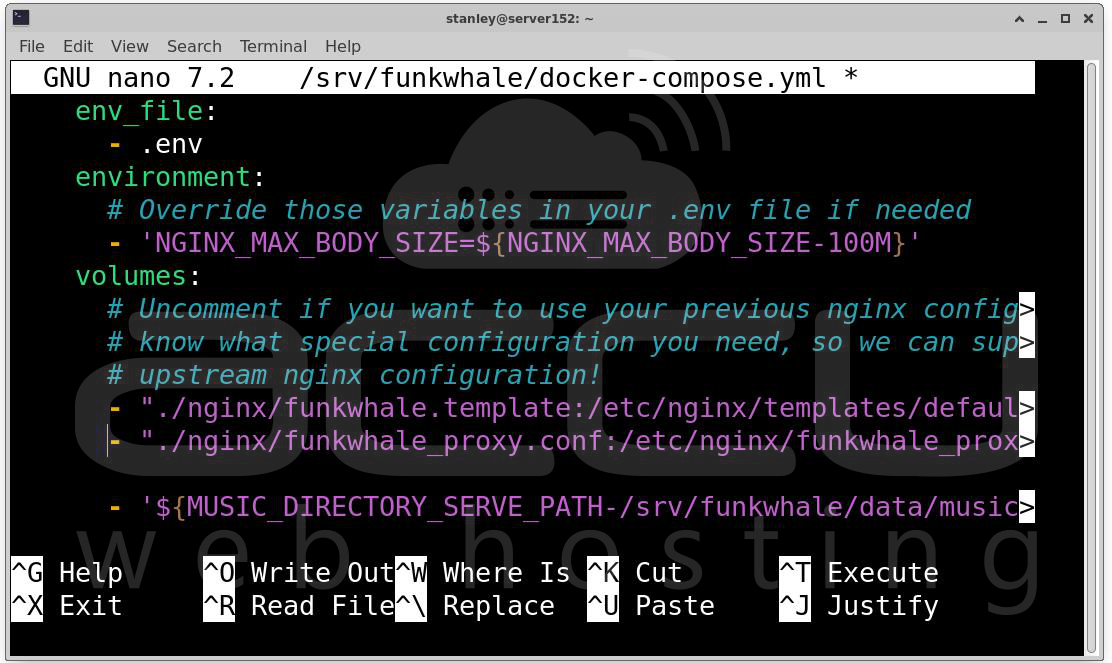
These volume mounts tell Docker to use your local files instead of the container's built-in defaults. The :ro at the end means the files are mounted read-only inside the container, which is good practice for configuration files.
Restart the front container to pick up the changes:
docker compose up -d front

If you ever want to go back to the default configuration, simply comment those lines out again and restart the container.
Step 8: Set Up TLS with Let's Encrypt
Running Funkwhale over HTTPS is not just a nice-to-have, it is essential. Without TLS, any login credentials, session tokens, and music files you transmit are sent in plain text across the network. Let's Encrypt provides free, automatically renewing TLS certificates, and certbot makes the process of obtaining and installing them on Nginx almost effortless.
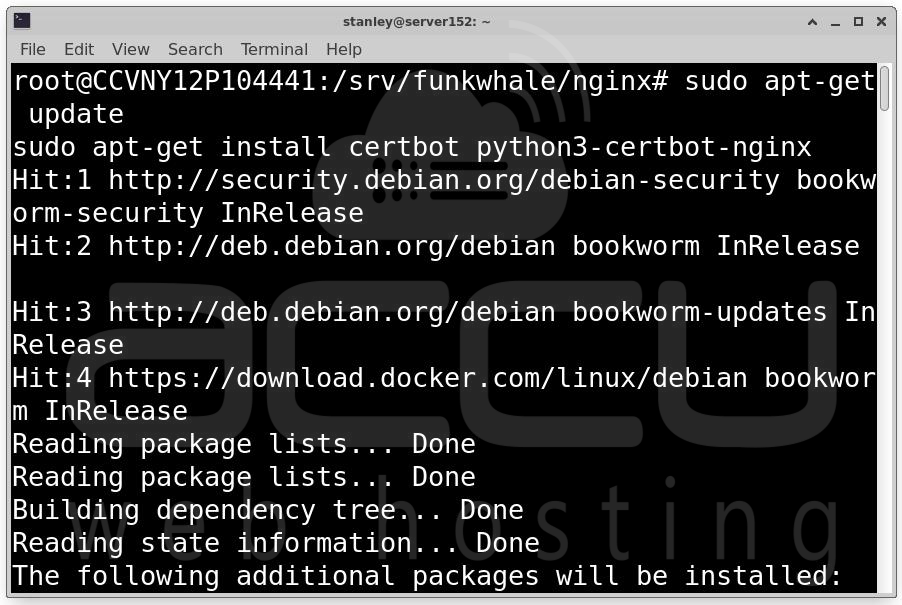
Install certbot and its Nginx plugin:
sudo apt-get update
sudo apt-get install certbot python3-certbot-nginx
The python3-certbot-nginx plugin is what allows certbot to automatically modify your Nginx configuration to add HTTPS support and redirect HTTP traffic to HTTPS.
Make sure your domain's DNS is properly pointing to your server before running certbot. If the DNS has not propagated yet, the certificate challenge will fail.
Run certbot, telling it to use the Nginx plugin and to obtain a certificate for your Funkwhale hostname:
sudo certbot --nginx -d $FUNKWHALE_HOSTNAME
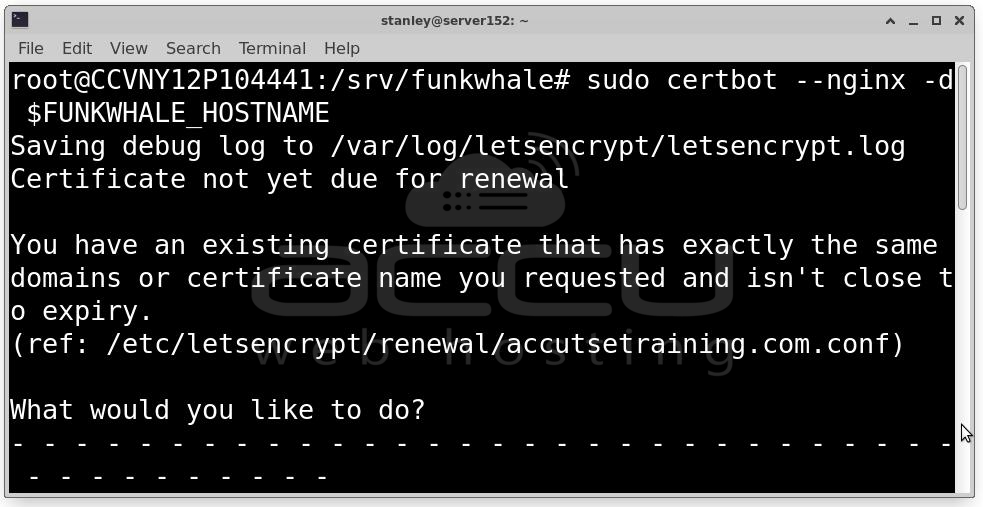
Make sure the $FUNKWHALE_HOSTNAME variable is set in your current shell, or replace it with your actual domain name directly, like sudo certbot --nginx -d music.yourdomain.com.
If everything succeeds, certbot will obtain your certificate and automatically modify your Nginx configuration to use it. It will add HTTPS listeners, configure the certificate paths, and typically add a redirect from HTTP to HTTPS.
After certbot finishes, reload Nginx one more time to ensure all the new HTTPS settings are active:
sudo systemctl reload nginx
Step 9: Final Verification and First Login
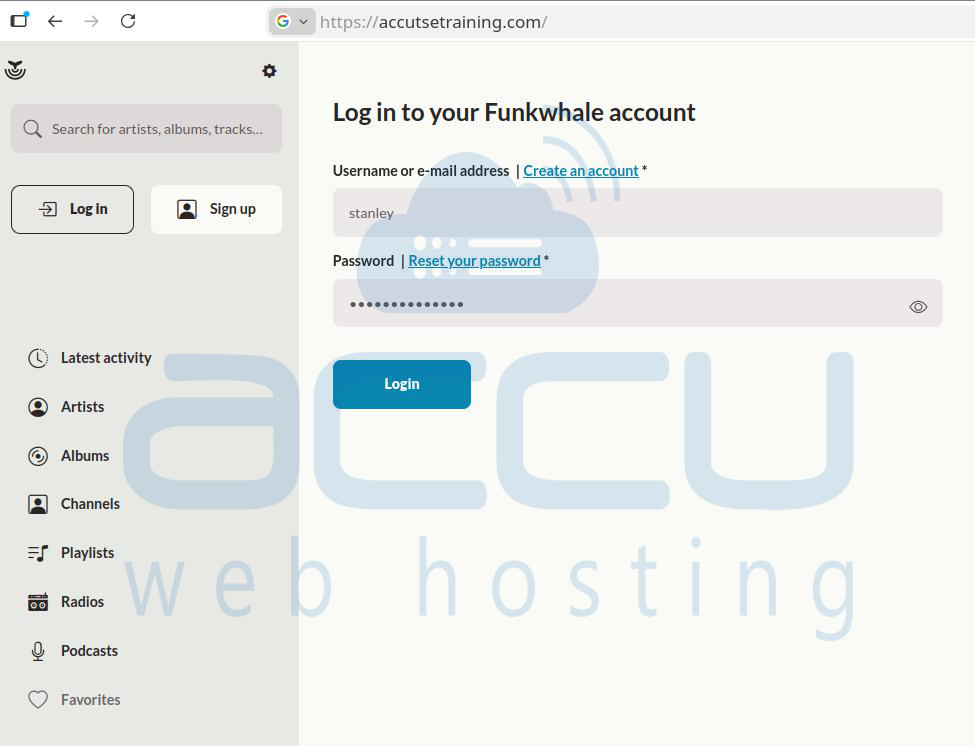
With TLS in place, your Funkwhale pod should now be fully operational and accessible at https://your-domain.com.
Open a browser and navigate to your domain. You should see the Funkwhale login screen. Use the superuser credentials you created in Step 5 to log in.
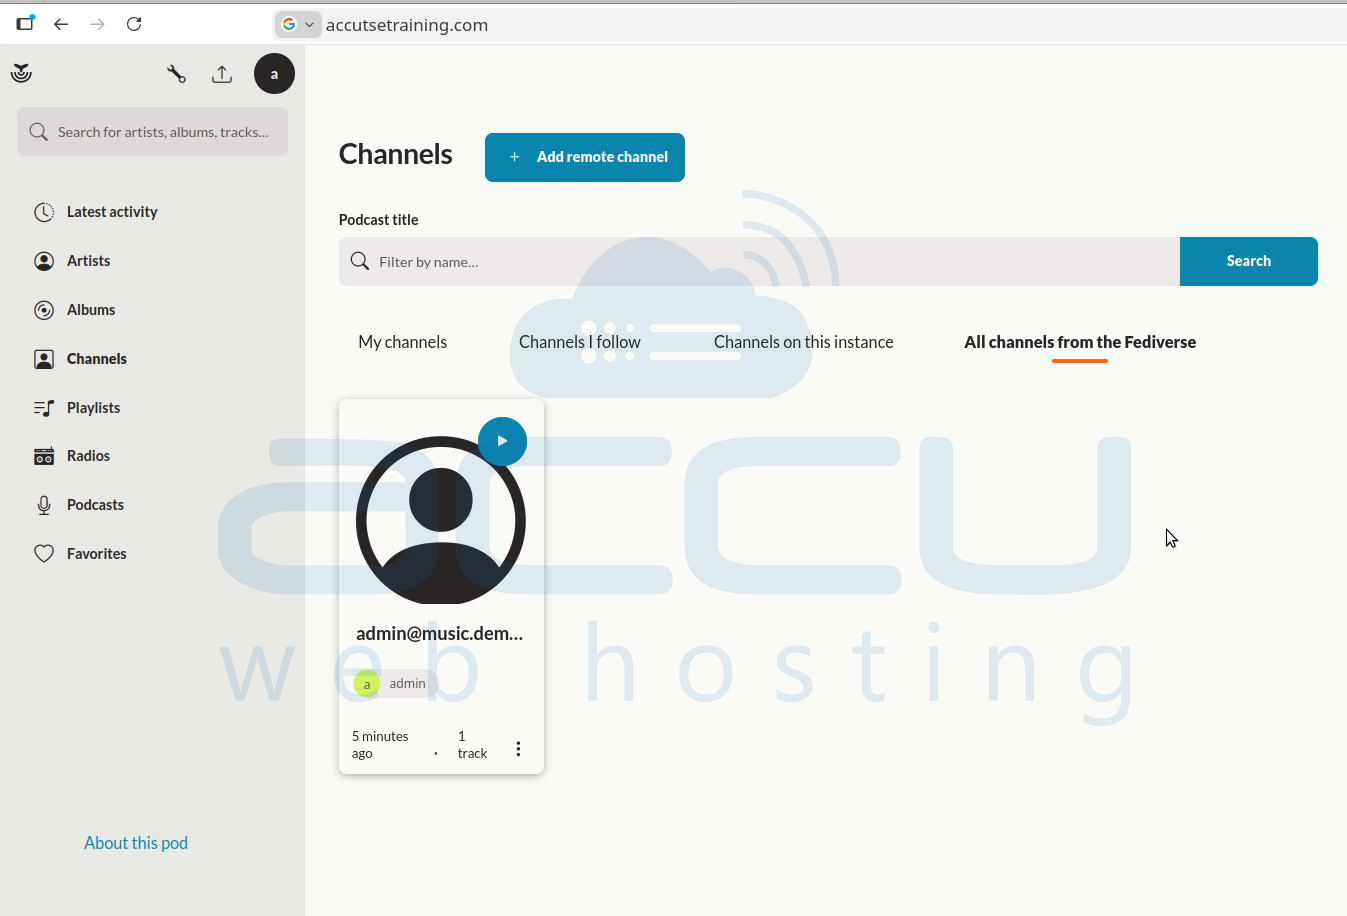
From here, you can browse artists, albums, channels, playlists, radios, podcasts, and favorite tracks using the left sidebar. The search bar helps you quickly find artists, albums, or songs. In the center, you can see music available in your private library, from users you follow, from your server instance, or from the wider fediverse.
To verify that all your Docker containers are healthy, run:
cd /srv/funkwhale
docker compose ps
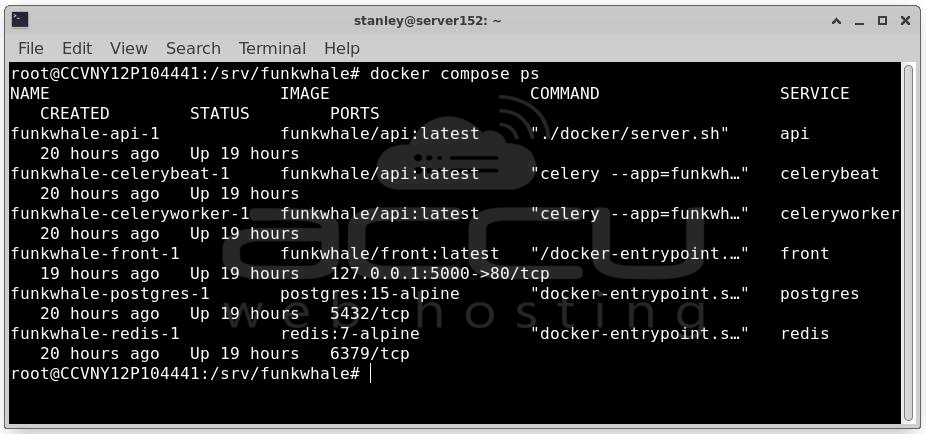
All services should show as running. If you ever need to restart everything after a reboot, simply navigate to /srv/funkwhale and run docker compose up -d.
Now that your Funkwhale instance is live.
Conclusion
You have successfully deployed Funkwhale on a Debian server using Docker and Nginx with HTTPS enabled. Your deployment now includes Dockerized infrastructure, PostgreSQL database, Reverse proxy with Nginx, SSL/TLS security and Persistent media storage. Funkwhale provides a powerful, decentralized alternative to commercial music platforms while giving you full ownership and control over your content and users.
