Keycloak is an open-source Identity and Access Management (IAM) solution that simplifies authentication and authorization by supporting OpenID Connect, OAuth 2.0, and SAML 2.0. This guide will walk you through deploying Keycloak 26.6.0 on a fresh Ubuntu 22.04/24.04 VPS using Docker and Docker Compose, with secure HTTPS access via Nginx and Let’s Encrypt. We’ll go step by step, explaining each configuration so even beginners can follow along.
Prerequisites
Before you begin, ensure you have the following:
- A VPS with Ubuntu 22.04 or 24.04 LTS installed.
- At least 2 GB of RAM (4 GB recommended for production).
- A DNS A record pointing to your VPS IP, e.g., auth.yourdomain.com.
-
SSH access with a user that has sudo privileges.
Steps to Deploy Keycloak on an Ubuntu VPS Using Docker: A Step-by-Step Guide
Step 1: Run the following commands to update your system and install necessary utilities:
sudo apt update && sudo apt upgrade -y
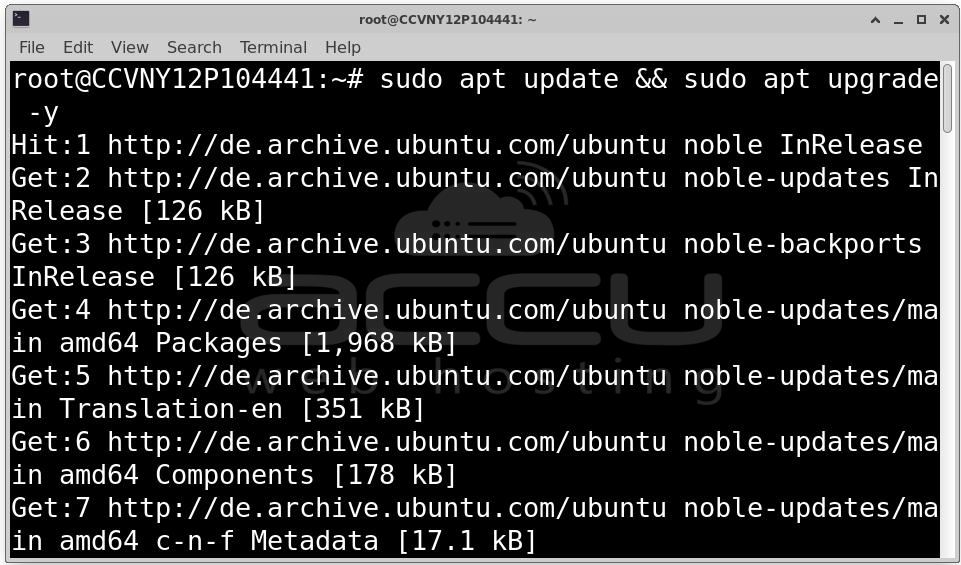
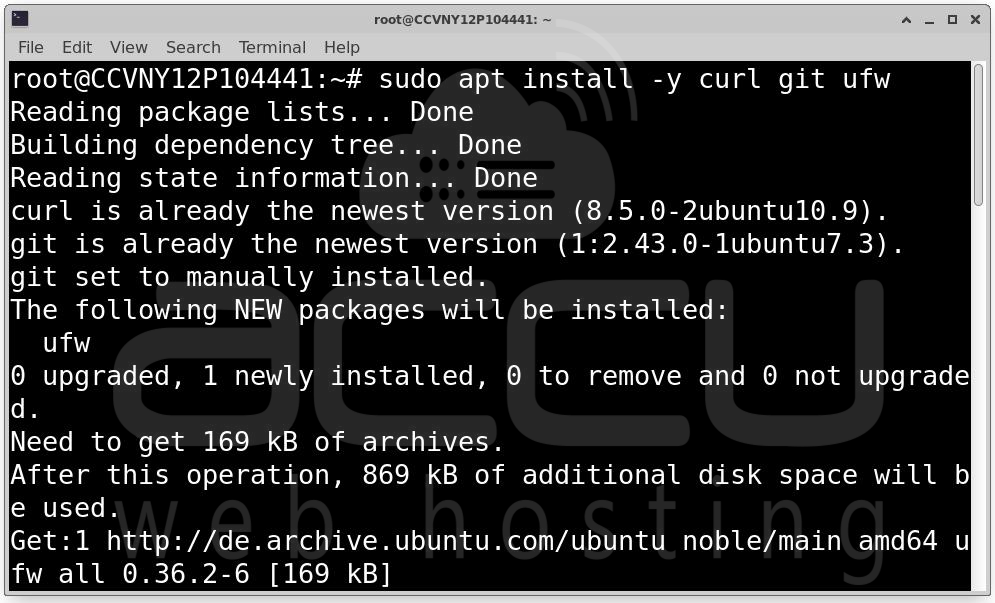
sudo apt install -y curl git ufw
Step 2: Configure Firewall
Allow SSH and web traffic:
sudo ufw allow OpenSSH
sudo ufw allow 80/tcp
sudo ufw allow 443/tcp
sudo ufw enable
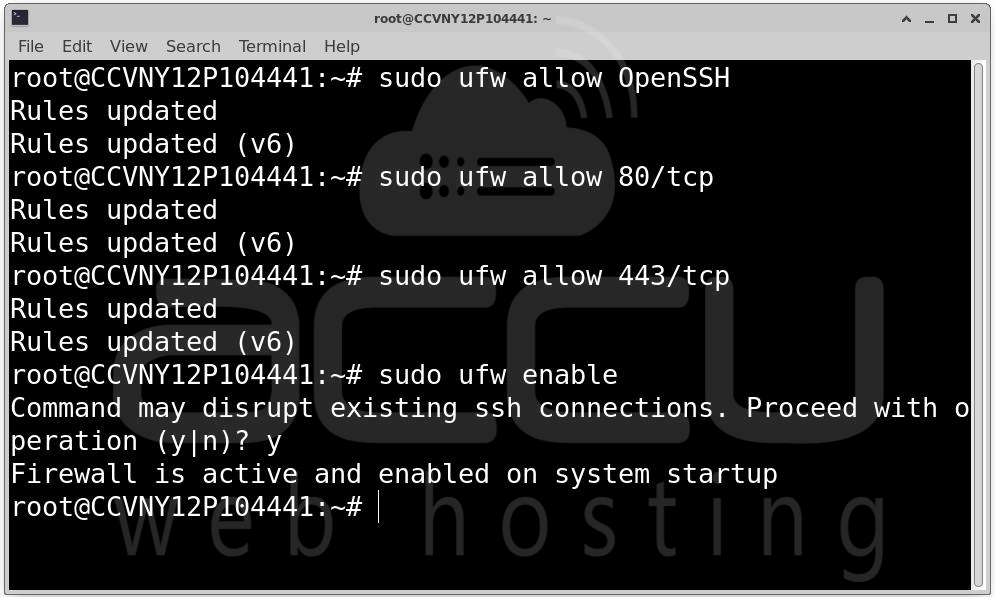
Always enable a firewall to protect your server from unauthorized access.
Installing Docker on Ubuntu
Keycloak runs in Docker containers. Here’s how to install Docker and Docker Compose.
Step 1: Set Up Docker Repository
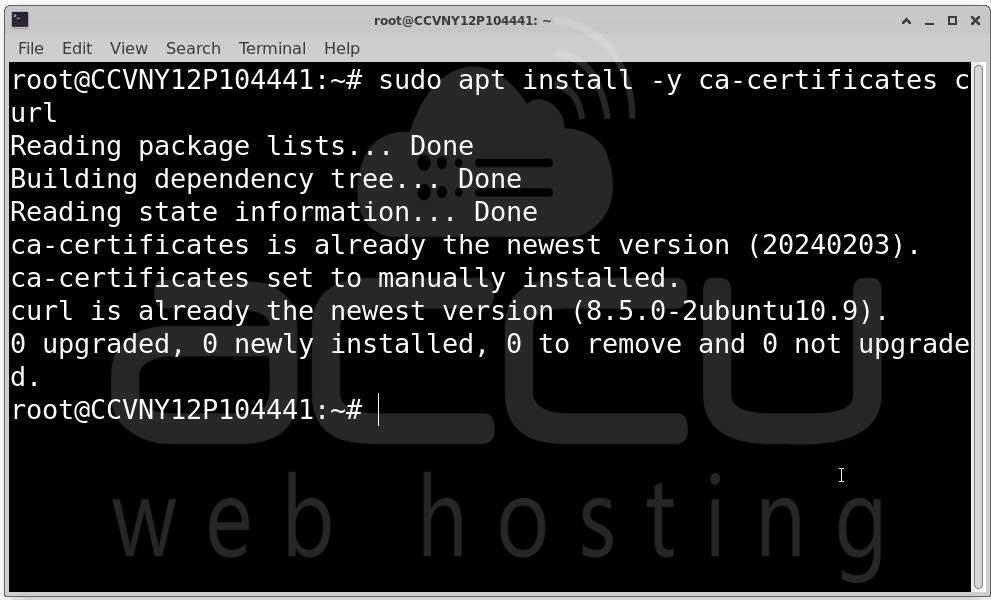
Install prerequisites: sudo apt install -y ca-certificates curl
Create directory for Docker’s GPG key:
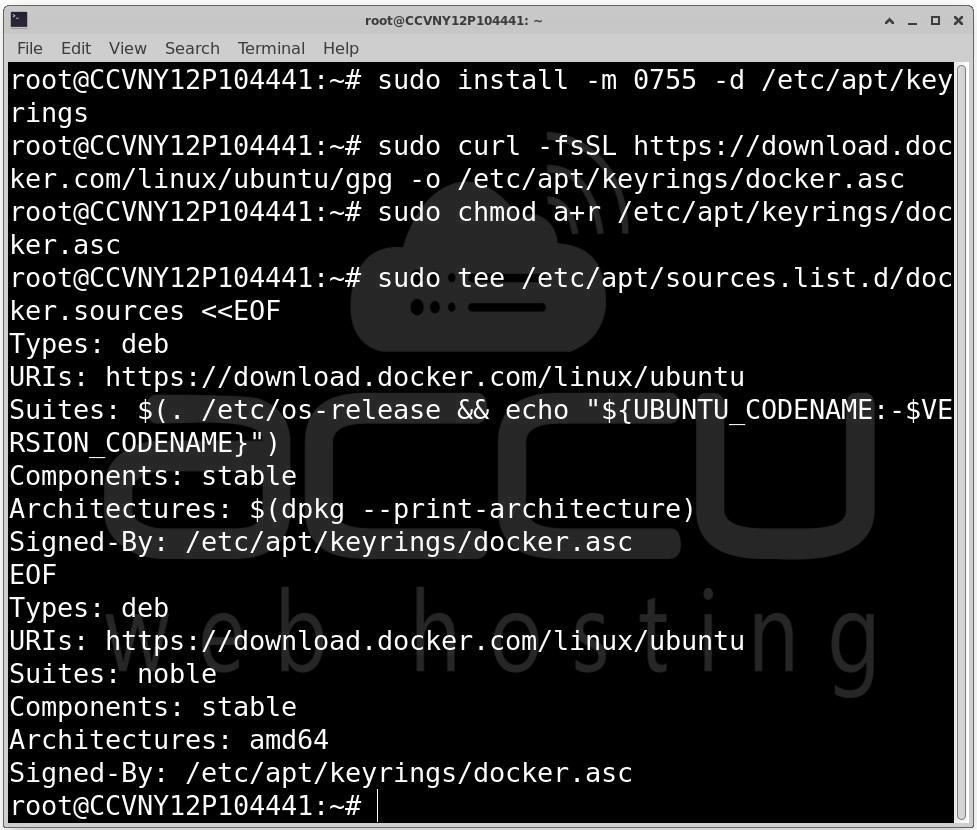
sudo install -m 0755 -d /etc/apt/keyrings
Download Docker GPG key:
sudo curl -fsSL https://download.docker.com/linux/ubuntu/gpg -o /etc/apt/keyrings/docker.asc
sudo chmod a+r /etc/apt/keyrings/docker.asc
Add Docker repository:
sudo tee /etc/apt/sources.list.d/docker.sources <<EOF
Types: deb
URIs: https://download.docker.com/linux/ubuntu
Suites: $(. /etc/os-release && echo "${UBUNTU_CODENAME:-$VERSION_CODENAME}")
Components: stable
Architectures: $(dpkg --print-architecture)
Signed-By: /etc/apt/keyrings/docker.asc
EOF
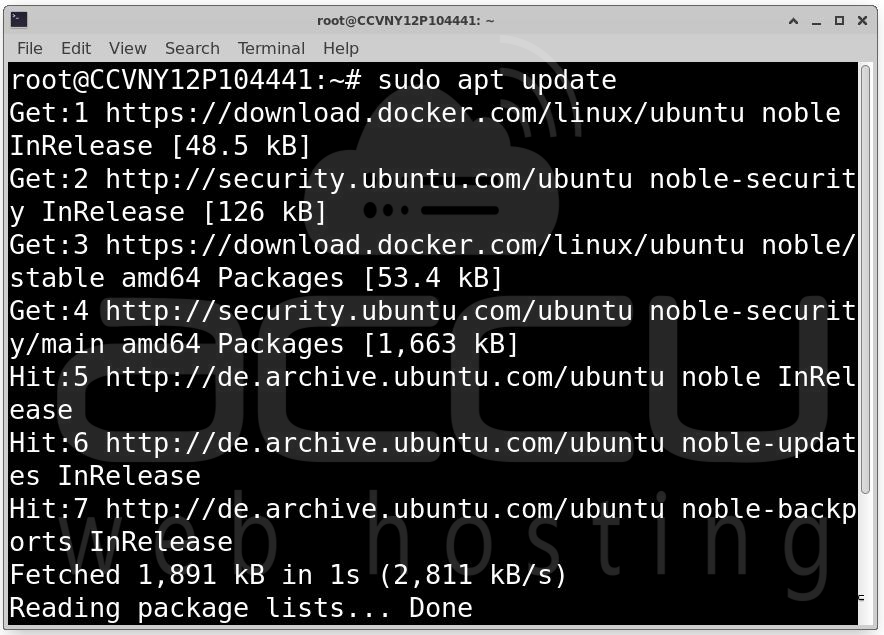
Update package list and install Docker:
sudo apt update
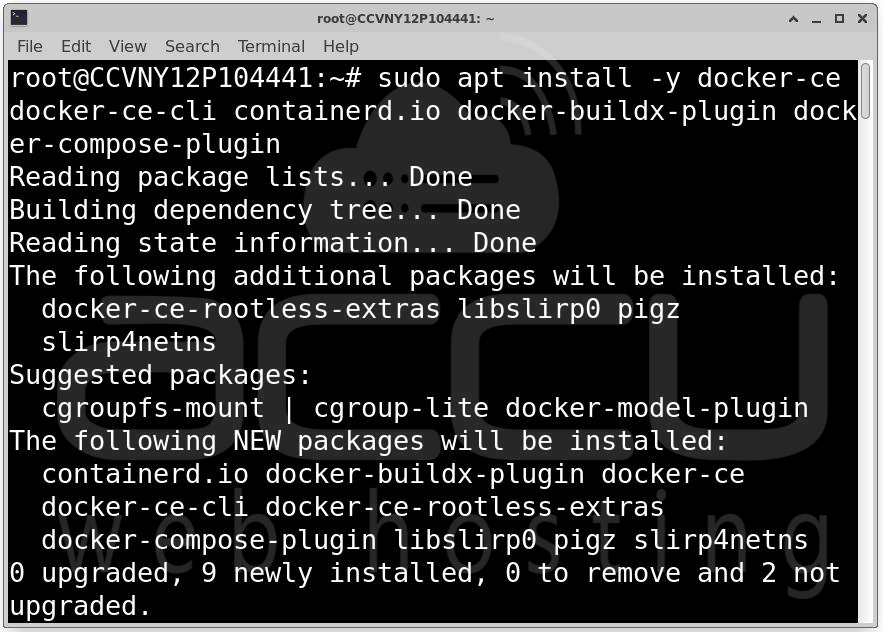
sudo apt install -y docker-ce docker-ce-cli containerd.io docker-buildx-plugin docker-compose-plugin
Step 2: Verify Installation
docker --version
docker compose version
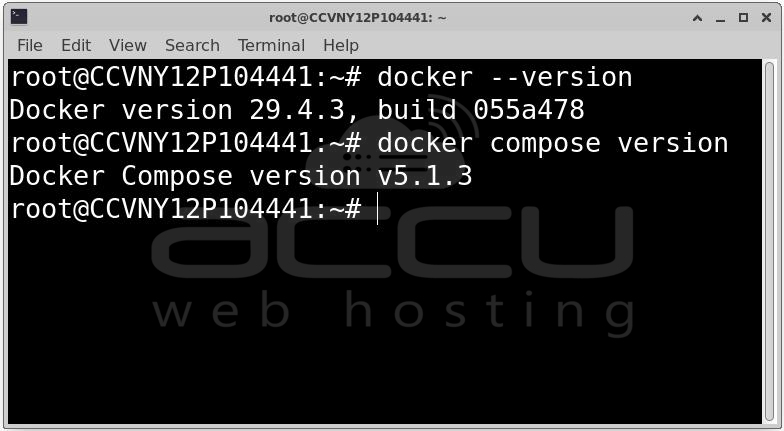
You should see the installed versions of Docker and Docker Compose.
Creating the Project Directory and Environment Variables
It’s good practice to isolate your deployment in its own directory.
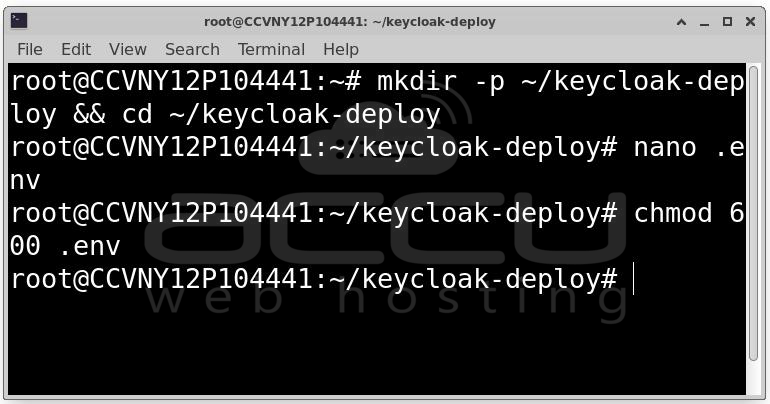
Step 1: Create Directory
mkdir -p ~/keycloak-deploy && cd ~/keycloak-deploy
Step 2: Create .env File. This file stores sensitive credentials securely.
nano .env
Paste:
# PostgreSQL
POSTGRES_DB=keycloak
POSTGRES_USER=keycloak
POSTGRES_PASSWORD=CHANGE_ME_STRONG_DB_PASSWORD
# Keycloak Admin
KC_BOOTSTRAP_ADMIN_USERNAME=admin
KC_BOOTSTRAP_ADMIN_PASSWORD=CHANGE_ME_STRONG_ADMIN_PASSWORD
# Domain
KC_HOSTNAME=auth.yourdomain.com

Generate strong passwords with: openssl rand -base64 24
Step 3: Secure .env
chmod 600 .env
Docker Compose Configuration
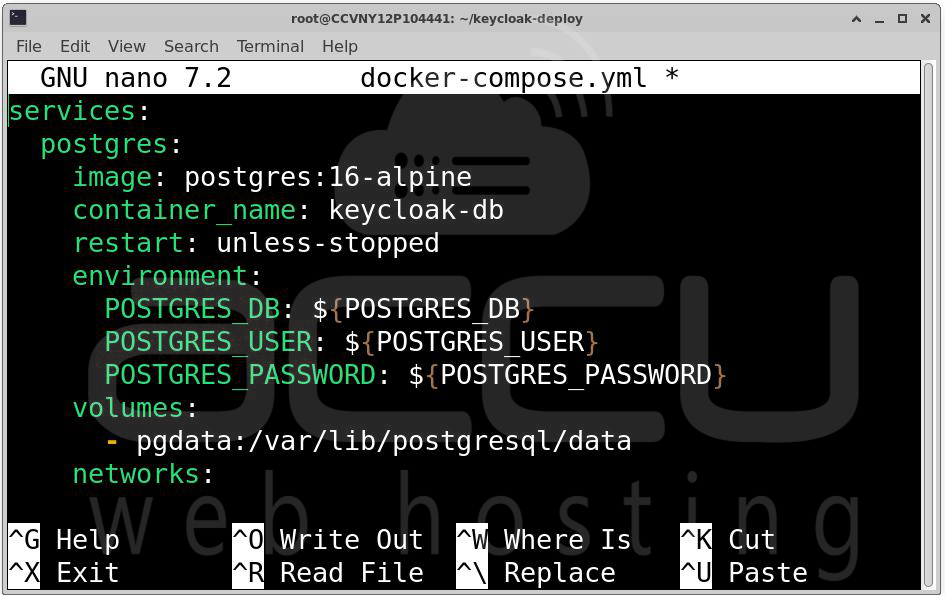
Create a docker-compose.yml file to define Keycloak, PostgreSQL, and Nginx services.
nano docker-compose.yml
Paste the following configuration:
services:
postgres:
image: postgres:16-alpine
container_name: keycloak-db
restart: unless-stopped
environment:
POSTGRES_DB: ${POSTGRES_DB}
POSTGRES_USER: ${POSTGRES_USER}
POSTGRES_PASSWORD: ${POSTGRES_PASSWORD}
volumes:
- pgdata:/var/lib/postgresql/data
networks:
- keycloak-net
healthcheck:
test: ["CMD-SHELL", "pg_isready -U ${POSTGRES_USER} -d ${POSTGRES_DB}"]
interval: 10s
timeout: 5s
retries: 5
keycloak:
image: quay.io/keycloak/keycloak:26.6.0
container_name: keycloak-app
restart: unless-stopped
environment:
KC_DB: postgres
KC_DB_URL: jdbc:postgresql://postgres:5432/${POSTGRES_DB}
KC_DB_USERNAME: ${POSTGRES_USER}
KC_DB_PASSWORD: ${POSTGRES_PASSWORD}
KC_BOOTSTRAP_ADMIN_USERNAME: ${KC_BOOTSTRAP_ADMIN_USERNAME}
KC_BOOTSTRAP_ADMIN_PASSWORD: ${KC_BOOTSTRAP_ADMIN_PASSWORD}
KC_HOSTNAME: ${KC_HOSTNAME}
KC_HOSTNAME_STRICT: "true"
KC_HTTP_ENABLED: "true"
KC_PROXY_HEADERS: xforwarded
KC_HEALTH_ENABLED: "true"
KC_METRICS_ENABLED: "true"
JAVA_OPTS_KC_HEAP: "-XX:MaxRAMPercentage=70 -XX:InitialRAMPercentage=50 -XX:MaxHeapFreeRatio=30"
command: start
depends_on:
postgres:
condition: service_healthy
networks:
- keycloak-net
ports:
- "127.0.0.1:8080:8080"
nginx:
image: nginx:alpine
container_name: keycloak-proxy
restart: unless-stopped
ports:
- "80:80"
- "443:443"
volumes:
- ./nginx/conf.d:/etc/nginx/conf.d:ro
- ./certbot/www:/var/www/certbot:ro
- ./certbot/conf:/etc/letsencrypt:ro
networks:
- keycloak-net
depends_on:
- keycloak
volumes:
pgdata:
networks:
keycloak-net:
driver: bridge
Note: Keycloak binds only to 127.0.0.1:8080 for security. Public access is through Nginx.
Setting Up Nginx as a Reverse Proxy
Keycloak runs internally on 127.0.0.1:8080 in Docker. To make it accessible over the internet securely, we use Nginx as a reverse proxy. Nginx will handle HTTPS, proxy traffic to Keycloak, and redirect HTTP to HTTPS.
Step 1: Create Directories for Nginx and Certbot
Run:
mkdir -p ~/keycloak-deploy/nginx/conf.d
mkdir -p ~/keycloak-deploy/certbot/www
mkdir -p ~/keycloak-deploy/certbot/conf
-
nginx/conf.d: Holds Nginx configuration files.
-
certbot/www: Serves ACME challenges for SSL certificate validation.
-
certbot/conf: Stores Let’s Encrypt certificates.
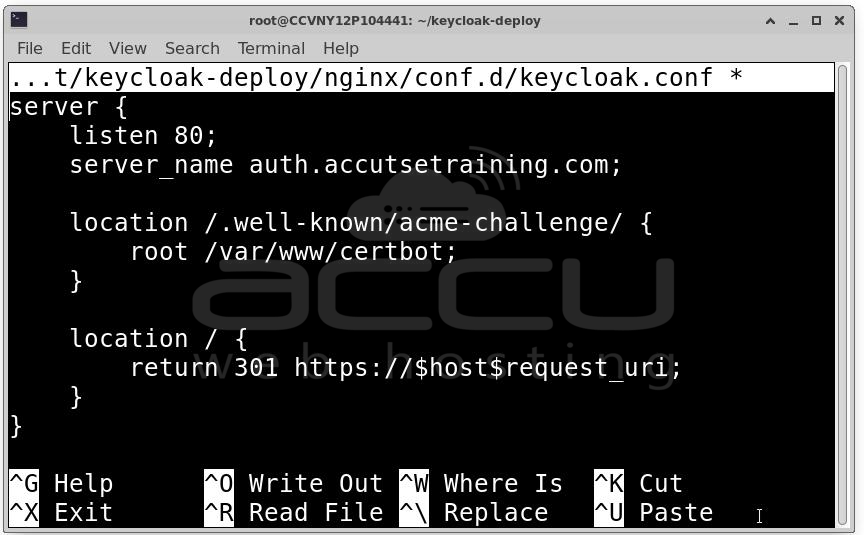
Step 2: Initial Nginx Configuration (HTTP Only)
Create a configuration file for your Keycloak domain:
nano ~/keycloak-deploy/nginx/conf.d/keycloak.conf
Paste:
server {
listen 80;
server_name auth.yourdomain.com;
# ACME challenge for SSL certificate
location /.well-known/acme-challenge/ {
root /var/www/certbot;
}
# Redirect all HTTP to HTTPS
location / {
return 301 https://$host$request_uri;
}
}
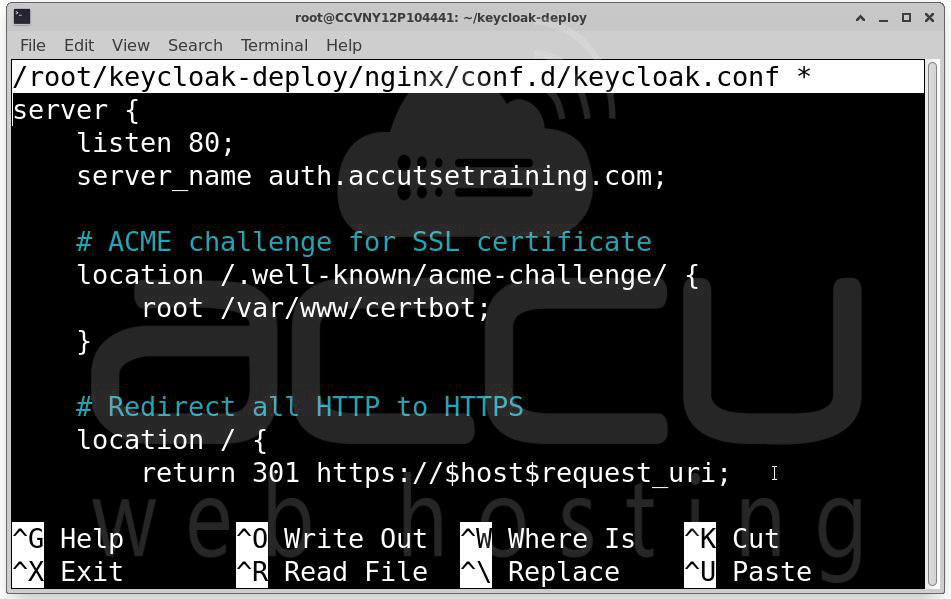
This configuration allows Certbot to verify domain ownership before issuing an SSL certificate.
Obtaining an SSL Certificate with Certbot
Next, we secure the domain with HTTPS.
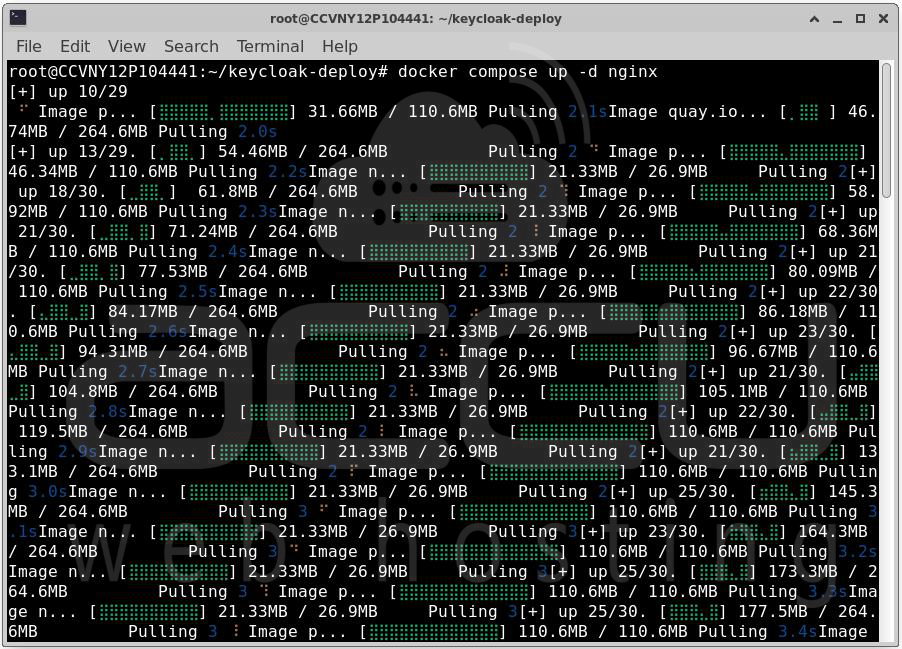
Step 1: Start Nginx
docker compose up -d nginx
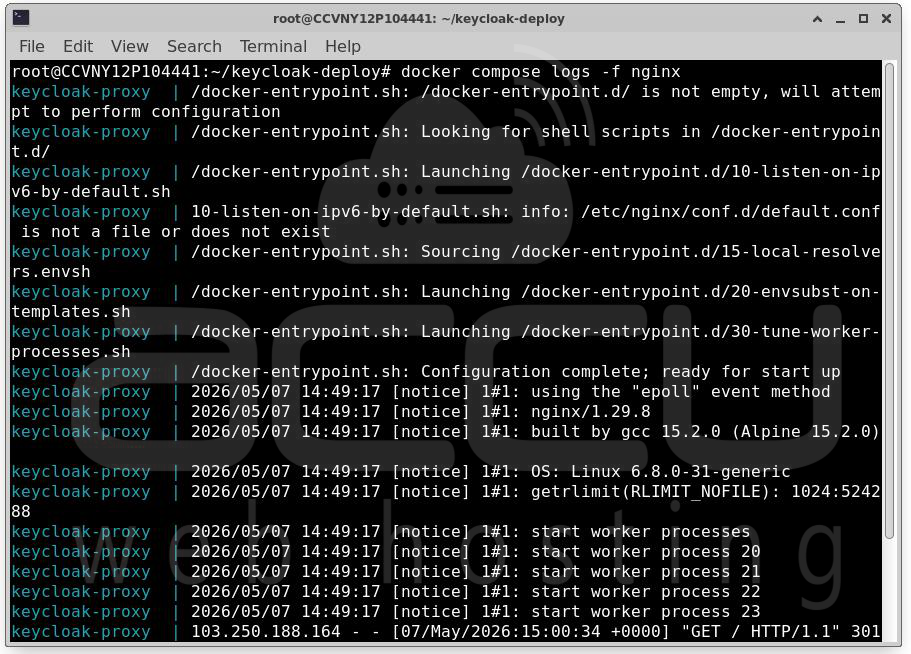
Check that Nginx is running:
docker compose logs -f nginx
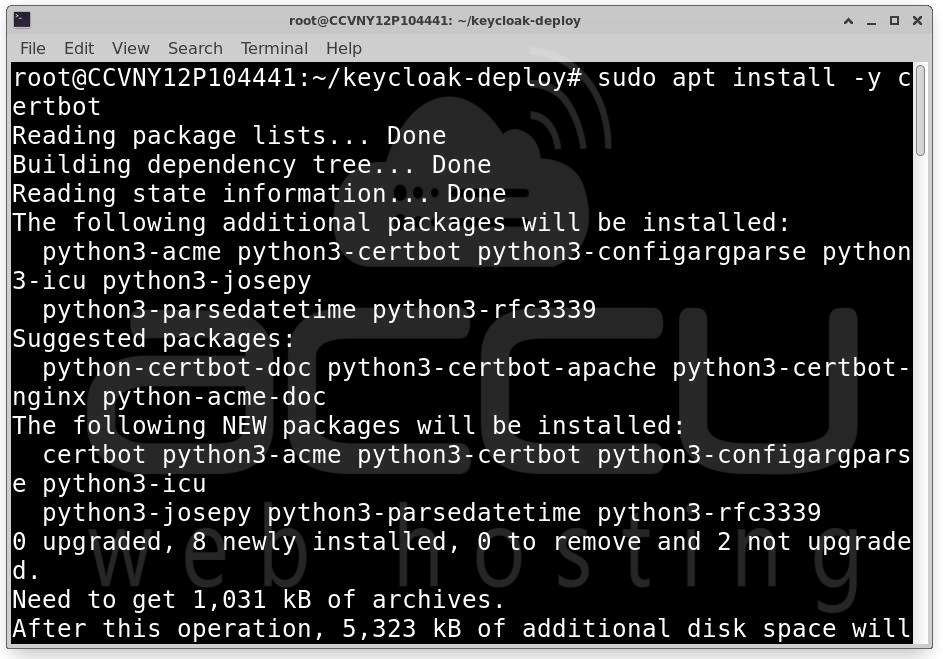
Step 2: Install Certbot
sudo apt install -y certbot
Step 3: Request a Let’s Encrypt Certificate
sudo certbot certonly --webroot -w ~/keycloak-deploy/certbot/www \
-d auth.yourdomain.com \
--agree-tos --no-eff-email \
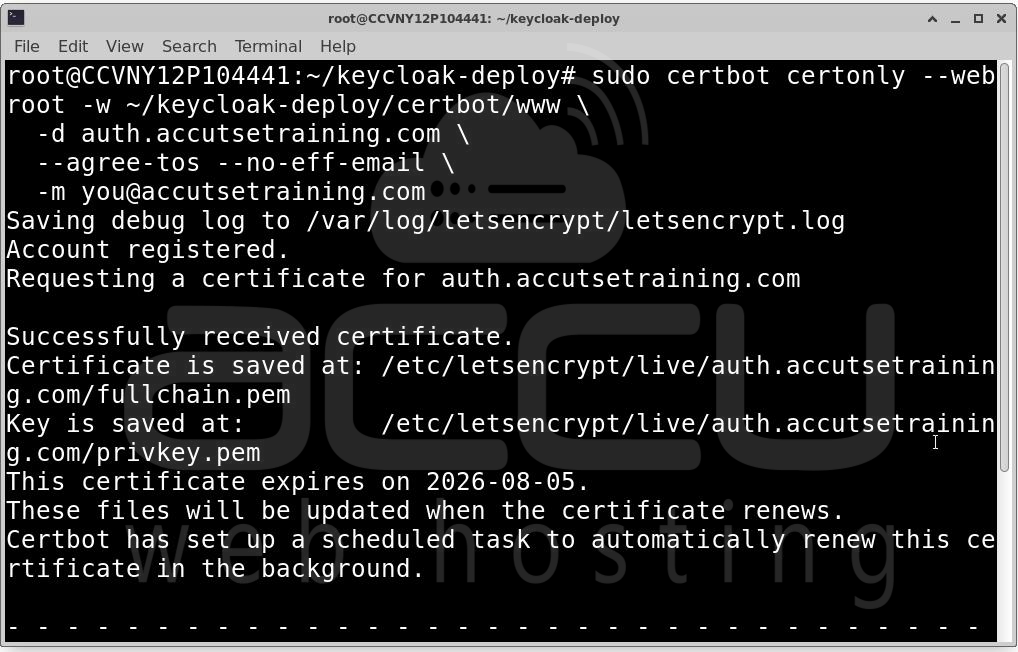
Replace [email protected] with your real email. Let’s Encrypt will use it for important notices.
Step 4: Copy Certificates to Project Directory
sudo cp -rL /etc/letsencrypt/live ~/keycloak-deploy/certbot/conf/ 2>/dev/null || true
sudo cp -rL /etc/letsencrypt/archive ~/keycloak-deploy/certbot/conf/ 2>/dev/null || true
sudo cp /etc/letsencrypt/options-ssl-nginx.conf ~/keycloak-deploy/certbot/conf/ 2>/dev/null || true
sudo cp /etc/letsencrypt/ssl-dhparams.pem ~/keycloak-deploy/certbot/conf/ 2>/dev/null || true
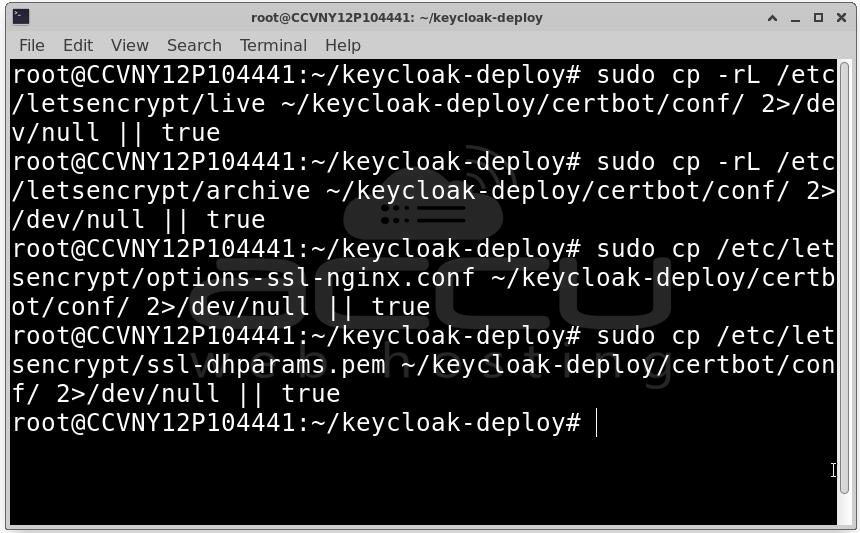
This ensures the Docker Nginx container can access certificates.
Step 5: Update Nginx Configuration for HTTPS
Edit the Nginx configuration:
nano ~/keycloak-deploy/nginx/conf.d/keycloak.conf
Replace with:
server {
listen 80;
server_name auth.yourdomain.com;
location /.well-known/acme-challenge/ {
root /var/www/certbot;
}
location / {
return 301 https://$host$request_uri;
}
}
server {
listen 443 ssl http2;
server_name auth.yourdomain.com;
ssl_certificate /etc/letsencrypt/live/auth.yourdomain.com/fullchain.pem;
ssl_certificate_key /etc/letsencrypt/live/auth.yourdomain.com/privkey.pem;
ssl_protocols TLSv1.2 TLSv1.3;
ssl_ciphers HIGH:!aNULL:!MD5;
ssl_prefer_server_ciphers on;
ssl_session_cache shared:SSL:10m;
add_header Strict-Transport-Security "max-age=31536000; includeSubDomains" always;
add_header X-Content-Type-Options nosniff always;
add_header X-Frame-Options SAMEORIGIN always;
location / {
proxy_pass http://keycloak:8080;
proxy_set_header Host $host;
proxy_set_header X-Real-IP $remote_addr;
proxy_set_header X-Forwarded-For $proxy_add_x_forwarded_for;
proxy_set_header X-Forwarded-Proto $scheme;
proxy_set_header X-Forwarded-Host $host;
proxy_set_header X-Forwarded-Port $server_port;
proxy_buffer_size 128k;
proxy_buffers 4 256k;
proxy_busy_buffers_size 256k;
proxy_http_version 1.1;
proxy_set_header Upgrade $http_upgrade;
proxy_set_header Connection "upgrade";
}
}
This setup ensures HTTPS, HTTP-to-HTTPS redirection, and secure headers for production.
Launching Keycloak and PostgreSQL
Now we’re ready to start the full stack.
docker compose up -d
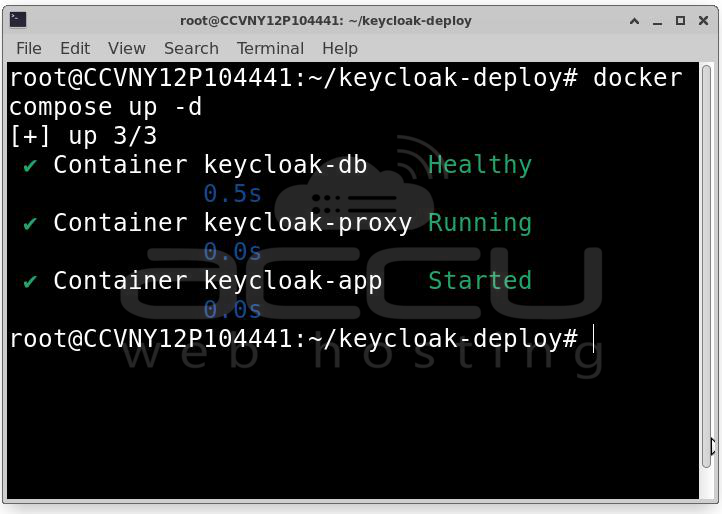
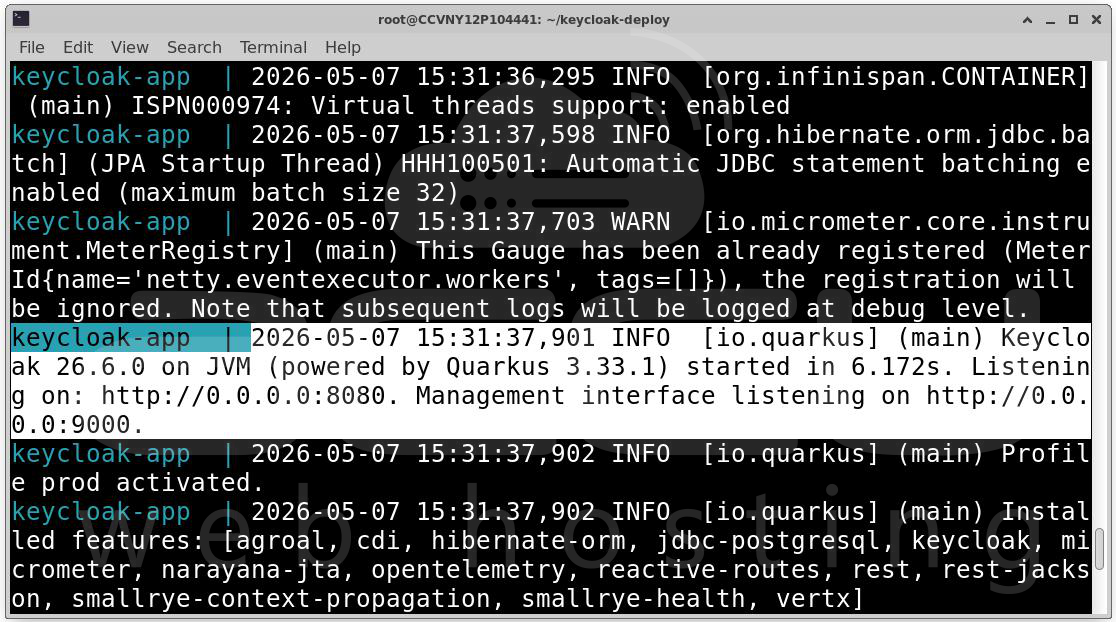
Monitor Keycloak logs: docker compose logs -f keycloak
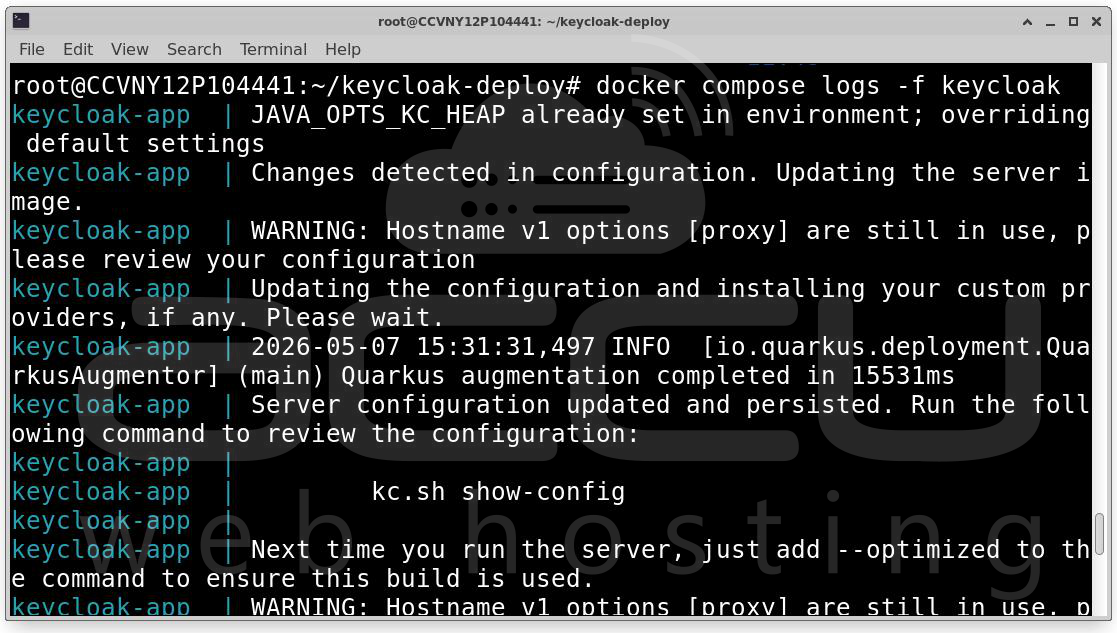
Wait until you see: Keycloak 26.6.0 on JVM (powered by Quarkus) started
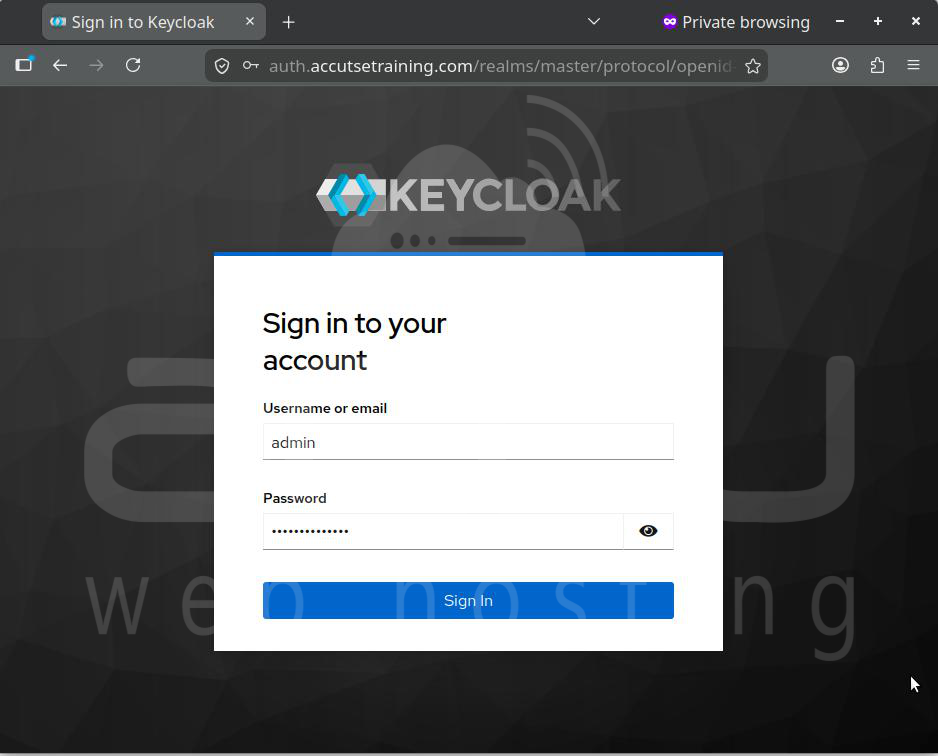
Visit your Keycloak admin console:
https://auth.yourdomain.com/admin
Login with:
-
Username: admin
-
Password: The one from your .env file (KC_BOOTSTRAP_ADMIN_PASSWORD)
Post-Deployment Configuration
After logging in, the next steps are essential to set up your Keycloak realm and users.
Step 1: Create a New Realm
-
Click the realm dropdown in the top-left.
-
Select Create realm.
-
Enter a descriptive name, e.g., myapp.
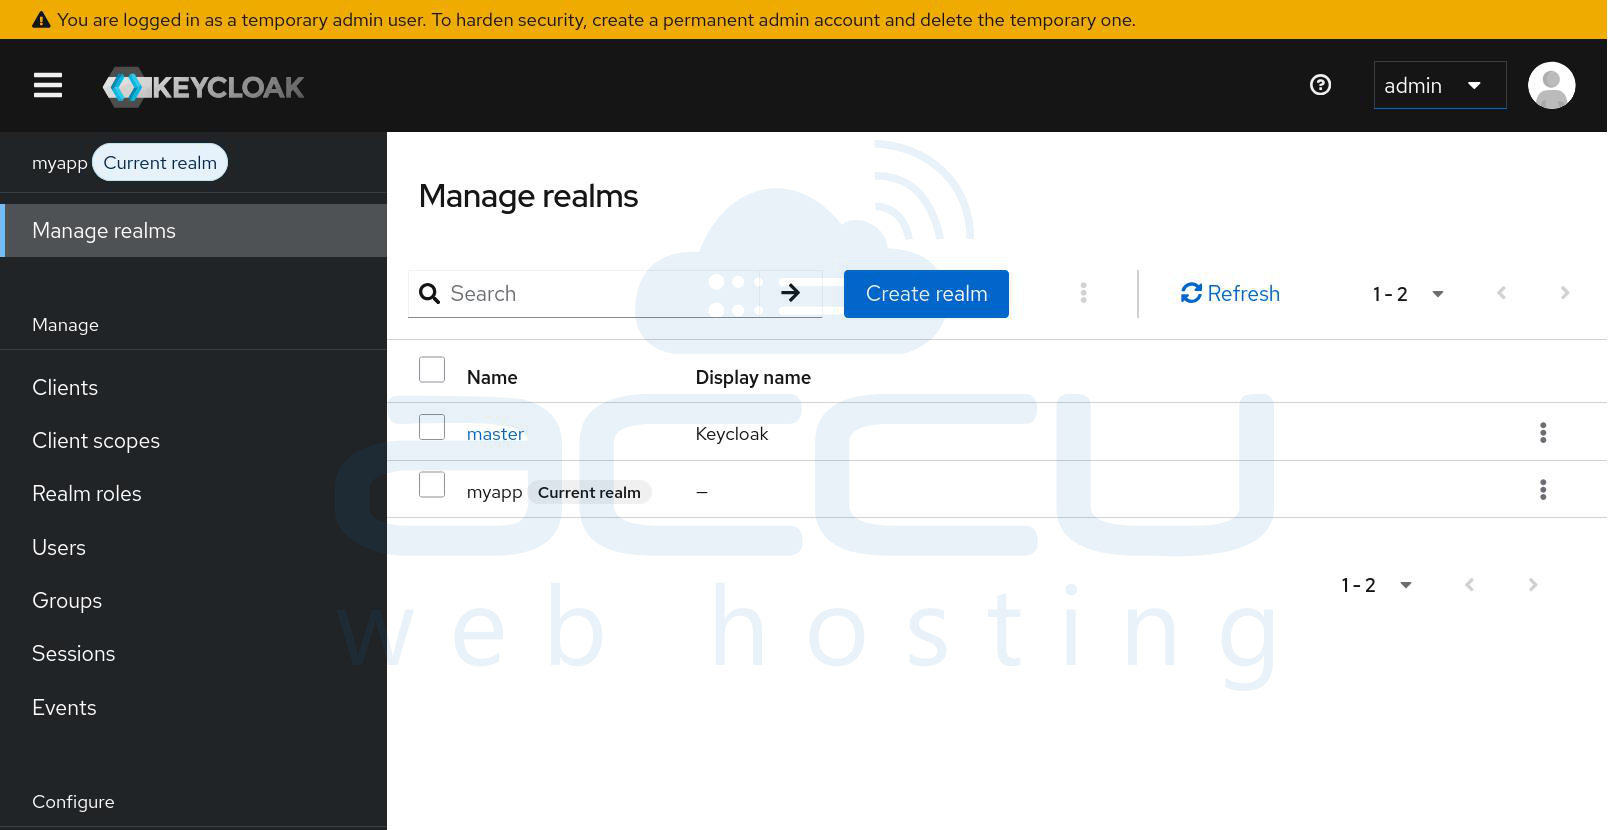
Reserve the master realm for administrative tasks only.
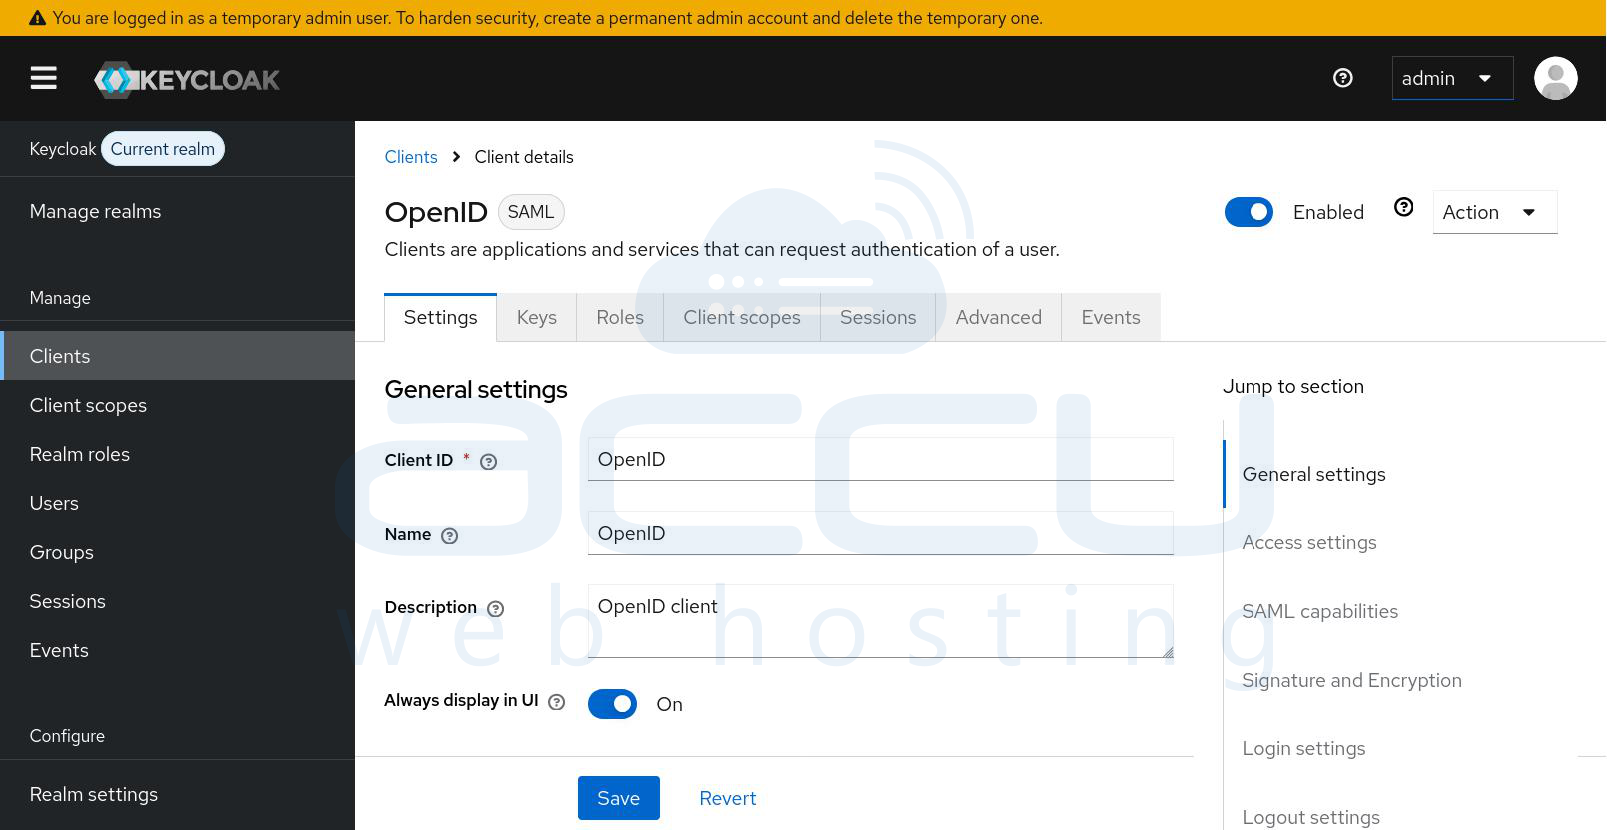
Step 2: Create a Client
-
Go to Clients → Create client.
-
Set Client ID.
-
Set Client Protocol: OpenID Connect.
-
Set redirect URIs (your app URLs that Keycloak will redirect to).
-
Enable Client authentication for confidential apps.
-
Save the client secret for your application configuration.
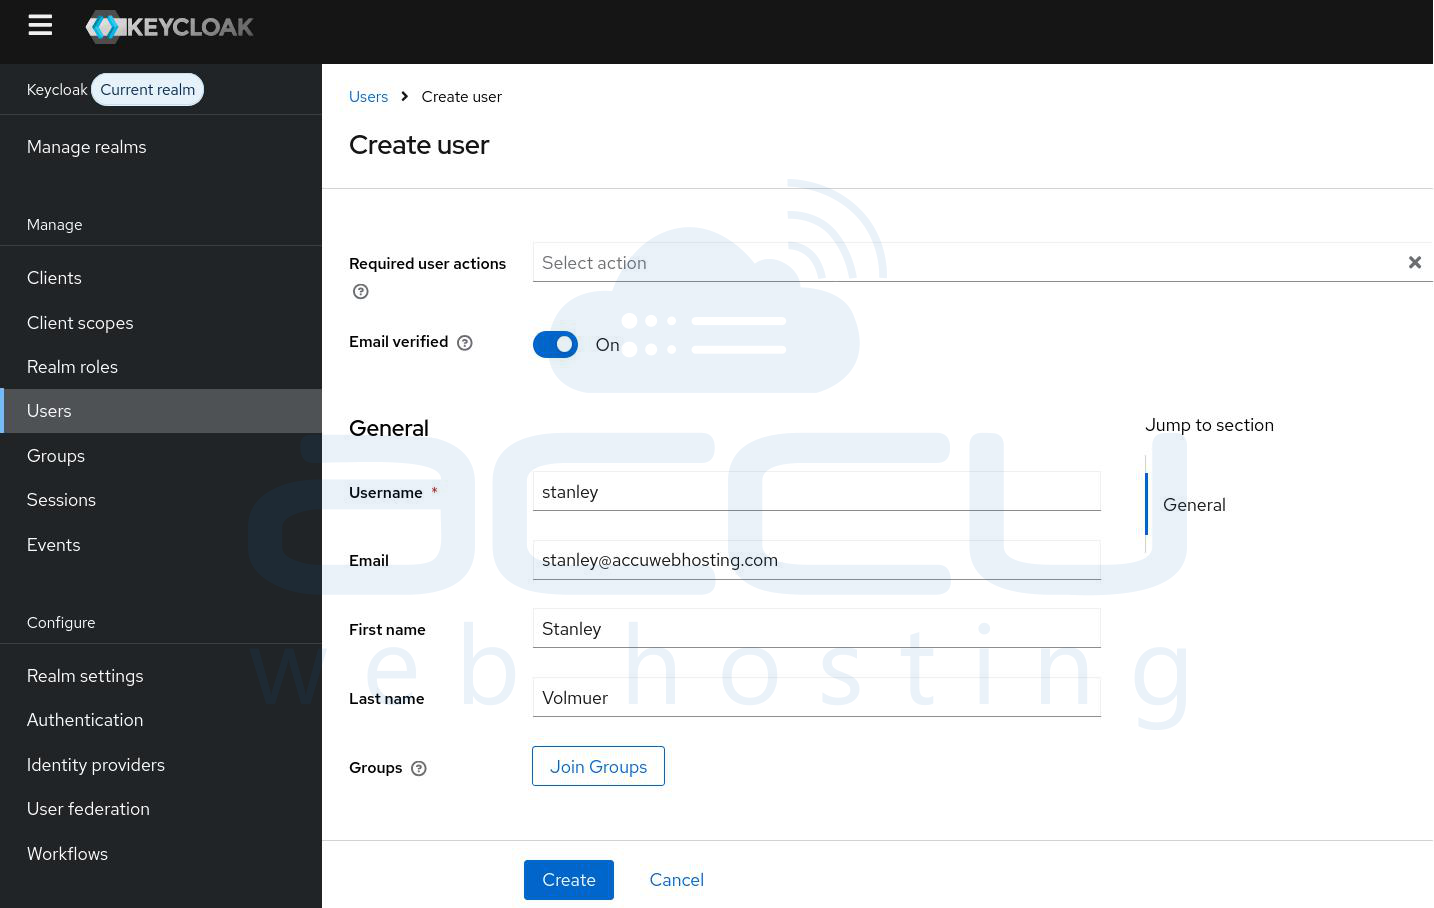
Step 3: Create a Test User
-
Navigate to Users → Add user.
-
Fill in username, email, and save.
-
Go to the Credentials tab and set a password.
-
Ensure Temporary password is OFF if you want users to log in immediately.
Production Hardening
Security is critical in production. Here are essential steps:
1. Automate SSL Certificate Renewal
Create a script renew-certs.sh:
#!/bin/bash
certbot renew --webroot -w ~/keycloak-deploy/certbot/www
docker compose restart nginx
Set a cron job:
0 3,15 * * * /home/YOUR_USER/keycloak-deploy/renew-certs.sh >> /var/log/certbot-renew.log 2>&1
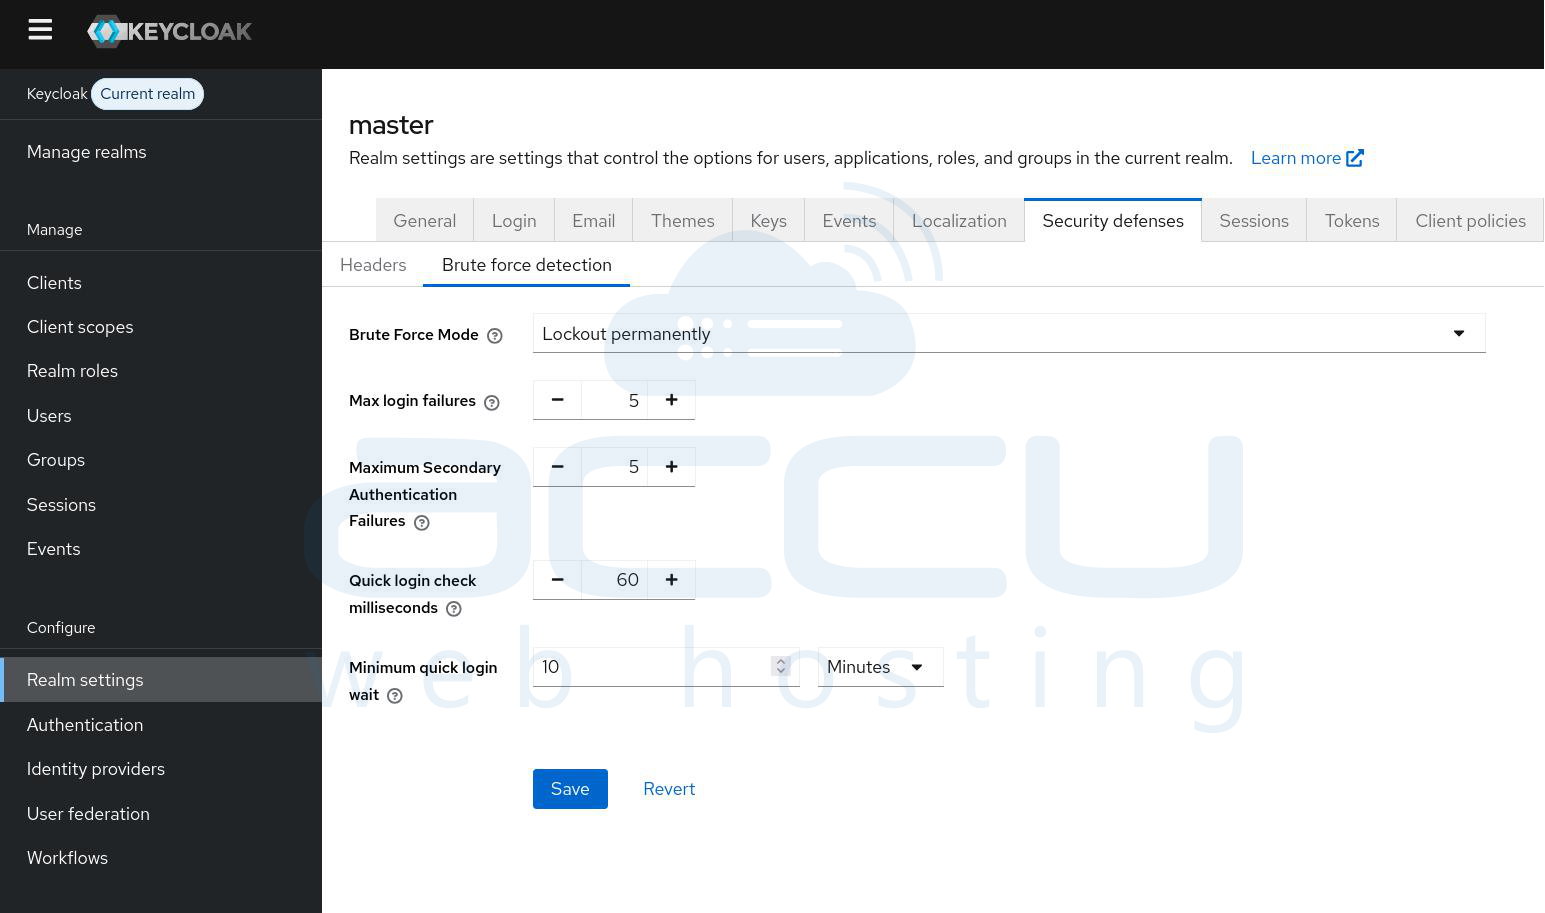
2. Enable Brute Force Protection
-
Go to Realm settings → Security defenses → Brute force detection
-
Set:
-
Max login failures:5
-
Maximum Secondary Authentication Failures:5
-
Quick login check milliseconds:60
-
Minimum quick login wait:10
-
3. Configure Password Policies
-
Go to Realm settings → Authentication → Password policy
-
Minimum length: 12
-
Uppercase: 1
-
Digits: 1
-
Special characters: 1
-
Not recently used: 3
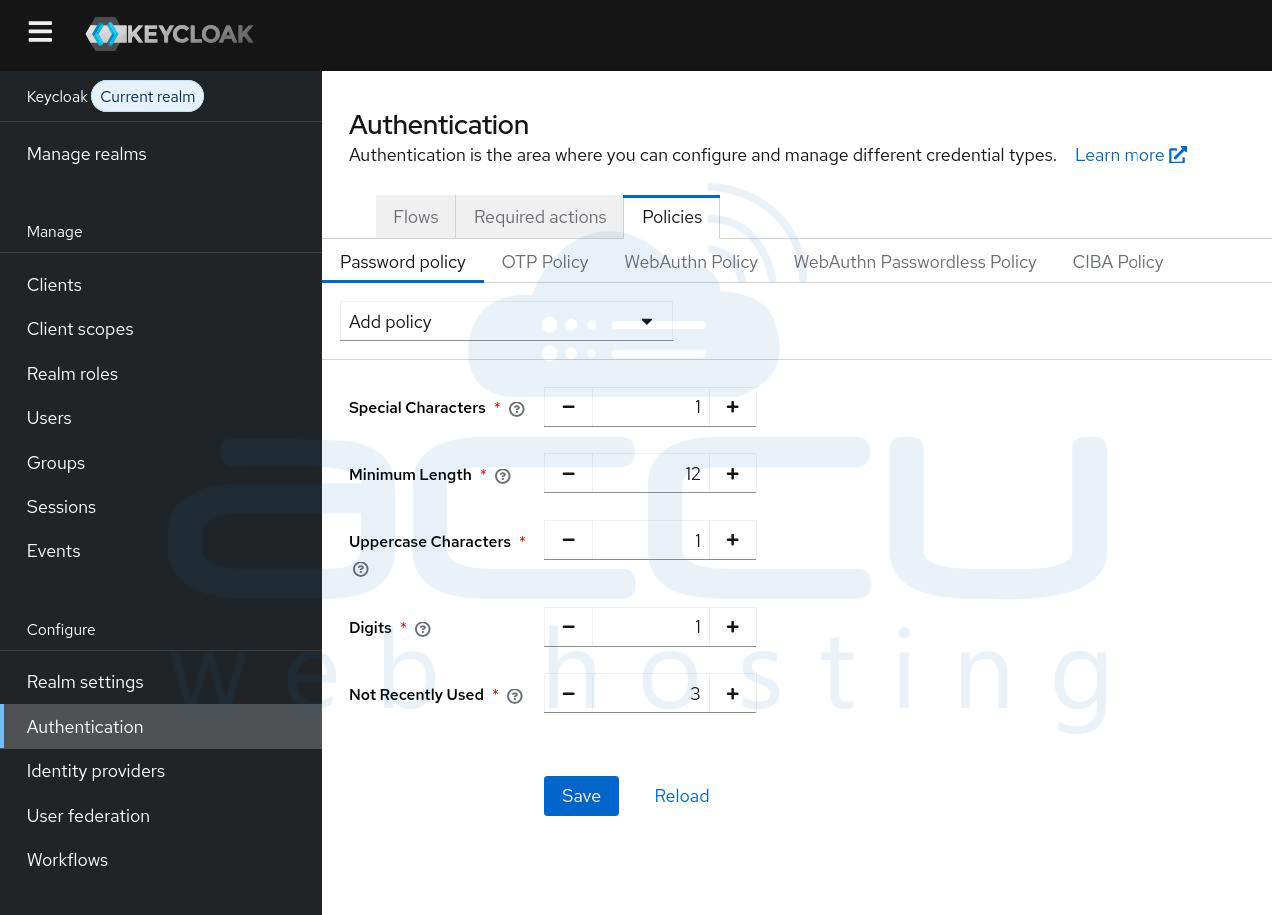
This prevents weak or reused passwords.
Conclusion
Congratulations! You have successfully deployed a production-ready Keycloak instance on Ubuntu with Docker. By following this guide, you now have: Secure Keycloak admin access via HTTPS, A Postgres database running in Docker, Automated SSL certificate renewal, Configured user realms, clients, and test users, Production hardening with password policies and brute-force protection and Database backups and monitoring endpoints.
Keycloak is now ready to integrate with your applications, giving you secure authentication and access management.
