What Is Craft CMS?
Craft CMS is a flexible, content-first content management system built on PHP and the Yii framework. It was created by Pixel & Tonic and first released in 2013. Unlike WordPress, which started as a blogging platform and evolved into a general-purpose CMS, Craft was designed from day one to be a serious developer tool for building custom digital experiences.
Why Developers Love Craft CMS?
- Flexible Content Modeling: Full control over content structure with custom fields, matrices, relationships, tables, and more.
- Twig Templating Engine: Clean and readable templating using Twig, enabling clear separation of frontend and backend logic.
- Headless & GraphQL Support: Built-in GraphQL API allows seamless use as a headless CMS with modern frameworks like React or Vue.
- Multi-Site Management: Manage multiple websites, domains, and languages from a single installation.
- Plugin Ecosystem: Access to a wide range of plugins for SEO, e-commerce, forms, and more via the built-in Plugin Store.
- Security & Performance: Strong security practices, robust permissions, and optimized performance with caching support.
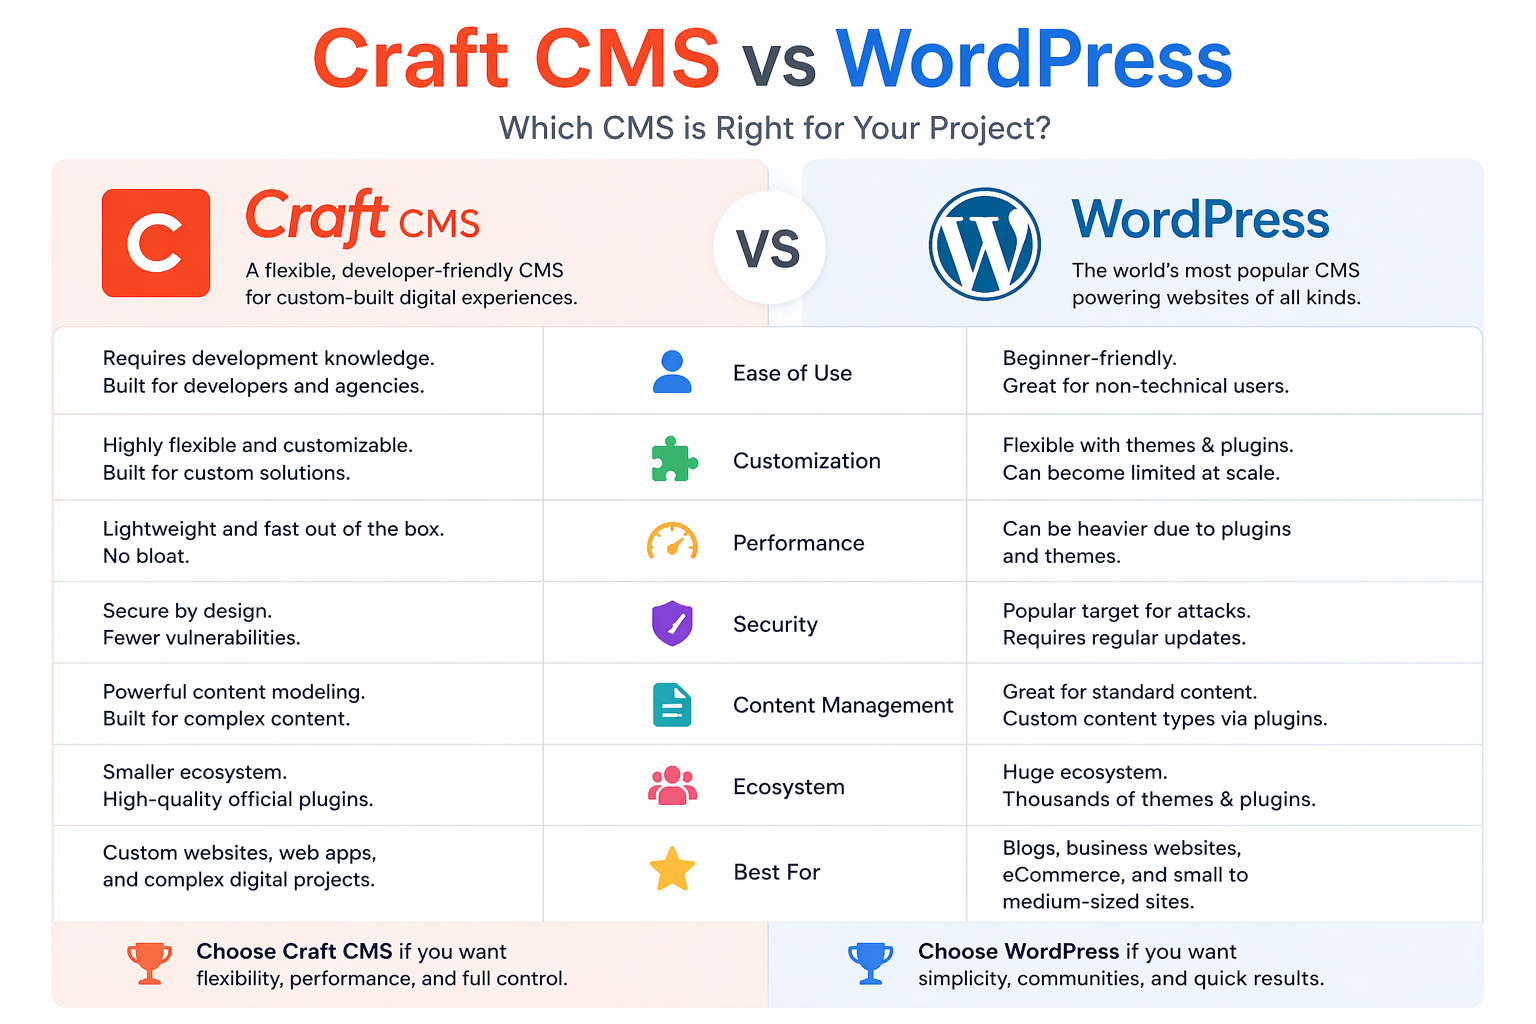
Craft CMS vs WordPress
This is the question everyone asks. The honest answer is: they serve different audiences. WordPress is easier to get started with, has a massive ecosystem, and is perfect for blogs, simple business sites, and situations where non-technical users need to self-manage everything.
Craft CMS is for projects where content modeling complexity matters, where the client has specific editorial requirements, where the developer needs clean, predictable data structures, or where a headless or decoupled architecture is on the roadmap. Craft has a steeper learning curve and a smaller (though growing) ecosystem, but for complex custom projects, many developers find it significantly less painful to work with than WordPress.
Software Stack Overview
Before diving into the installation, let's understand what we're building. Craft CMS runs on what's commonly called a LEMP stack:
- L — Linux (Ubuntu 24.04 LTS in our case)
- E — Nginx (the web server)
- M — MySQL (the database)
- P — PHP (the language Craft is written in)
We'll also need Composer — PHP's dependency manager — to install Craft and manage its packages.
Server Requirements
Before you begin, make sure your server meets these minimum specifications:
- OS: Ubuntu 24.04 LTS (fresh VPS)
- RAM: 4 GB minimum, 8 GB recommended for production
- CPU: Minimum 2 vCPUs
- Disk: At least 20 GB of disk space
- Access: Root or sudo privileges
- Network: Valid domain or static IP for the web UI
Important Note: While PHP 8.5 is supported, some third-party plugins may not yet be compatible. If you run into plugin issues after installation, downgrade to PHP 8.4.
Step-by-Step Installation Guide
Let's walk through the complete installation process. Every command here is exact — do not modify them unless you know what you're changing.
Step 1: Update the System
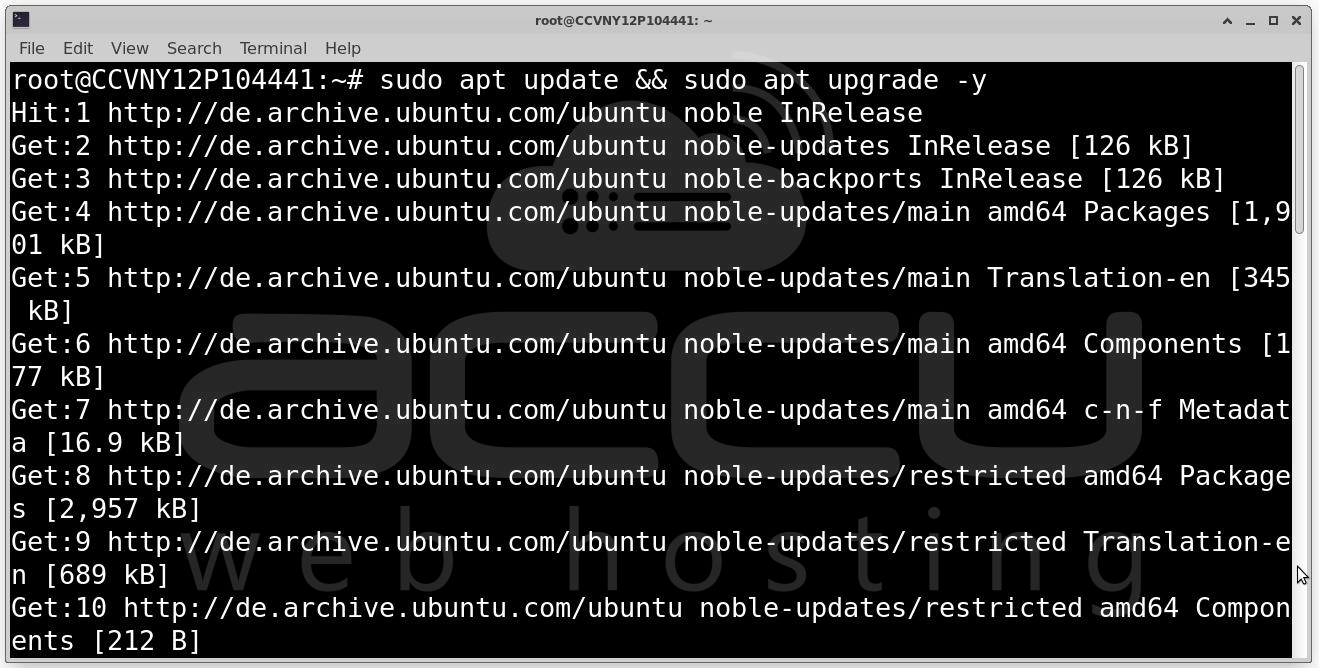
The first thing you should always do on a fresh server is update all existing packages. This ensures compatibility, applies the latest security patches, and makes sure your package manager has the most current index of available software.
sudo apt update && sudo apt upgrade -y
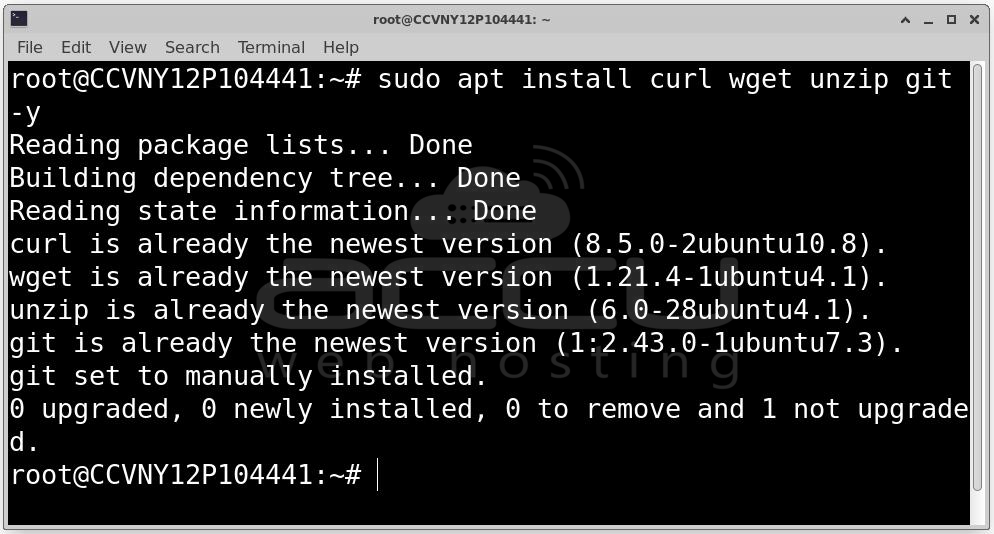
Next, install a few essential tools we'll need throughout this process:
sudo apt install curl wget unzip git -y
Step 2: Install Latest Nginx (1.30.x)
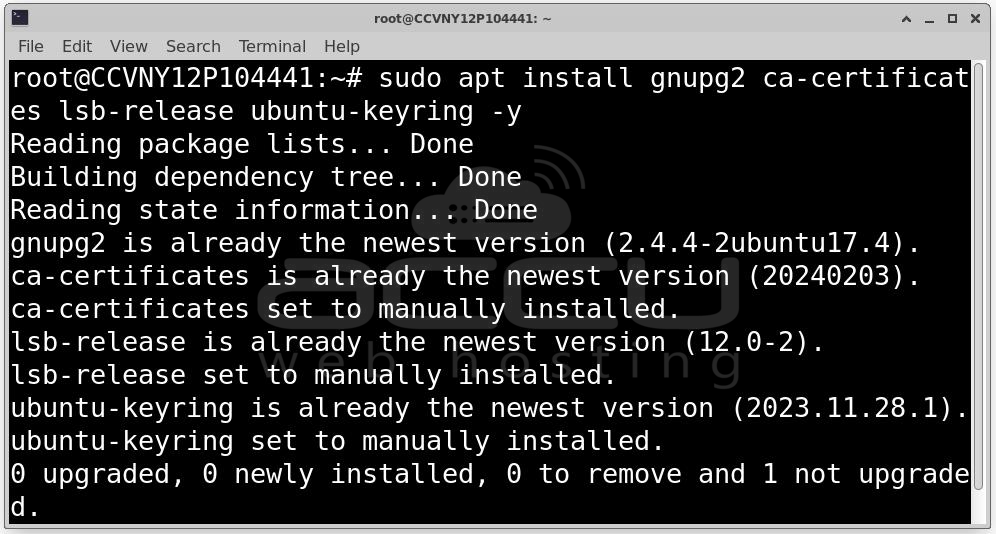
Nginx is the web server that will handle all incoming HTTP/HTTPS requests and route them to PHP for processing. First, install the required packages for managing external repositories securely:
sudo apt install gnupg2 ca-certificates lsb-release ubuntu-keyring -y
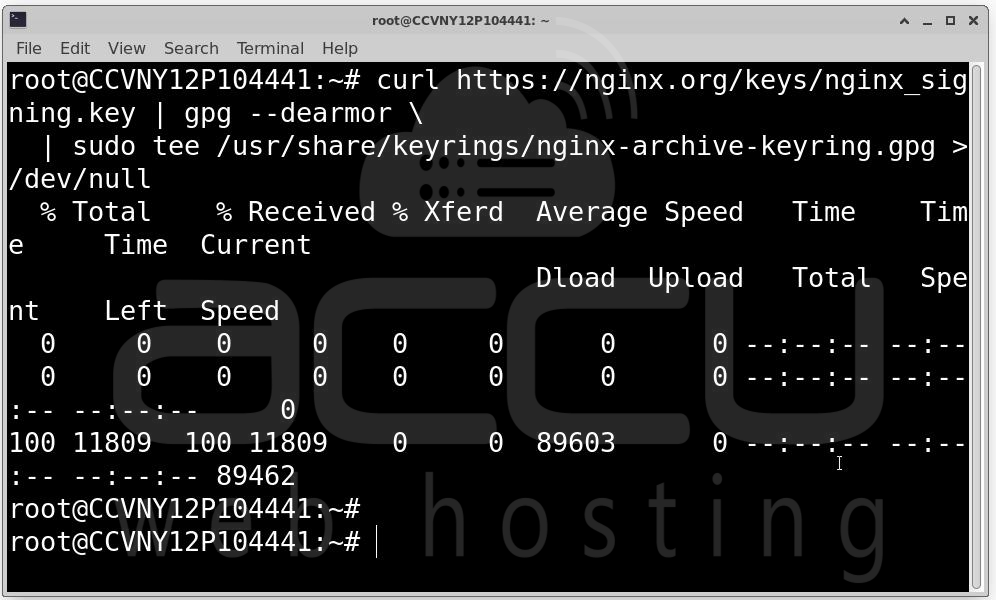
Add the Nginx Signing Key: This cryptographic key verifies that packages you download from Nginx's repository are authentic and haven't been tampered with:
curl https://nginx.org/keys/nginx_signing.key | gpg --dearmor \
| sudo tee /usr/share/keyrings/nginx-archive-keyring.gpg >/dev/null
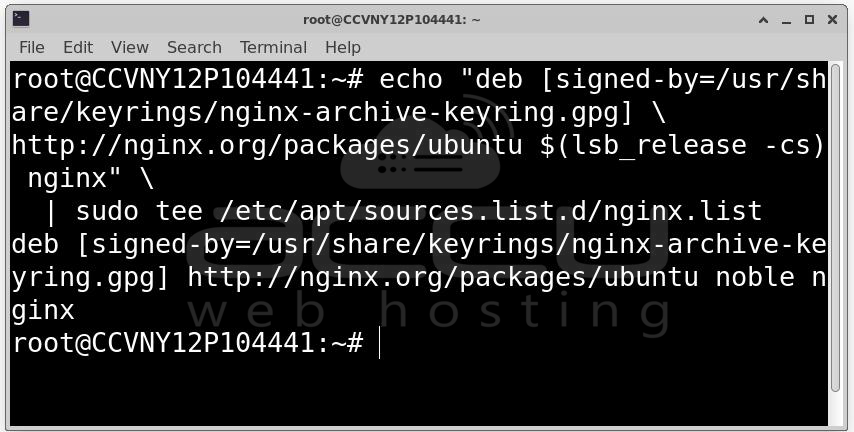
Add the Official Nginx Repository: This tells apt where to find Nginx packages:
echo "deb [signed-by=/usr/share/keyrings/nginx-archive-keyring.gpg] \
http://nginx.org/packages/ubuntu $(lsb_release -cs) nginx" \
| sudo tee /etc/apt/sources.list.d/nginx.list
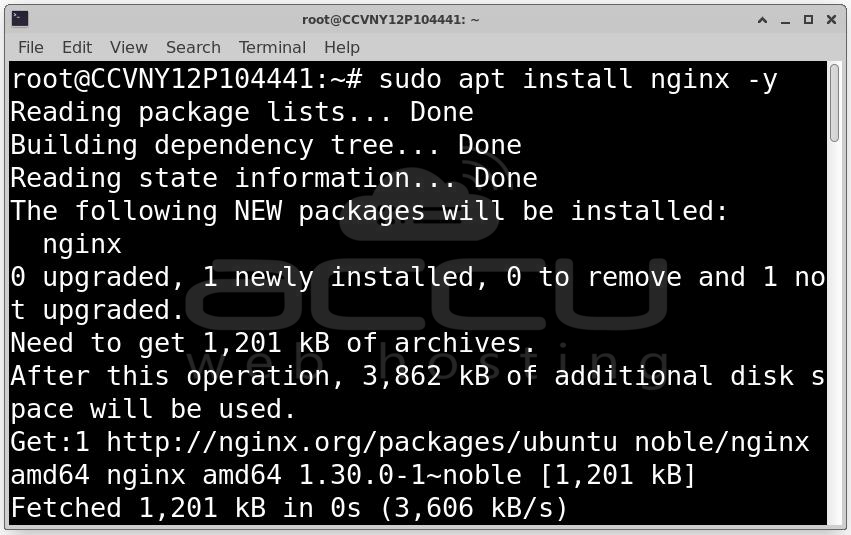
Install Nginx:
sudo apt update
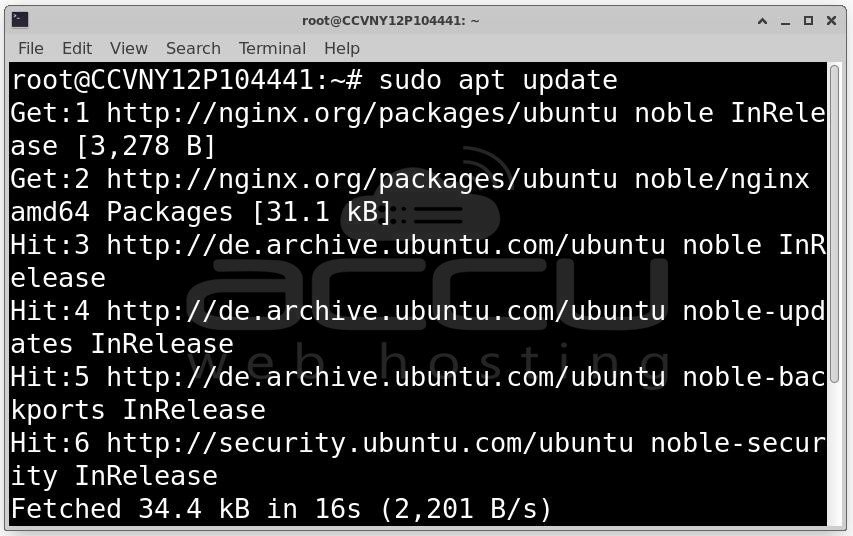
sudo apt install nginx -y
Start and Enable the Nginx Service
sudo systemctl enable nginx
sudo systemctl start nginx

systemctl enable makes Nginx start automatically every time the server reboots. systemctl start starts it immediately.
Verify the Installation: nginx -v
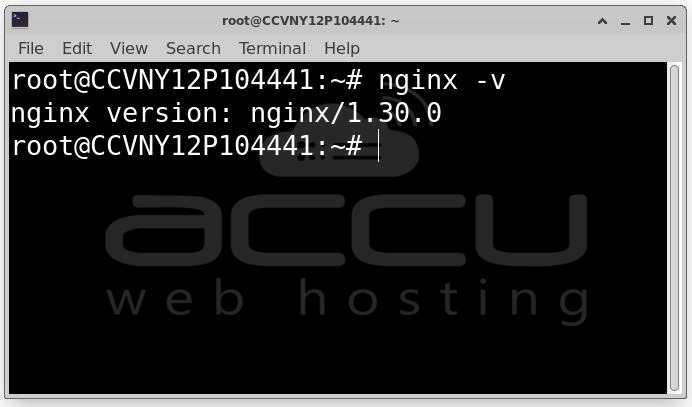
You should see output like the nginx version: nginx/1.30.x. If you see a version number, Nginx is installed correctly.
Step 3: Install PHP 8.5
PHP is the programming language that powers Craft CMS. Craft relies on a specific set of PHP extensions beyond the core language, so we need to install those as well.
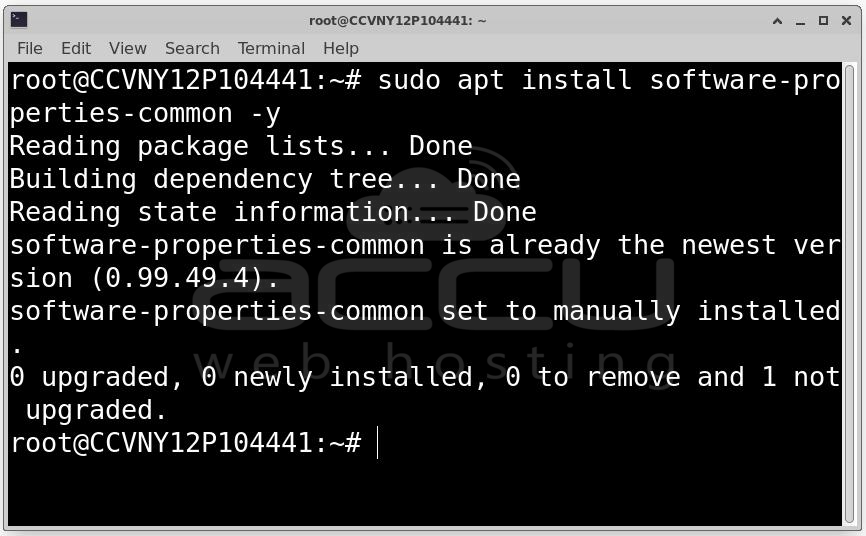
Add the PHP Repository
sudo apt install software-properties-common -y
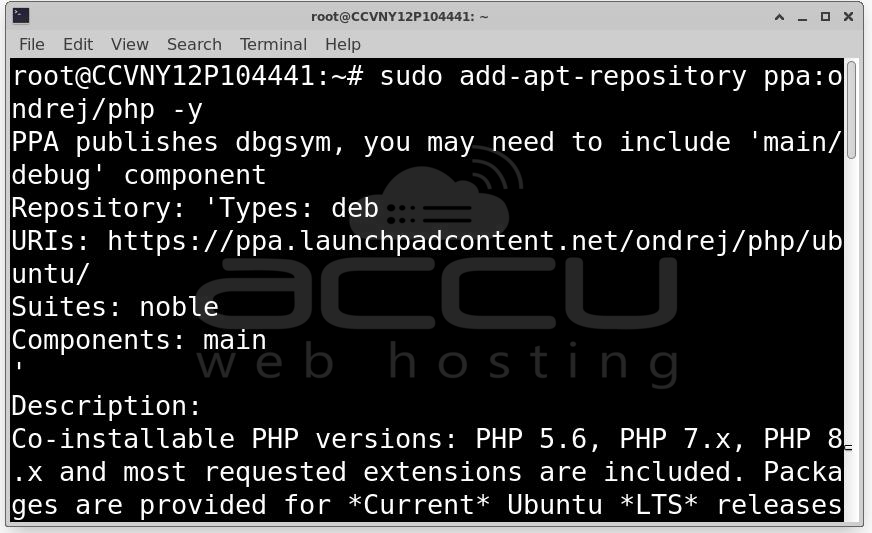
sudo add-apt-repository ppa:ondrej/php -y
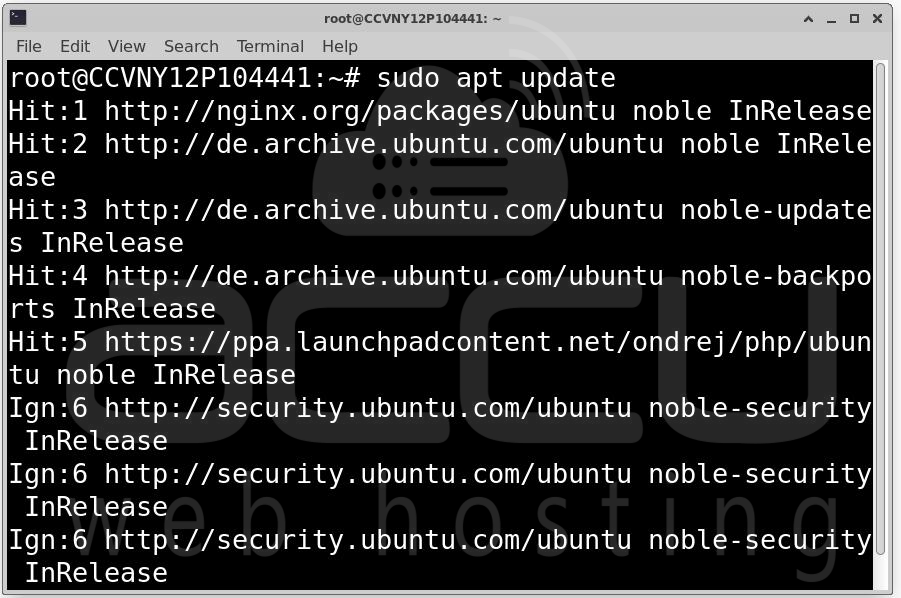
sudo apt update
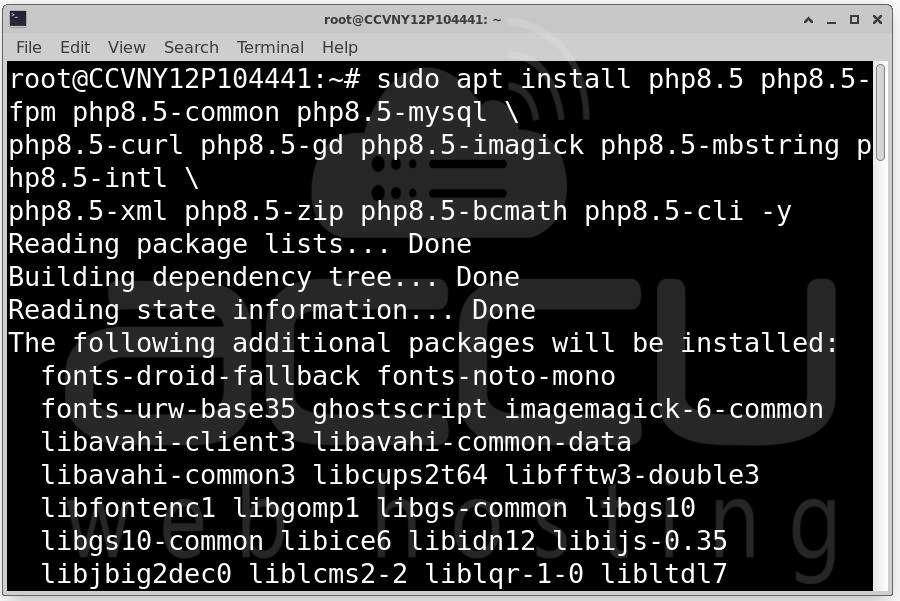
Install PHP and All Required Extensions
sudo apt install php8.5 php8.5-fpm php8.5-common php8.5-mysql \
php8.5-curl php8.5-gd php8.5-imagick php8.5-mbstring \
php8.5-intl php8.5-xml php8.5-zip php8.5-bcmath \
php8.5-cli php8.5-opcache -y
Verify the PHP Installation: php -v

You should see PHP 8.5.x listed along with its build date and configuration.
PHP Configuration Optimization
Default PHP settings are conservative and not suitable for a CMS like Craft that handles file uploads, image processing, and complex queries. We need to tune a few key values.
Open the PHP-FPM configuration file:
sudo nano /etc/php/8.5/fpm/php.ini
Find and update the following values (use Ctrl+W to search inside nano):
memory_limit = 512M
post_max_size = 32M
upload_max_filesize = 32M
max_execution_time = 360
After saving the file (Ctrl+X, then Y, then Enter), restart PHP-FPM to apply the changes:
sudo systemctl restart php8.5-fpm
sudo systemctl enable php8.5-fpm
Step 4: Install MySQL 8.0
MySQL is the relational database where Craft CMS stores everything: users, content entries, matrix field data, asset metadata, plugin configuration, and much more.
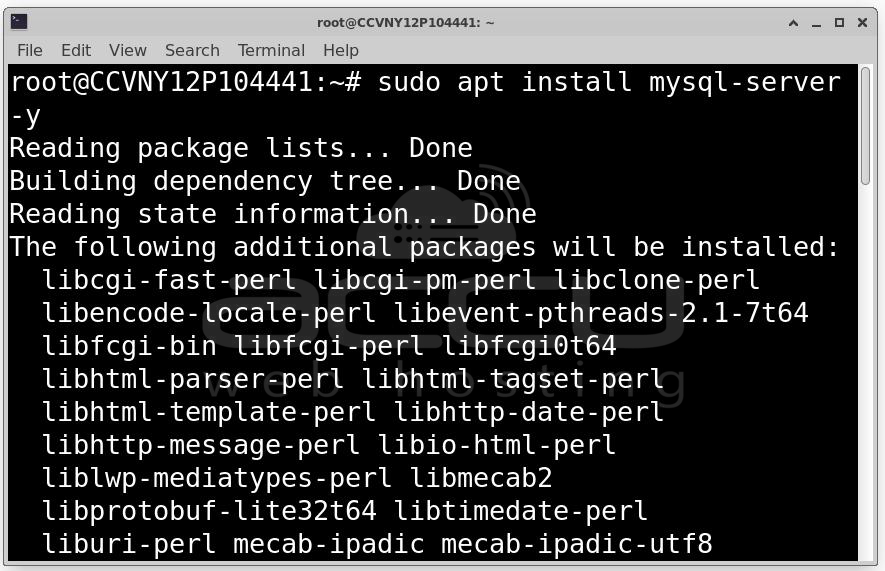
Install MySQL Server
sudo apt install mysql-server -y
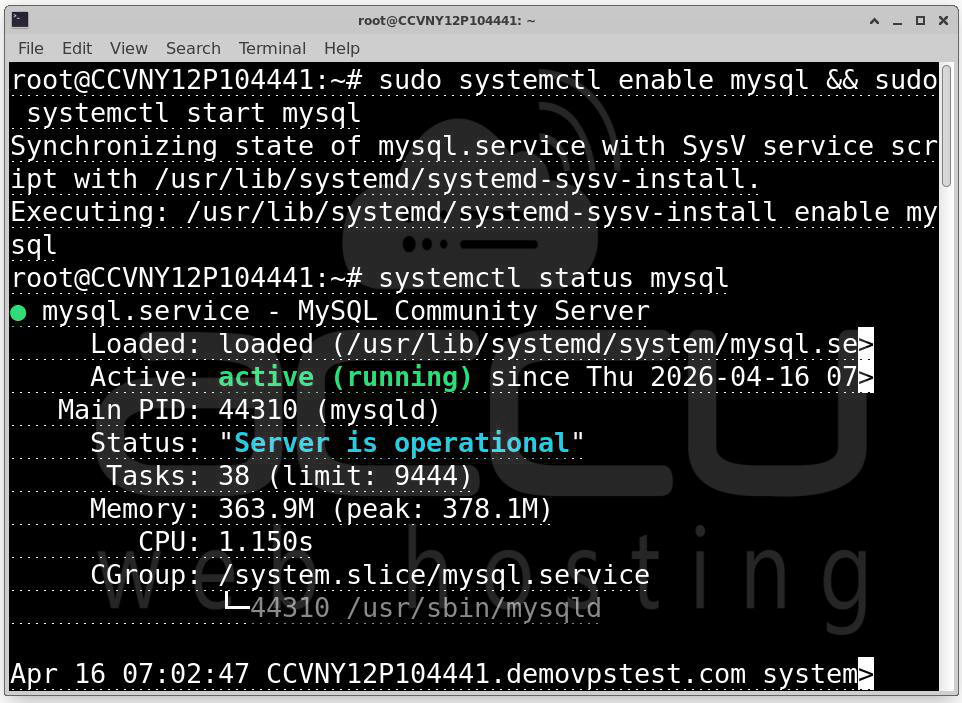
sudo systemctl enable mysql
sudo systemctl start mysql
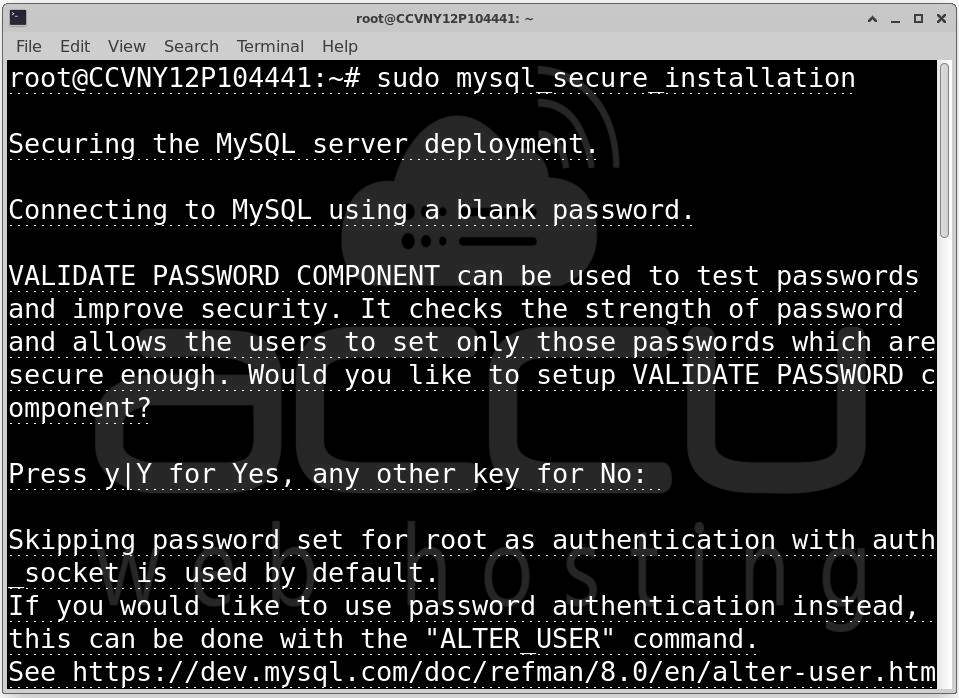
Secure the MySQL Installation
sudo mysql_secure_installation
This interactive script walks you through securing your MySQL installation by:
- Setting a root password (if not already set)
- Removing anonymous user accounts
- Disabling remote root login (root should only connect from localhost)
- Removing the test database that ships with MySQL
- Reloading privilege tables to apply changes
Follow the prompts carefully. For a production server, answer "Yes" to all the security recommendations.
Create the Database and User for Craft CMS
Now we'll create a dedicated database and database user for Craft. Using a dedicated user with limited privileges — rather than the root account — is a fundamental security best practice.
Log into MySQL:
sudo mysql -u root -p
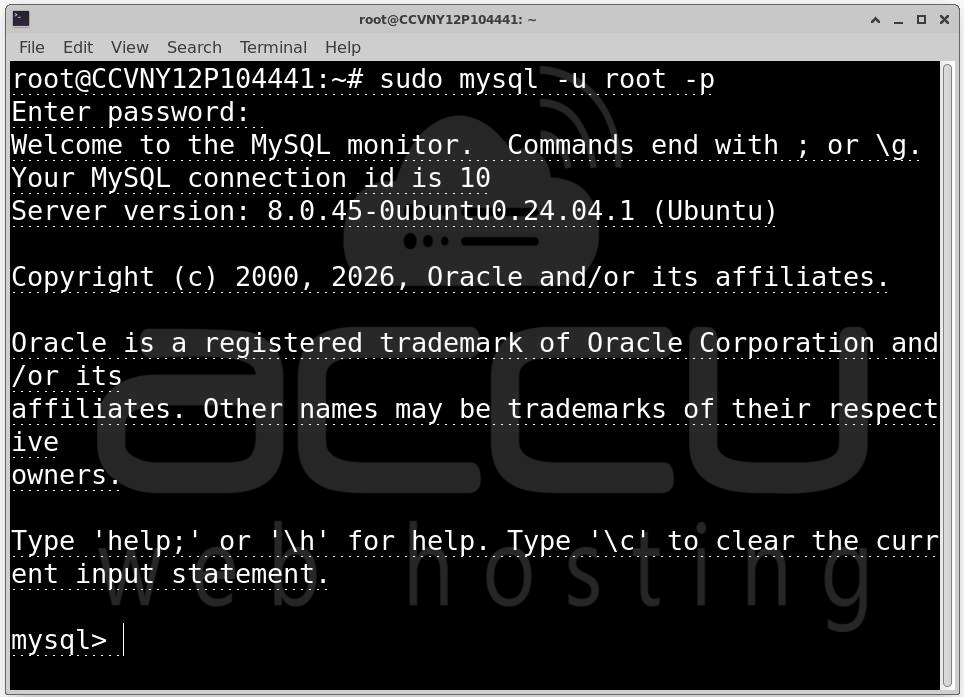
Once inside the MySQL prompt, run the following commands:
CREATE DATABASE craftdb CHARACTER SET utf8mb4 COLLATE utf8mb4_unicode_ci;
CREATE USER 'craftuser'@'localhost' IDENTIFIED BY 'YourStrongPassword123!';
GRANT ALL PRIVILEGES ON craftdb.* TO 'craftuser'@'localhost';
FLUSH PRIVILEGES;
EXIT;
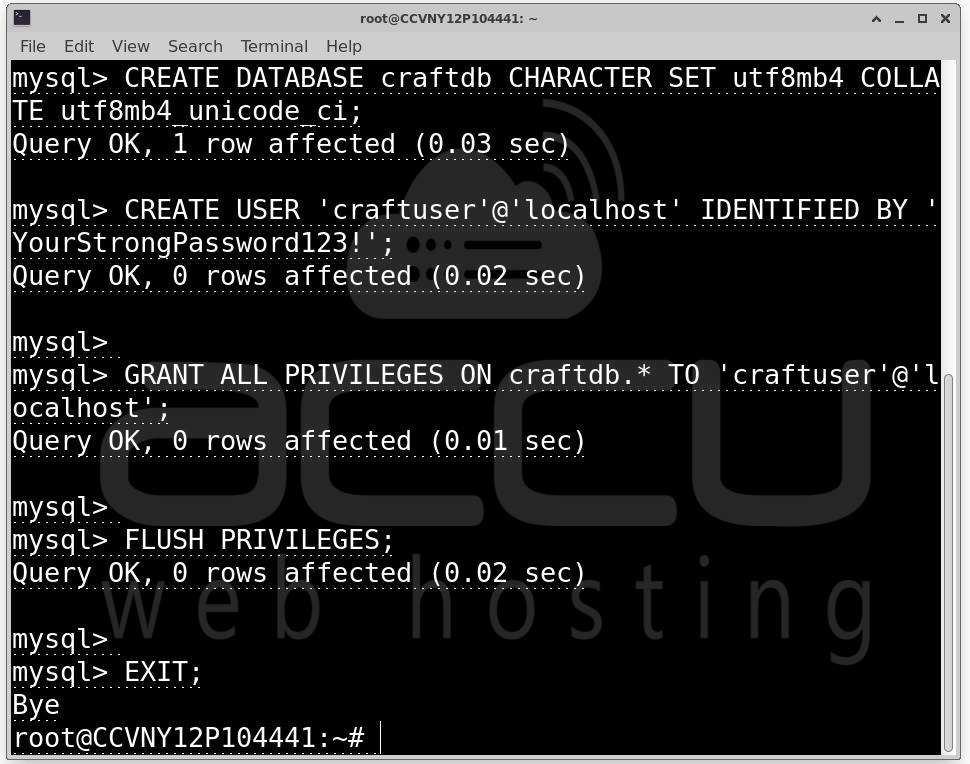
Replace YourStrongPassword123! with a strong, unique password. Store it somewhere safe, you'll need it during the Craft setup step.
Step 5: Install Composer
Composer is PHP's dependency manager. It's how you install Craft CMS itself, and how you'll install plugins and manage updates going forward.
curl -sS https://getcomposer.org/installer -o /tmp/composer-setup.php
sudo php /tmp/composer-setup.php --install-dir=/usr/local/bin --filename=composer
This downloads the Composer installer to a temporary location, then runs it with PHP, installing the composer binary to /usr/local/bin — which means it'll be available system-wide as a simple composer command.
Verify the Installation
composer --version
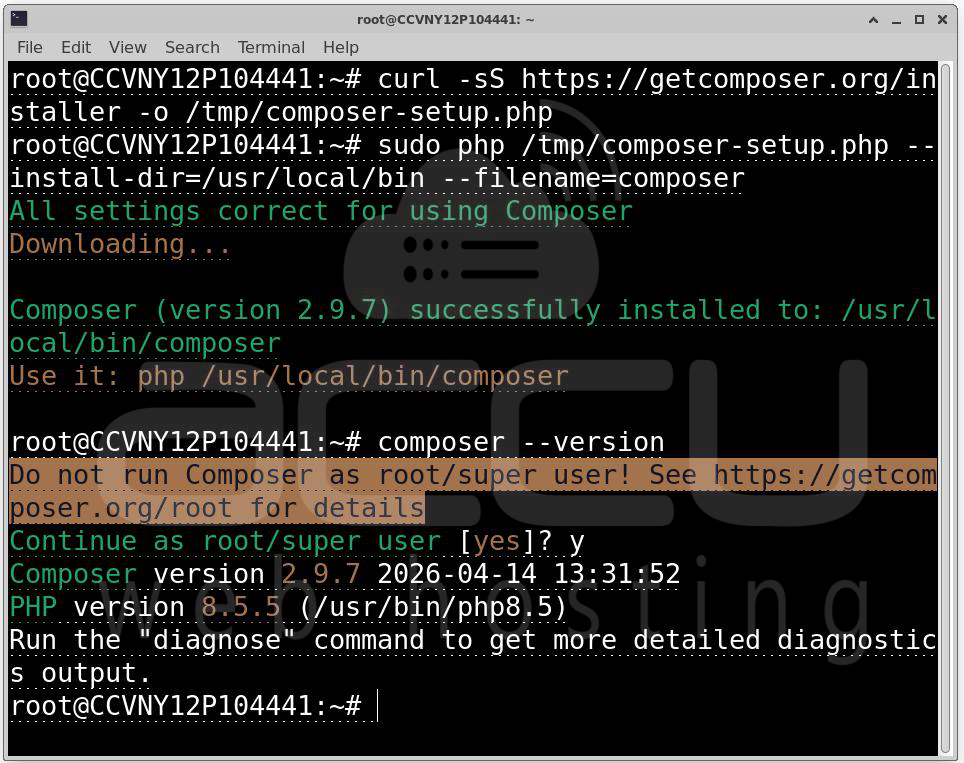
You should see something like Composer version 2.x.x.
Composer works by reading a composer.json file that lists your project's dependencies, then resolving and downloading all required packages (and their dependencies) into a vendor/ directory. It also generates an autoloader so PHP can find all those classes without manual require statements.
Step 6: Install Craft CMS 5
With all the infrastructure in place, it's time to actually install Craft CMS. We'll use Composer to create a new Craft project.
sudo mkdir -p /var/www
cd /var/www
sudo composer create-project craftcms/craft:^5 mysite
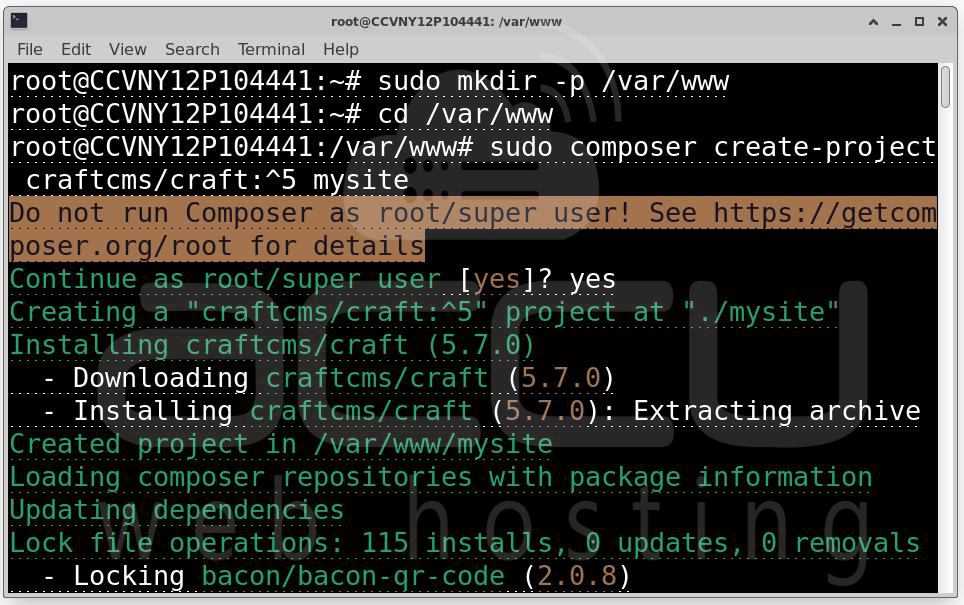
The create-project command tells Composer to download the craftcms/craft package at version 5.x and create a new project in the mysite directory. This downloads Craft itself, all its PHP dependencies, and sets up the initial directory structure.
Depending on your server's internet speed, this may take a few minutes. You'll see Composer resolving and downloading packages in real time.
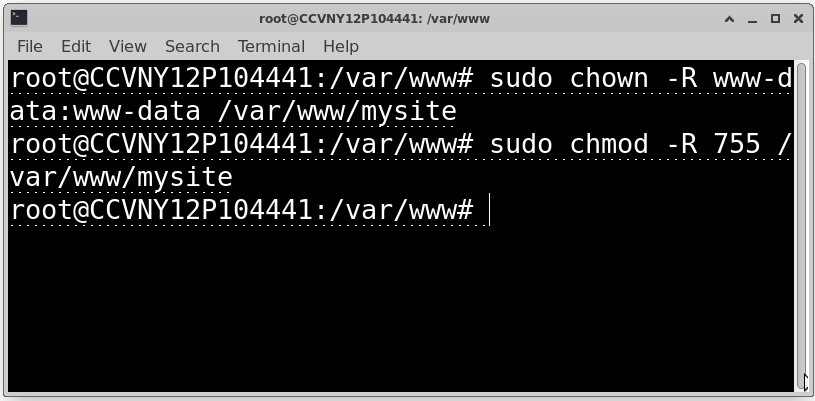
Set File Permissions: After installation, we need to set the correct file ownership and permissions so that Nginx and PHP-FPM (which run as the www-data user) can read and write to the project files:
sudo chown -R www-data:www-data /var/www/mysite
sudo chmod -R 755 /var/www/mysite
Step 7: Configure the Nginx Virtual Host
Now we need to tell Nginx how to serve your Craft CMS site. We do this by creating a "virtual host" configuration file, a set of rules that tells Nginx what to do with incoming requests for your domain.
Create the configuration file:
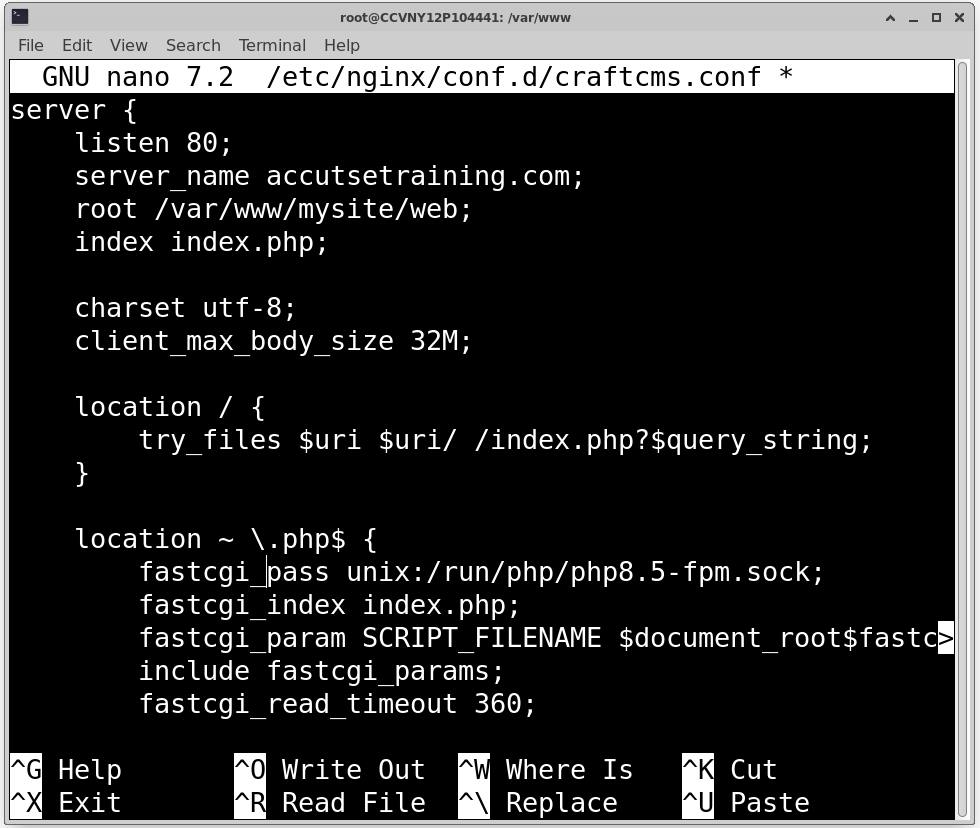
sudo nano /etc/nginx/conf.d/craftcms.conf
Add the following configuration:
server {
listen 80;
server_name your-domain.com;
root /var/www/mysite/web;
index index.php;
charset utf-8;
client_max_body_size 32M;
location / {
try_files $uri $uri/ /index.php?$query_string;
}
location ~ \.php$ {
fastcgi_pass unix:/run/php/php8.5-fpm.sock;
fastcgi_index index.php;
include fastcgi_params;
fastcgi_param SCRIPT_FILENAME $document_root$fastcgi_script_name;
fastcgi_read_timeout 360;
}
location ~ /\. {
deny all;
}
location ~* \.(js|css|png|jpg|jpeg|gif|ico|svg|woff|woff2|ttf|eot)$ {
expires 30d;
add_header Cache-Control "public, no-transform";
}
}
Test the Nginx Configuration
Before reloading Nginx, always test your configuration for syntax errors:
sudo nginx -t
If you see syntax is ok and test is successful, proceed:
sudo systemctl reload nginx
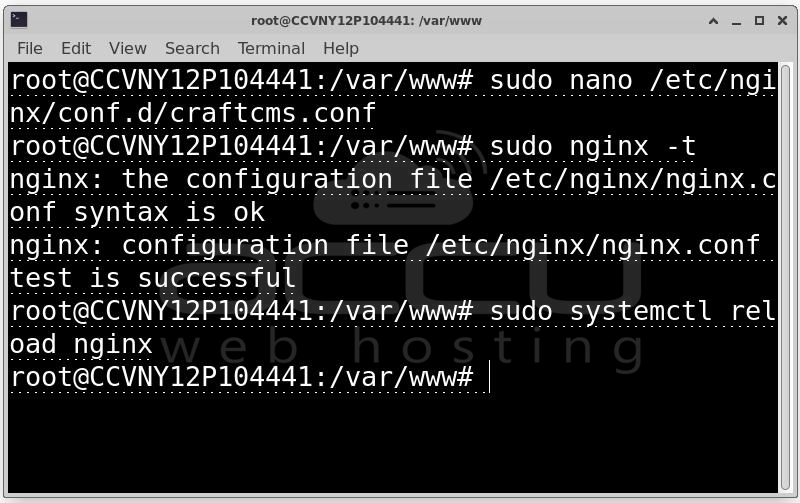
Using reload instead of restart allows Nginx to apply the new configuration without dropping active connections, important on production servers.
Step 8: Run the Craft CMS Setup
With everything configured, it's time to run Craft's built-in setup wizard. This initializes the database schema, creates your admin account, and sets your site's basic configuration.
Navigate to your Craft installation and run the setup command:
cd /var/www/mysite
sudo -u www-data php craft setup

Running this as www-data (using sudo -u www-data) is important, it ensures any files created during setup have the correct ownership from the start.
The interactive wizard will ask you for:
Database Configuration:
- Database driver: mysql
- Database server: localhost
- Database port: 3306 (default)
- Database name: craftdb
- Database username: craftuser
- Database password: YourStrongPassword123! (the password you set in Step 4)
Site Configuration:
- Admin username
- Admin email address
- Admin password
- Site name (the name displayed in the control panel)
- Base URL (your domain, e.g., http://your-domain.com)
This step does several important things behind the scenes: it creates all of Craft's database tables, sets up the initial site configuration, and writes your .env file with the database credentials.
Step 9: Access the Admin Panel
With the setup complete, it's time to log into your new Craft CMS control panel.
Open your browser and navigate to:
http://your-domain.com/admin
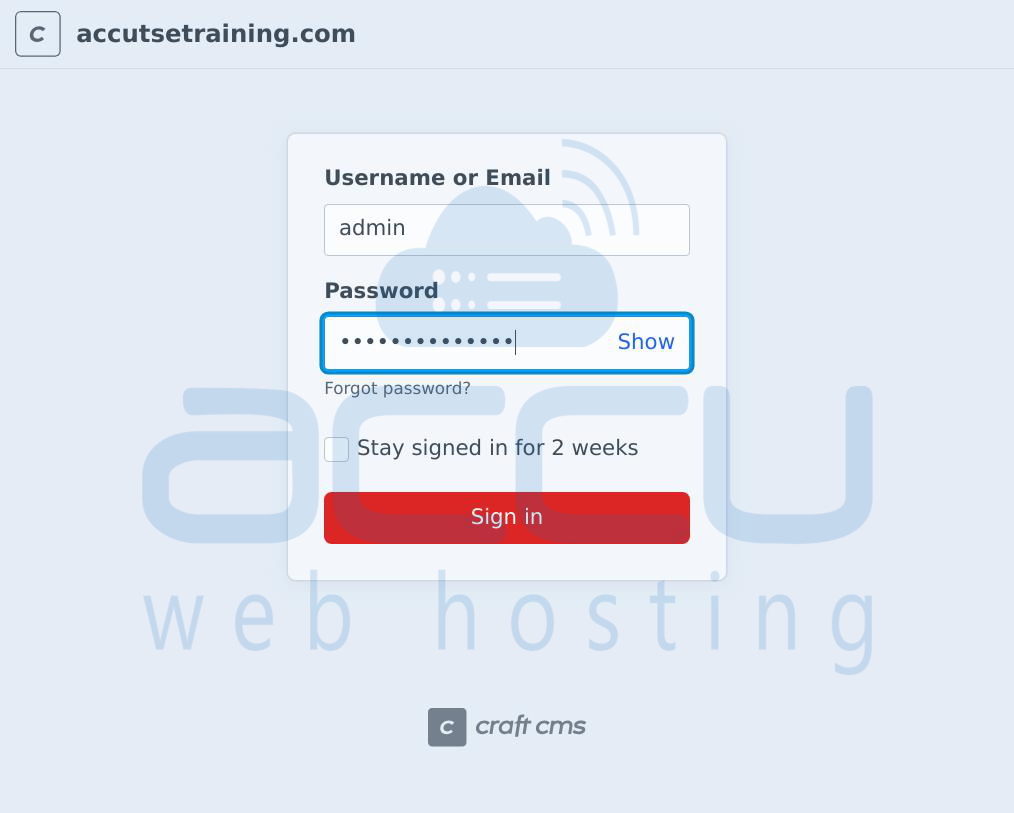
Enter the admin username and password you set during the setup step. Once authenticated, you'll land on the Craft CMS dashboard, your new content management home base.
The /admin route is Craft's default control panel path. For added security, you can change this to a custom path in your Craft configuration, this makes it harder for automated scanners to find your admin login page.
Step 10: Enable HTTPS with SSL
Running a website over plain HTTP is not acceptable, all traffic should be encrypted. We'll use Let's Encrypt to get a free, automatically renewing SSL certificate.
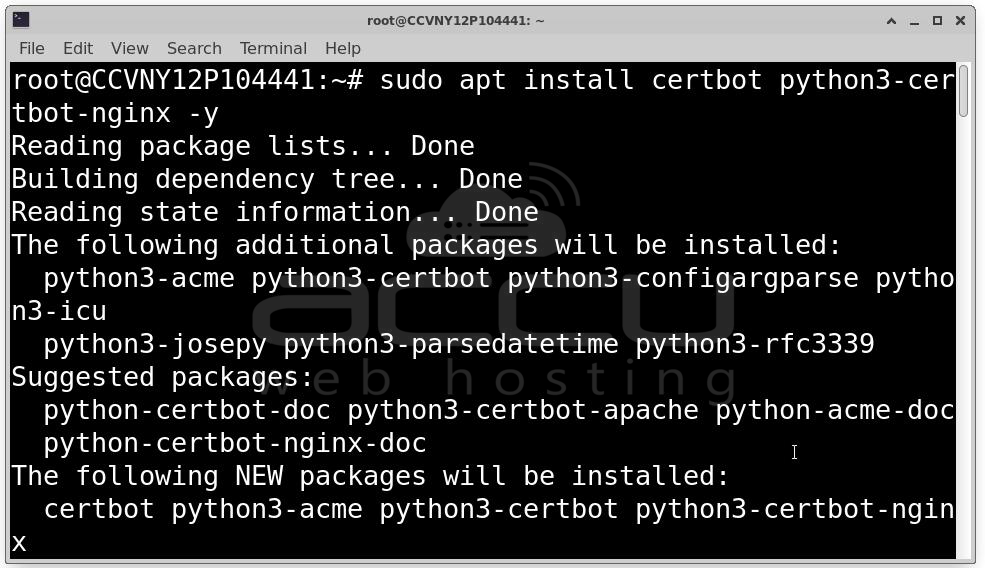
Install Certbot: Certbot is the official Let's Encrypt client. The python3-certbot-nginx plugin allows Certbot to automatically modify your Nginx configuration:
sudo apt install certbot python3-certbot-nginx -y
Generate the SSL Certificate
sudo certbot --nginx -d your-domain.com
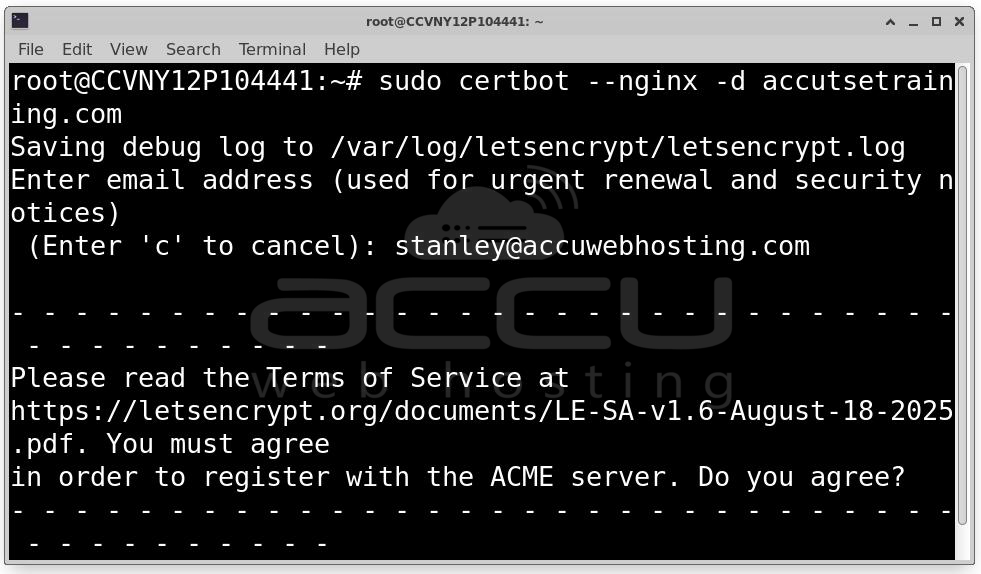
Replace your-domain.com with your actual domain. Certbot will:
- Verify that you control the domain by checking that your server responds correctly at http://your-domain.com
- Request a certificate from Let's Encrypt's servers
- Automatically modify your Nginx configuration to enable HTTPS
- Set up a cron job (or systemd timer) to automatically renew the certificate before it expires
You'll be asked for an email address (for renewal notifications) and to agree to the Terms of Service. After a moment, you'll see a success message confirming your certificate has been issued.
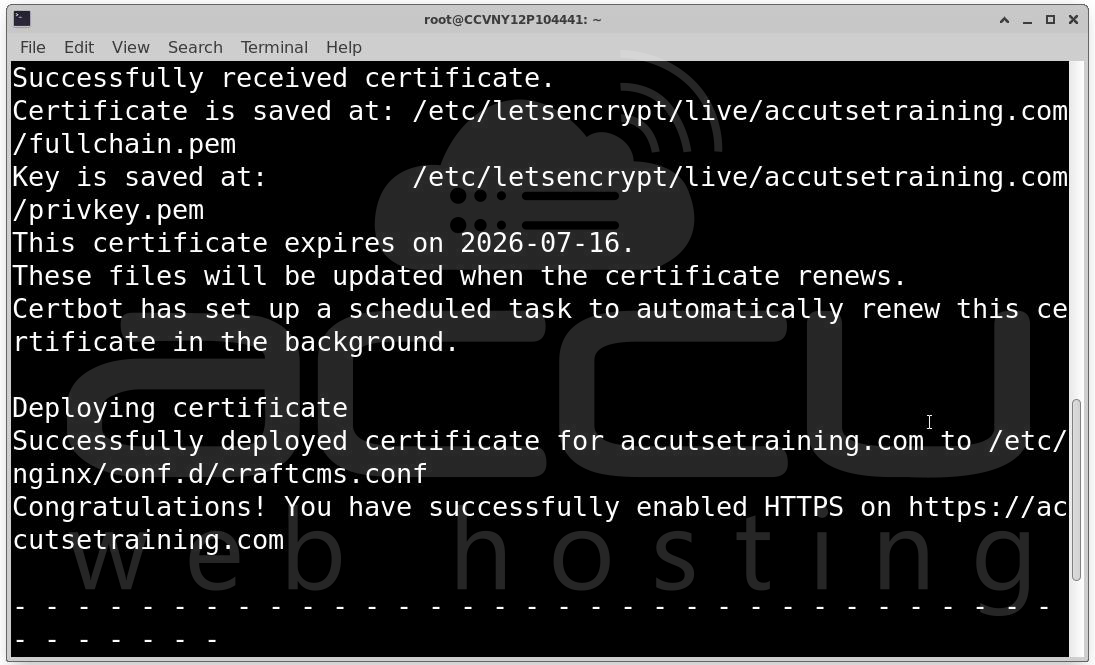
Verify HTTPS
Open your browser and navigate to:
https://your-domain.com
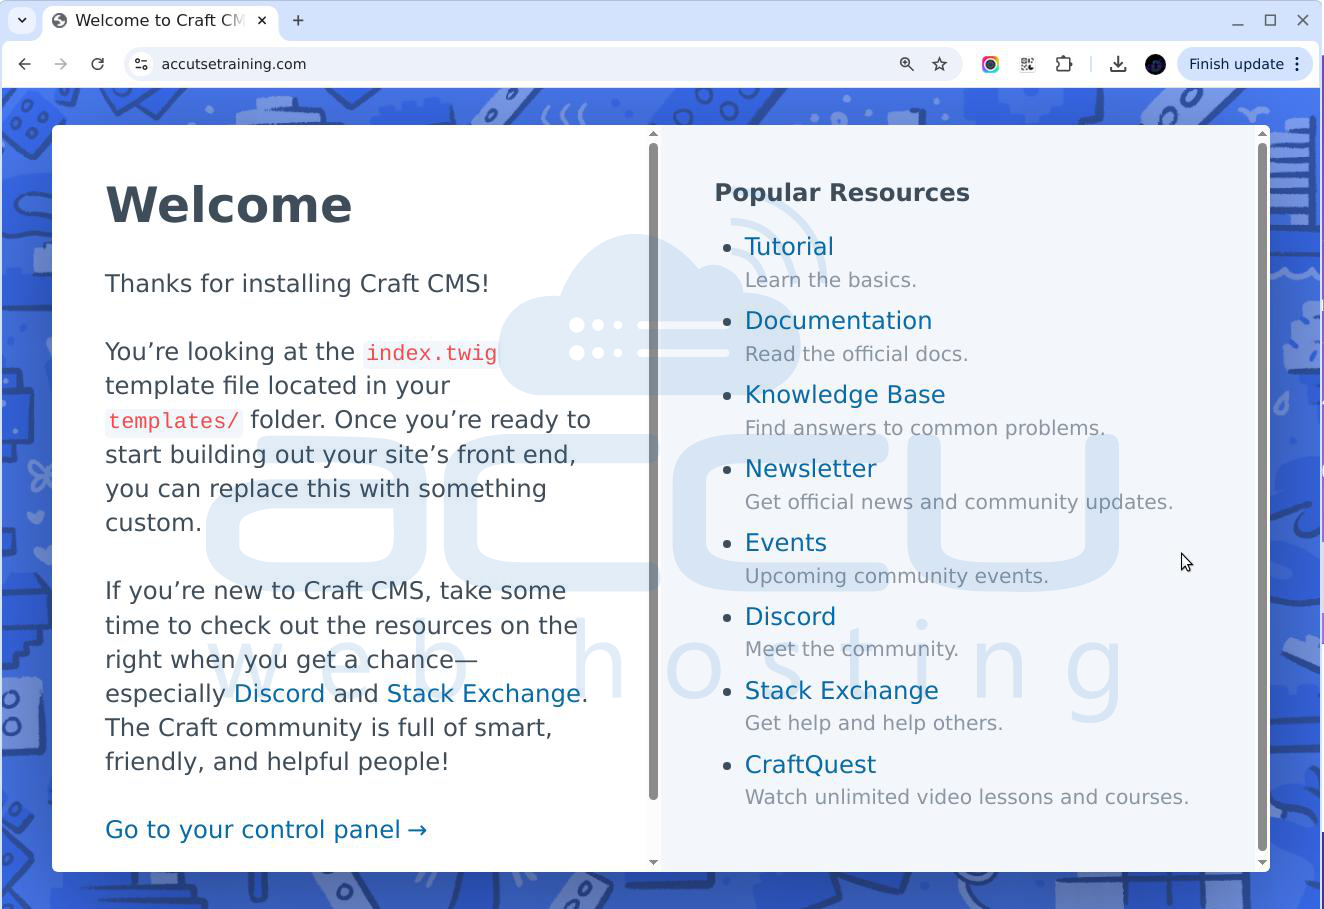
You should see your site loading over HTTPS with a padlock icon in the browser's address bar. Let's Encrypt certificates are valid for 90 days and are automatically renewed by the Certbot renewal job, you don't need to manually renew them.
Now that Craft CMS is installed and running, here are the recommended next steps to get productive:
Conclusion
Installing Craft CMS 5.x on a Linux server requires a properly configured LEMP stack and careful alignment of dependencies. It involves more steps than a typical one-click WordPress install, but what you get in return is a professional, production-grade setup running on the latest stable versions of Nginx, PHP, MySQL, and Composer, optimized for performance, security, and compatibility.
Your Craft CMS environment is now ready for development and deployment. The platform is stable, your stack is modern, HTTPS is active, and you have a solid foundation to build something great on top of.
