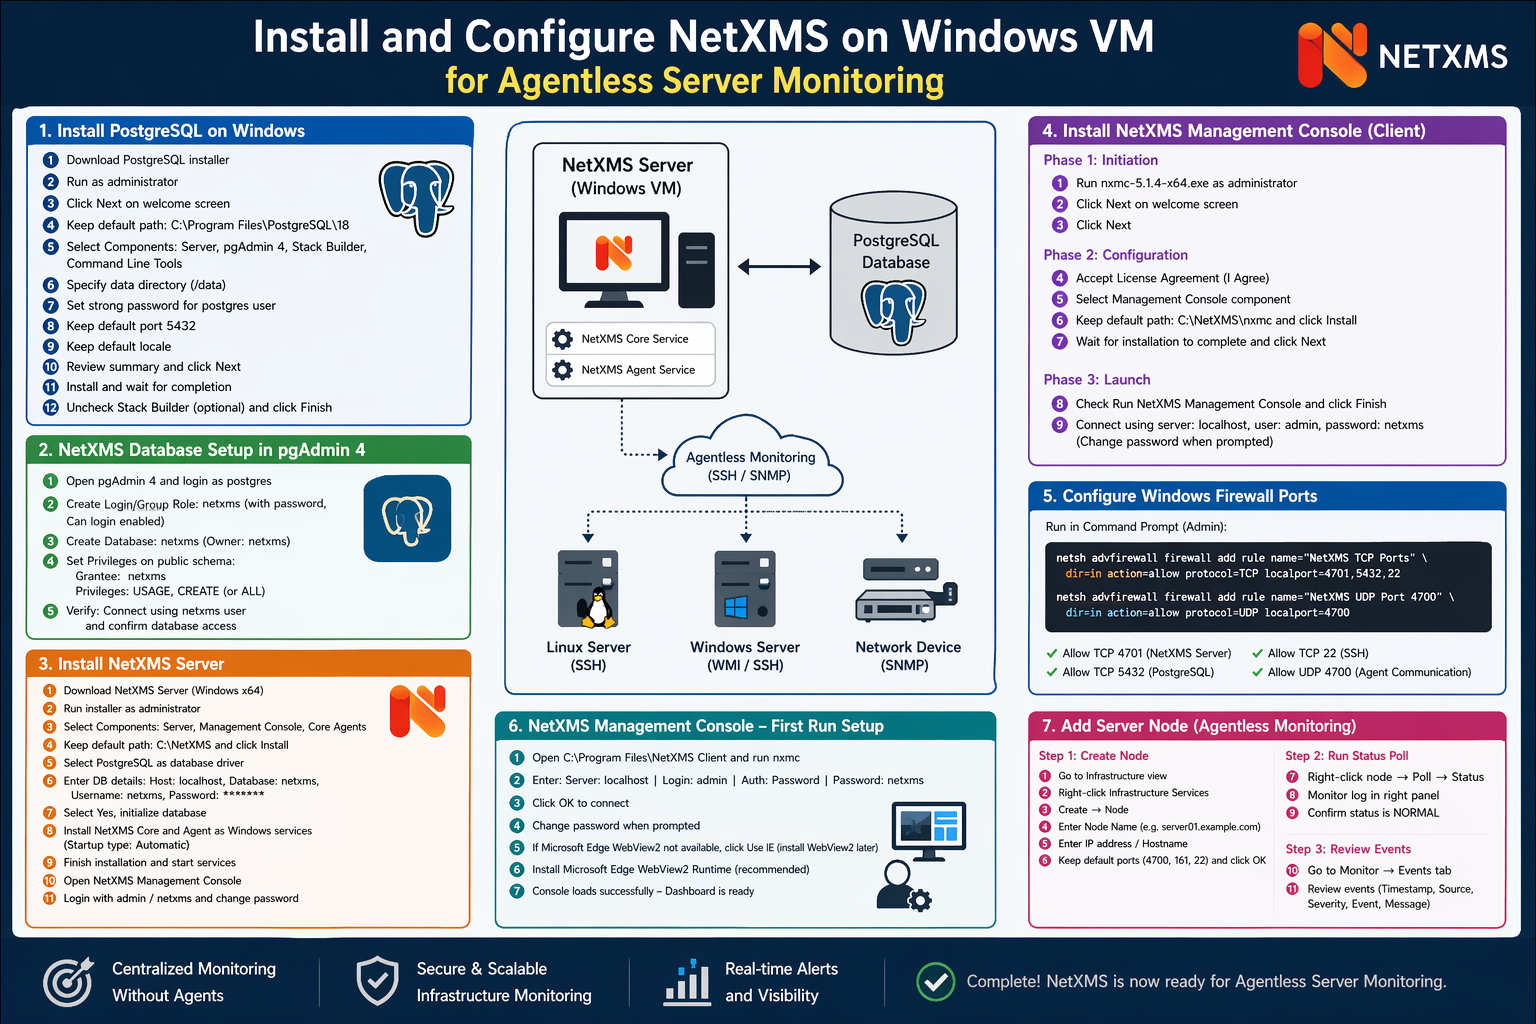
Setting up a reliable monitoring system doesn’t always require installing agents on every server. In this guide, we walk through how to install and configure NetXMS on a Windows virtual machine for efficient agentless server monitoring. The process includes deploying PostgreSQL as the backend database, configuring secure access, installing the NetXMS server and Management Console, and enabling required firewall ports. By the end, you will have a centralized monitoring platform capable of tracking server health, connectivity, and events using protocols like SSH and SNMP without installing agents on target systems.
Requirements
-
OS: Windows 11, Windows 10, Windows Server 2016, 2019, 2022
-
VM Specs: Minimum 2 CPU, 4 GB RAM, 20 GB disk (Recommended: 4 CPU, 8 GB RAM)
-
Database: PostgreSQL (v12+)
-
Software: NetXMS Server + Management Console
-
Dependency: Microsoft Edge WebView2
Network Ports
-
TCP 4701 (NetXMS Server)
-
TCP 5432 (PostgreSQL – if remote)
-
TCP 22 (SSH for agentless monitoring)
-
UDP 4700 (optional agent communication)
This is sufficient to deploy NetXMS for agentless monitoring.
1. PostgreSQL Installation on Windows
PostgreSQL acts as the backend database for NetXMS, storing configuration data, events, logs, and performance metrics. A properly configured database is critical for stability and performance.
PostgreSQL Installation on Windows
Step 1: Download the Windows installer from the official PostgreSQL website by selecting the appropriate version for Windows OS.

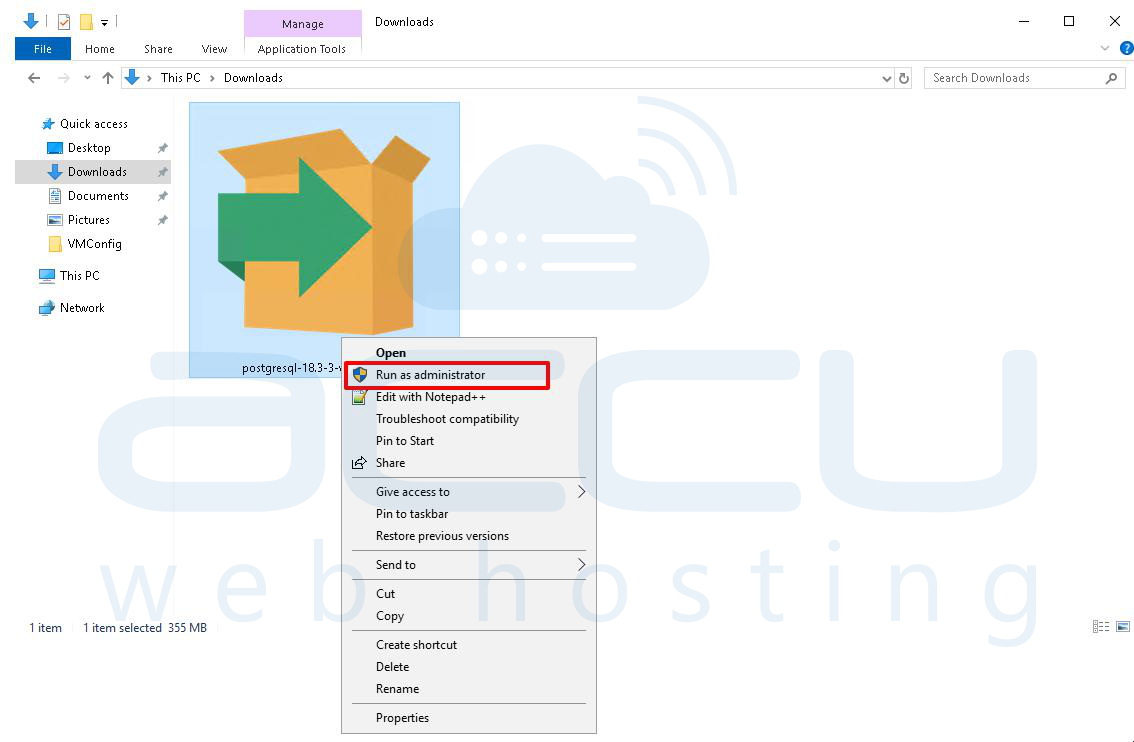
Step 2: Locate the downloaded .exe file, right-click on it, and select Run as administrator to ensure the installer has sufficient privileges to create system services and directories.
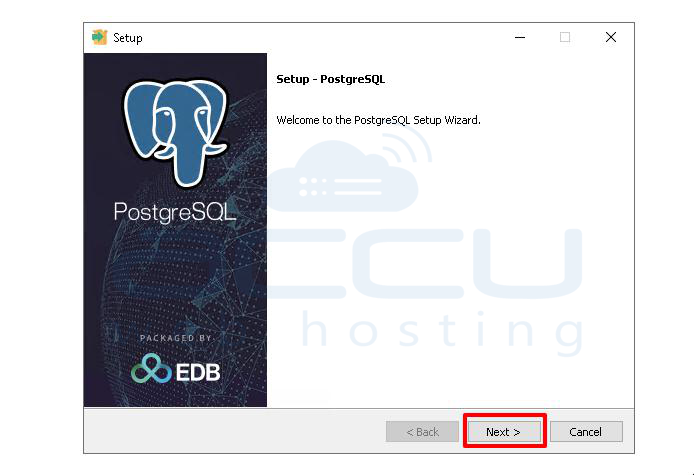
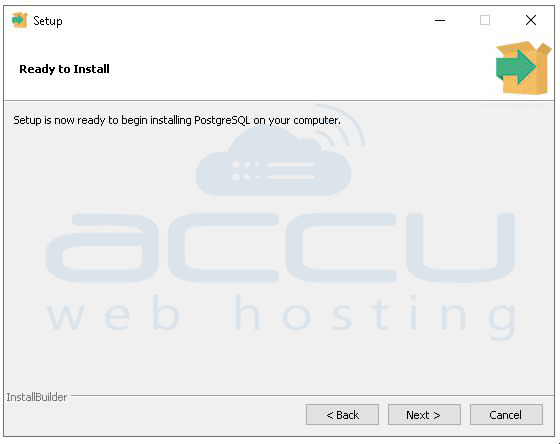
Step 3: Once the setup wizard opens, click Next on the welcome screen to begin the installation process.
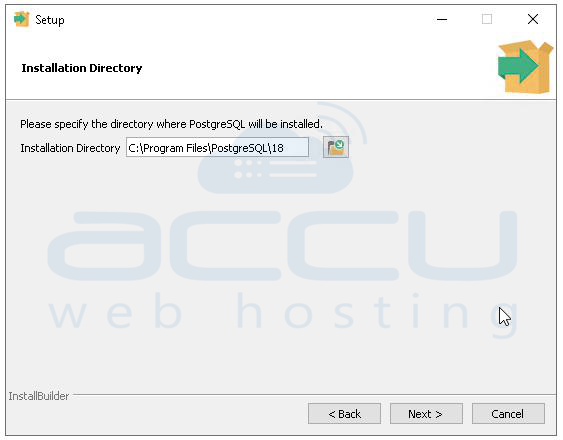
Step 4: Choose the installation directory; it is recommended to keep the default path C:\Program Files\PostgreSQL\18 unless a custom location is required.
Step 5: In the component selection screen, ensure all components are selected, including PostgreSQL Server (database engine), pgAdmin 4 (GUI tool), Stack Builder (for optional extensions), and Command Line Tools (CLI utilities).

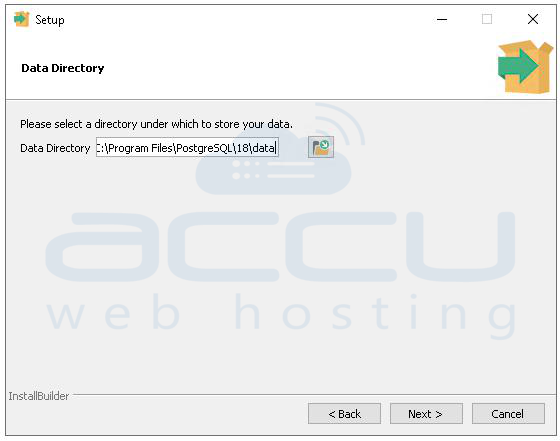
Step 6: Specify the data directory where database files will be stored; by default, this is a /data folder inside the installation directory, which is recommended for standard setups.
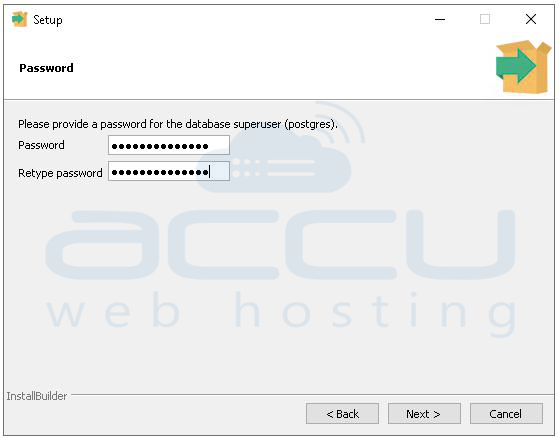
Step 7: Set a strong password for the postgres superuser account; this credential is required for administrative access, pgAdmin login, and database connections.
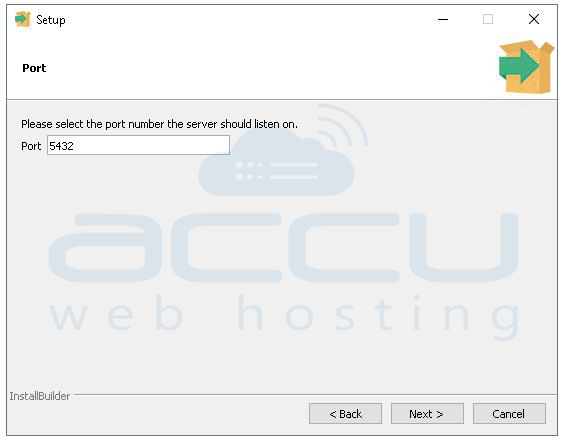
Step 8: Configure the port number for PostgreSQL service; keep the default port 5432 unless another instance is already using it.
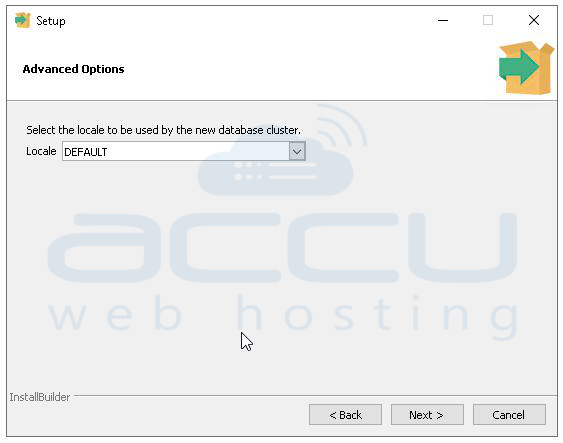
Step 9: Set the locale configuration; it is recommended to keep the default locale unless specific regional or encoding requirements exist.
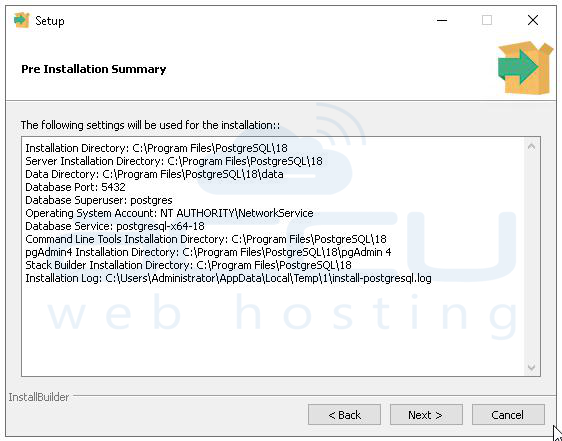
Step 10: Review the pre-installation summary, verify all configurations such as installation path, data directory, port, and user settings, then click Next to proceed.
Step 11: Allow the installer to complete the installation process, which includes copying files, setting up services, and initializing the database cluster.
Step 12: After installation is complete, optionally uncheck Stack Builder if no additional components are needed, and click Finish to exit the setup.

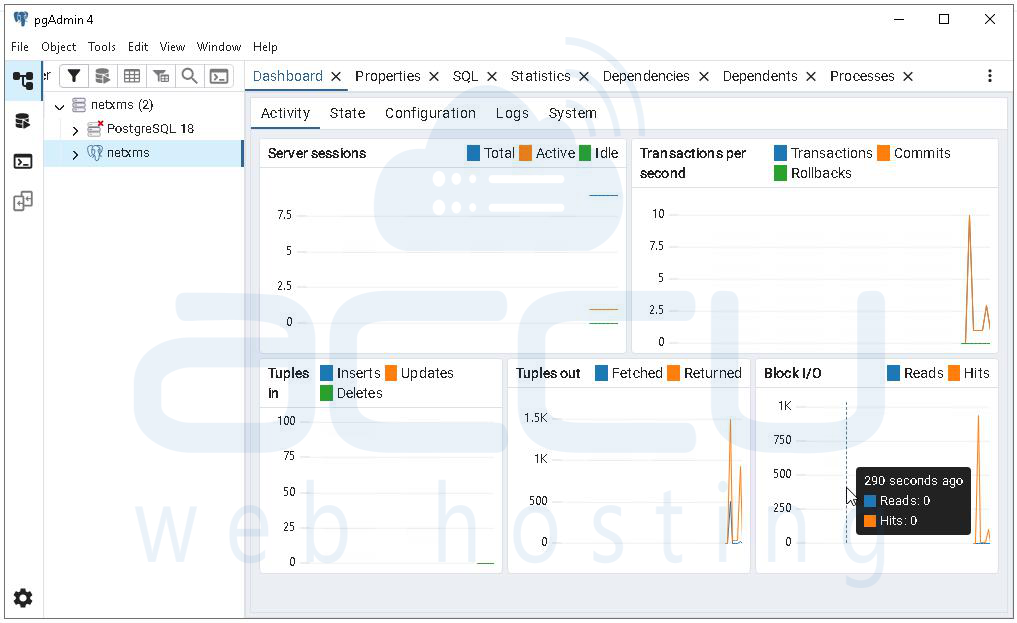
2. NetXMS Database Setup in pgAdmin 4
Step 1: Open pgAdmin 4 and log in using the postgres superuser credentials that were created during installation.
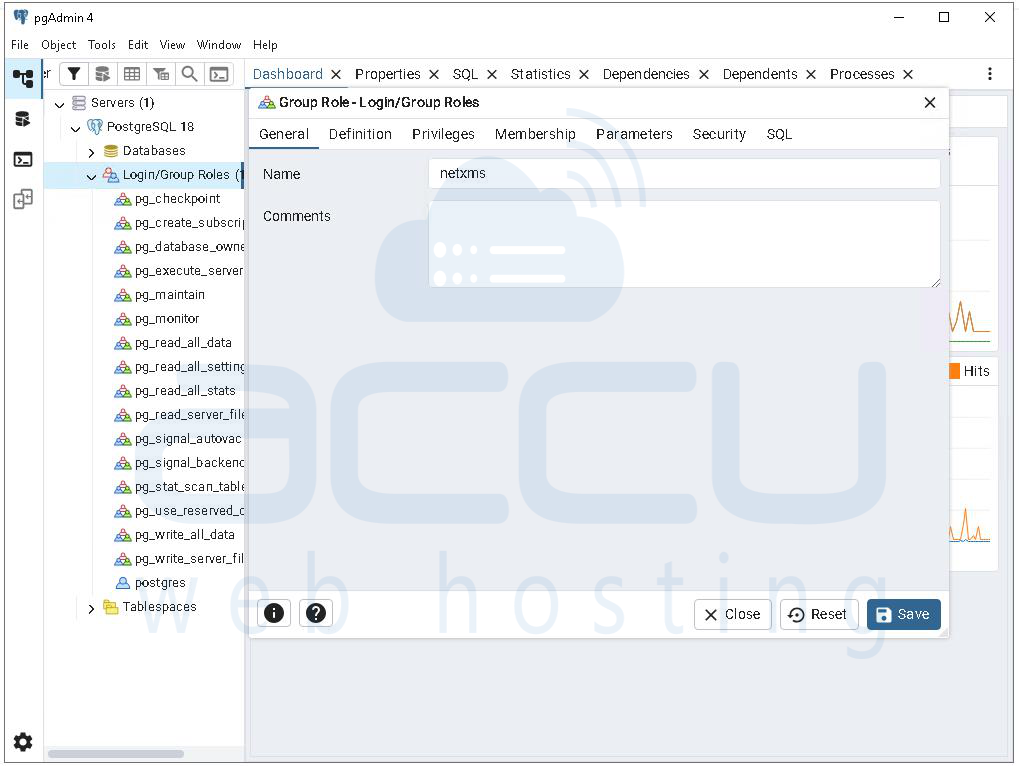
Step 2: In the left-side browser panel, navigate to Servers → PostgreSQL 18 → Login/Group Roles, right-click on Login/Group Roles, and select Create → Login/Group Role, then enter the name netxms, set a secure password under the Definition tab, ensure Can login is enabled under Privileges, and save the configuration.
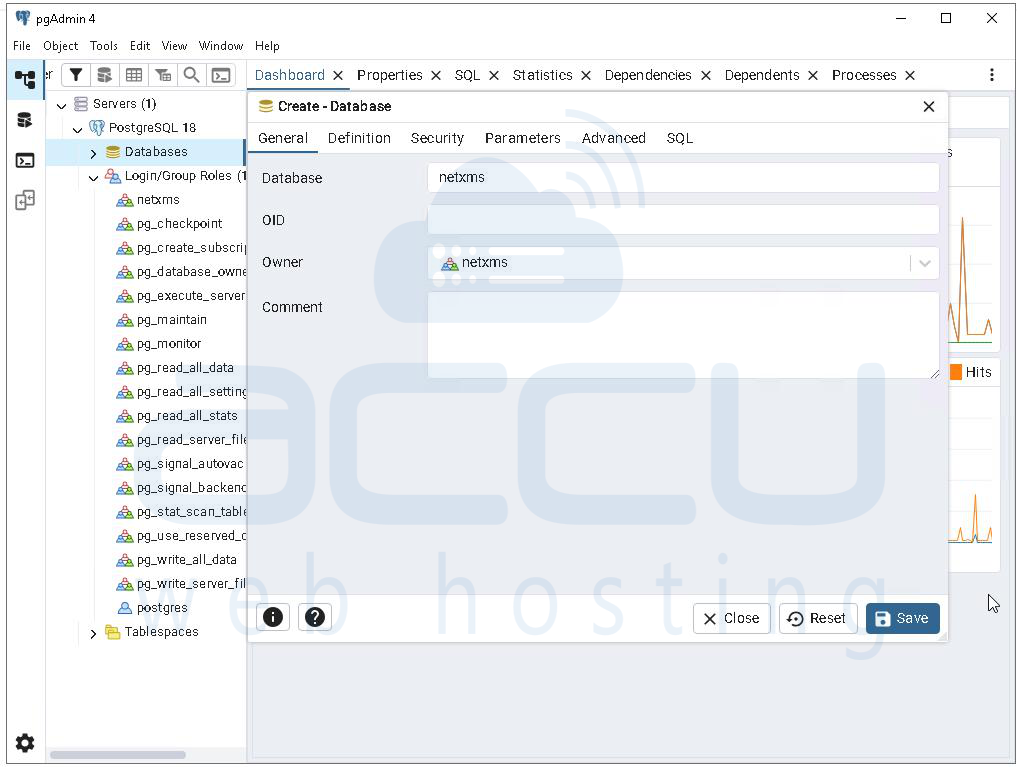
Step 3: Navigate to Databases, right-click, and select Create → Database, then enter the database name netxms and set the owner as netxms, which grants ownership-level privileges to this user.
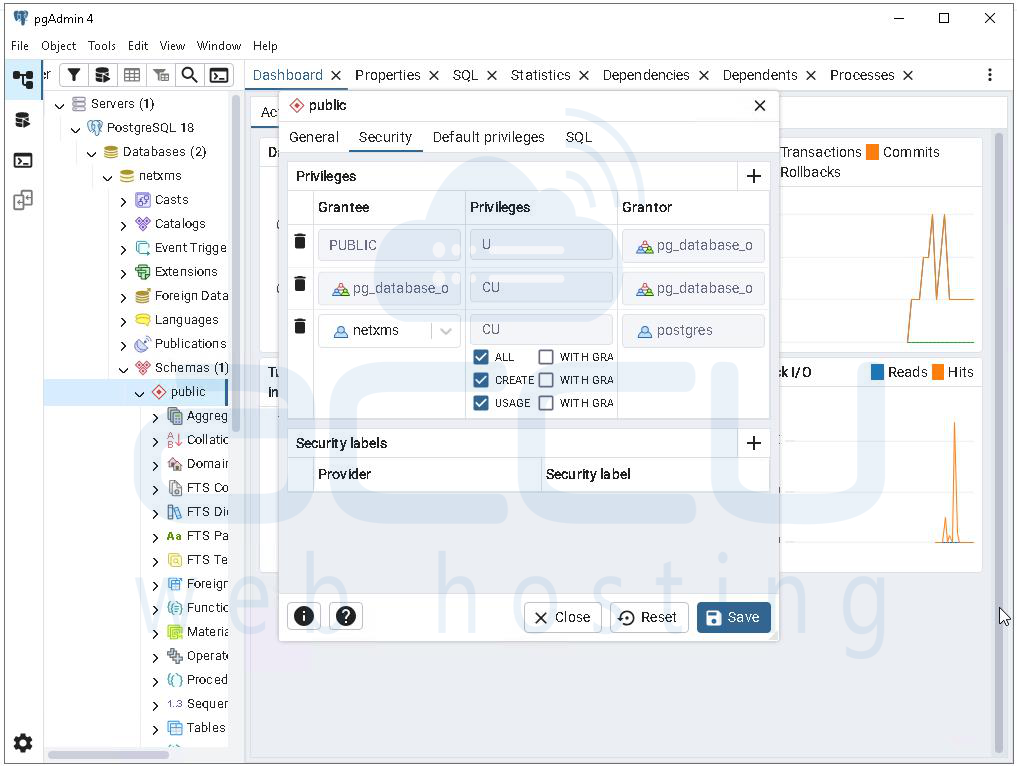
Step 4: Expand the newly created netxms database, go to Schemas, right-click on the public schema, open Properties, navigate to the Security tab, add a new entry with grantee netxms, and assign required privileges such as USAGE and CREATE (or ALL if full control is needed), then save changes.
Step 5: To verify the configuration, disconnect the server, open server properties, change the connection username from postgres to netxms, reconnect using the configured password, and confirm that the netxms database is accessible.
3. Install NetXMS Server
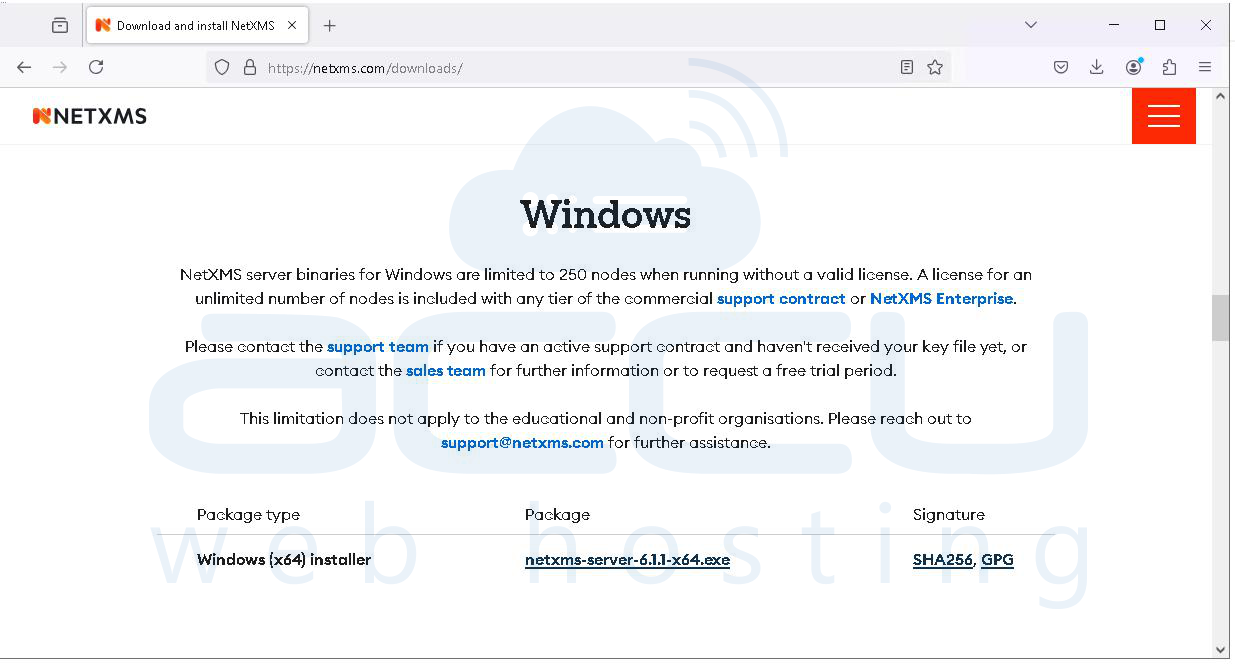
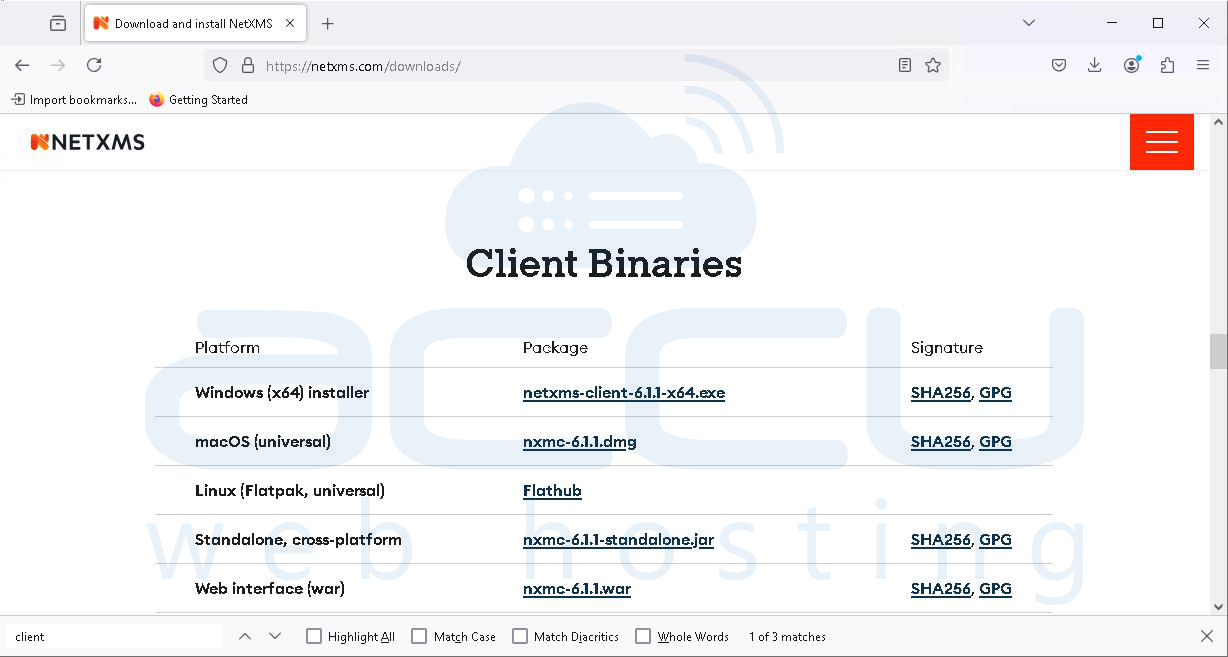
Step 1: Download the NetXMS Server installer from the official NetXMS website by selecting the Windows x64 package suitable for your system architecture.
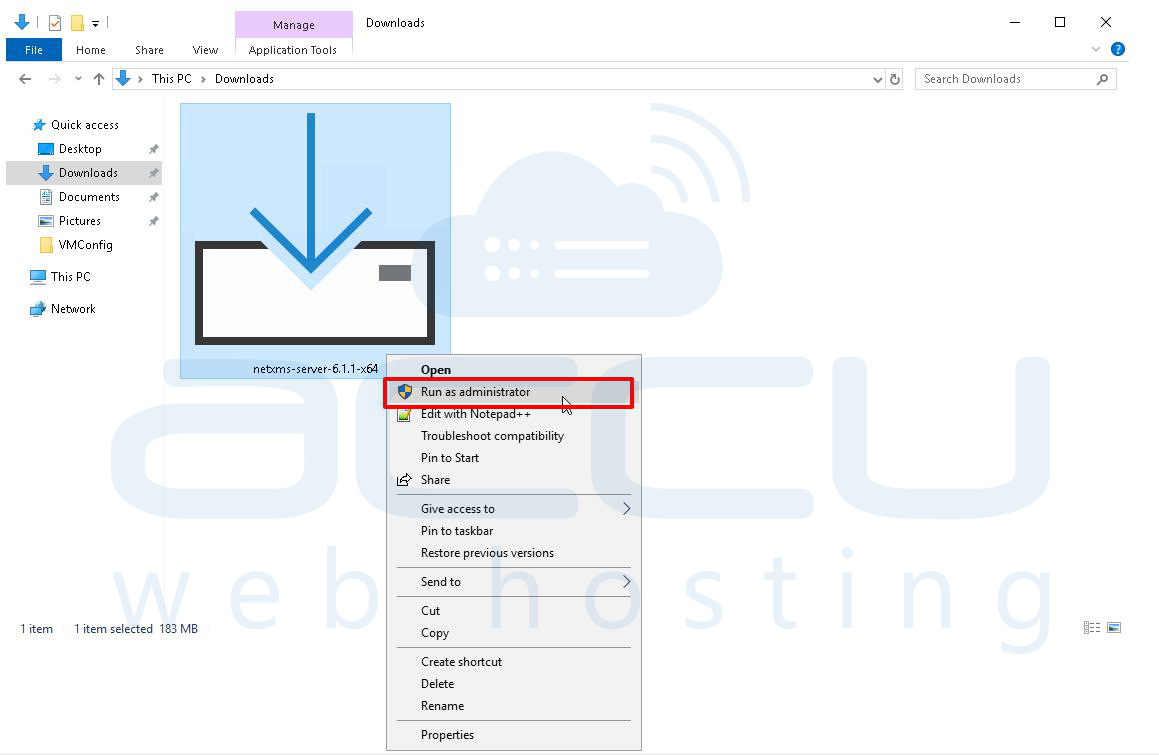
Step 2: After downloading, locate the installer file, right-click on it, and select Run as administrator to ensure the installer has the required permissions to create services and write system files.
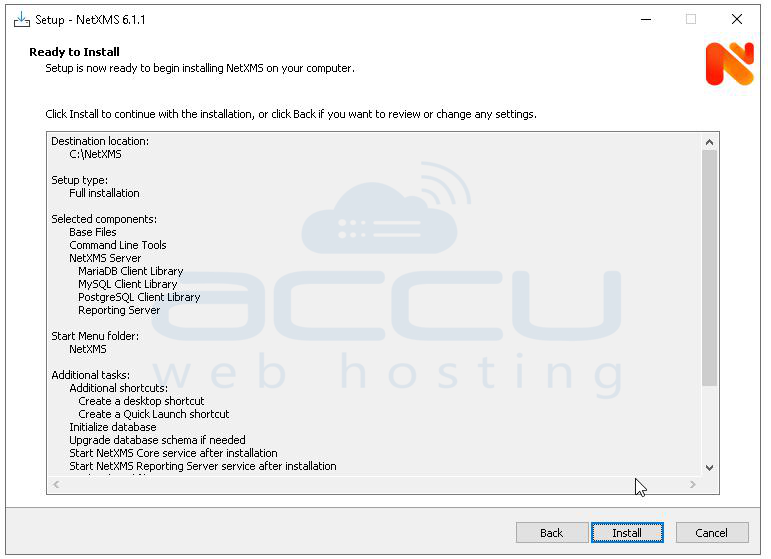
Step 3: When the installation wizard opens, proceed to the Choose Components screen and select Server, Management Console, and Core Agents, as these are required for a complete NetXMS setup.
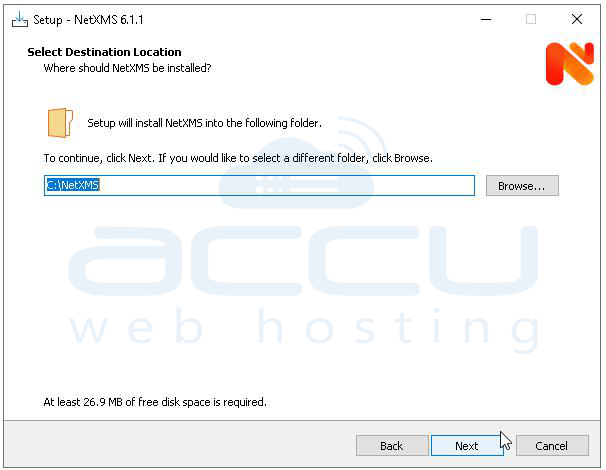
Step 4: In the installation path screen, keep the default directory (typically C:\NetXMS) unless you have a specific requirement to install it in a different location, then click Install to start the file extraction process.

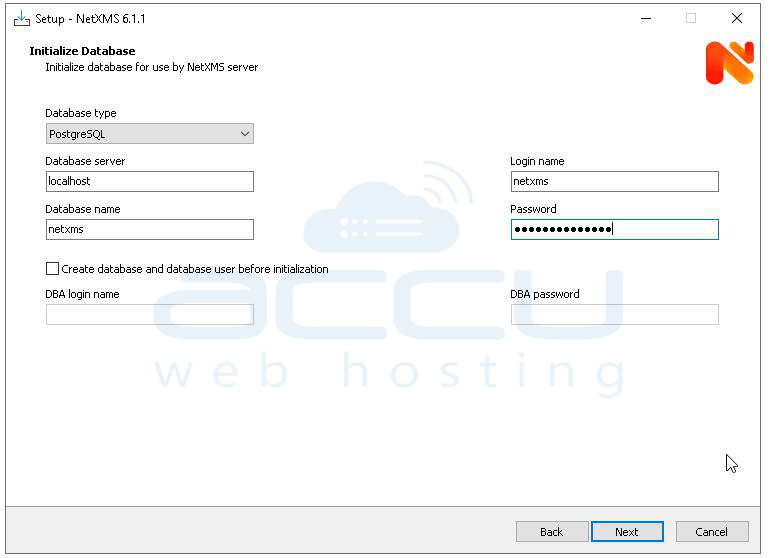
Step 5: Once installation completes, the NetXMS Database Configuration Wizard will launch automatically; in this step, select PostgreSQL as the database driver since your database is already configured in PostgreSQL.
Step 6: Enter the database connection details by specifying the server host as localhost (or 127.0.0.1 if using loopback IP), database name as netxms, username as netxms, and the password that was set for this user in pgAdmin during database creation.
Step 7: When prompted to initialize the database, select Yes, initialize database, which allows the installer to automatically create all required tables, indexes, and schema objects necessary for NetXMS operation.
Step 8: During the service configuration step, select options to install both NetXMS Core and NetXMS Agent as Windows services and configure their startup type as Automatic so that these services start automatically when the system boots.
Step 9: Complete the configuration process and allow the installer to start the services, then click Finish to exit the setup wizard.
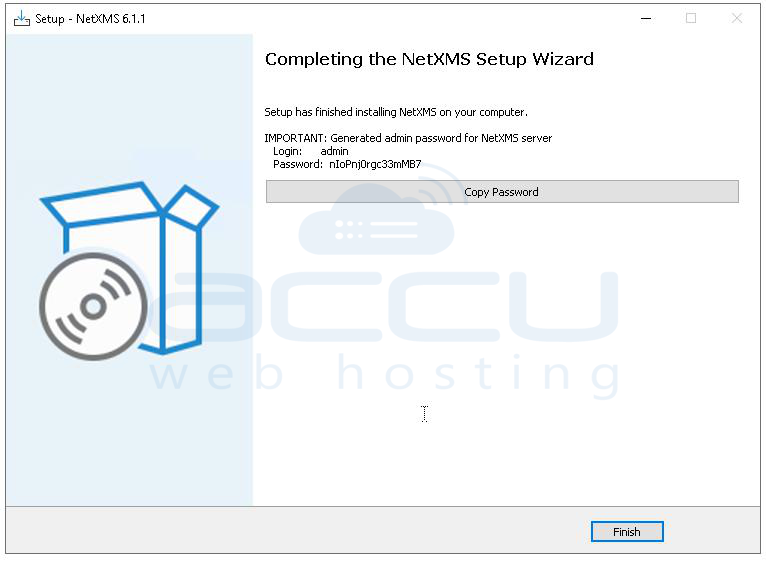
This completes the NetXMS installation and configuration process on Windows.
4. Install the NetXMS Management Console (Client).
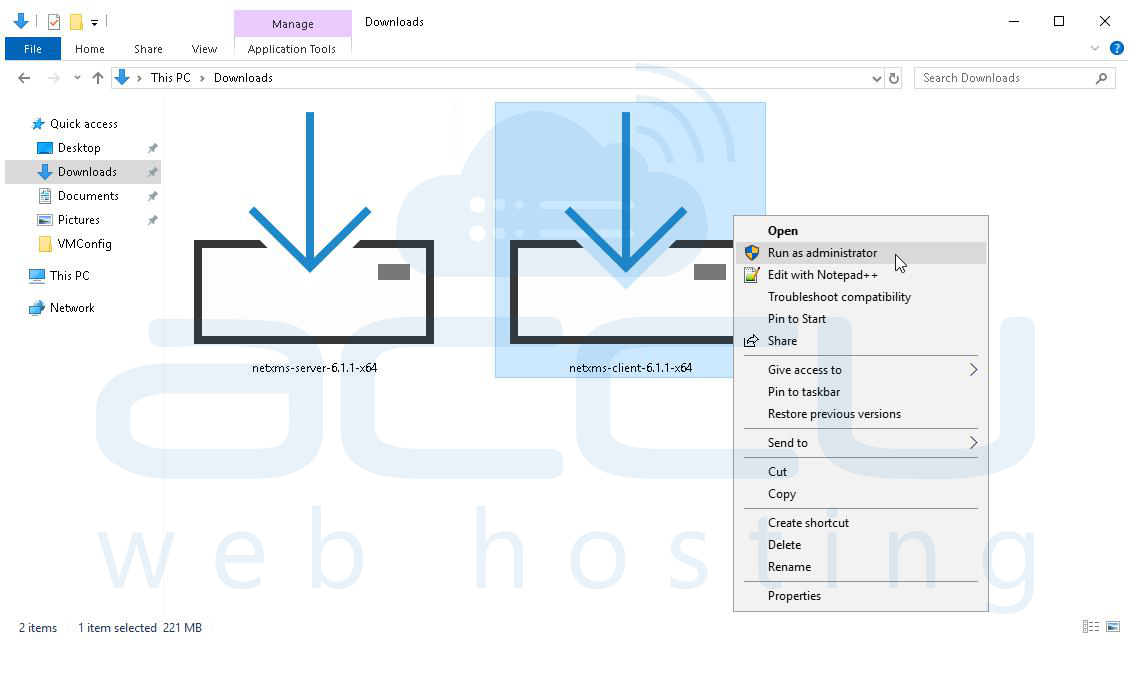
Step 1: Locate the downloaded NetXMS Management Console installer file (for example, nxmc-5.1.4-x64.exe) in your system.
Step 2: Right-click the installer file and select Run as administrator to ensure the setup has sufficient permissions to install files and create system entries.
Step 3: When the setup wizard opens, review the welcome screen and click Next to begin the installation process.
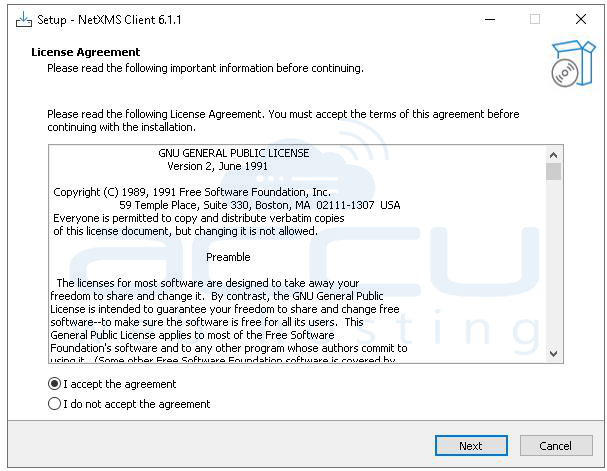
Step 4: Read the GNU General Public License agreement displayed in the installer, then click I Agree to proceed with the installation.
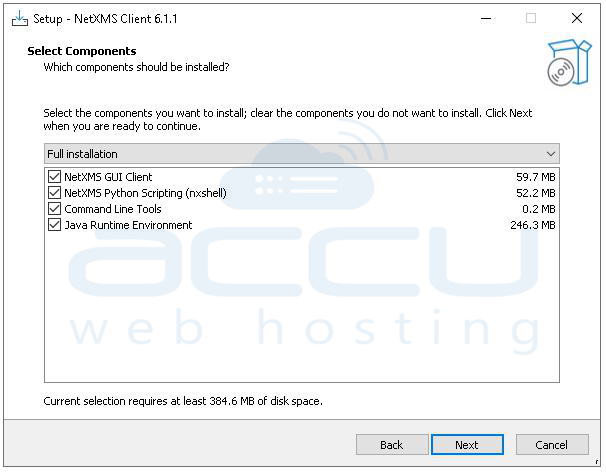
Step 5: In the component selection screen, ensure that all options are selected; this step confirms that only the client application will be installed, and then click Next.
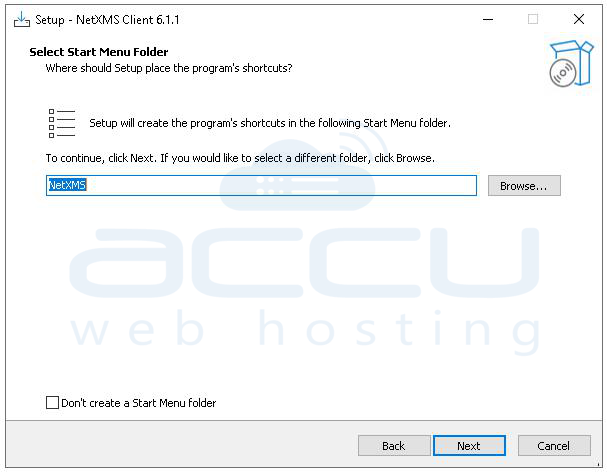
Step 6: Choose the installation directory where the console will be installed; it is recommended to keep the default path C:\NetXMS\ unless a custom location is required, and then click Install to start the installation.
Step 7: Wait for the installation process to complete as the setup extracts and copies all required files; once the progress reaches completion, click install to continue.
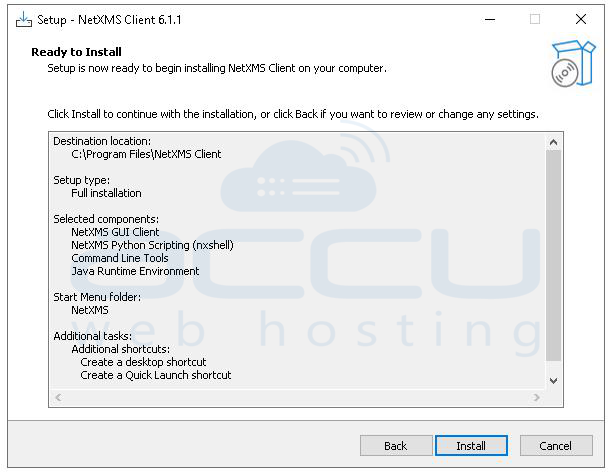
Step 8: You will see the completed message. Click Finish to close the installer.

5. Allow4701,5432,22,4700 ports on Windows Firewall
Run in Command Prompt (Admin):
netsh advfirewall firewall add rule name="NetXMS TCP Ports" dir=in action=allow protocol=TCP localport=4701,5432,22
netsh advfirewall firewall add rule name="NetXMS UDP Port 4700" dir=in action=allow protocol=UDP localport=4700
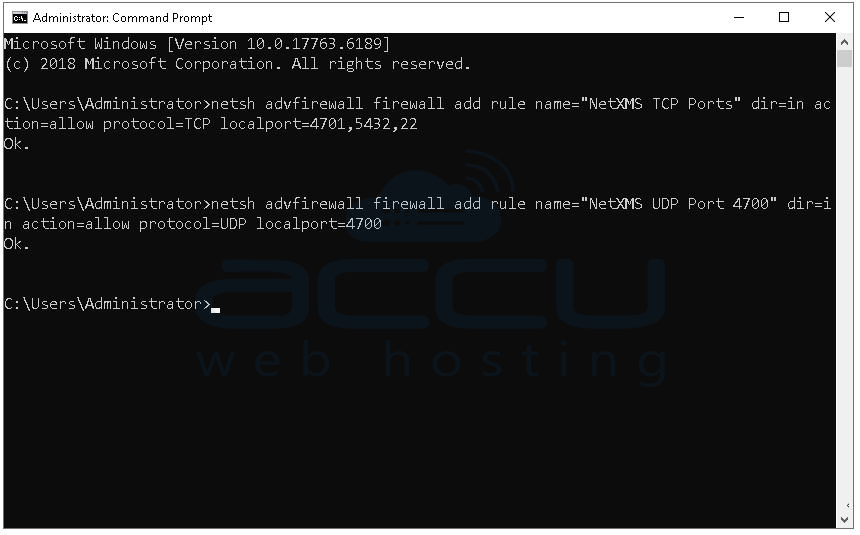
This will Allow TCP 4701 (NetXMS server), Allow TCP 5432 (PostgreSQL), Allow TCP 22 (SSH), Allow UDP 4700 (NetXMS agent communication)
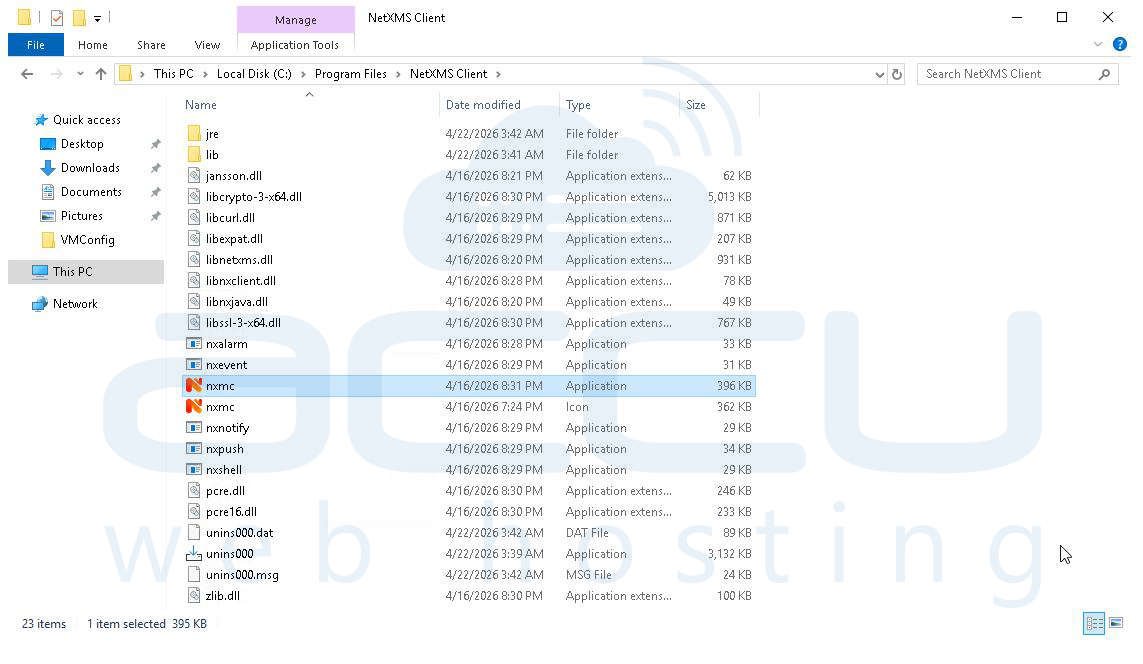
6. Open NetXMS Management Console
Step 1: Open the NetXMS Client installation directory (C:\Program Files\NetXMS Client) and double-click the nxmc application to launch the console.
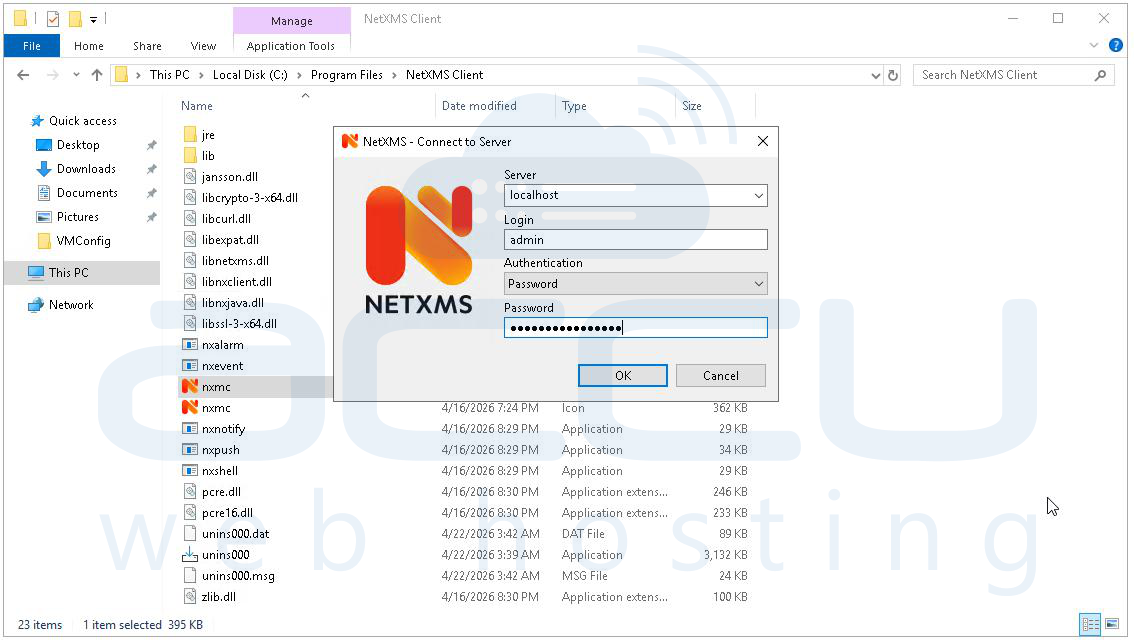
Step 2: The login window will appear; enter the server connection details by setting:
-
Server: localhost (or server IP if remote)
-
Login: admin
-
Authentication: Password
-
Password: netxms (default)
Step 3: Click OK to connect to the NetXMS server.
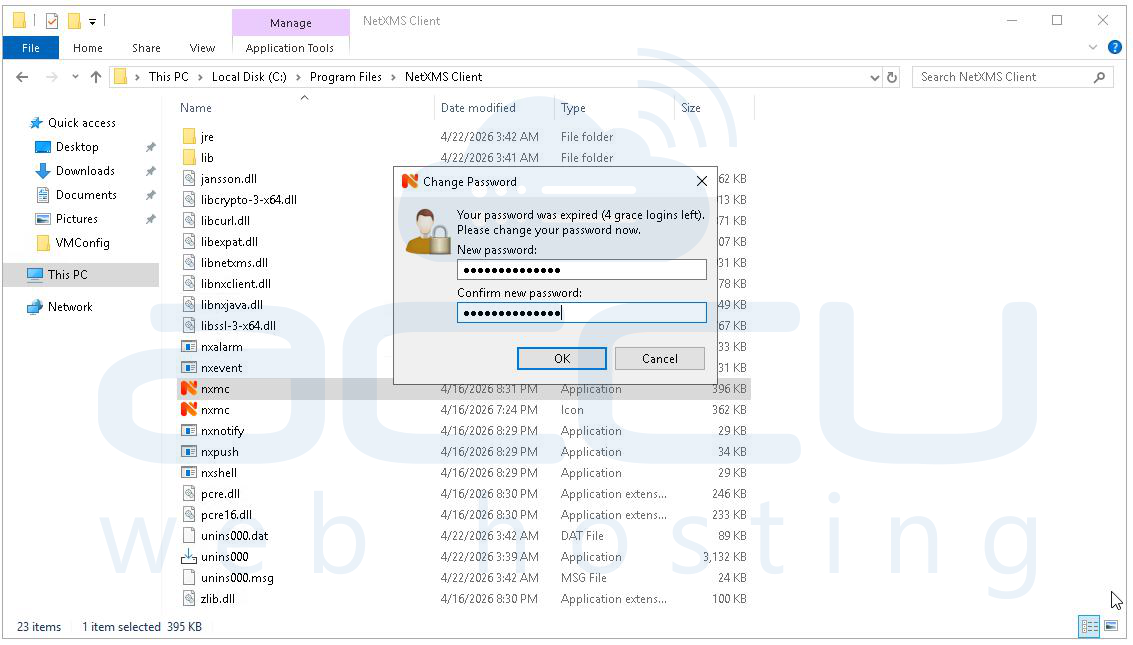
Step 4: After successful login, a prompt will appear indicating that the password is expired; enter a new secure password and confirm it, then click OK.
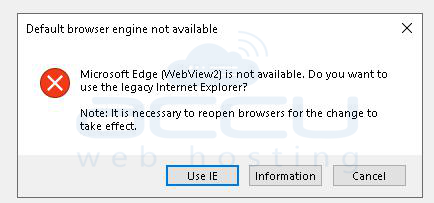
Step 5: On first launch, you will see a error that Microsoft Edge WebView2 is not available.
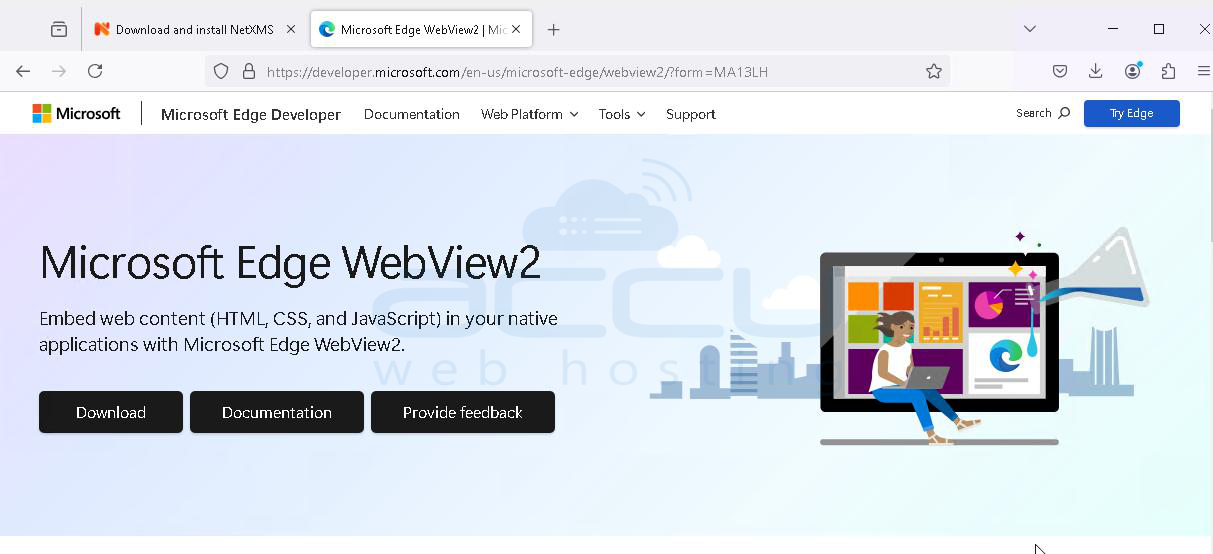
Step 6: Install Microsoft Edge WebView2 Runtime from the Microsoft website to avoid the browser engine warning and ensure proper UI rendering.
Step 6: Once the Microsoft Edge WebView2 Runtime is installed, the NetXMS Management Console will load successfully and you will gain access to the dashboard.
7. Add a Server Node to NetXMS (Agentless Monitoring)
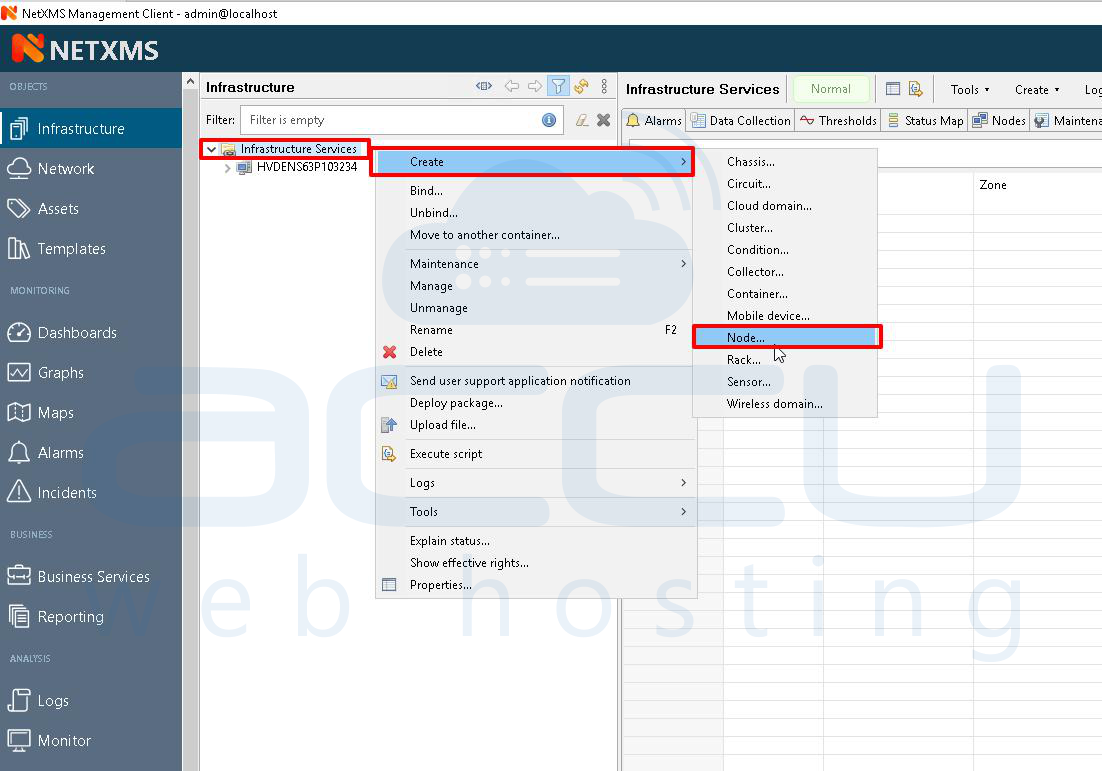
Step 1: Open the NetXMS Management Console and go to the Infrastructure view from the left sidebar.
Step 2: In the tree panel, locate Infrastructure Services, right-click on it, and open the context menu.
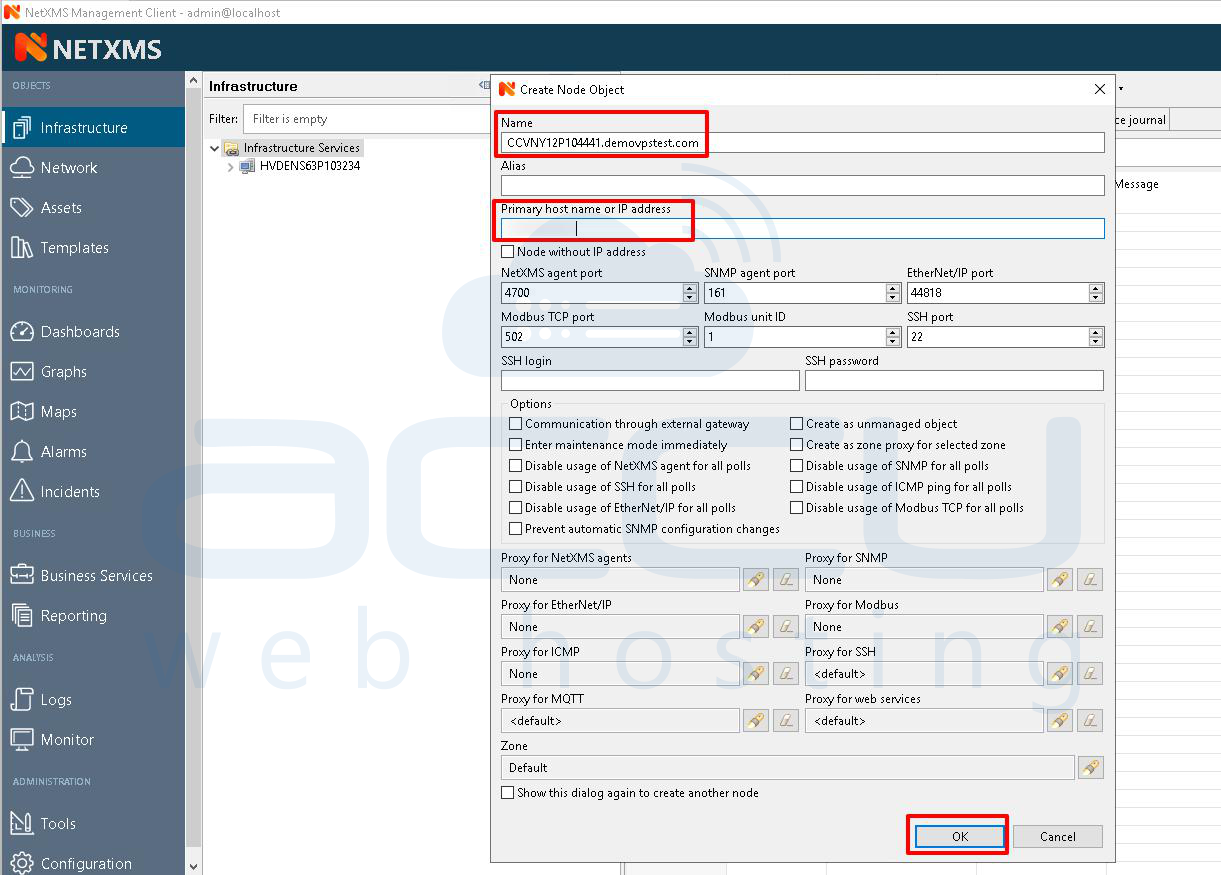
Step 3: From the menu, navigate to Create → Node to open the node creation dialog.
Step 4: In the Create Node Object window, enter the node name in the Name field using either a fully qualified domain name or a descriptive name (for example: server01.example.com).
Step 5: In the Primary host name or IP address field, enter the target server’s IP address or DNS hostname; this is the address NetXMS will use for monitoring.
Step 6: Keep the default port and protocol settings (NetXMS Agent: 4700, SNMP: 161, SSH: 22) unless your environment requires custom values.
Step 7: Click OK to create the node.
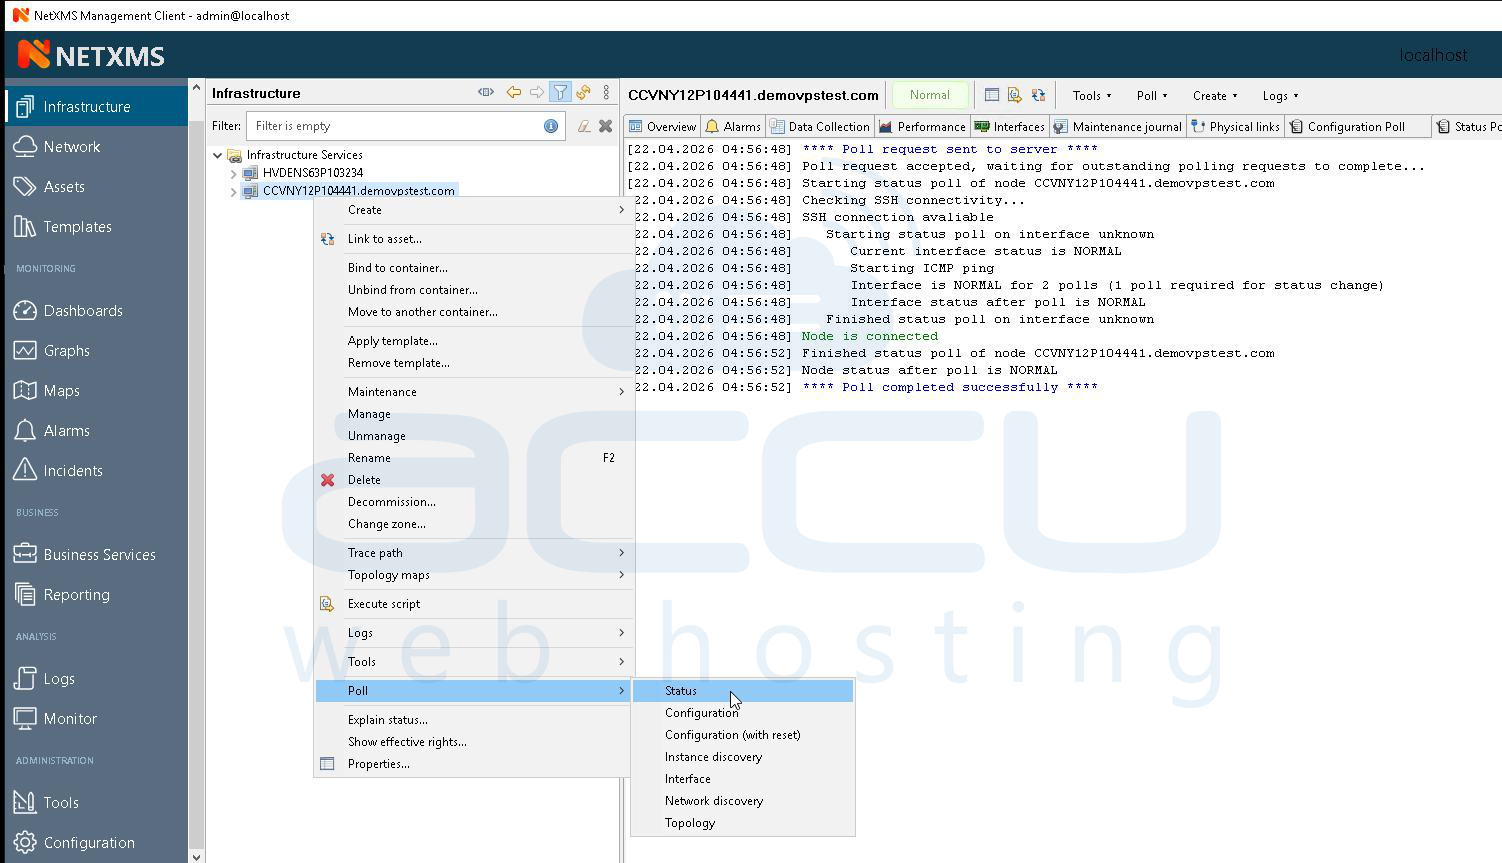
Step 8: Locate the newly created node in the Infrastructure tree.
Step 9: Right-click on the node, then navigate to Poll → Status.
Step 10: Click Status to manually trigger a status poll.
Step 11: Monitor the right-side panel where the live polling log will be displayed; the output will show connectivity checks such as SSH availability and node status.
Step 12: Confirm that the poll result shows successful connection and status as NORMAL.
Step 13: In the left sidebar, navigate to the Monitor section under Analysis.
Step 14: Open the Events tab within the Monitor view.
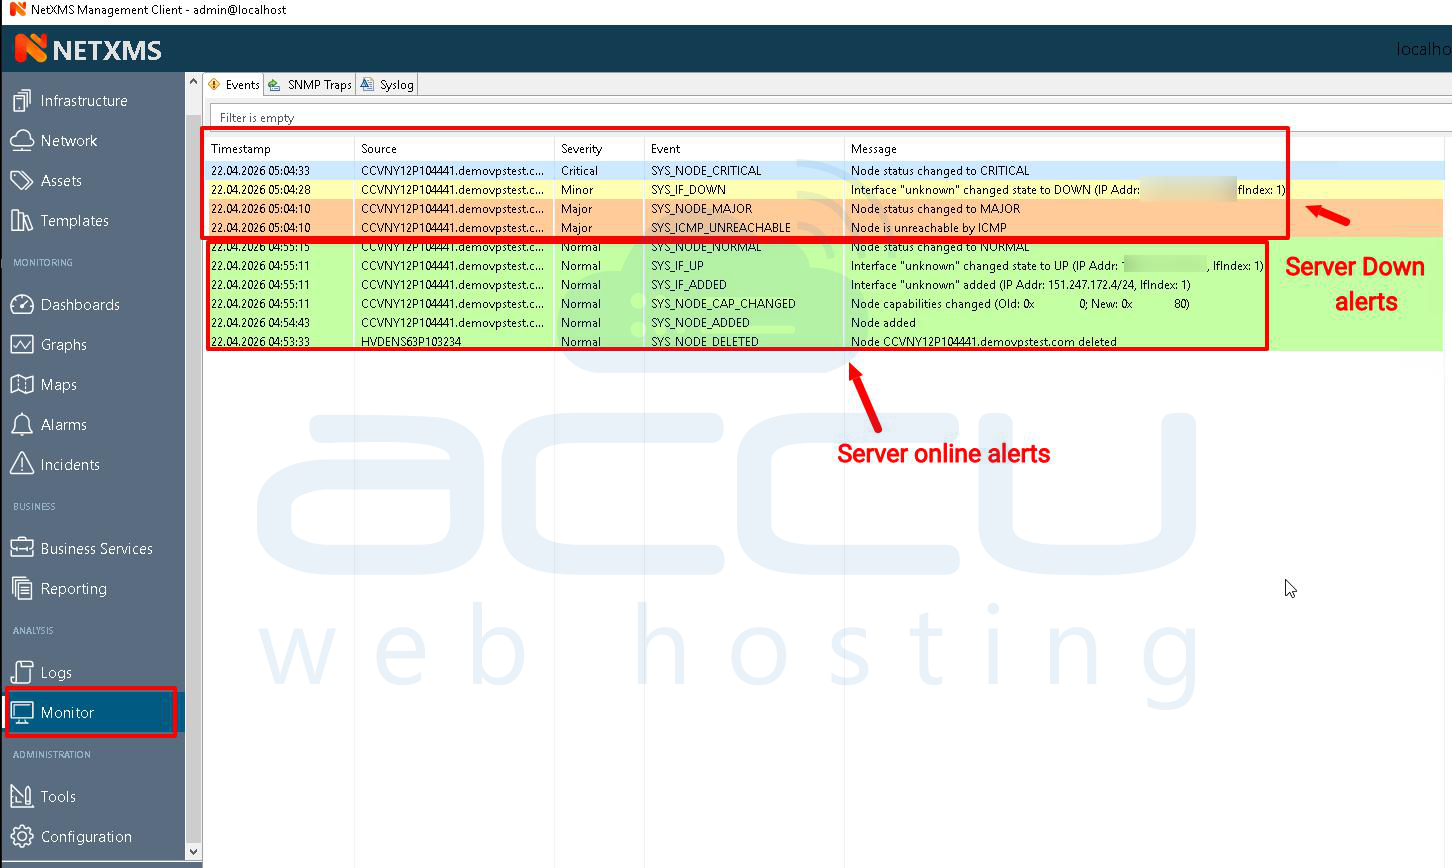
Step 15: Review the event list, which includes details such as timestamp, source node, severity level, event type, and message; use this to verify node status changes and alerts.
You have successfully deployed a complete monitoring environment using NetXMS on a Windows VM with PostgreSQL as the backend.
Conclusion
With NetXMS successfully installed and configured on a Windows VM, you now have a fully functional agentless monitoring setup. The integration with PostgreSQL ensures stable data storage, while proper firewall configuration enables seamless communication between components. Using the Management Console, you can easily add nodes, perform status polling, and monitor events in real time. This approach is efficient, scalable, and ideal for environments where deploying agents is not practical, giving you full visibility into your infrastructure with minimal overhead.
