LibreNMS is a powerful open-source network monitoring system. If you install it correctly, it becomes a serious observability tool. If you rush it or skip dependencies, it becomes a broken dashboard that silently lies to you. This guide is built to avoid the second outcome.
1. Prerequisites
Before installation, ensure:
- Linux server (Ubuntu 22.04 / 24.04 or AlmaLinux 8/9)
- Root or sudo access
- LAMP/LEMP stack ready
- Minimum:
- 2 vCPU
- 2–4 GB RAM
- MariaDB/MySQL installed
- SNMP enabled on target devices
2. Update System and Install Dependencies
Ubuntu/Debian:
sudo apt update && sudo apt upgrade -y
sudo apt install -y git curl wget unzip snmp snmpd rrdtool fping
sudo apt install -y apache2 mariadb-server php php-cli php-mysql php-snmp php-gd php-xml php-mbstring php-curl

3. Create LibreNMS User
sudo useradd librenms -d /opt/librenms -M -r -s /bin/bash
sudo usermod -aG www-data librenms

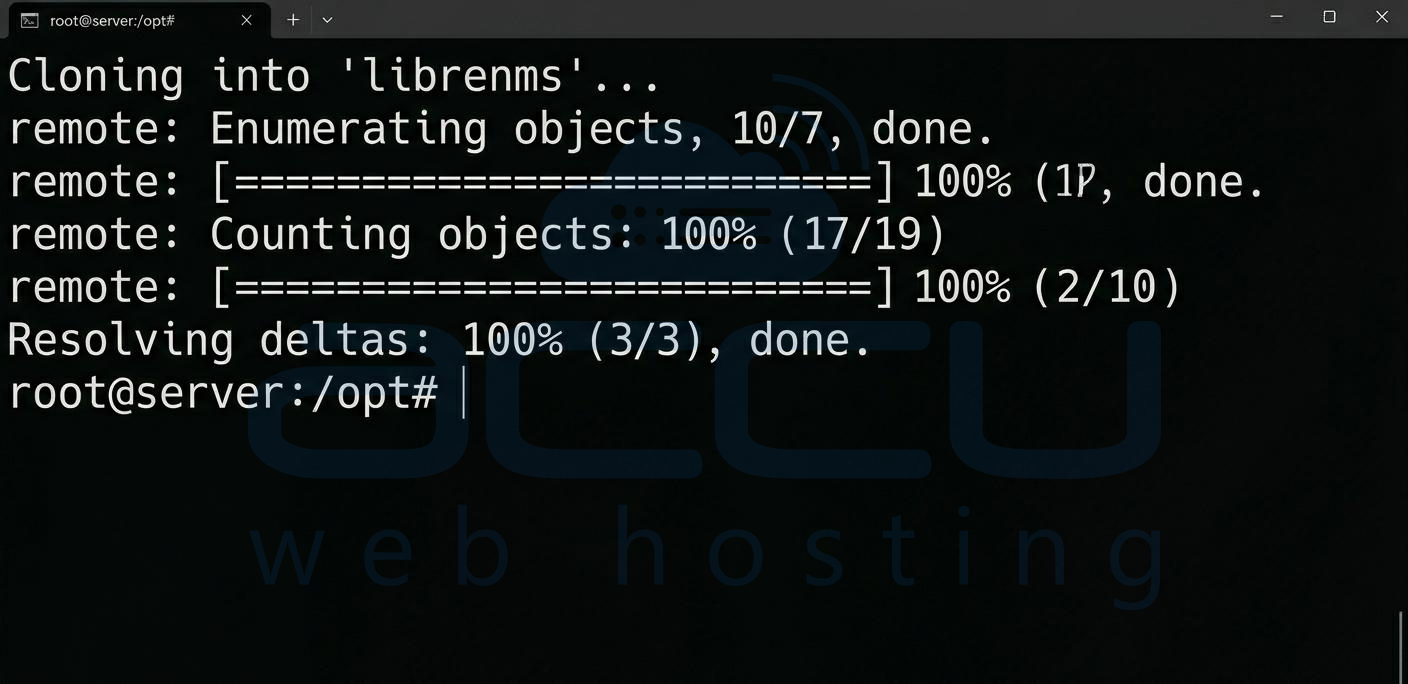
4. Download LibreNMS
cd /opt
sudo git clone https://github.com/librenms/librenms.git
sudo chown -R librenms:librenms /opt/librenms
cd librenms
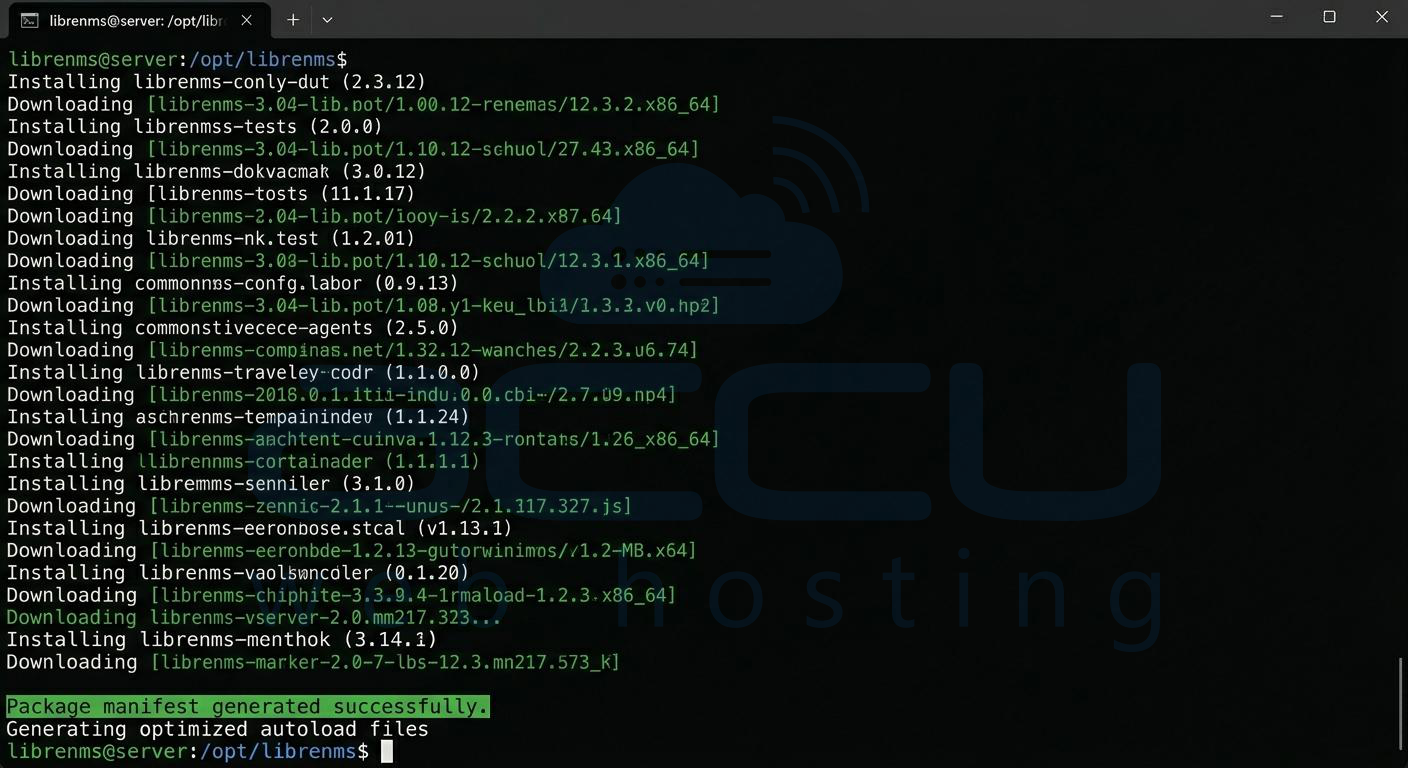
5. Install PHP Dependencies
sudo su - librenms
./scripts/composer_wrapper.php install --no-dev
exit
If this fails, your installation is already unreliable. Fix PHP versions first.
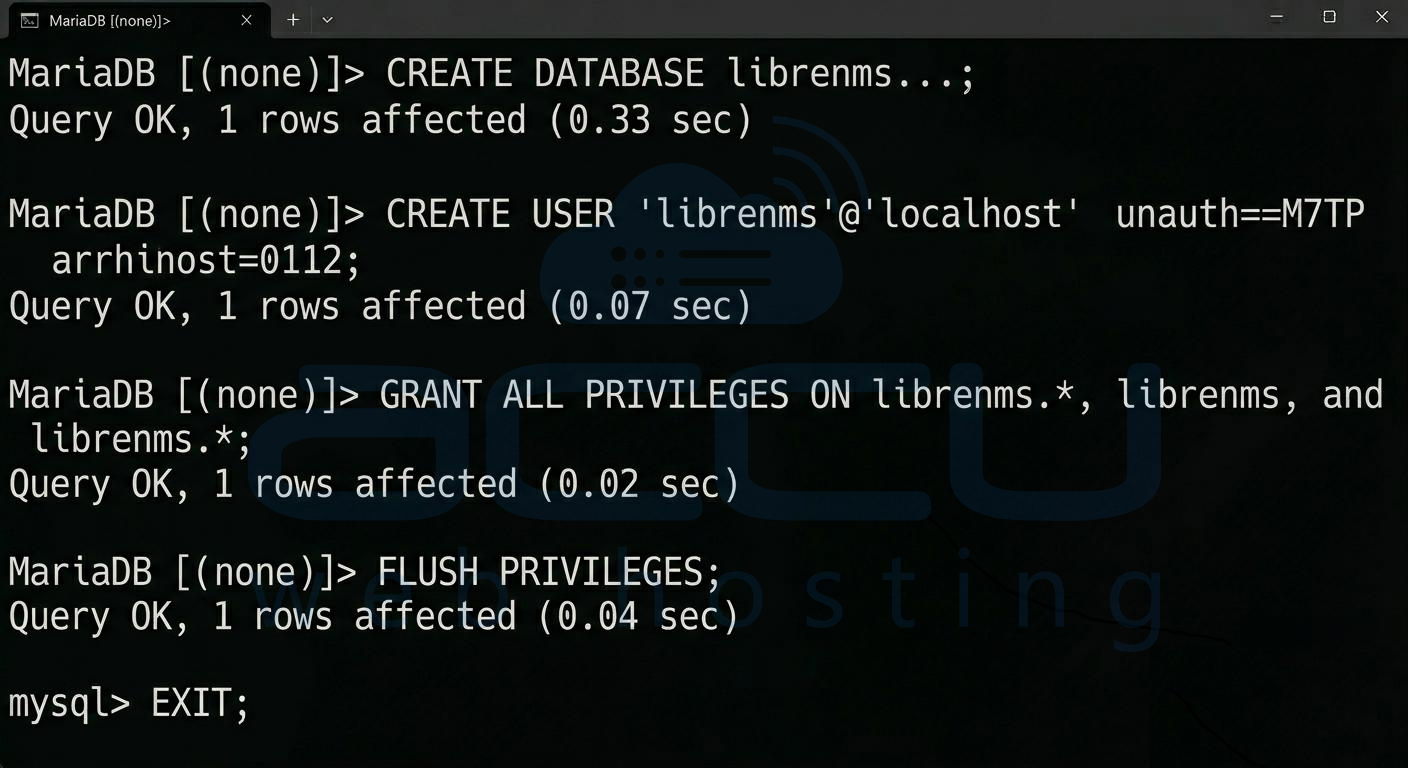
6. Configure MariaDB Database
sudo mysql -u root -p
Inside MySQL:
CREATE DATABASE librenms CHARACTER SET utf8mb4 COLLATE utf8mb4_unicode_ci;
CREATE USER 'librenms'@'localhost' IDENTIFIED BY 'StrongPassword';
GRANT ALL PRIVILEGES ON librenms.* TO 'librenms'@'localhost';
FLUSH PRIVILEGES;
EXIT;
7. Configure PHP and Web Server
Apache example:
sudo nano /etc/apache2/sites-available/librenms.conf
Paste:
<VirtualHost *:80>
DocumentRoot /opt/librenms/html/
ServerName your-server-ip
<Directory /opt/librenms/html/>
Require all granted
AllowOverride All
Options FollowSymLinks MultiViews
</Directory>
</VirtualHost>
Enable site:
sudo a2ensite librenms.conf
sudo a2enmod rewrite
sudo systemctl restart apache2

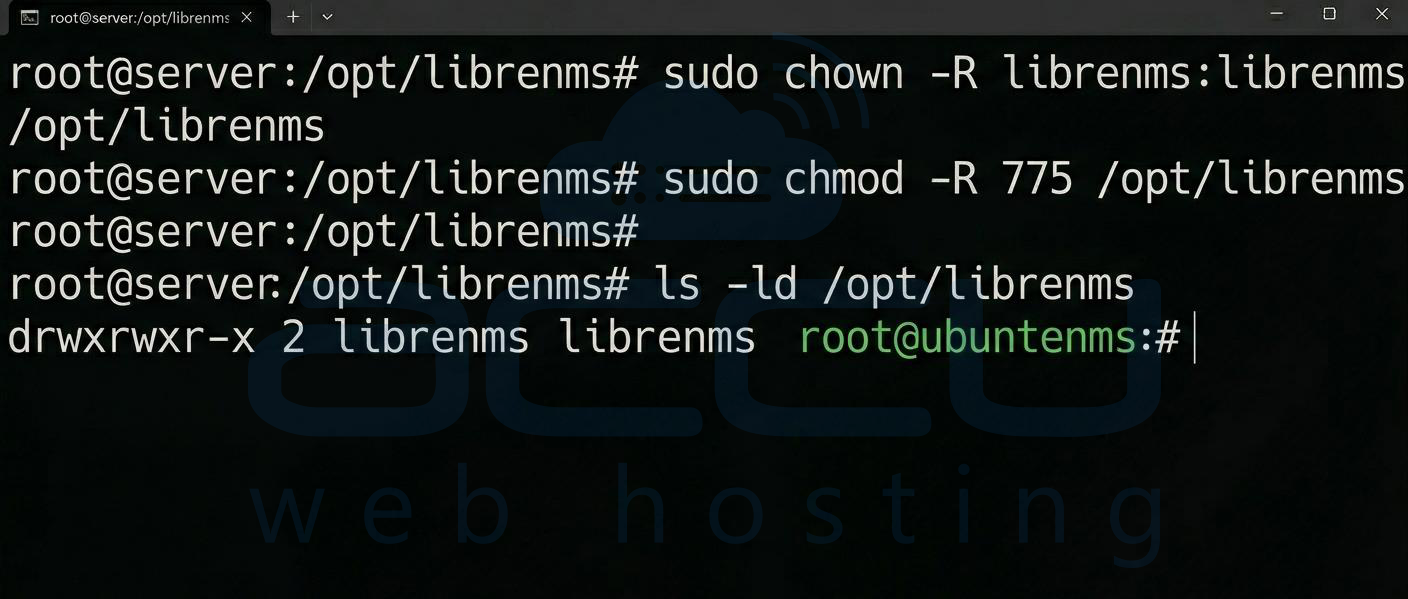
8. Set Permissions
sudo chown -R librenms:librenms /opt/librenms
sudo chmod -R 775 /opt/librenms
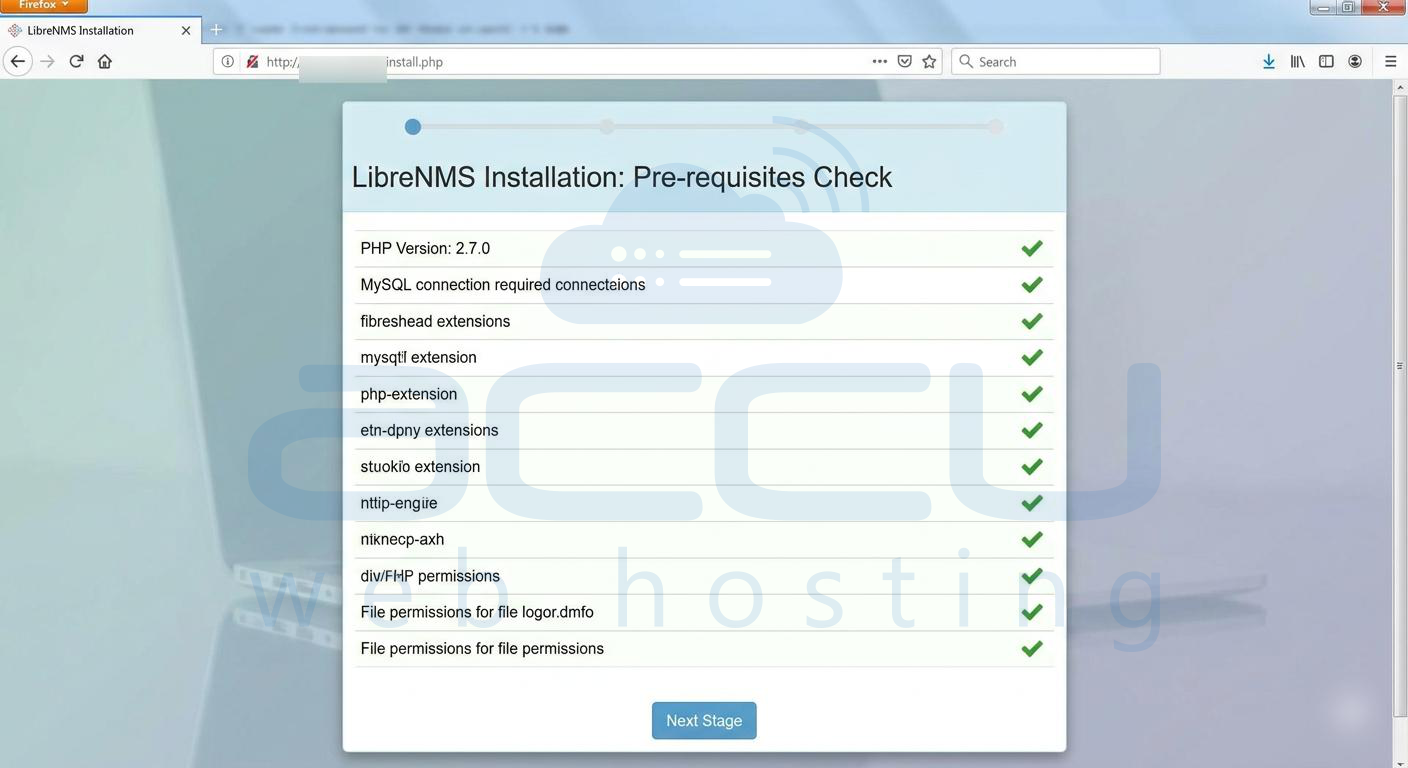
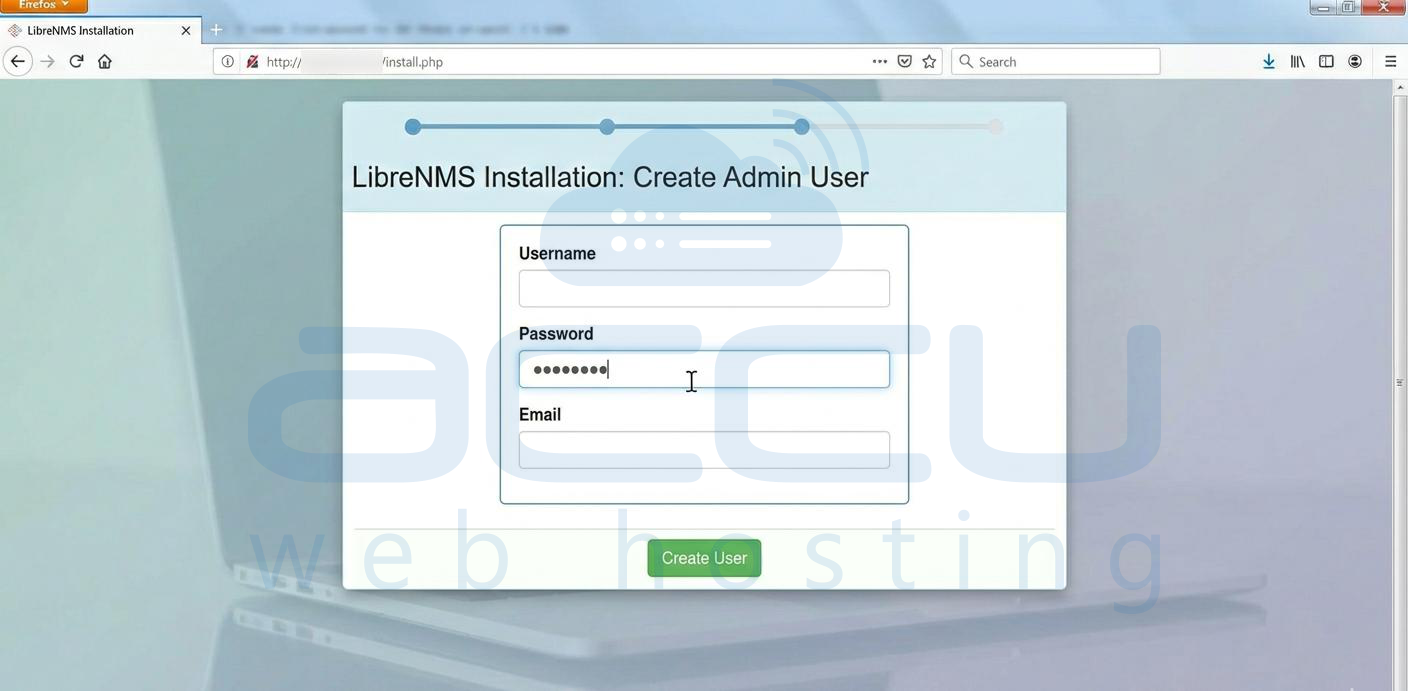
9. Web Installer Setup
Open browser:
http://your-server-ip/install.php
Follow UI steps:
- Validate system checks
- Confirm database
- Create admin user
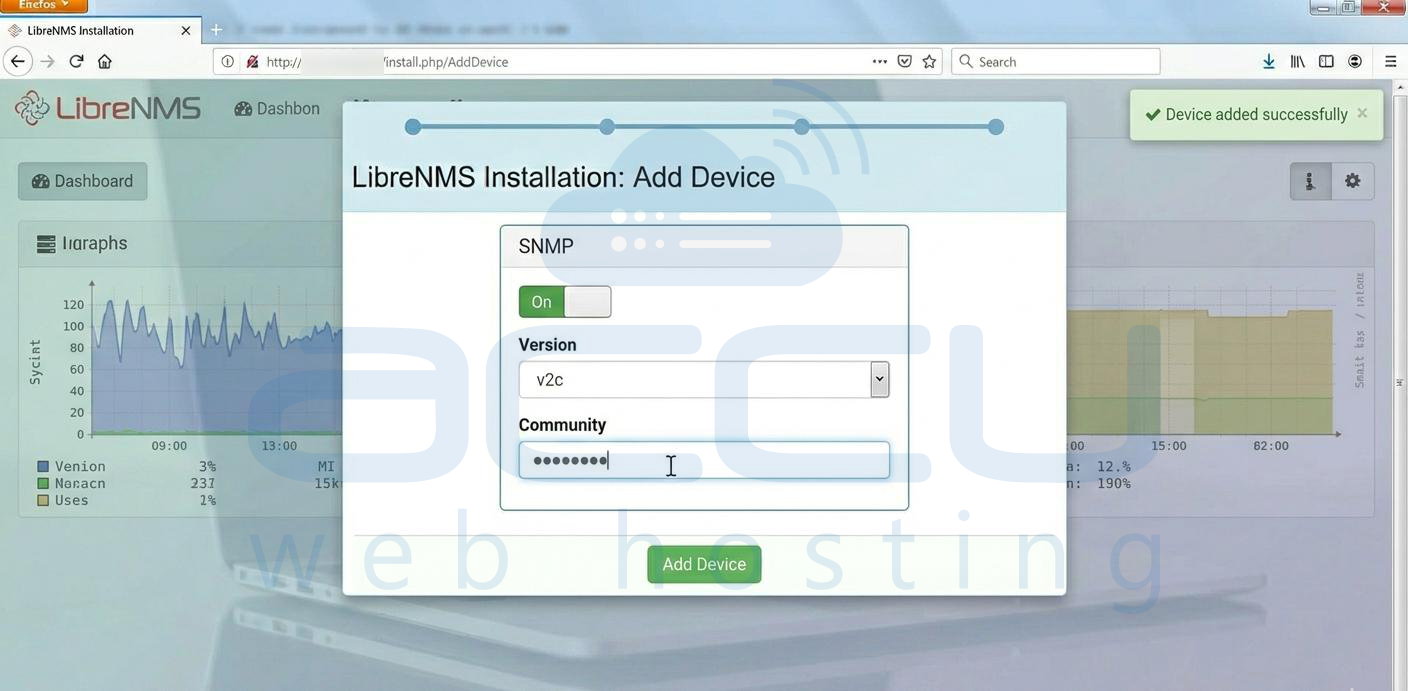
10. Add SNMP Devices
On monitored device:
sudo apt install snmpd
Configure /etc/snmp/snmpd.conf
Then in LibreNMS UI:
- Devices → Add Device
- Enter IP + SNMP community
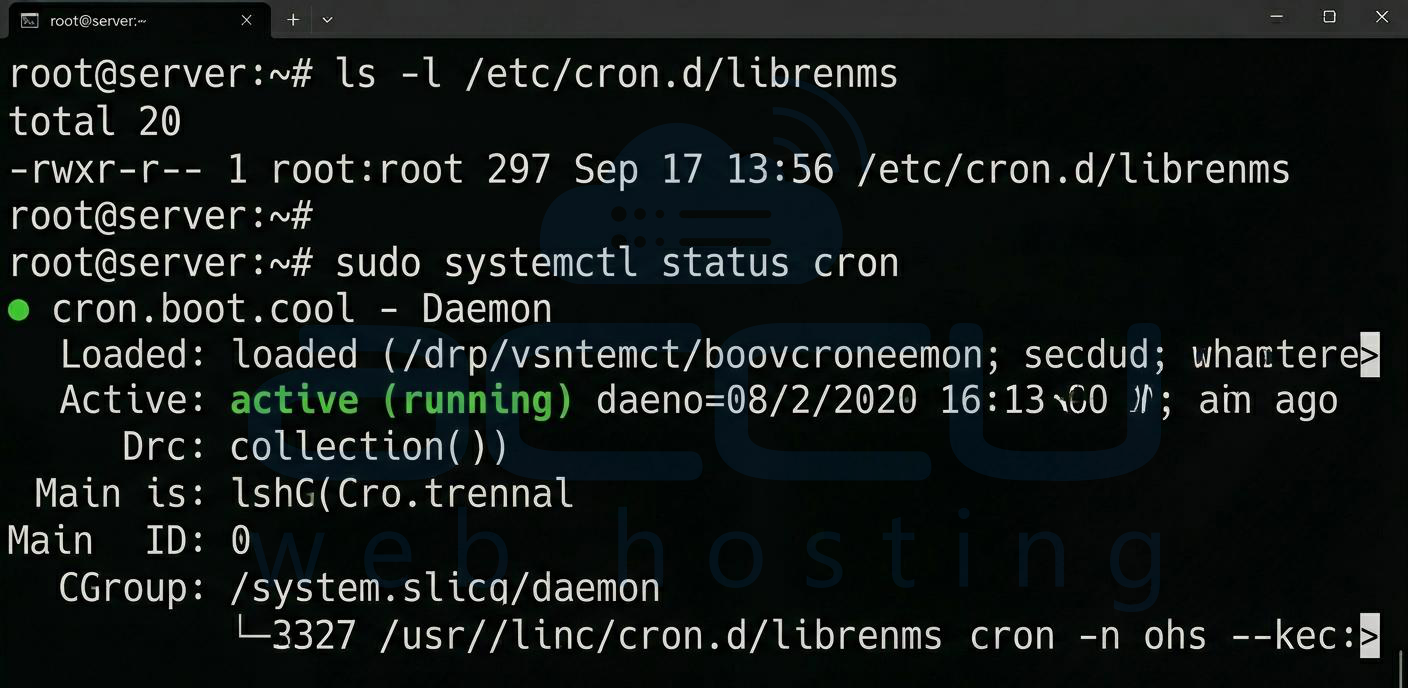
11. Enable Cron Jobs
sudo cp /opt/librenms/librenms.nonroot.cron /etc/cron.d/librenms
Verify:
sudo systemctl status cron
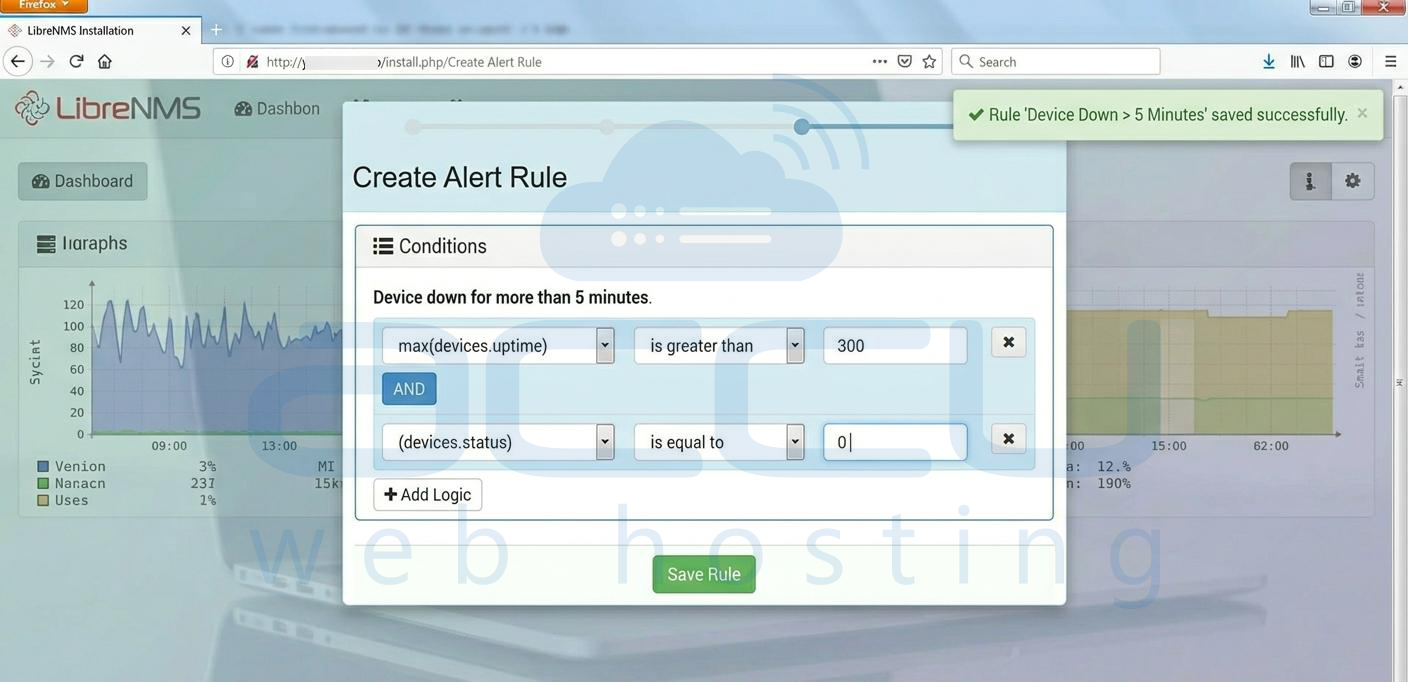
12. Configure Alerts
This is where most people fail.
Go to:
Alerts → Alert Rules → Create Rule
Example rule:
- CPU usage > 80%
- Device down > 5 minutes
Then configure transport:
Email Alert Setup:
Alerting → Alert Transports → Email
Add:
- SMTP server
- From address
- Recipient email
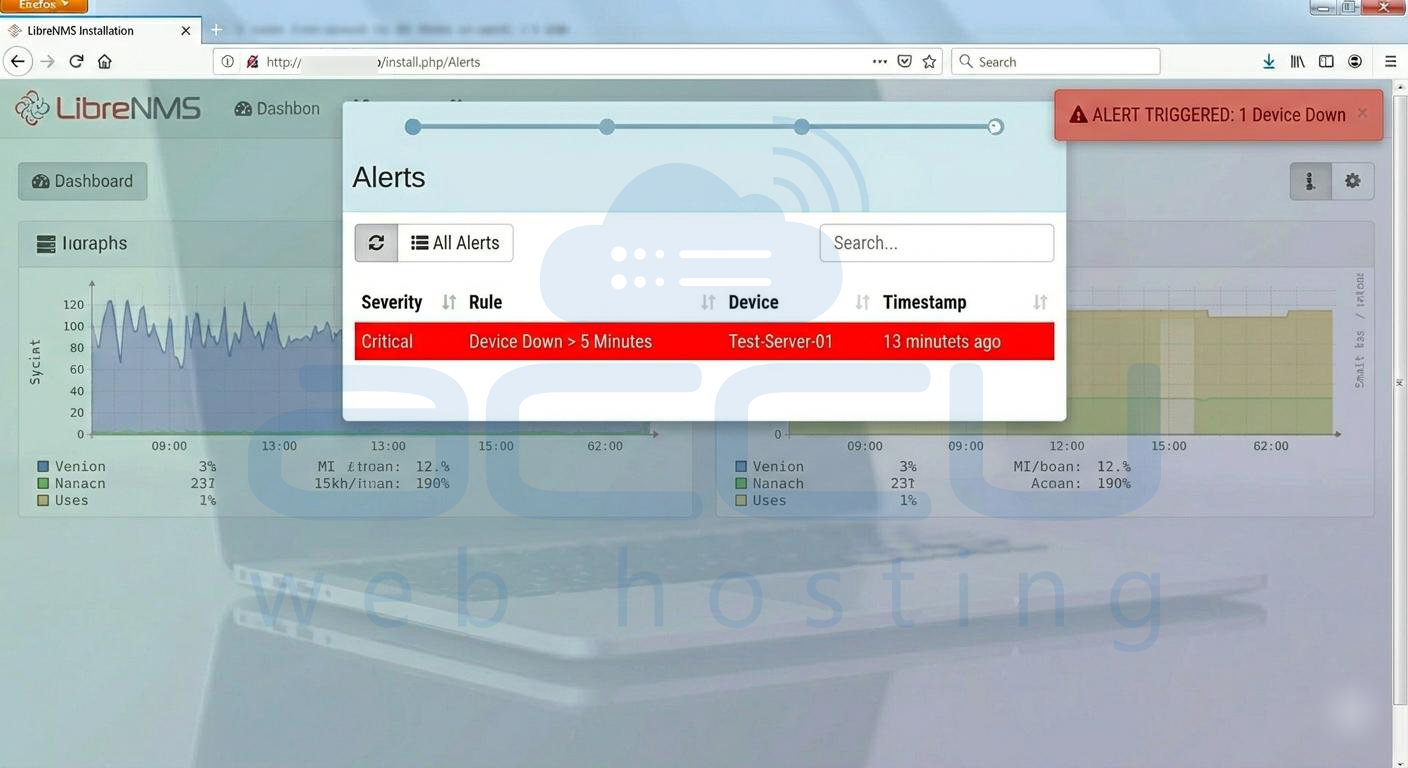
13. Test Alerts
Force a condition:
- Stop SNMP service on a test device
sudo systemctl stop snmpd
Check:
- Alert triggered in UI
- Email received
Conclusion
If you followed this properly, you now have a working LibreNMS monitoring system with active alerting.
