Introduction
OpenNMS is an enterprise-grade, open-source network management platform capable of monitoring thousands of nodes, collecting performance data, and triggering alerts based on resource thresholds, all without licensing costs. This guide walks you through a complete setup on a fresh Ubuntu VPS, from system preparation to your first working alert.
What you'll achieve by the end
- A fully running OpenNMS Horizon instance
- SNMP-based node discovery and monitoring
- CPU, memory, and disk threshold alerts
- Email notifications when thresholds are breached
Prerequisites
Before you begin, make sure your environment meets the following requirements:
- Ubuntu 24.04 LTS on a fresh VPS
- A minimum of 4 GB RAM (8 GB recommended for production)
- At least 2 vCPUs, 20 GB of disk space
- Root or sudo access
- Valid domain or static IP for web UI access.
Steps to Install and Configure OpenNMS on Ubuntu for Resource-Based Alerting
Step 1: Start with a full system update, then install OpenJDK 17, which is required by OpenNMS.
sudo apt update && sudo apt upgrade -y
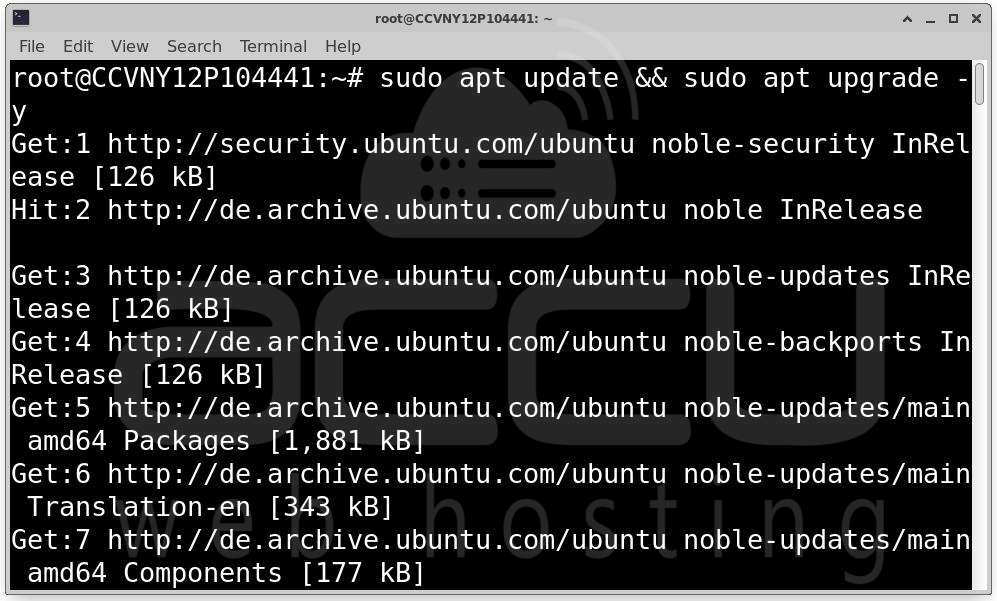
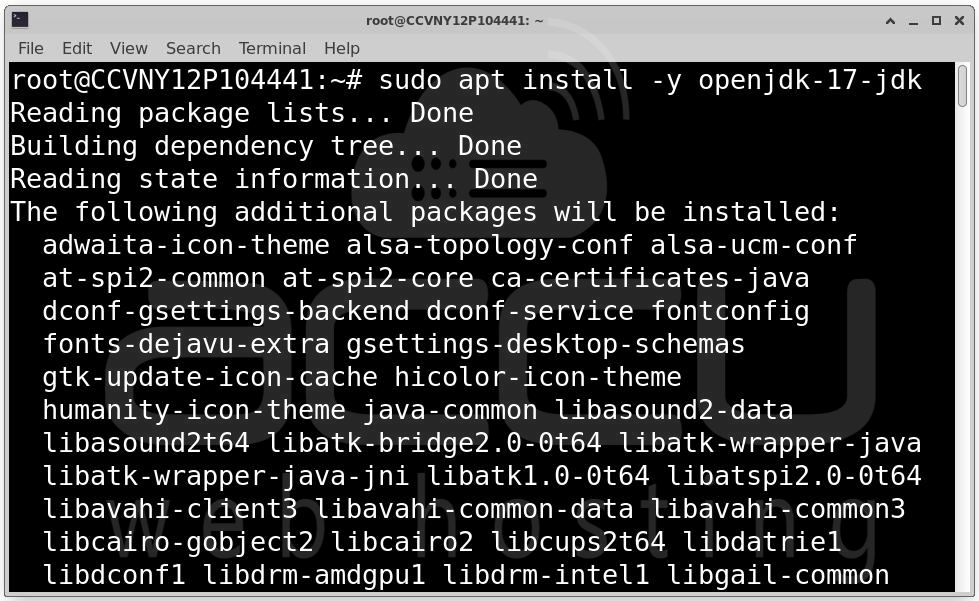
sudo apt install -y openjdk-17-jdk
java -version
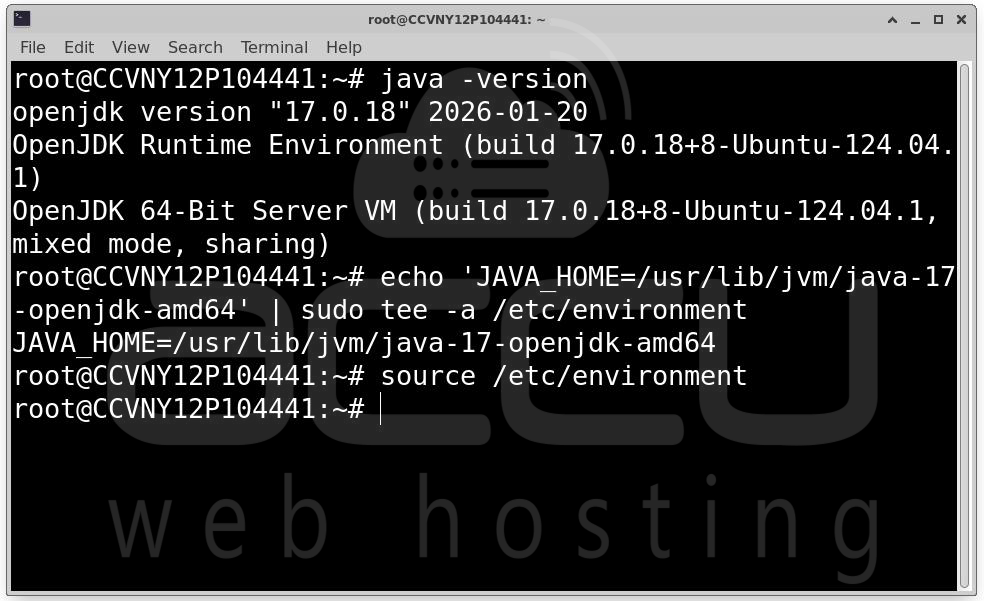
You should see output like openjdk version "17.x.x". Next, set the JAVA_HOME environment variable:
echo 'JAVA_HOME=/usr/lib/jvm/java-17-openjdk-amd64' | sudo tee -a /etc/environment
source /etc/environment
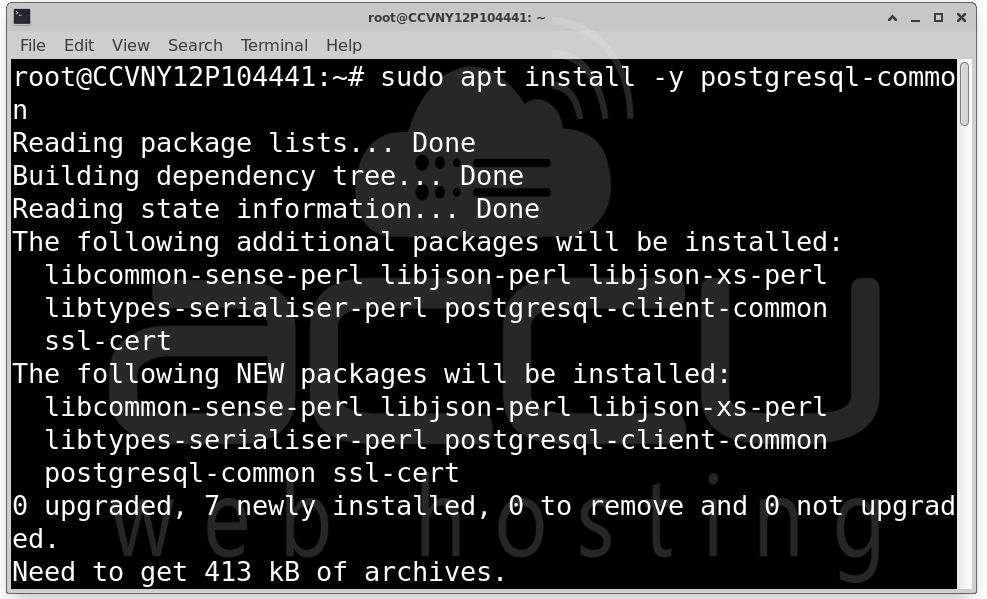
Step 2: OpenNMS uses PostgreSQL as its database backend. Install it from the official PGDG repository:
sudo apt install -y postgresql-common
sudo /usr/share/postgresql-common/pgdg/apt.postgresql.org.sh
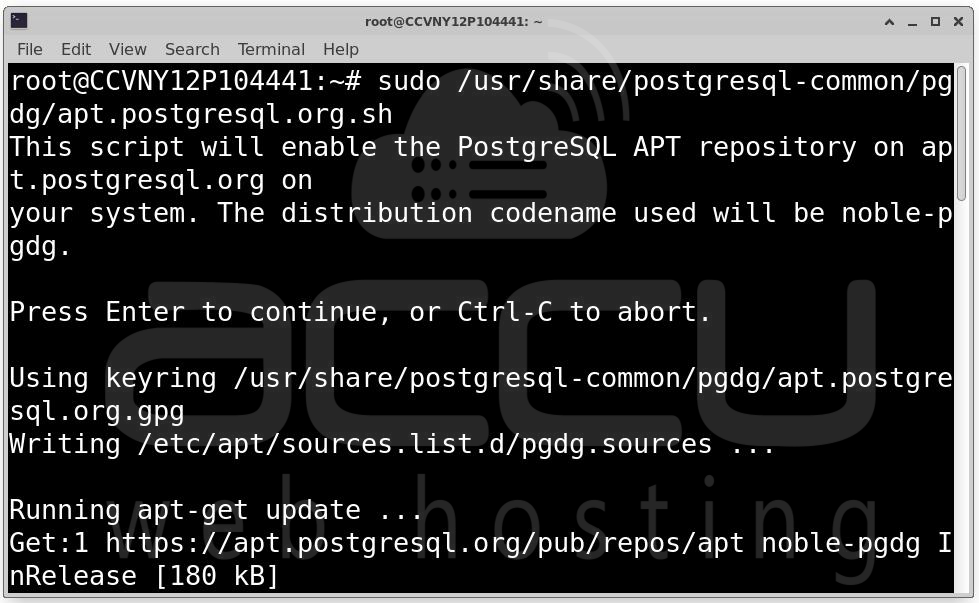
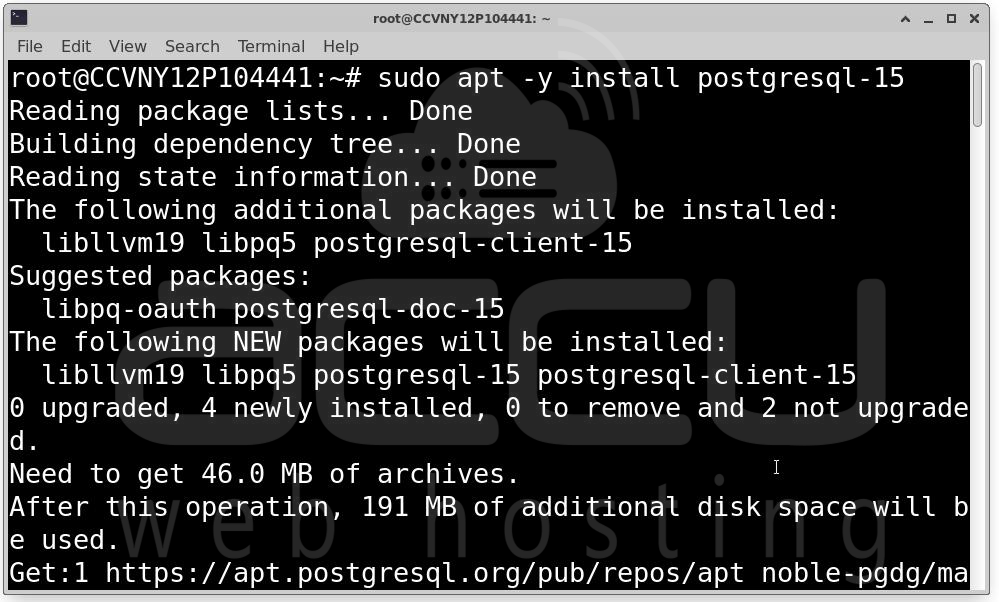
sudo apt -y install postgresql-15
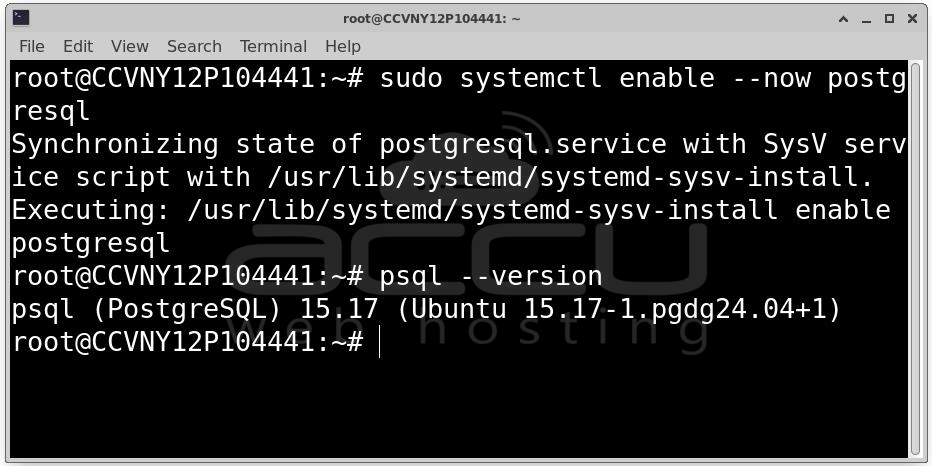
sudo systemctl enable --now postgresql
psql --version
Now create a dedicated database user and database for OpenNMS:
sudo -u postgres psql <<EOF
CREATE USER opennms WITH PASSWORD 'opennms';
CREATE DATABASE opennms OWNER opennms;
GRANT ALL PRIVILEGES ON DATABASE opennms TO opennms;
\q
EOF
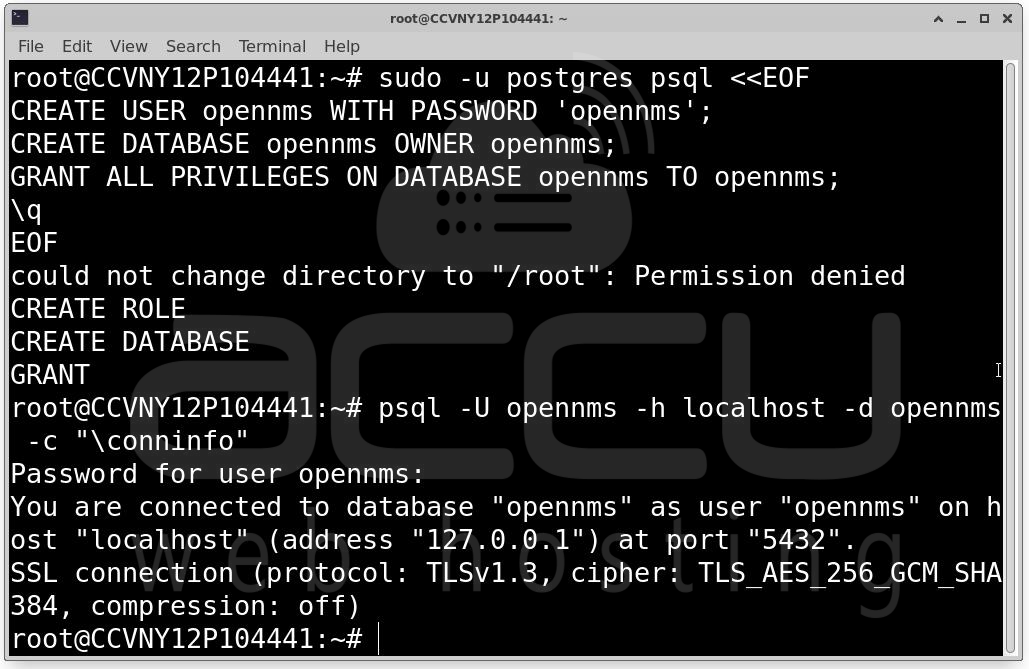
Verify the connection works: psql -U opennms -h localhost -d opennms -c "\conninfo"
Step 3: Add the OpenNMS Repository and Install. Import the OpenNMS GPG key and add the apt repository:
curl -fsSL https://debian.opennms.org/OPENNMS-GPG-KEY | sudo gpg --dearmor -o /usr/share/keyrings/opennms.gpg
echo "deb [signed-by=/usr/share/keyrings/opennms.gpg] https://debian.opennms.org stable main" | sudo tee /etc/apt/sources.list.d/opennms.list
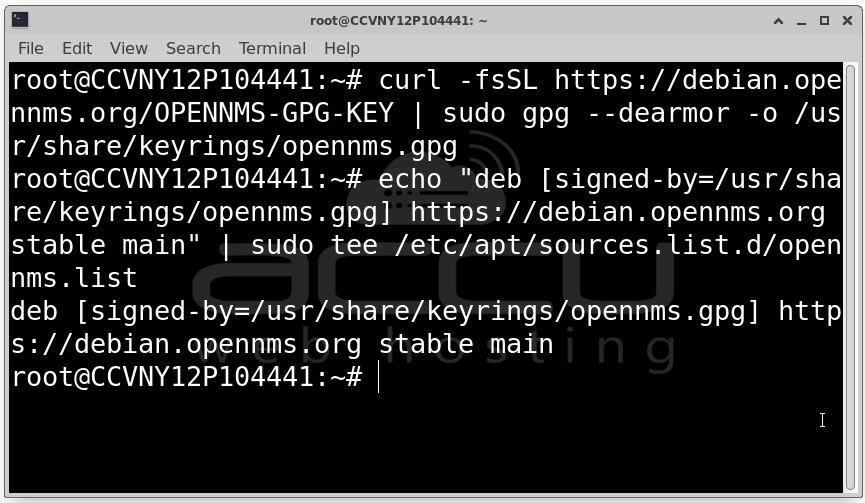
sudo apt update
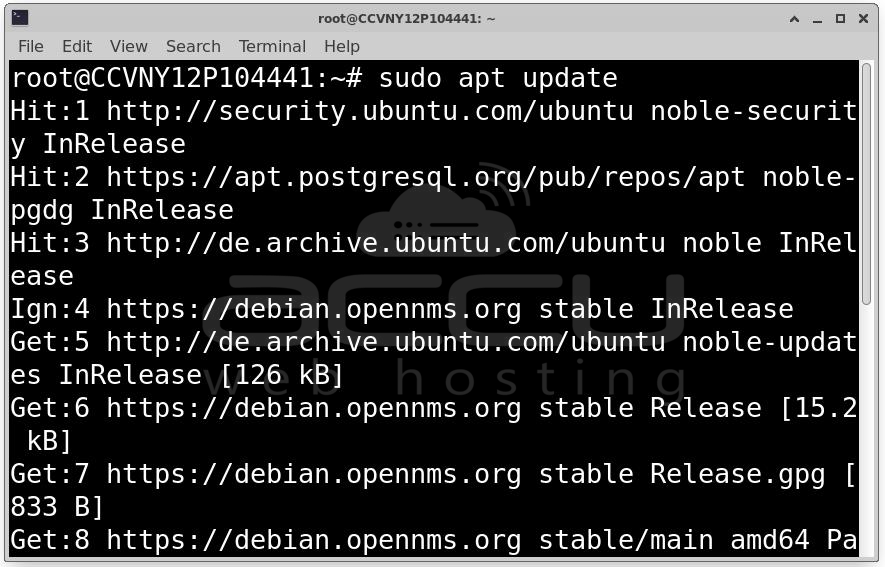
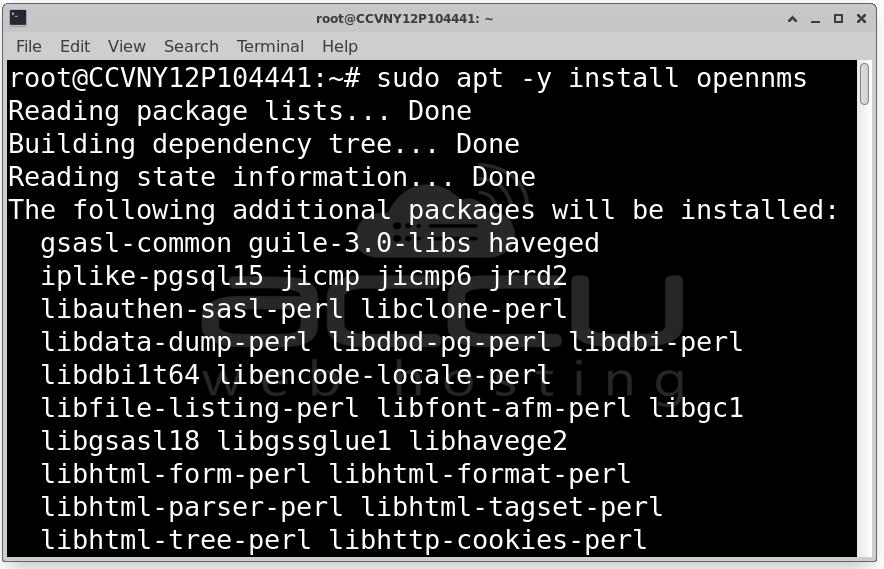
sudo apt -y install opennms
You can safely ignore the message about conflicting distributions (expected stable but got opennms-xx). This is expected behavior.
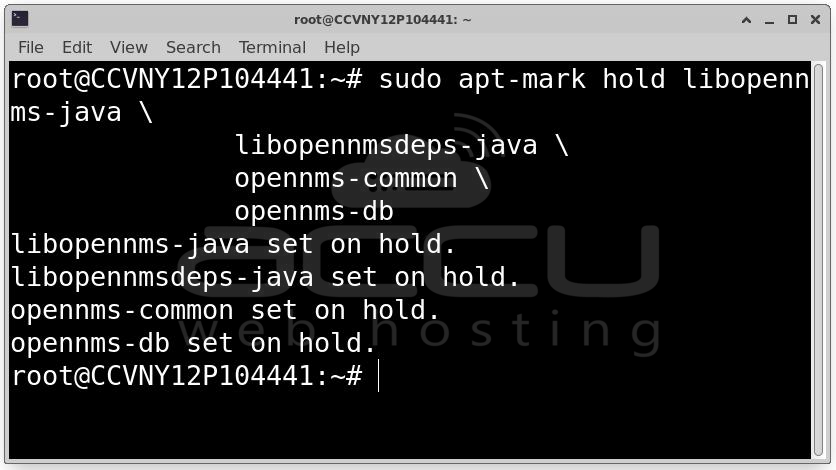
After installation, hold the OpenNMS packages to prevent unintended upgrades. Upgrading OpenNMS requires manual steps to migrate the database schema and update configuration files, so always plan upgrades deliberately:
sudo apt-mark hold libopennms-java \
libopennmsdeps-java \
opennms-common \
opennms-db
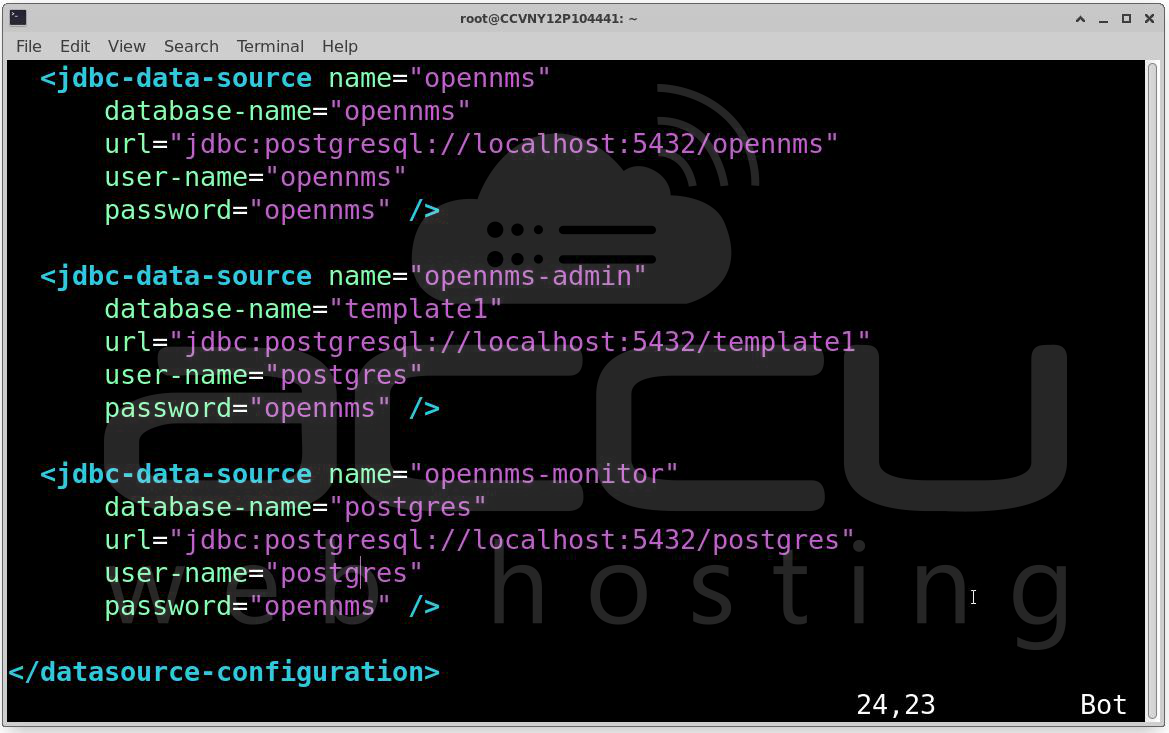
Step 4: Configure the Database Connection. Edit the OpenNMS datasource configuration file:
sudo nano /etc/opennms/opennms-datasources.xml
Update the two JDBC data source blocks to match your database setup:
<jdbc-data-source name="opennms"
database-name="opennms"
class-name="org.postgresql.Driver"
url="jdbc:postgresql://localhost:5432/opennms"
user-name="opennms"
password="opennms"/>
<jdbc-data-source name="opennms-admin"
database-name="template1"
class-name="org.postgresql.Driver"
url="jdbc:postgresql://localhost:5432/template1"
user-name="postgres"
password=""/>
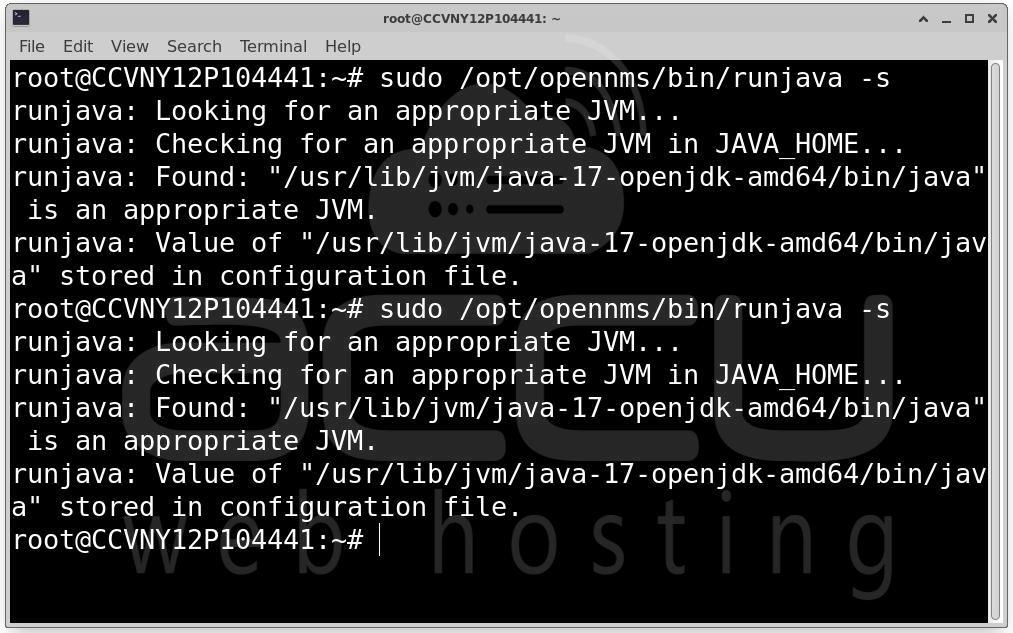
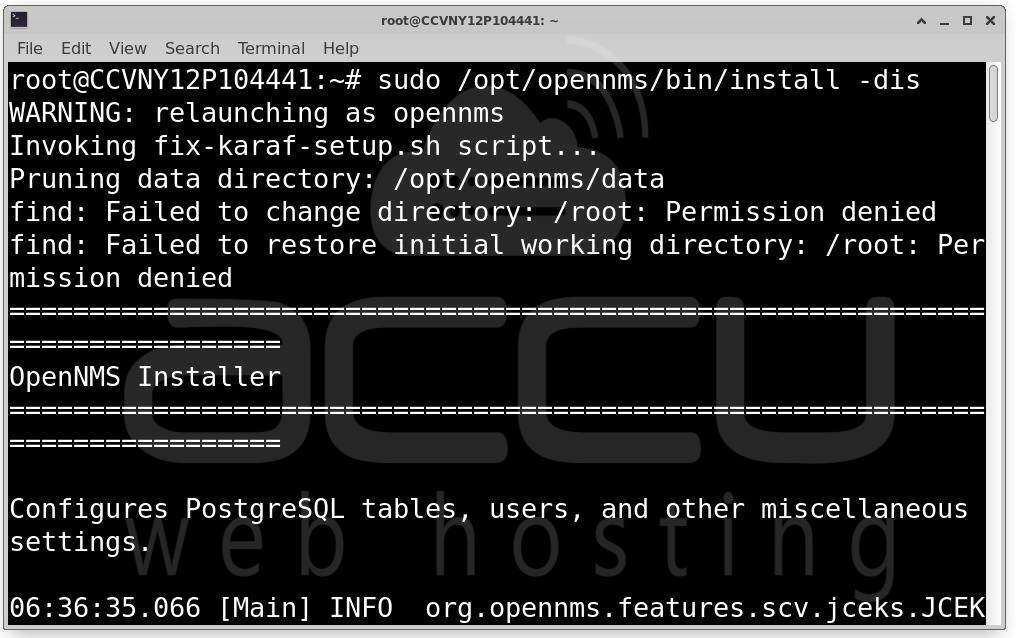
Step 5: Initialize OpenNMS and Start the Service. Detect the Java environment, initialize the database schema, then enable and start OpenNMS:
sudo ${OPENNMS_HOME}/bin/runjava -s
sudo ${OPENNMS_HOME}/bin/install -dis
sudo systemctl enable --now opennms
If you are using UFW as your host firewall, allow access to the web UI:
sudo ufw allow 8980/tcp
Step 6: Access the Web UI. Open a browser and navigate to:
http://<your-vm-ip>:8980/opennms
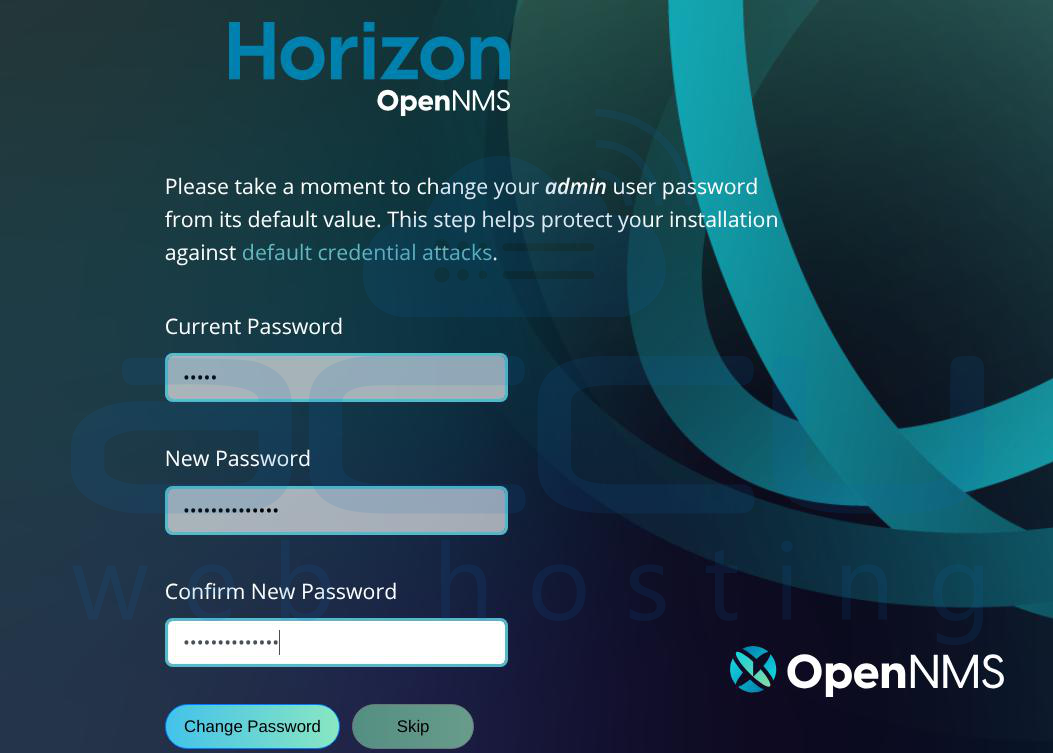
Log in with the default credentials: username admin, password admin.
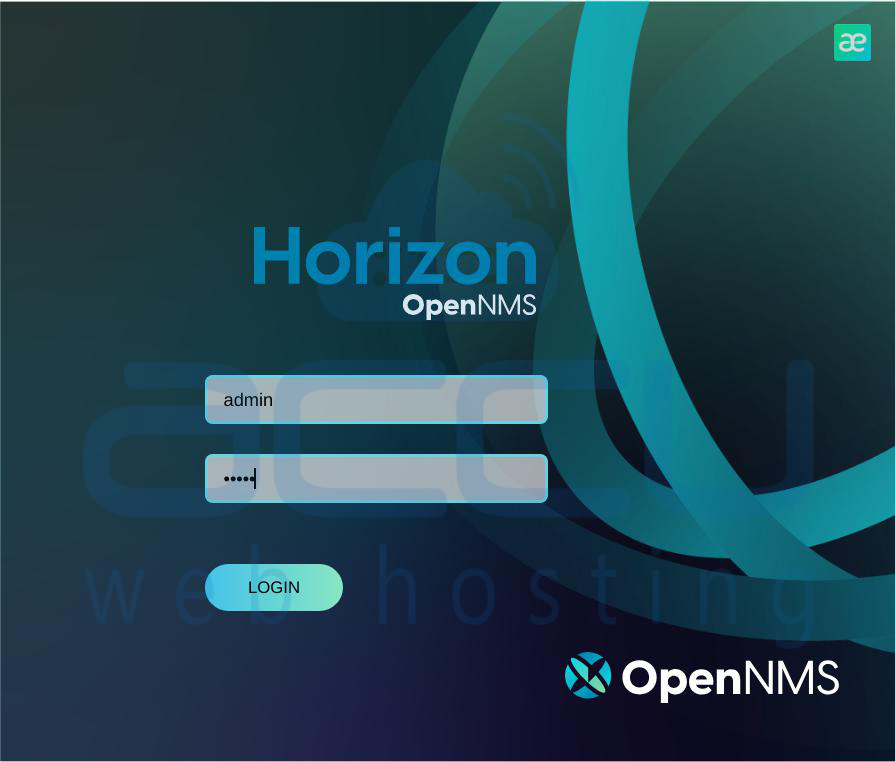
Immediately you will see the change the password window. Set a strong password for the dashboard. You can also change the password by going to Admin → Change Password.
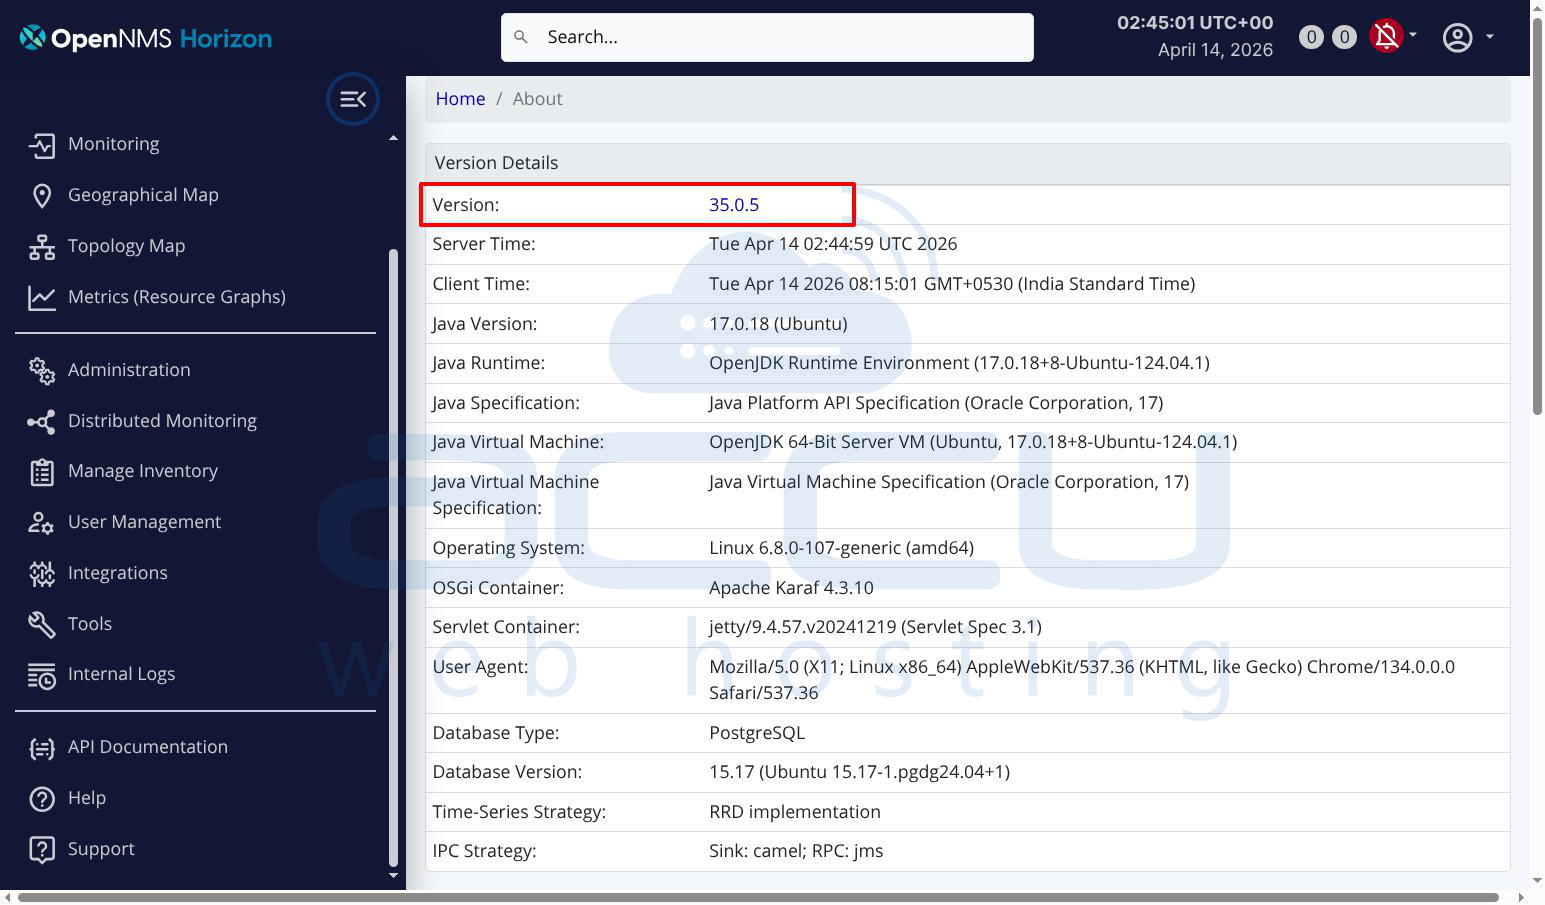
Confirm the installed version under Admin → About — you should see OpenNMS Version 35.0.5.
Post-Install Verification
Run the following checks to confirm every component is healthy:
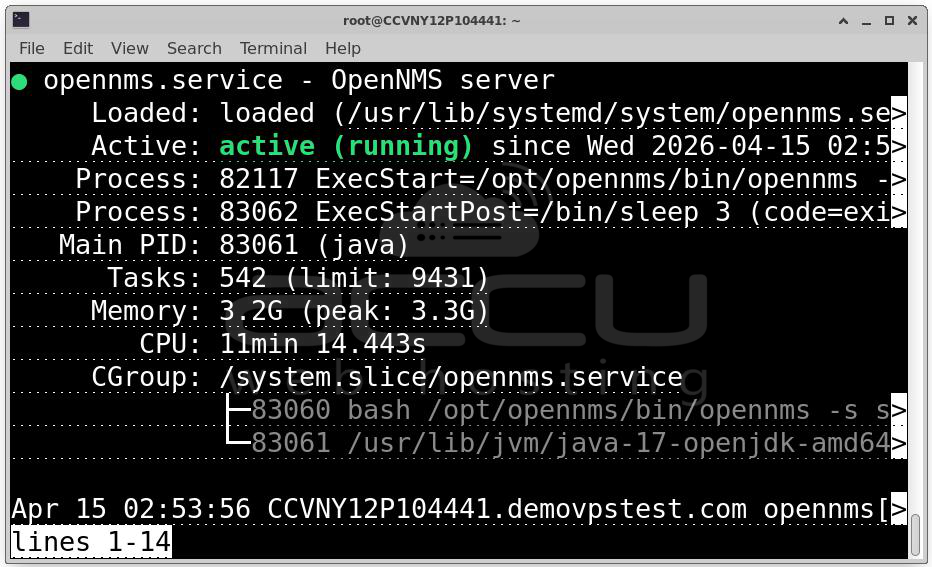
OpenNMS service running: sudo systemctl status opennms
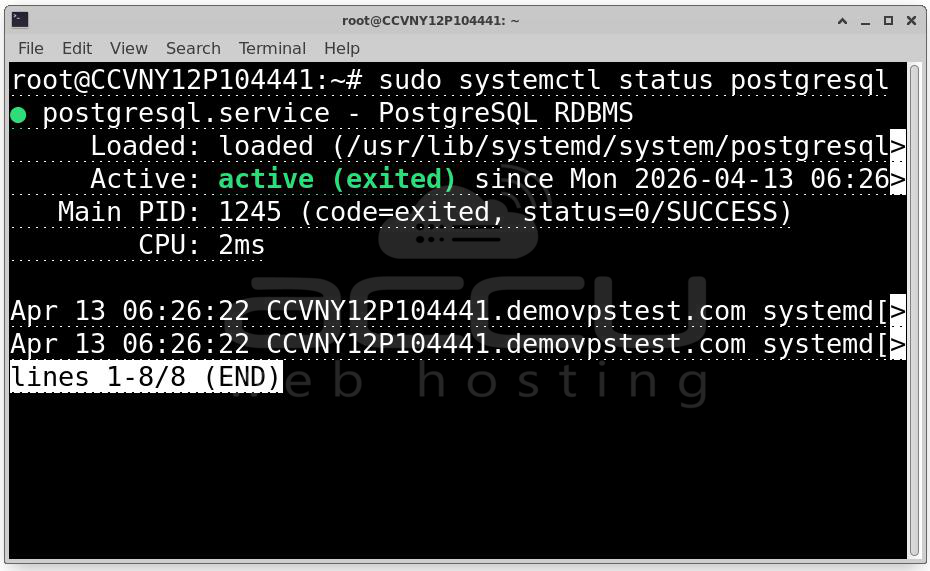
PostgreSQL running: sudo systemctl status postgresql
Java 17 active: java -version

Port 8980 listening: sudo ss -tlnp | grep 8980
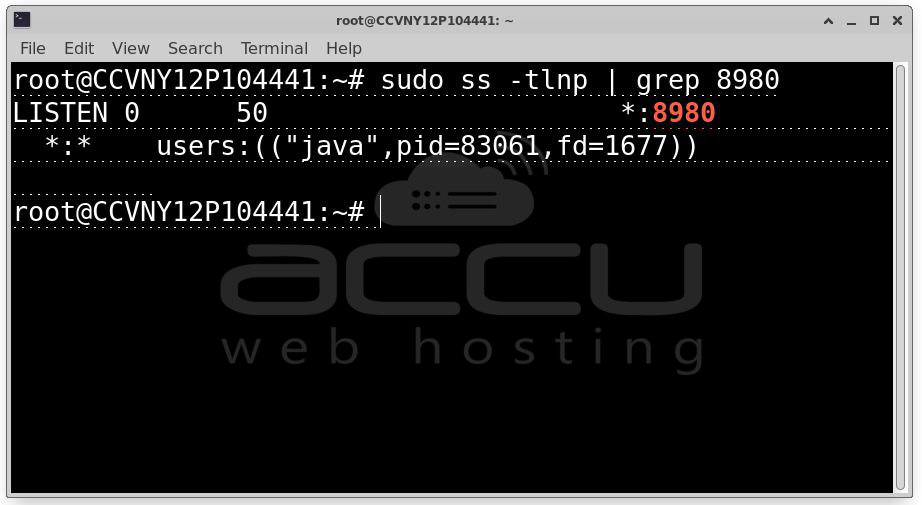
Make sure all four checks pass before moving on to configuring node discovery and alerting rules.
Steps to set up SNMP-based node discovery and threshold alerting with email notifications in OpenNMS
Step 1: Enable and Configure SNMP on the Target Node
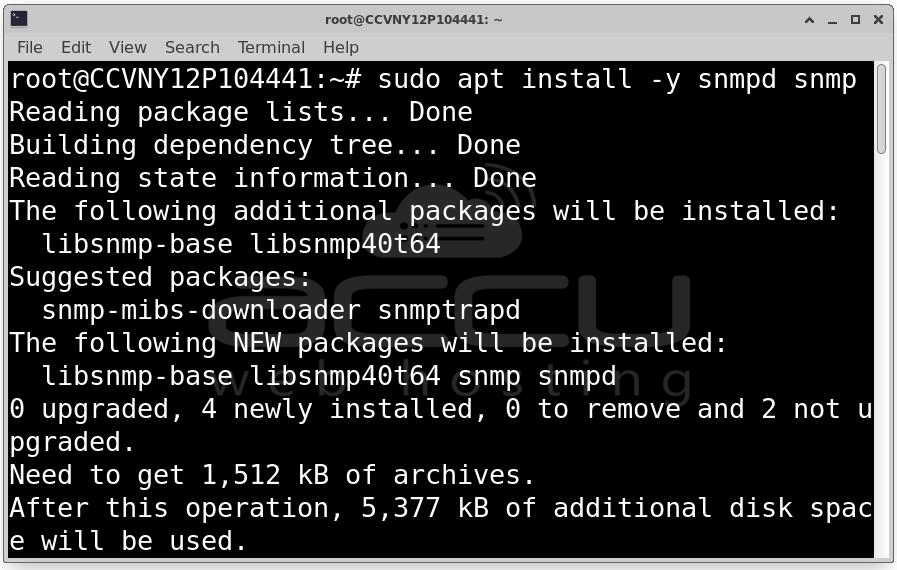
First, install SNMP on the machine you want to monitor:
sudo apt install -y snmpd snmp
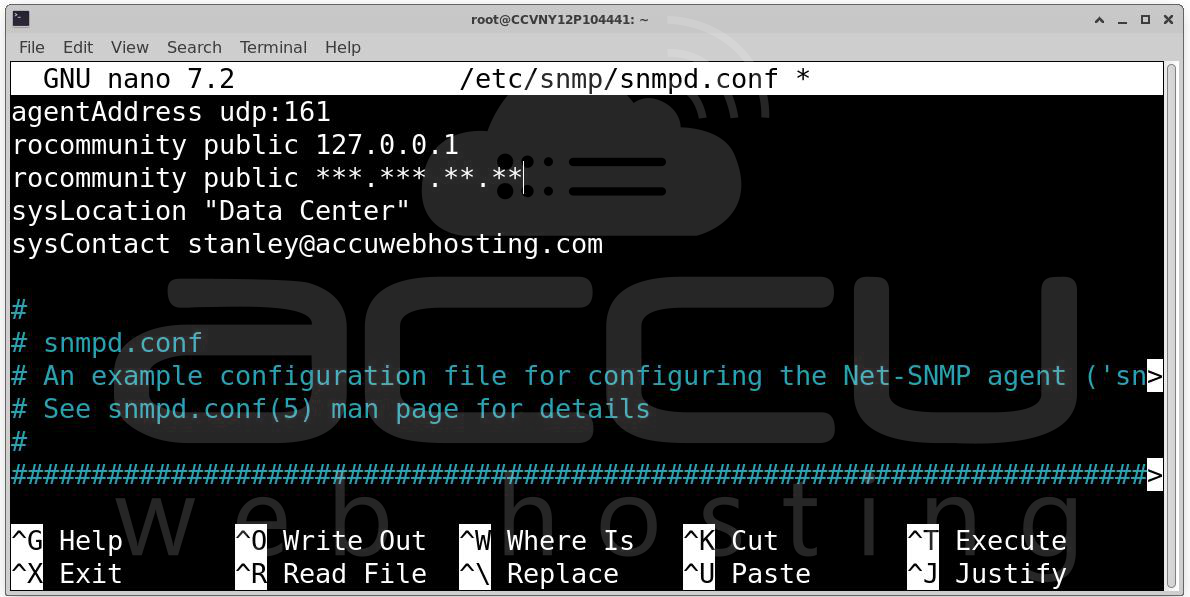
Edit the SNMP configuration file:
sudo nano /etc/snmp/snmpd.conf
Replace the contents with the following basic configuration:
agentAddress udp:161
rocommunity public 127.0.0.1
rocommunity public <your-opennms-server-ip>
sysLocation "Data Center"
sysContact [email protected]
Save the file, then restart and enable the SNMP daemon:
sudo systemctl restart snmpd
sudo systemctl enable snmpd
Verify SNMP is responding:
snmpwalk -v2c -c public localhost system
You should see system information returned. If you do, SNMP is working correctly.
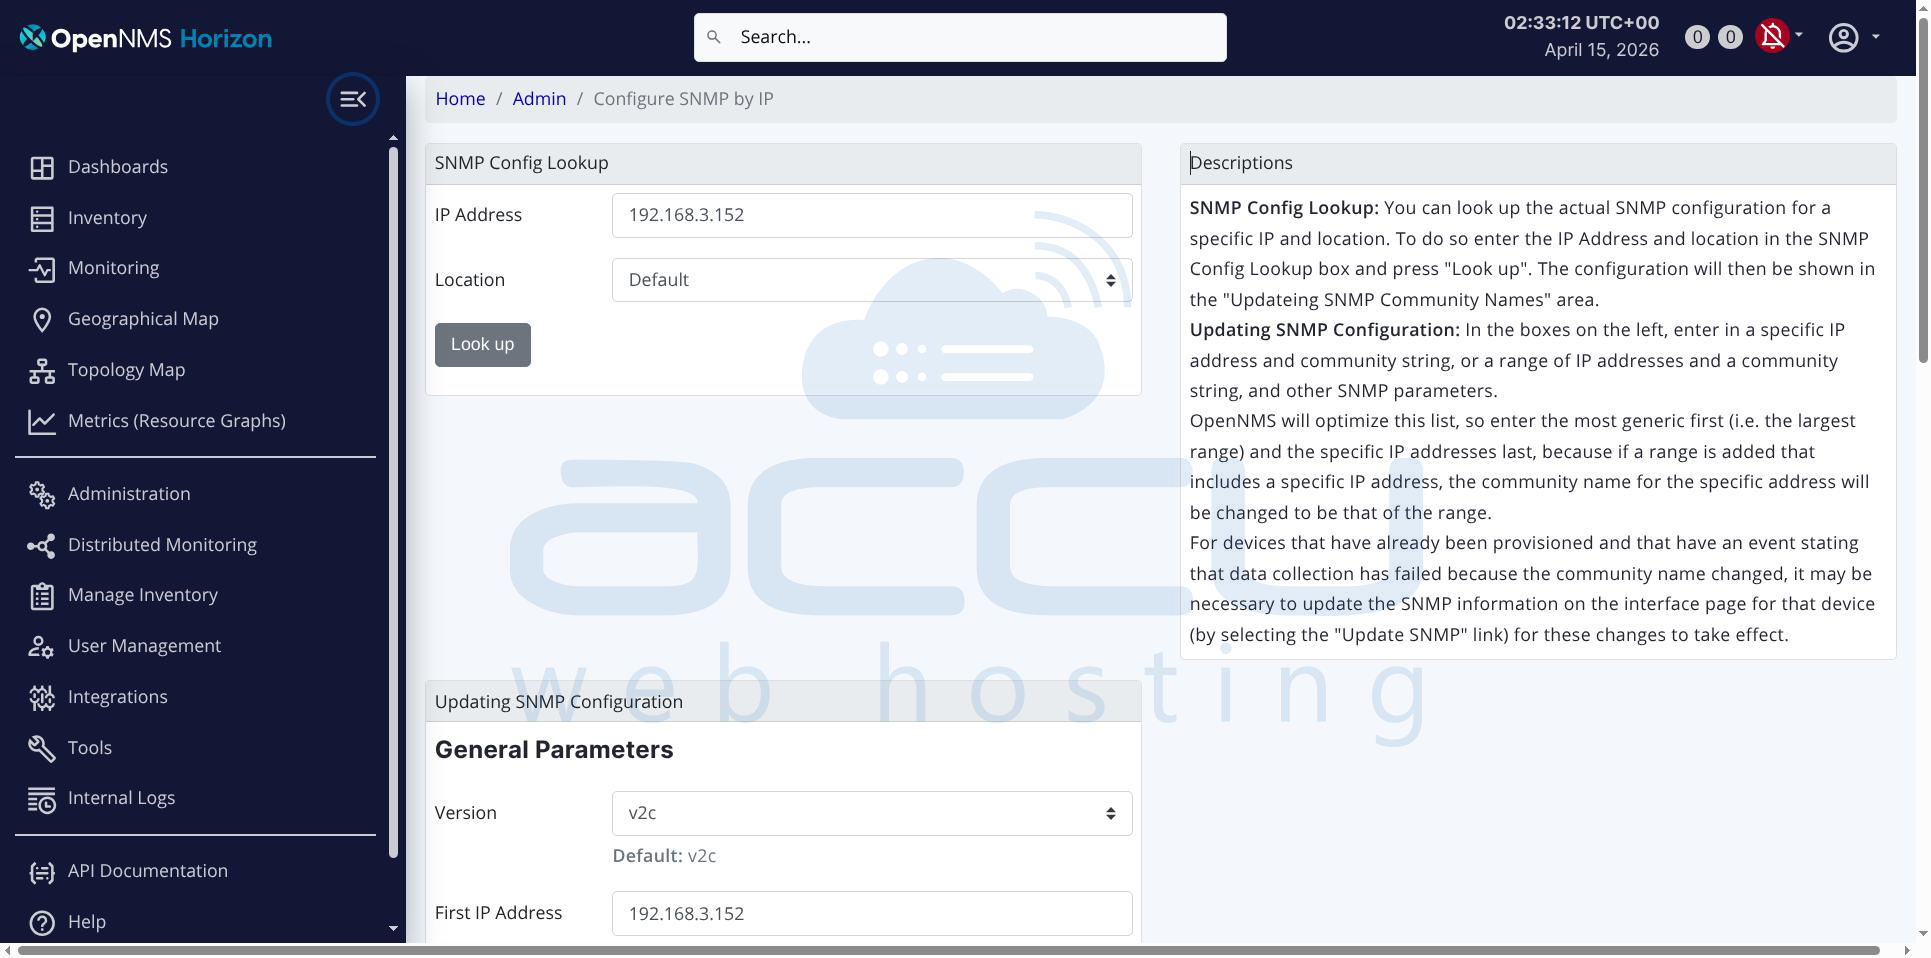
Step 2: Configure SNMP Community String in OpenNMS
Log in to the OpenNMS web UI at http://<your-vm-ip>:8980/opennms.
Go to Admin → Configure SNMP Community Names by IP. Enter the IP address of the node you want to monitor, set the community string to public (or whatever you configured in snmpd.conf), and set the SNMP version to v2c. Click Save.
Step 3: Add Nodes via Discovery
Go to Admin → Configure Discovery. Add the IP address or IP range of the nodes you want to discover. For example, to scan a subnet, enter a range like 192.168.1.1 to 192.168.1.254. Set the timeout and retries (defaults of 1500ms and 2 retries are fine for a local network). Click Save and Restart Discovery.
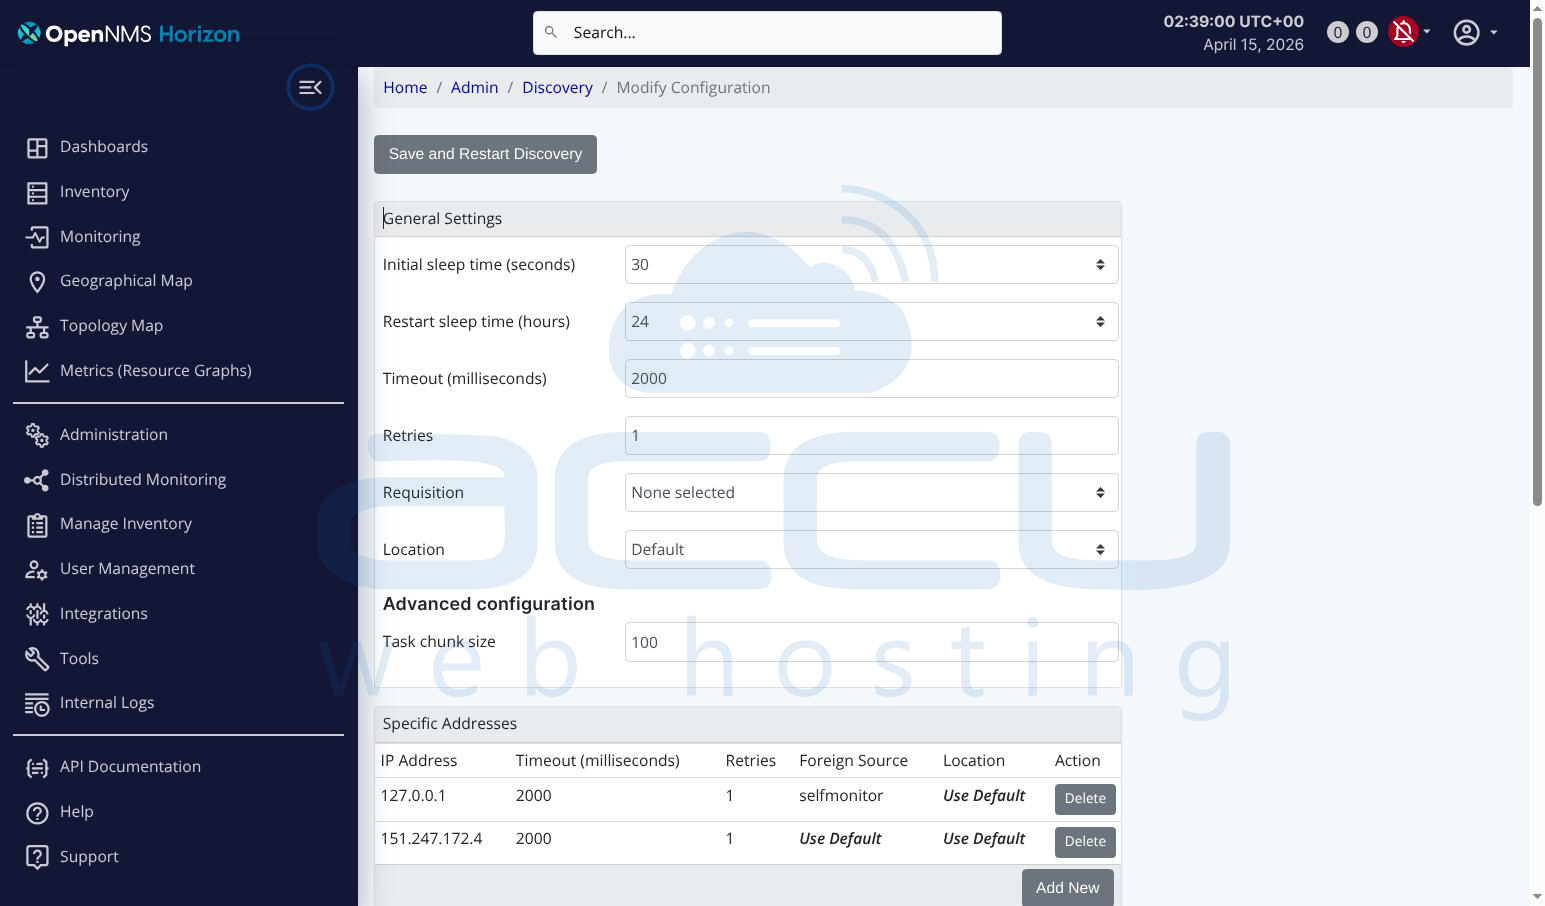
OpenNMS will begin scanning and automatically add responding nodes. You can monitor the discovery progress under the Events section of the UI.
To verify a node was added, go to the top menu and click Node List. Your discovered nodes should appear there within a few minutes.
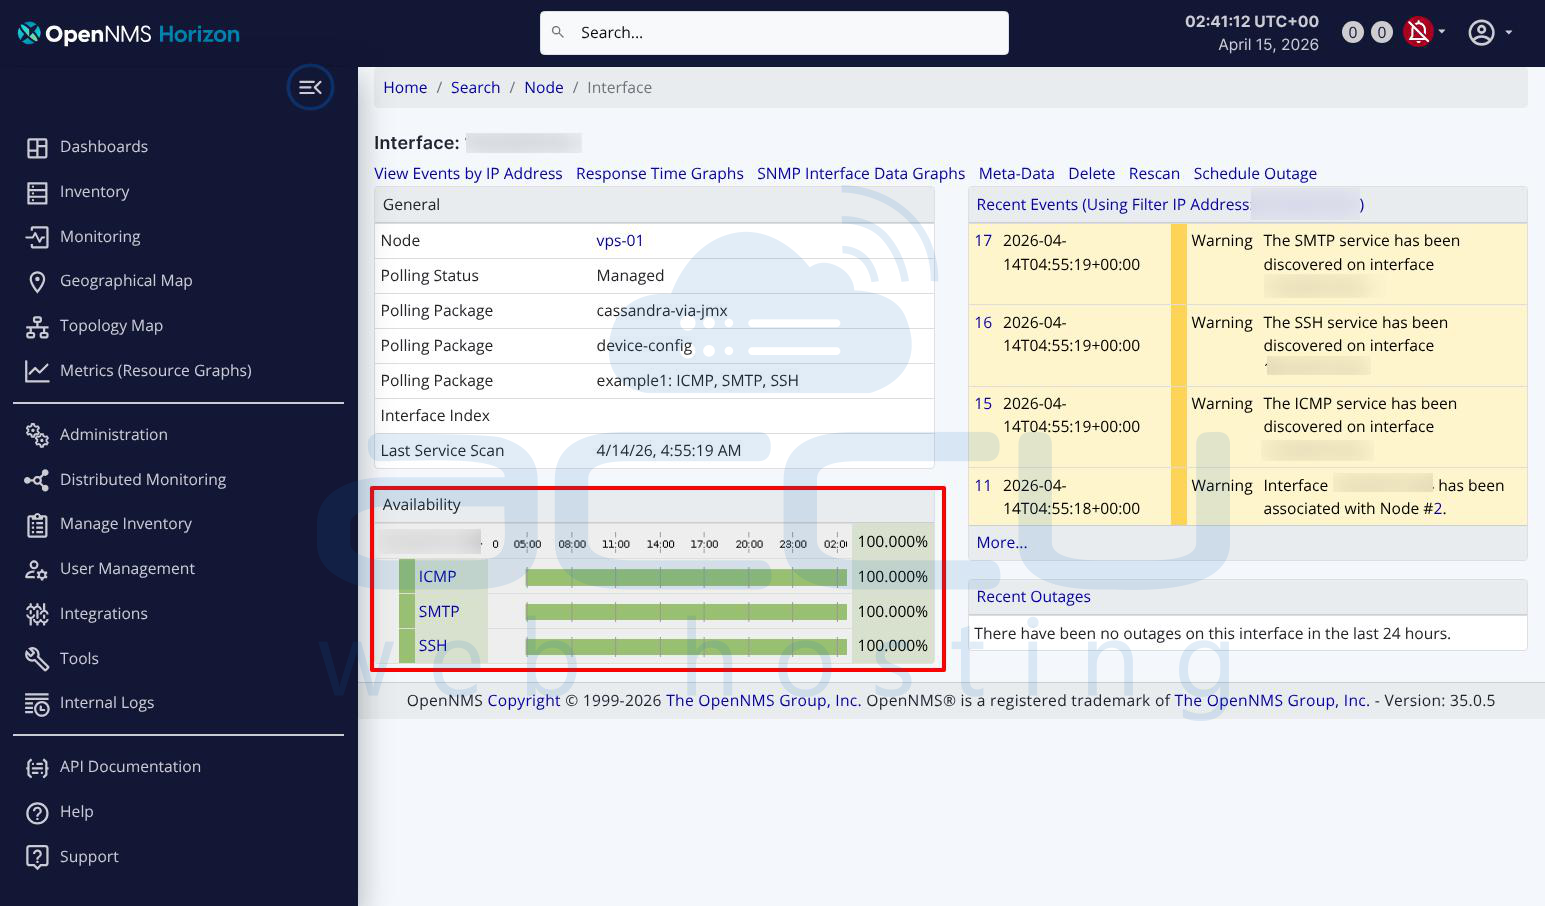
Step 4: Verify SNMP Data Collection
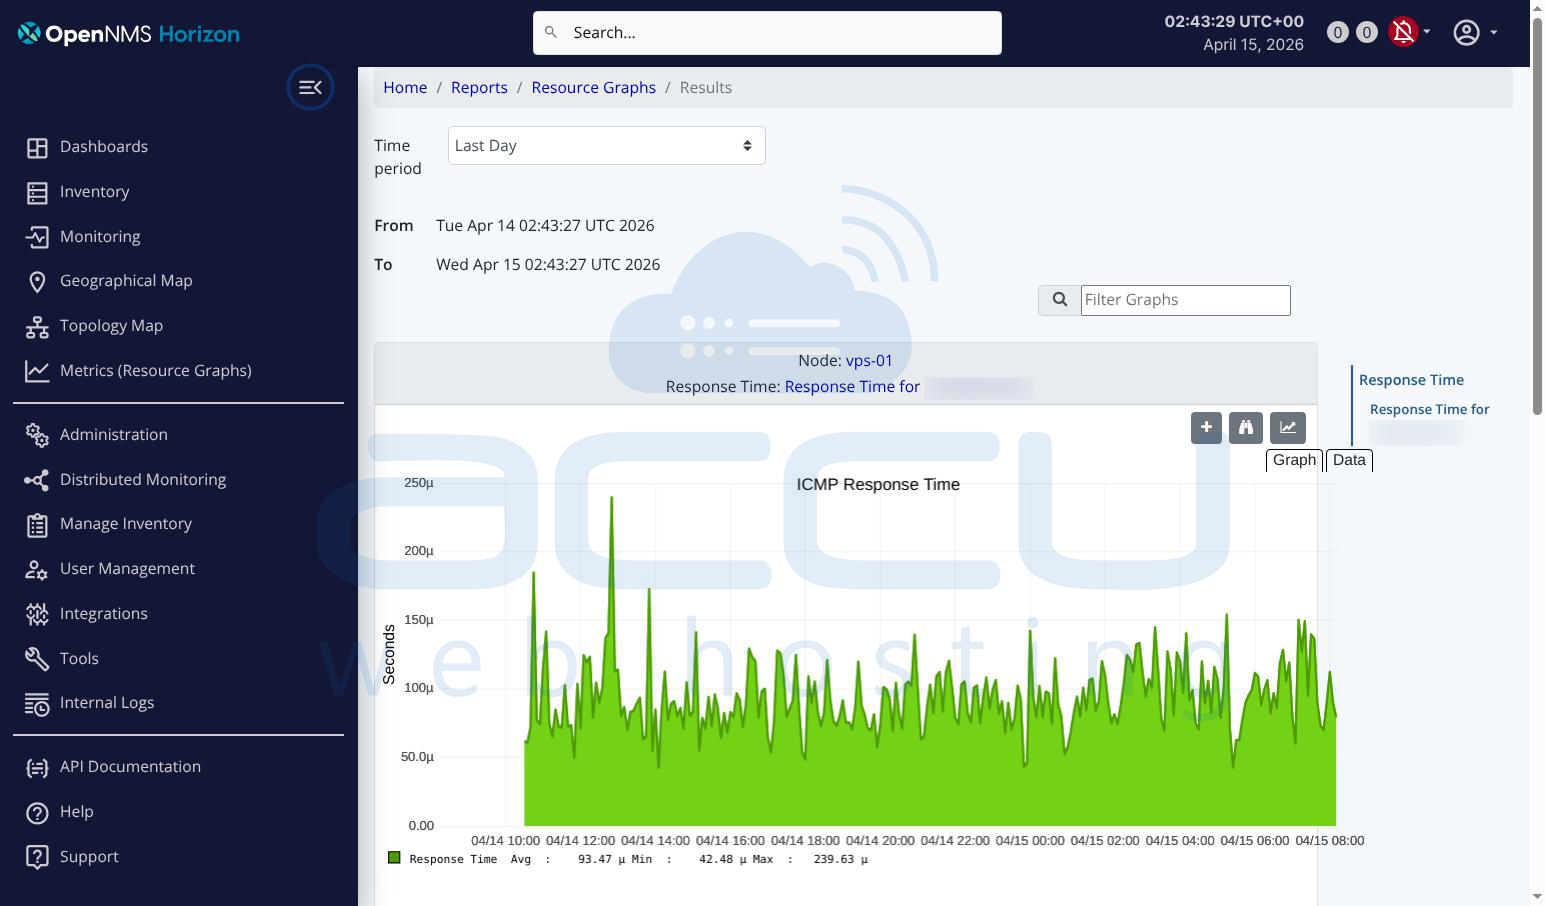
Once a node is discovered, OpenNMS begins polling it automatically. To verify data is being collected, go to Node List → select your node → Resource Graphs. You should start seeing graphs for CPU, memory, interface traffic, and disk usage after the first few polling cycles (default poll interval is 5 minutes).
If graphs are empty, check that the SNMP community string matches and that port 161 UDP is open on the target node: sudo ufw allow 161/udp
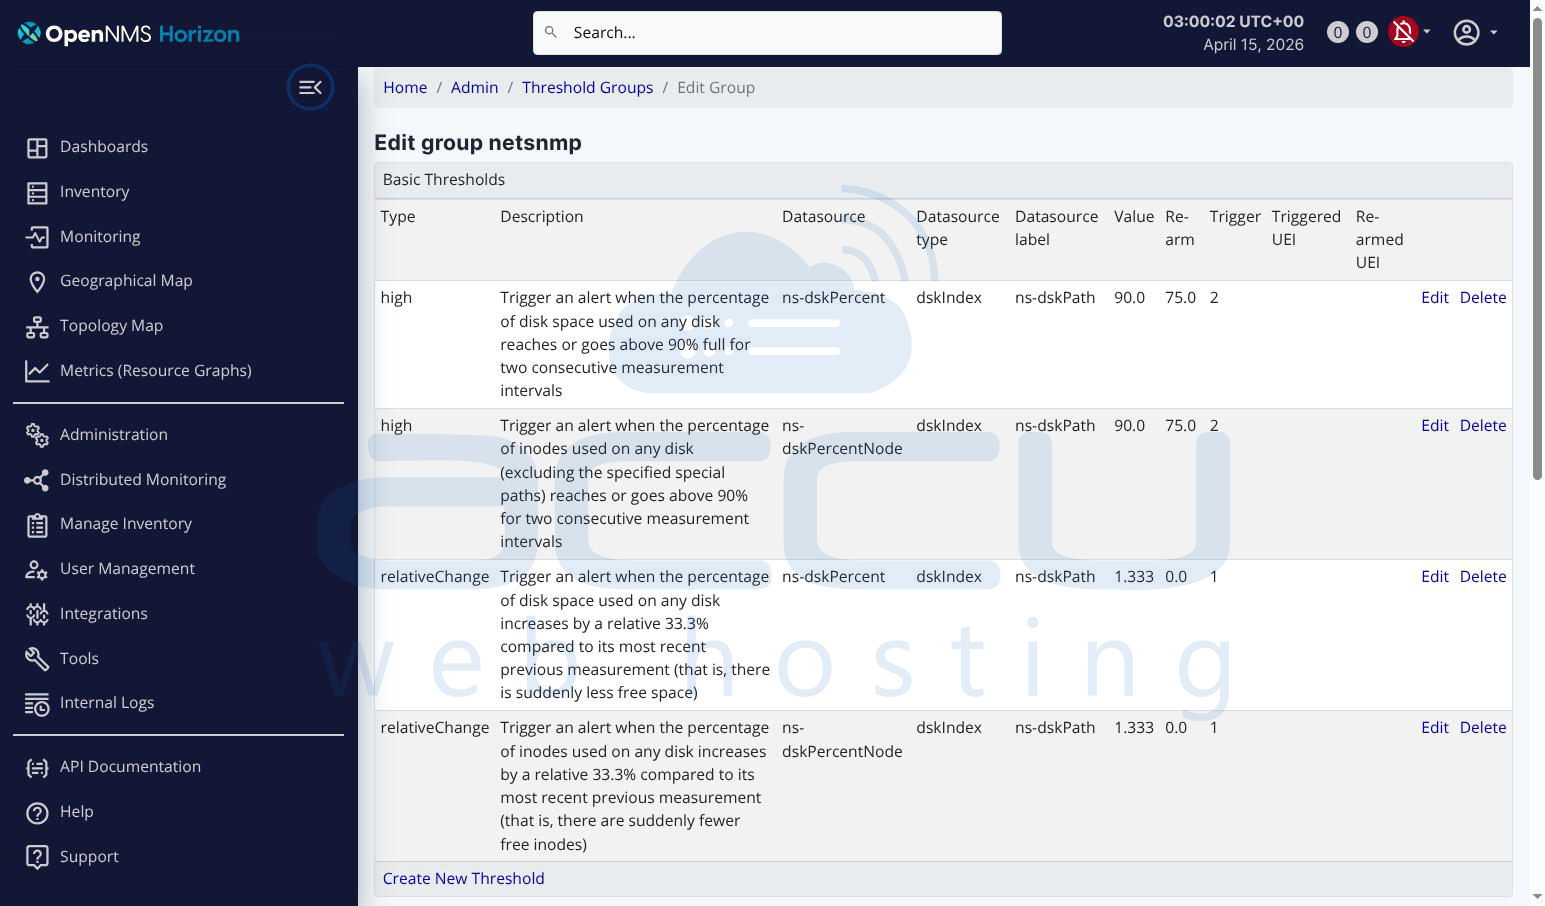
Step 5: Configure Threshold Alerts
Go to Admin → Configure Thresholds. Select the thresholds group called default and click Edit.
You will see existing threshold entries. To add a new one, click Add Threshold and fill in the following fields:
For a CPU threshold, set the type to high, the datasource type to node, the datasource to CpuRawUser (or hrProcessorLoad for HOST-RESOURCES-MIB), the value to 80 (trigger when CPU exceeds 80%), and the rearm to 70 (stop alerting when it drops below 70%). Set trigger samples to 3 so it only fires after 3 consecutive high readings.
For a memory threshold, set the datasource to hrStorageUsed, the value to 90, and the rearm to 80.
For disk usage, set the datasource to hrStorageUsed with the instance matching your disk (for example / for root), value to 85, and rearm to 75.
Click Save after each threshold entry. These thresholds apply to all nodes in the default group automatically.
Step 6: Configure Email Notifications
First, configure the mail server settings. Go to Admin → Configure Notifications → Configure the Javamail API.
Fill in the following fields:
Mail Host: smtp.yourdomain.com (or smtp.gmail.com for Gmail)
SMTP Port: 587
Use SMTP Auth: Yes
Username: [email protected]
Password: your-email-password
Use TLS: Yes
From Address: [email protected]
Click Update Mail Config to save.
If you are using Gmail, make sure you generate an App Password under your Google account security settings and use that instead of your regular password.
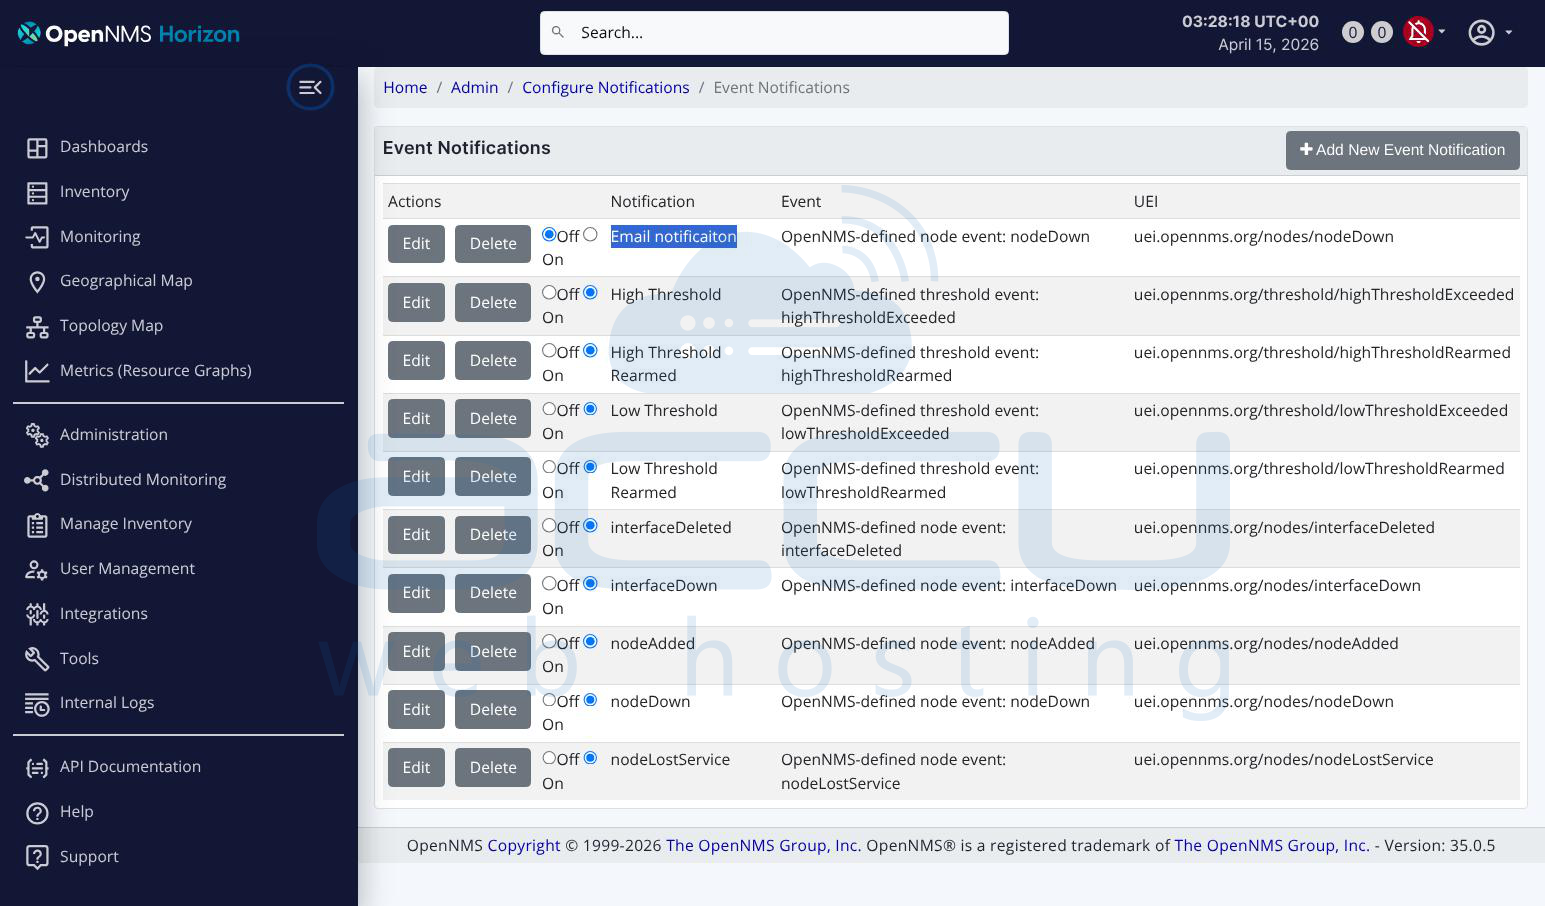
Step 7: Create a Notification for Threshold Breaches
Go to Admin → Configure Notifications → Configure Event Notifications.
Click New Notification and fill in the following:
- Name: ThresholdAlert
- Event: select uei.opennms.org/threshold/highThresholdExceeded
- Rule: IPADDR != '0.0.0.0' (applies to all nodes)
- Destination Path: select Email-Admin (or create a new path below)
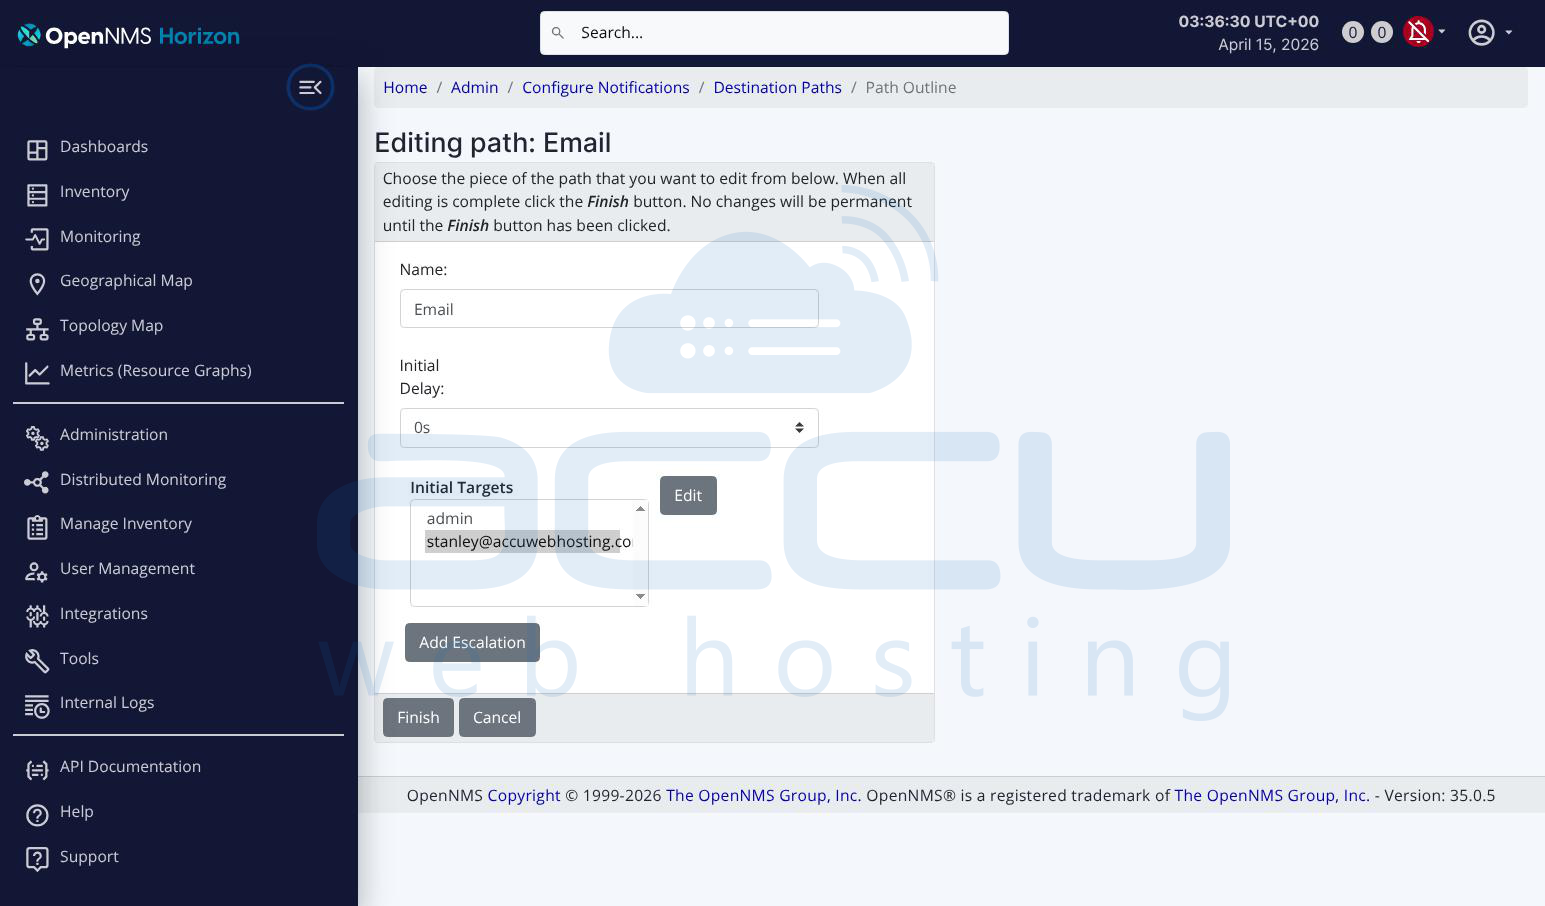
To create a destination path, go to Admin → Configure Notifications → Configure Destination Paths. Click New Path, name it Email-Admin, and add an escalation with the following:
- Delay: 0 minutes
- Target: your email address
- Interval: 1 hour (repeat notification every hour while the condition persists)
Click Save.
Go back to the notification you created, assign the Email-Admin destination path, and click Finish.
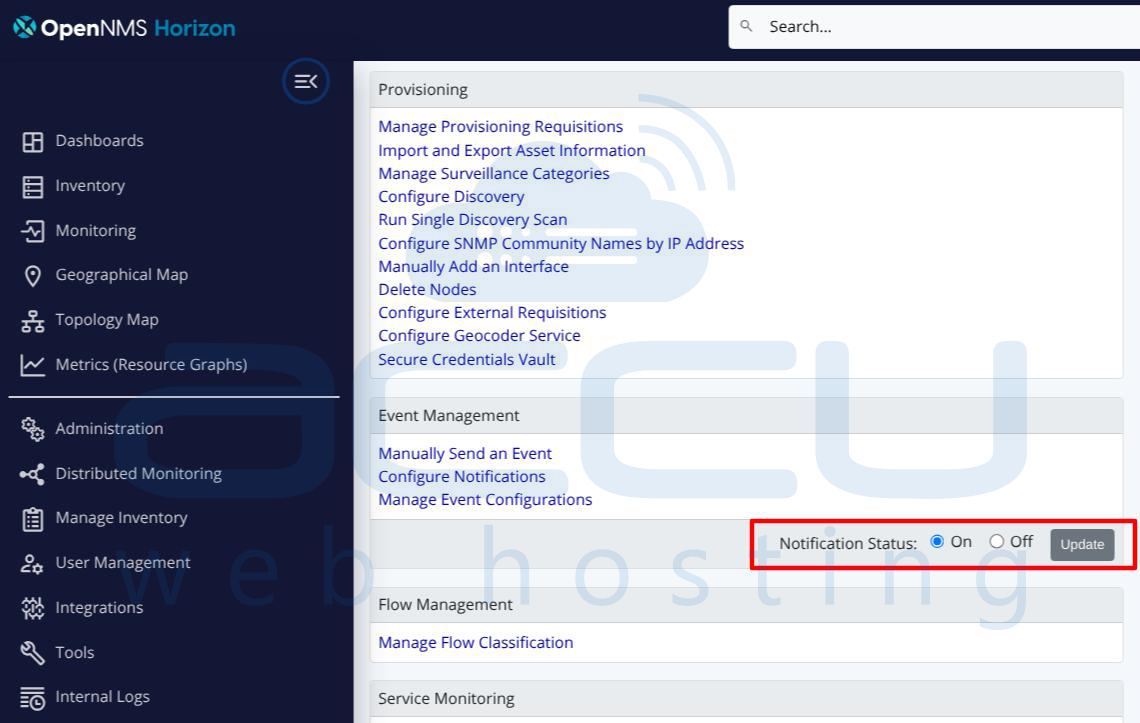
Step 8: Enable Notifications Globally
Notifications in OpenNMS are disabled by default. To enable them, go to Admin → Configure Notifications and click the toggle to turn notifications On. Without this step, no alerts will be sent regardless of your configuration.
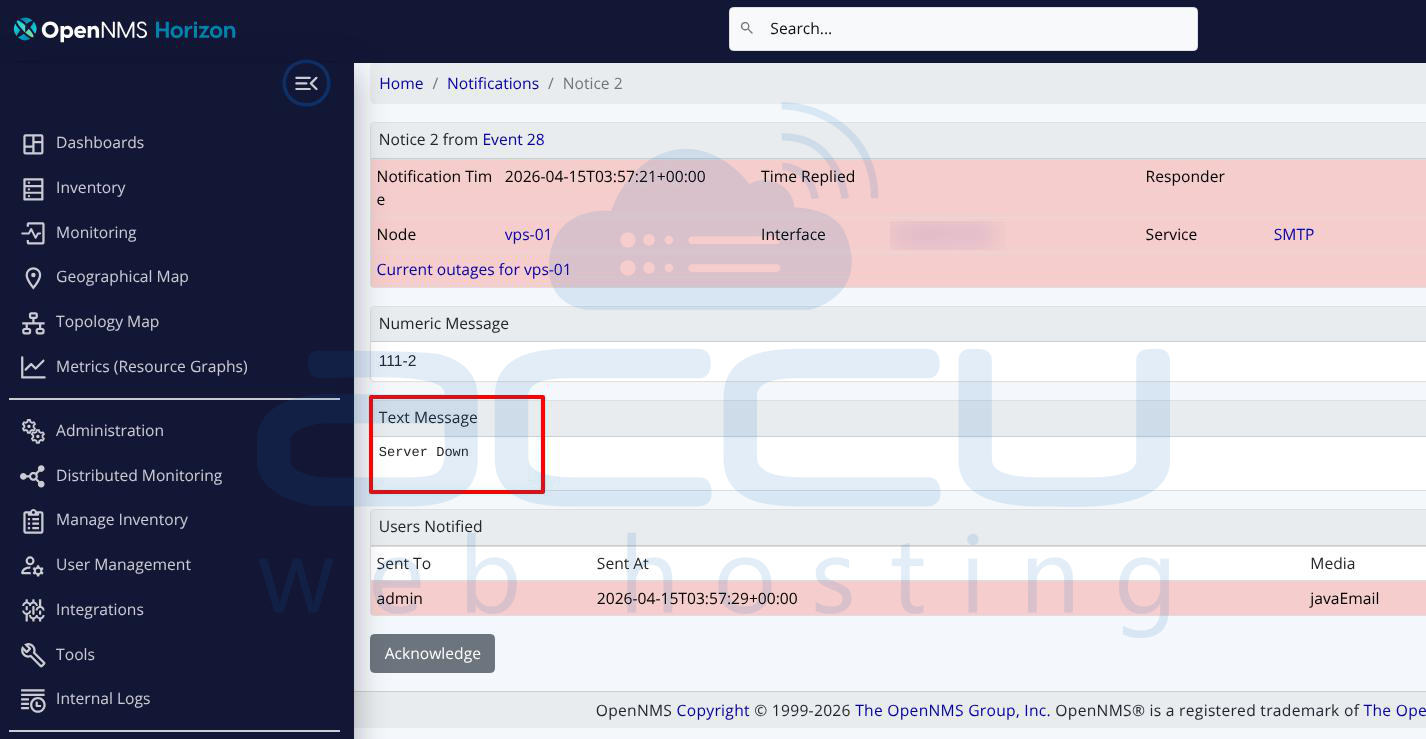
Step 9: Test the Entire Setup
To test SNMP collection, run a manual poll from the node page by clicking Poll Now in the node detail view. Check that the response comes back successfully.
To test threshold alerting, you can temporarily lower a threshold value (for example, set CPU threshold to 1%) to force a breach, then watch Events → All Events for a threshold event to appear. Once you confirm the event fires, restore the original threshold value.
To test email delivery, go to Admin → Configure Notifications → Send a Test Notification. Enter your email address and click Send. You should receive a test email within a minute or two.
Step 10: Monitor Events and Alarms
Once everything is running, use these two sections of the UI for ongoing monitoring:
Events (top menu) shows all raw events including threshold breaches, node down events, and SNMP traps as they happen in real time.
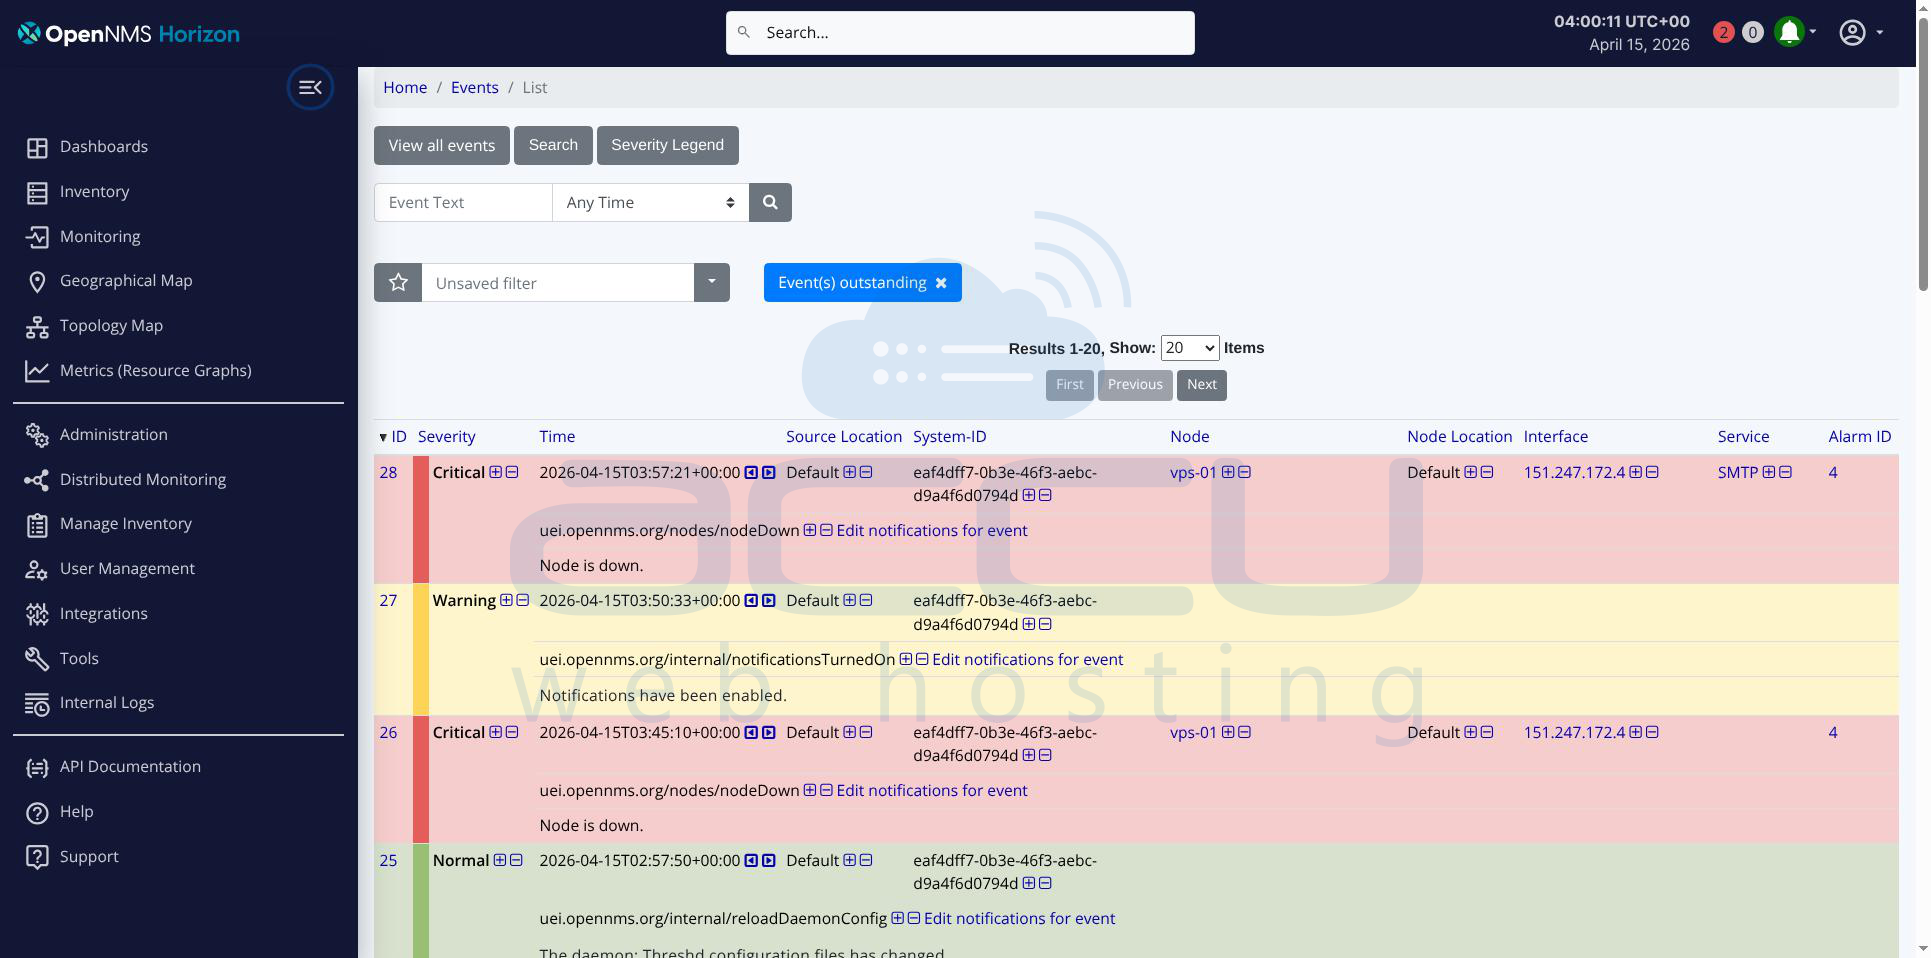
Alarms (top menu) shows deduplicated, ongoing problem states. A threshold alarm will appear here and stay open until the value drops below the rearm level, at which point it auto-clears.
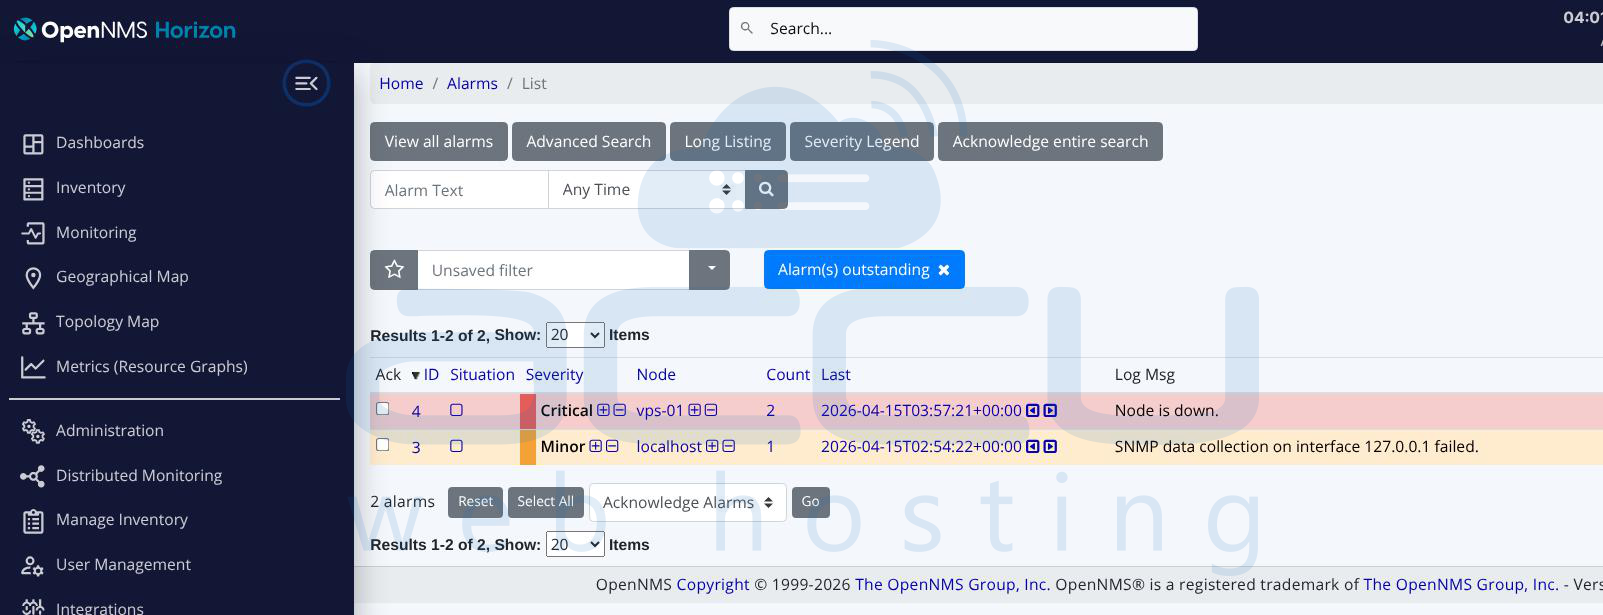
You can also set alarm acknowledgment policies and escalation paths from the Alarms section if you want to route different severity alarms to different teams.
With all these steps complete, you have a fully functional OpenNMS setup that discovers nodes via SNMP, collects CPU, memory, and disk metrics, fires threshold-based alarms, and delivers email notifications to your team automatically.
Conclusion
Setting up OpenNMS on Ubuntu gives you a powerful, enterprise-grade monitoring platform without any licensing costs. With SNMP discovery, resource threshold alerts, and email notifications all configured, you now have a solid foundation to keep your infrastructure visible and your team informed before small issues turn into real outages.
