Introduction:
In a world dominated by centralized platforms, AdventureLog offers a refreshing, self-hosted alternative for travellers. It is a powerful, privacy-focused tool that allows you to document your trips, map your experiences, and keep your data entirely under your own control. By deploying AdventureLog on an Ubuntu 24.04 VPS using Docker, you leverage a modern, high-performance environment that is easy to scale and maintain. This guide provides a battle-tested roadmap to getting your instance live, from initial setup to resolving common networking hurdles.
Step 1: Update System & Install Docker
First, update your server packages:
sudo apt update && sudo apt upgrade -y
Install Docker & Compose:
sudo apt install docker.io docker-compose-v2 -y
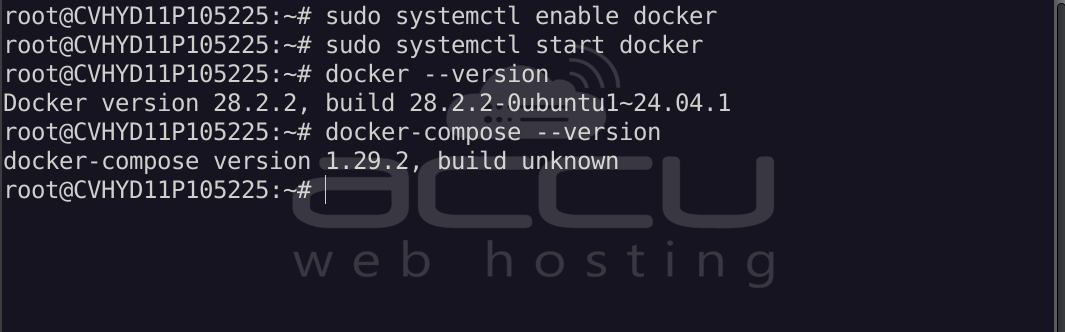
Enable and start Docker:
sudo systemctl enable docker
sudo systemctl start docker
Verify installation:
docker --version
docker-compose --version
Step 2: Open Necessary Ports
Before deploying, ensure your server allows traffic on the required ports.
To allow traffic via iptables:
# Allow the Frontend (8015) and Backend (8016)
sudo iptables -I INPUT -p tcp --dport 8015 -j ACCEPT
sudo iptables -I INPUT -p tcp --dport 8016 -j ACCEPT
# Ensure SSH is open
sudo iptables -I INPUT -p tcp --dport 22 -j ACCEPT
# Save the rules (requires iptables-persistent)
sudo apt install iptables-persistent -y
sudo netfilter-persistent save
Step 3: Create Project Directory
mkdir ~/adventurelog && cd ~/adventurelog
Step 4: Download Configuration Files
AdventureLog provides essential templates to get started. Use wget to fetch the standard docker-compose.yml and the .env.example file.
wget https://raw.githubusercontent.com/seanmorley15/AdventureLog/main/docker-compose.yml
wget https://raw.githubusercontent.com/seanmorley15/AdventureLog/main/.env.example
cp .env.example .env
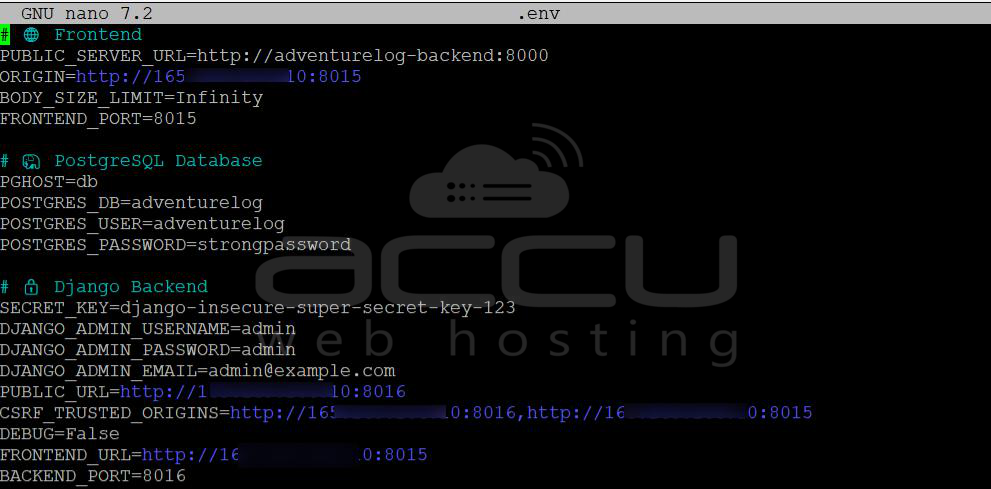
Step 4: Configure the Environment (.env)
The .env file is the brain of your deployment. It manages security keys, database credentials, and critical networking paths.
nano ~/adventurelog/.env
Delete all the content and paste the following code and customize it:
# Frontend
# CRITICAL: This must match the internal Docker service name
PUBLIC_SERVER_URL=http://adventurelog-backend:8000
ORIGIN=http://YOUR_VPS_IP:8015
FRONTEND_PORT=8015

# PostgreSQL Database
PGHOST=db
POSTGRES_DB=adventurelog
POSTGRES_USER=adventurelog
POSTGRES_PASSWORD=your_strong_password

# Django Backend
SECRET_KEY=generate_a_random_long_string_here
DJANGO_ADMIN_USERNAME=admin
DJANGO_ADMIN_PASSWORD=admin
[email protected]
PUBLIC_URL=http://YOUR_VPS_IP:8016
CSRF_TRUSTED_ORIGINS=http://YOUR_VPS_IP:8016,http://YOUR_VPS_IP:8015
DEBUG=False
FRONTEND_URL=http://YOUR_VPS_IP:8015
BACKEND_PORT=8016
ALLOWED_HOSTS=YOUR_VPS_IP,adventurelog-backend,localhost
Key variables to update:
- SECRET_KEY: Change this to a random long string.
- DJANGO_ADMIN_USERNAME & PASSWORD: Your login credentials.
- ORIGIN: Set this to http://your-vps-ip:8015 or your domain.
- PUBLIC_URL: Set this to your backend address (usually port 8016).
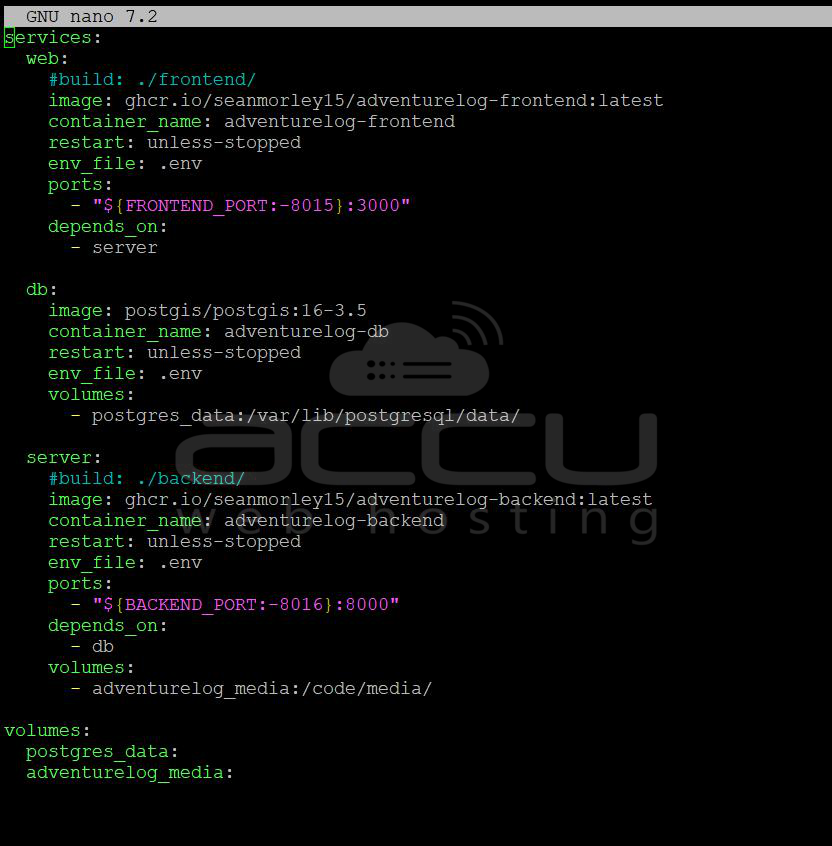
Step 5: The Docker Compose Deployment
Your docker-compose.yml file defines how the containers (Frontend, Backend, and Database) interact. Ensure your backend port mapping is set to 8016:8000 to match the internal Django service.
nano docker-compose.yml
Step 6: Launch AdventureLog
Start the containers in detached mode. This will pull the necessary images for the frontend, backend, and the PostGIS database.
docker compose up -d
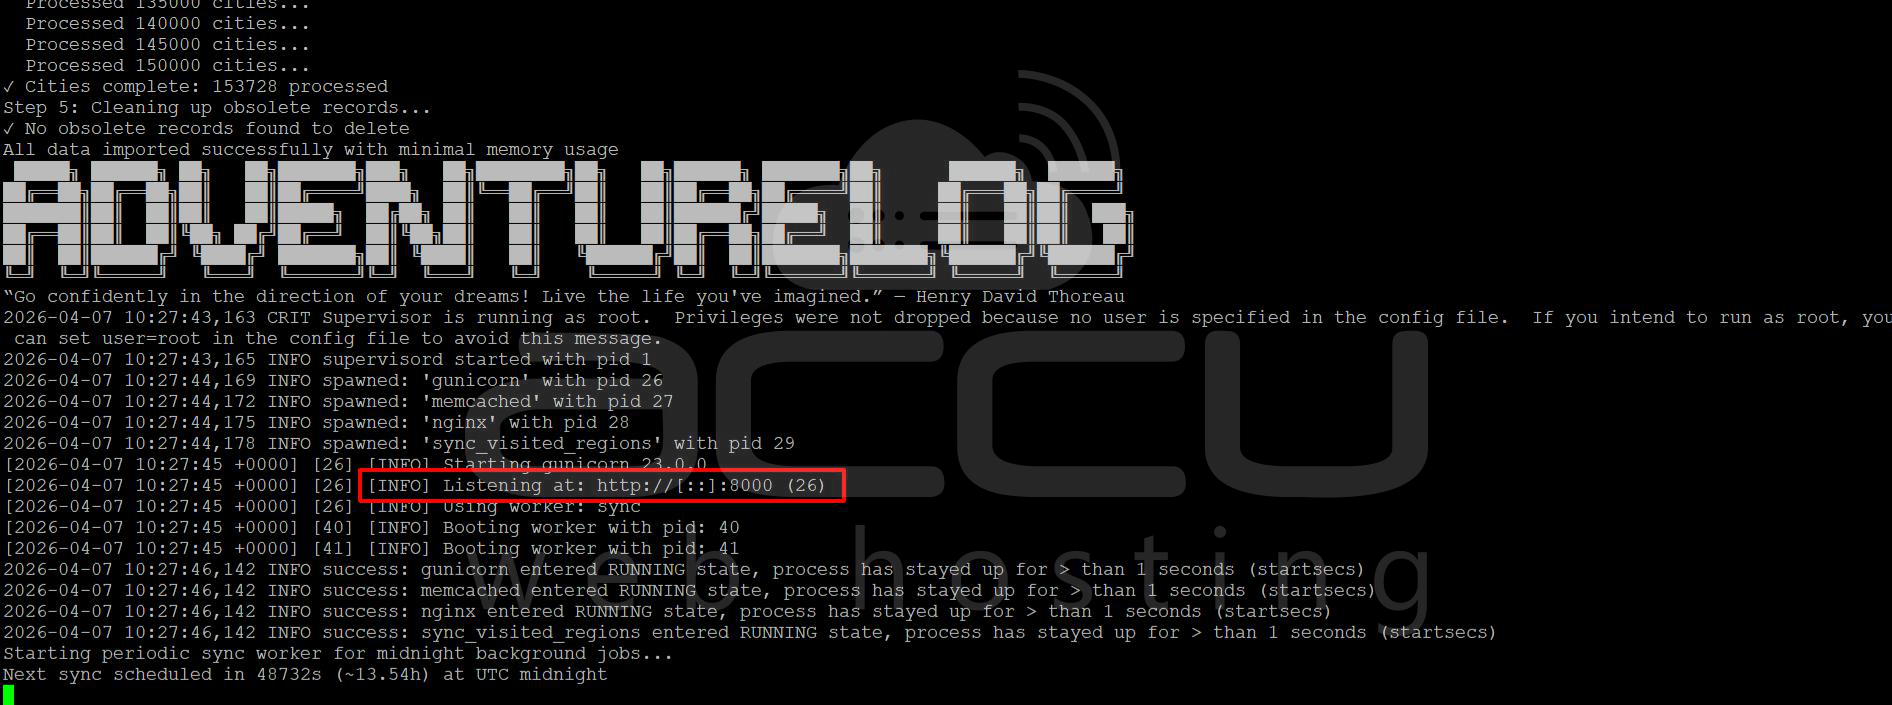
During the first launch, AdventureLog will automatically begin importing a massive dataset of over 150,000 cities and flags.
You can monitor it via:
docker logs adventurelog-backend -f
You will see "Flag for XX already exists" or "Cities complete."
Note: The web server will not start until this process hits 100%. If you see a 500 error during this time, simply wait 25–30 minutes.
Once the logs show [INFO] Listening at: http://[::]:8000, you can access the application.
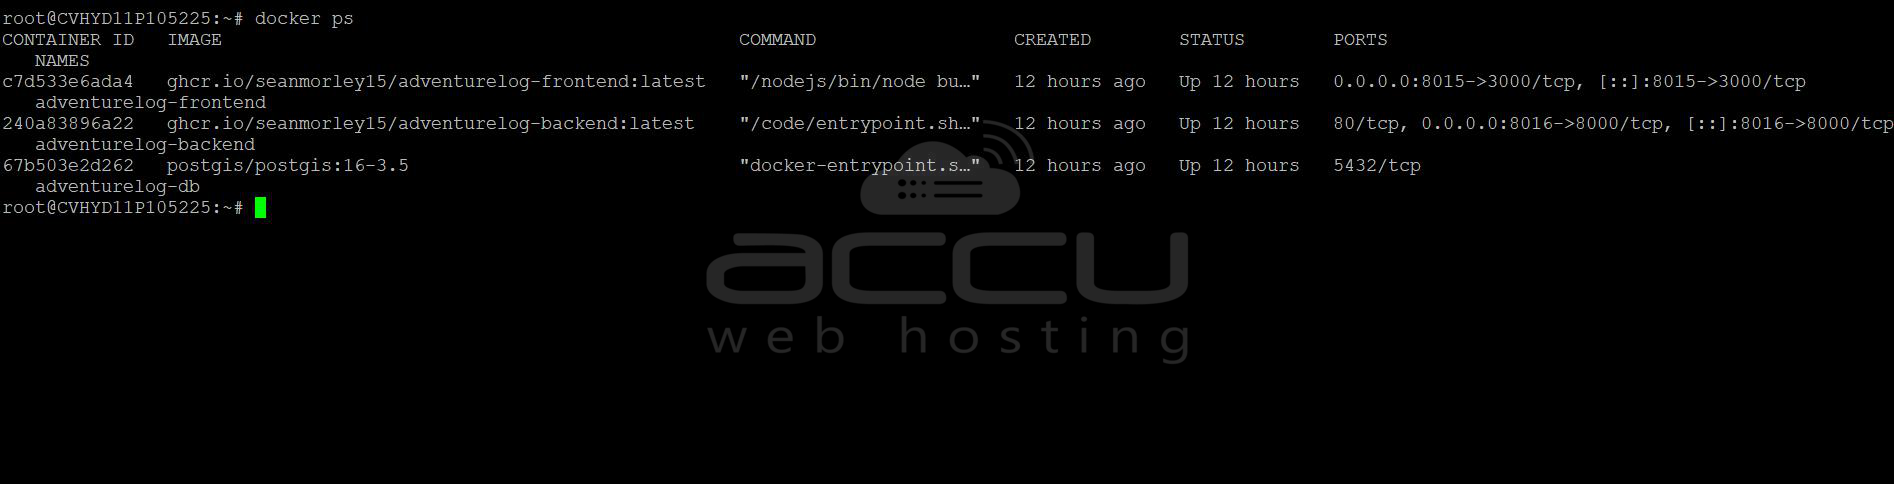
Step 7: Verify the containers
docker ps
You should see:
- adventurelog-frontend
- adventurelog-backend
- adventurelog-db
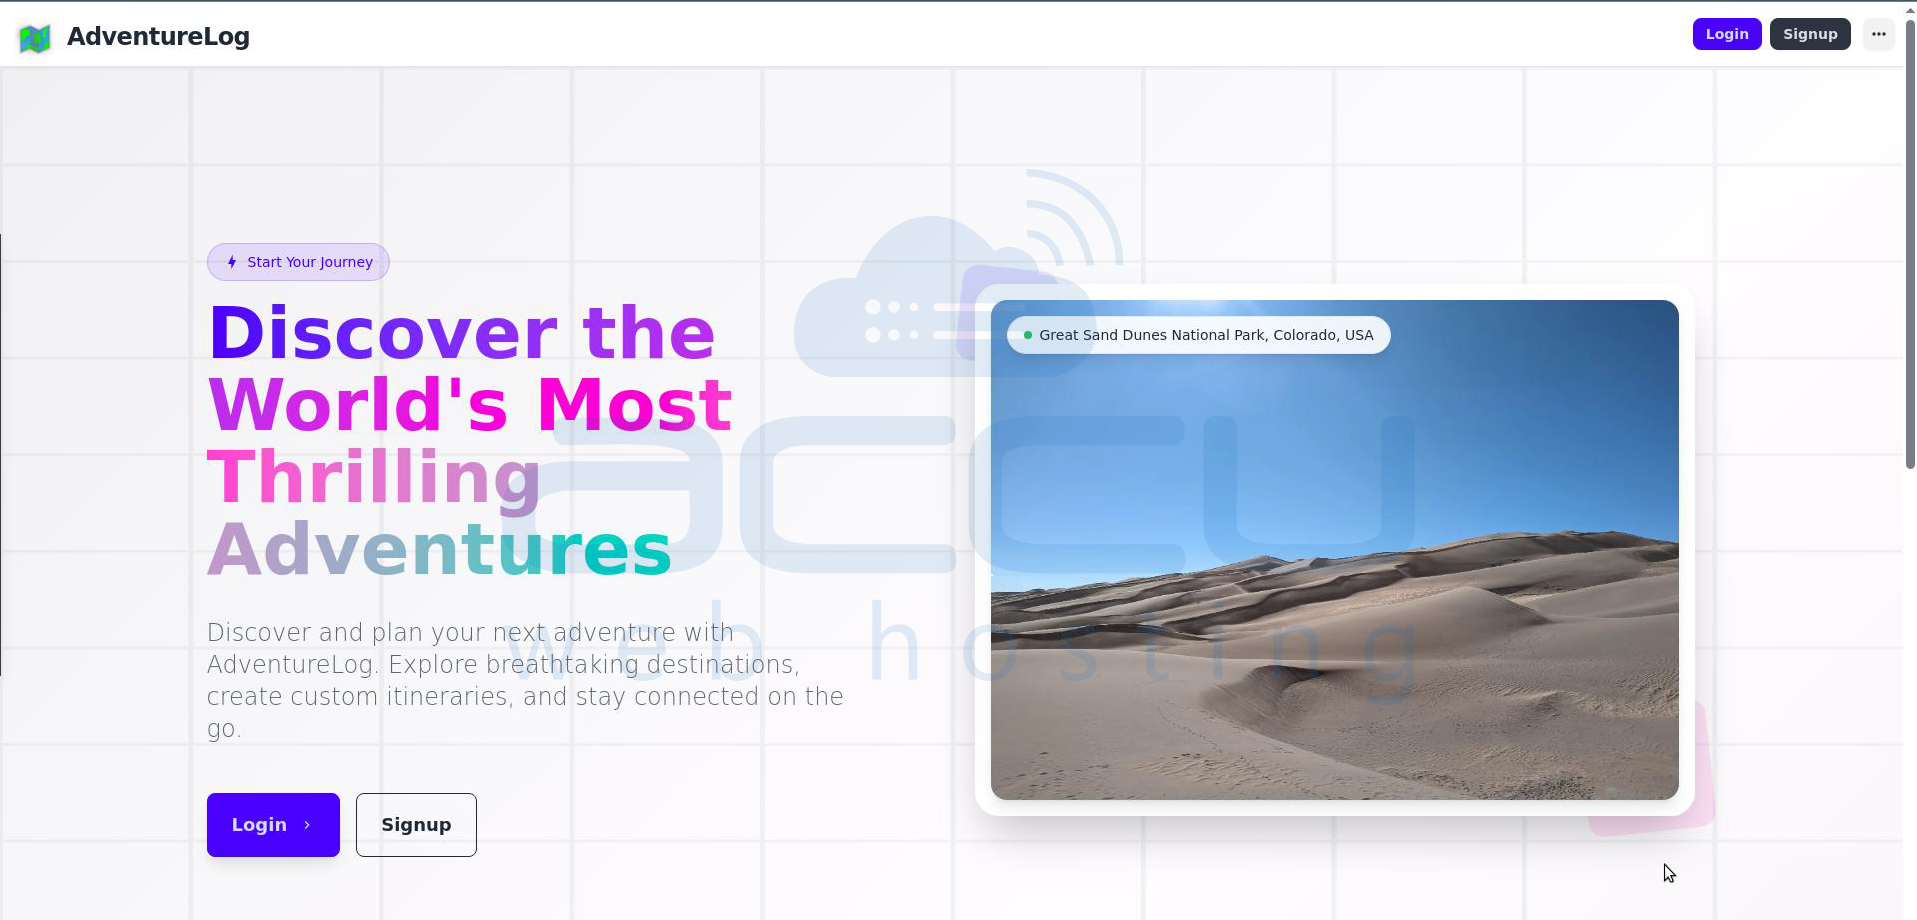
Step 8: Access the Dashboard
Once the containers are running, open your web browser and navigate to:
http://your-vps-ip:8015
Login Page:
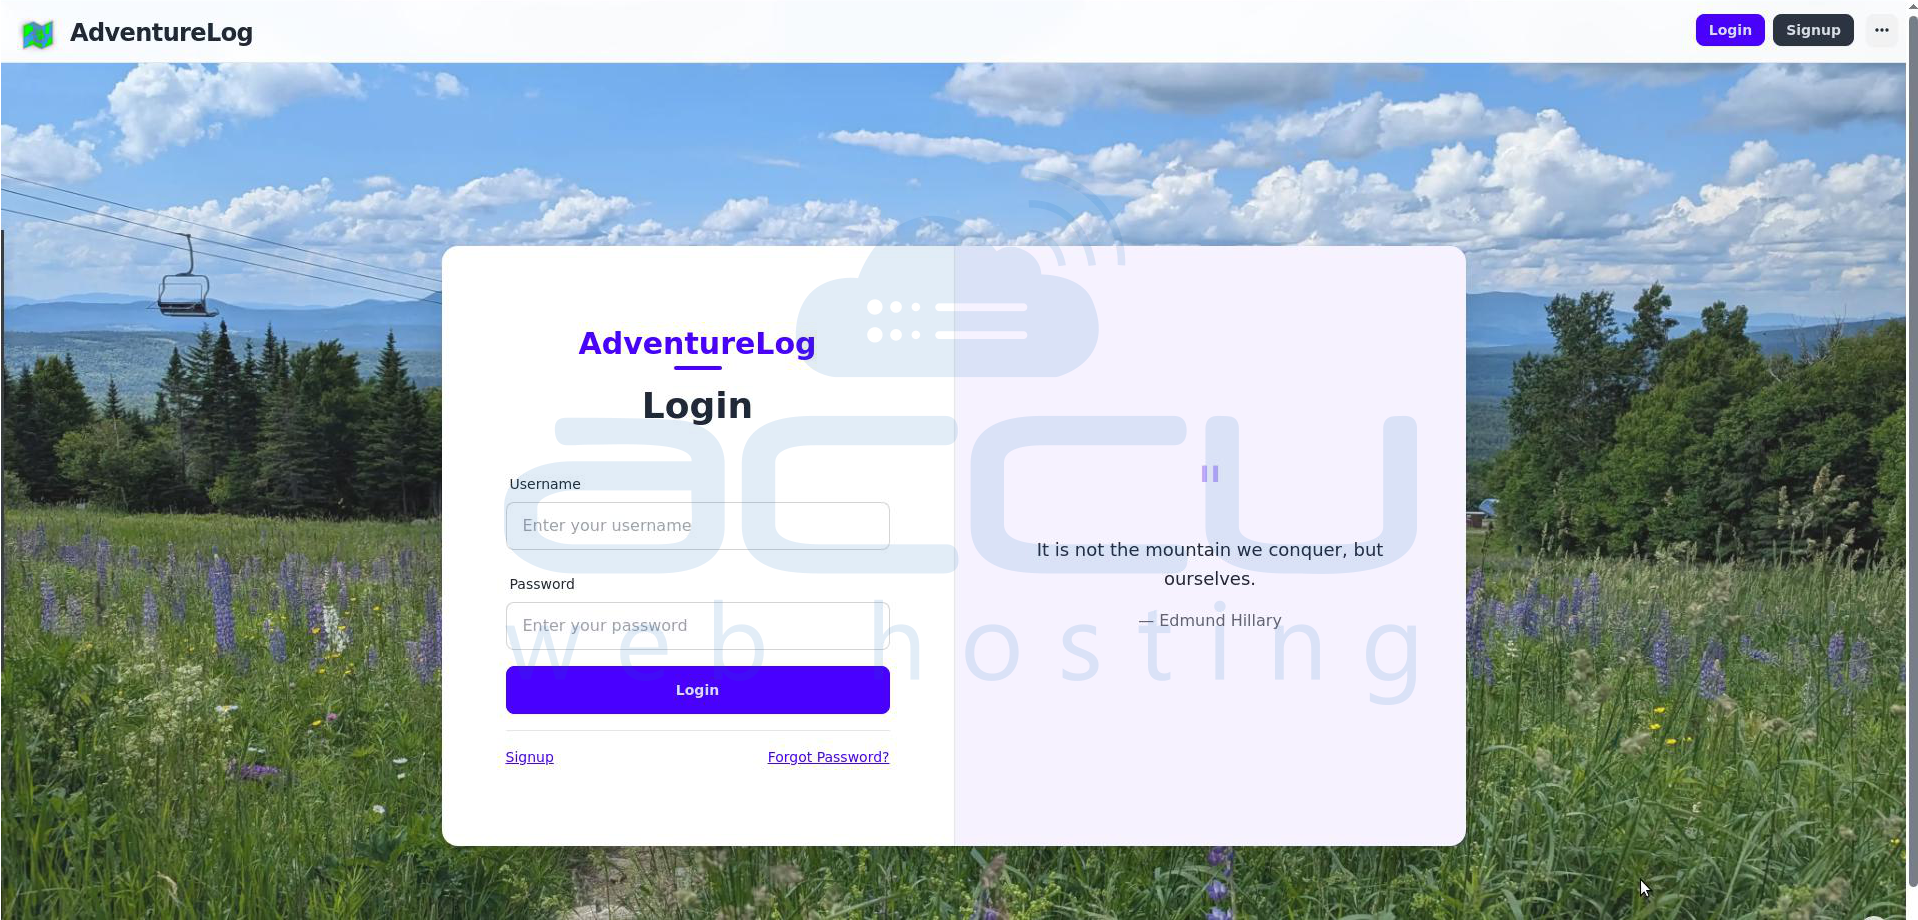
You can now log in using the admin credentials you specified in the .env file.
Signup Page:
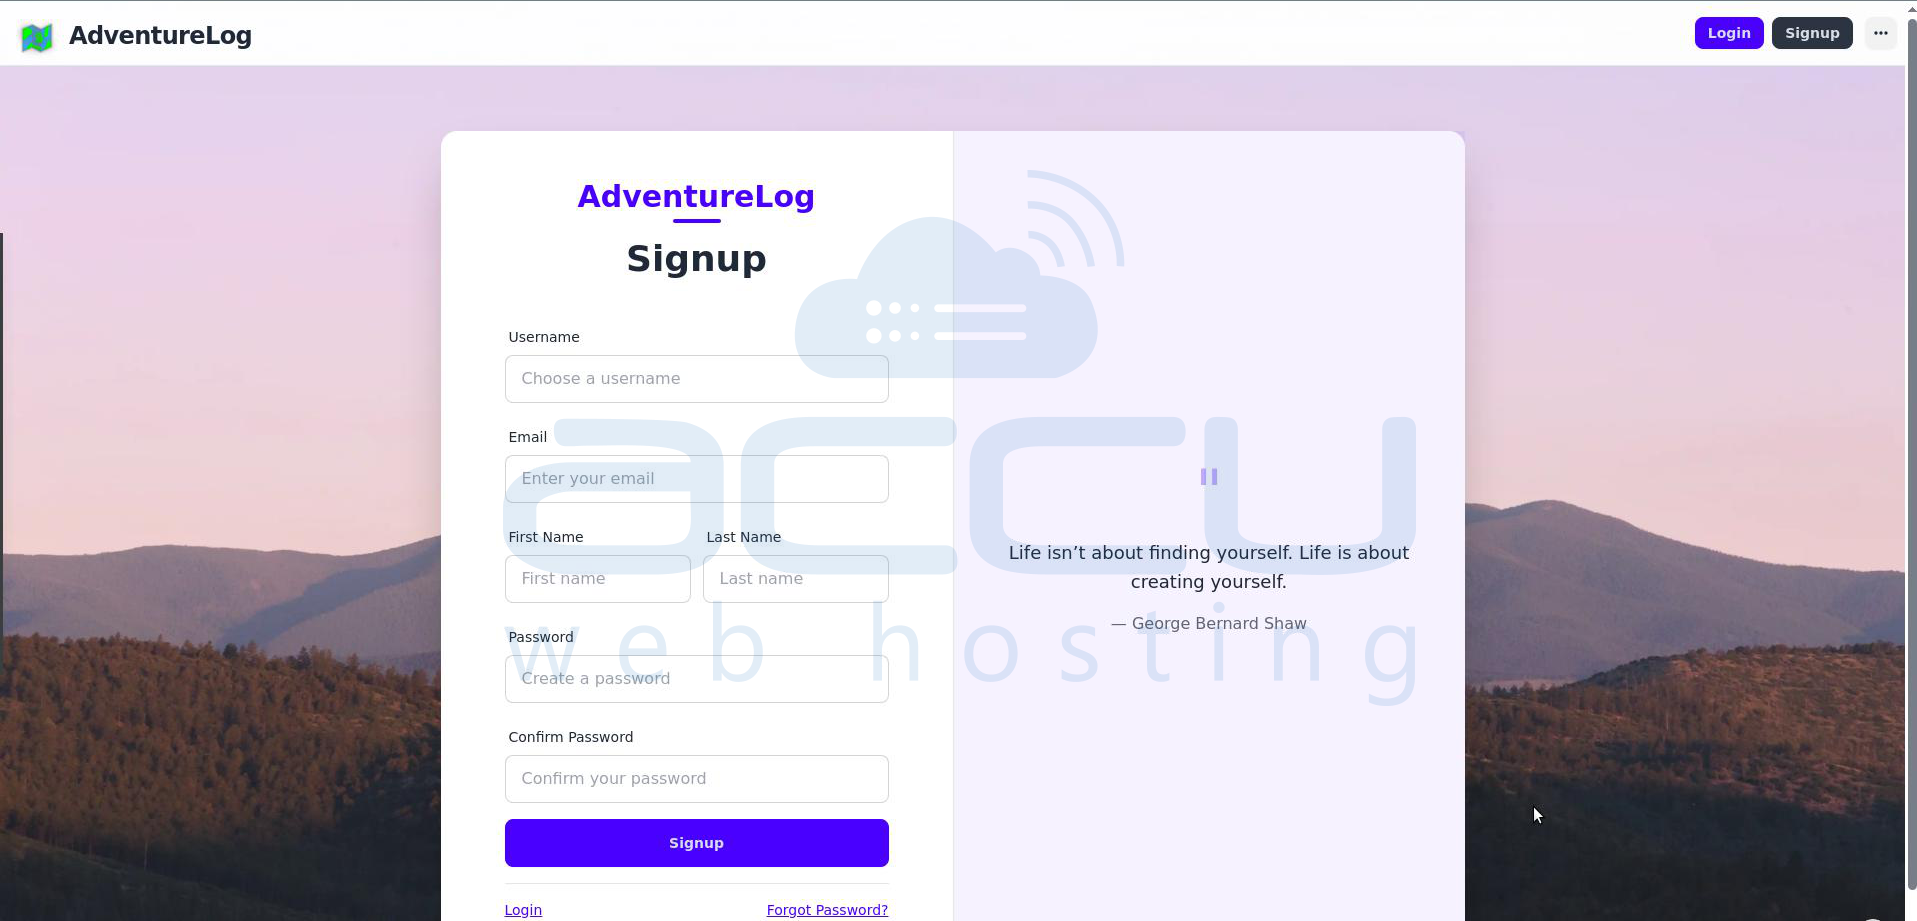
You can sign up as a new user and log in to it.
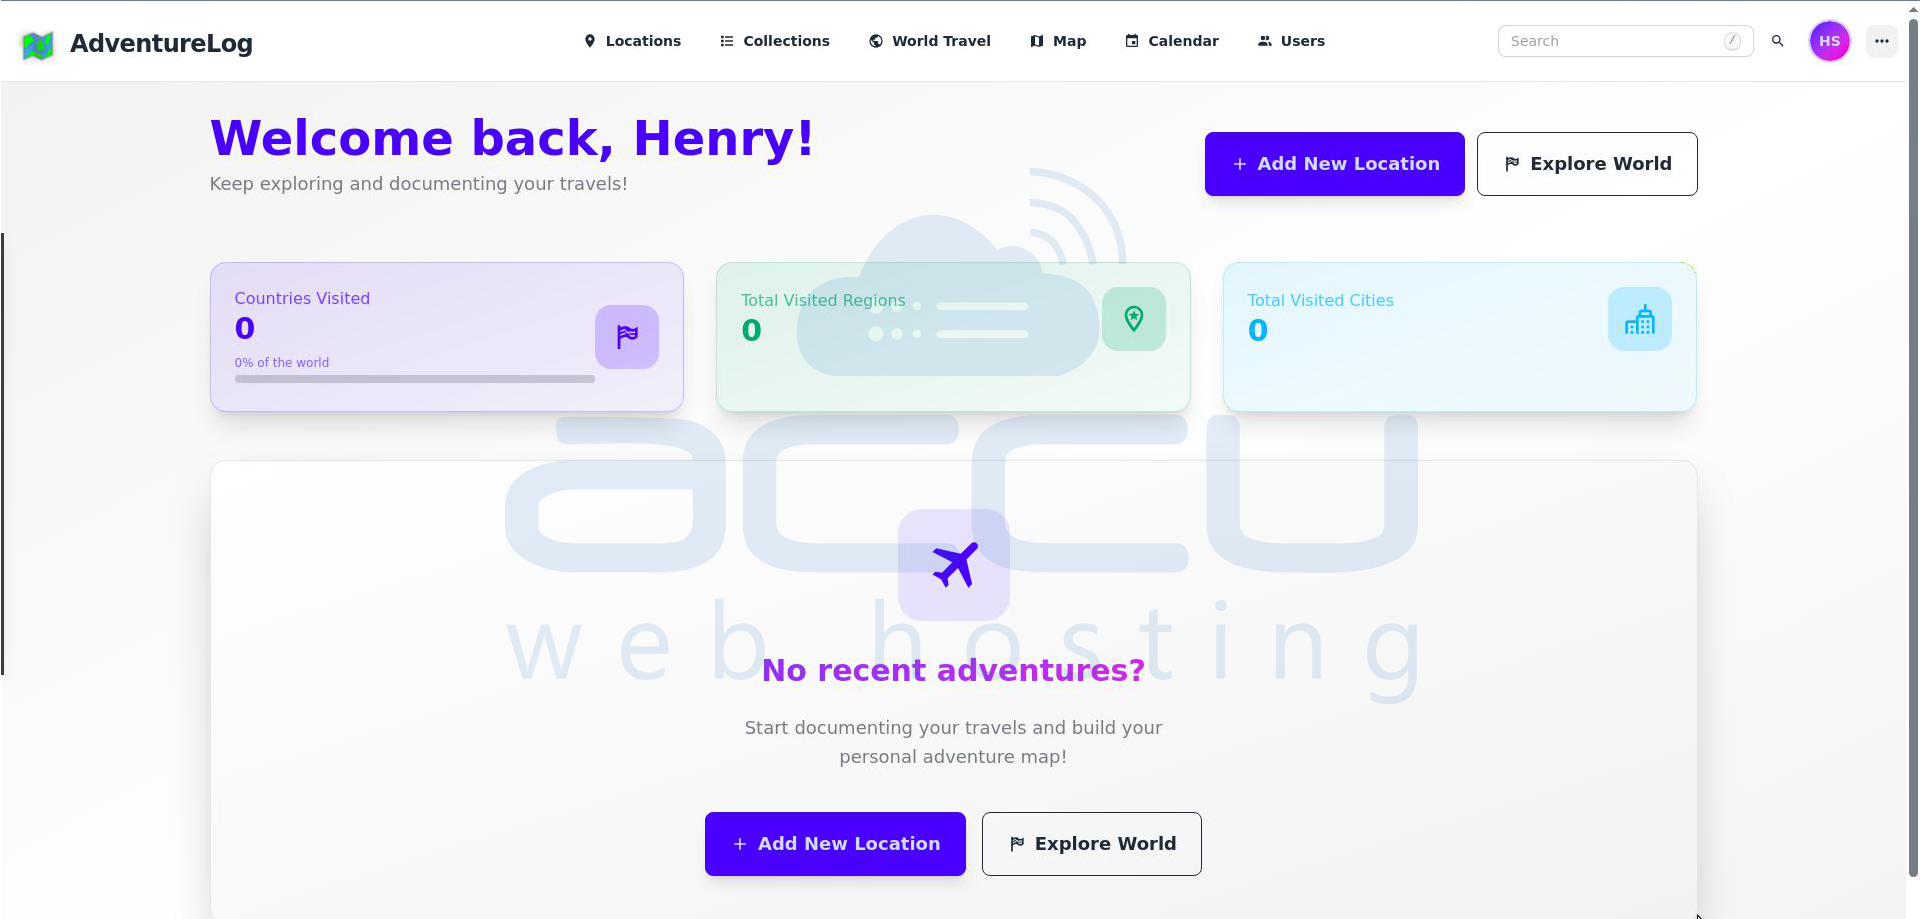
Dashboard:
Conclusion:
By successfully hosting AdventureLog on your own VPS, you’ve moved beyond being a mere user of a service—you are now the owner of your data. This setup provides a professional-grade travel tracking platform that is private, secure, and highly performant. Whether you are documenting a quick weekend getaway or a global trek, your AdventureLog instance is now a permanent home for your memories.
