Introduction:
Managing personal finances securely and privately has become increasingly important. Actual Budget is a powerful open-source budgeting application that follows the envelope budgeting method, helping users assign every dollar to a purpose and maintain financial discipline.
Unlike cloud-based tools, Actual Budget is self-hosted, meaning your financial data stays entirely under your control. Hosting it on a VPS using Docker ensures:
- Full data privacy
- High availability
- Easy scalability
- Simplified deployment
In this guide, you’ll learn how to deploy Actual Budget on an Ubuntu 24 VPS using Docker, step-by-step.
What is the Actual Budget?
Actual Budget is a privacy-focused personal finance app built with a local-first architecture. It was originally a commercial product and later open-sourced, gaining strong community adoption.
Key Features:
- Envelope (zero-based) budgeting
- Offline-first and fast performance
- Multi-device sync with encryption
- Financial reports (cash flow, net worth)
- Import from other budgeting tools
- Fully self-hosted (no third-party data sharing)
Step 1: Update System & Install Docker
First, update your server packages:
sudo apt update && sudo apt upgrade -y
Install Docker & Compose:
sudo apt install -y docker.io docker-compose
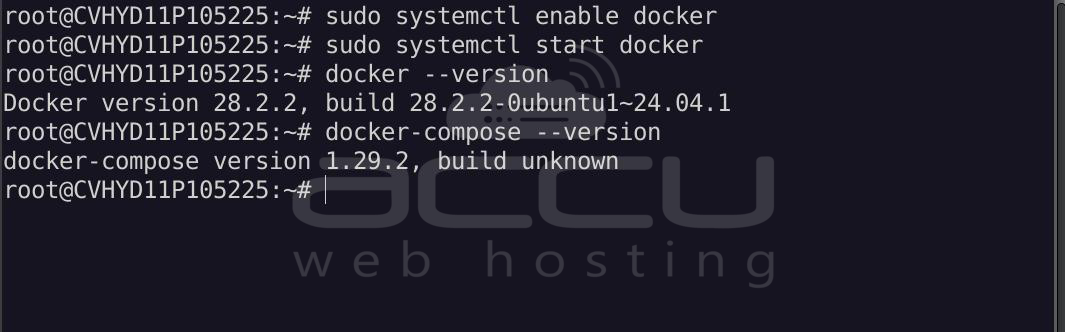
Enable and start Docker:
sudo systemctl enable docker
sudo systemctl start docker
Verify installation:
docker --version
docker-compose --version
Step 2: Create Project Directory
mkdir actual-budget
cd actual-budget
Step 3: Create Docker Compose File
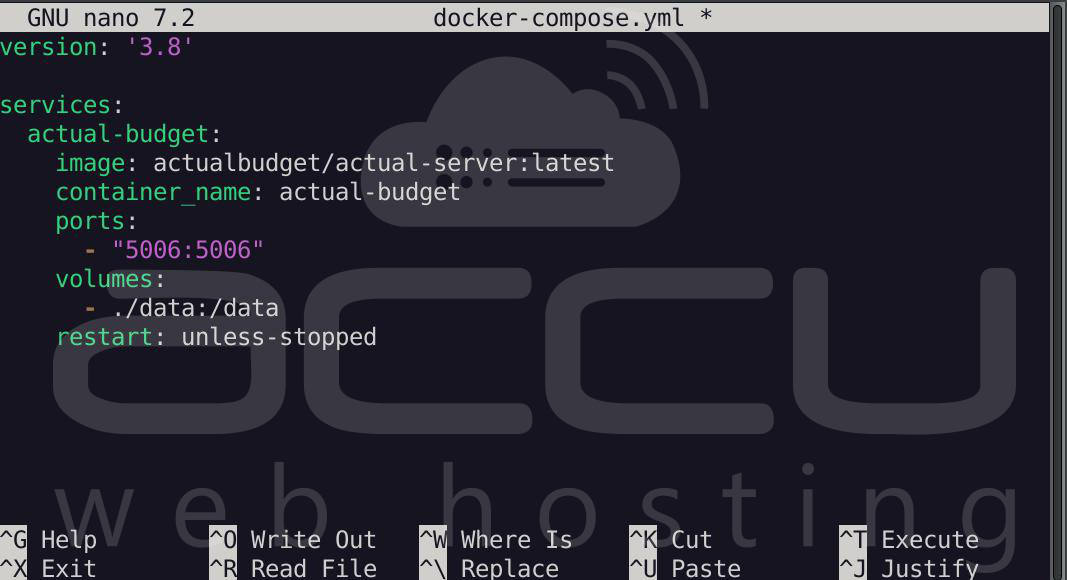
nano docker-compose.yml
Paste the following code:
version: '3.8'

services:
  actual-budget:
    image: actualbudget/actual-server:latest
    container_name: actual-budget
    ports:
      - "5006:5006"
    volumes:
      - ./data:/data
    restart: unless-stopped
Save and exit (CTRL + X, then Y, then Enter).
Step 4: Start the Application
Run:
docker-compose up -d
This will download the image and start your Actual Budget container.
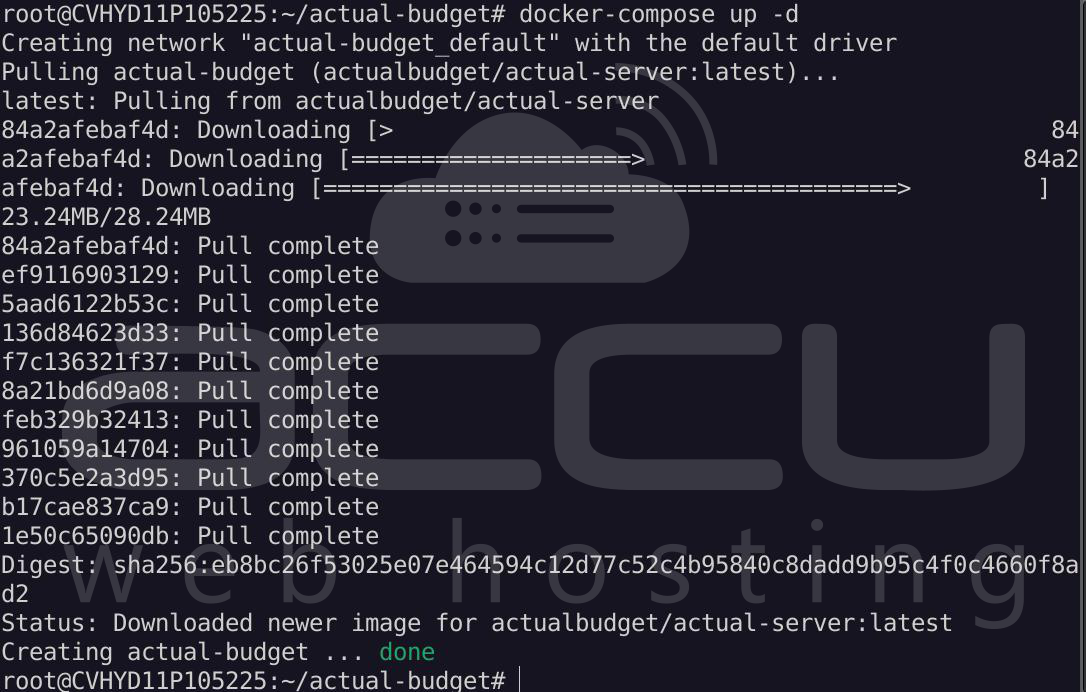
Check status:
docker ps
You should see: actual-budget

Step 5: Install and Configure Nginx
Actual Budget requires HTTPS for best performance due to browser security restrictions like SharedArrayBuffer.
Install Nginx:
sudo apt install nginx -y
Enable and start:
sudo systemctl enable nginx
sudo systemctl start nginx
Step 6: Configure Reverse Proxy
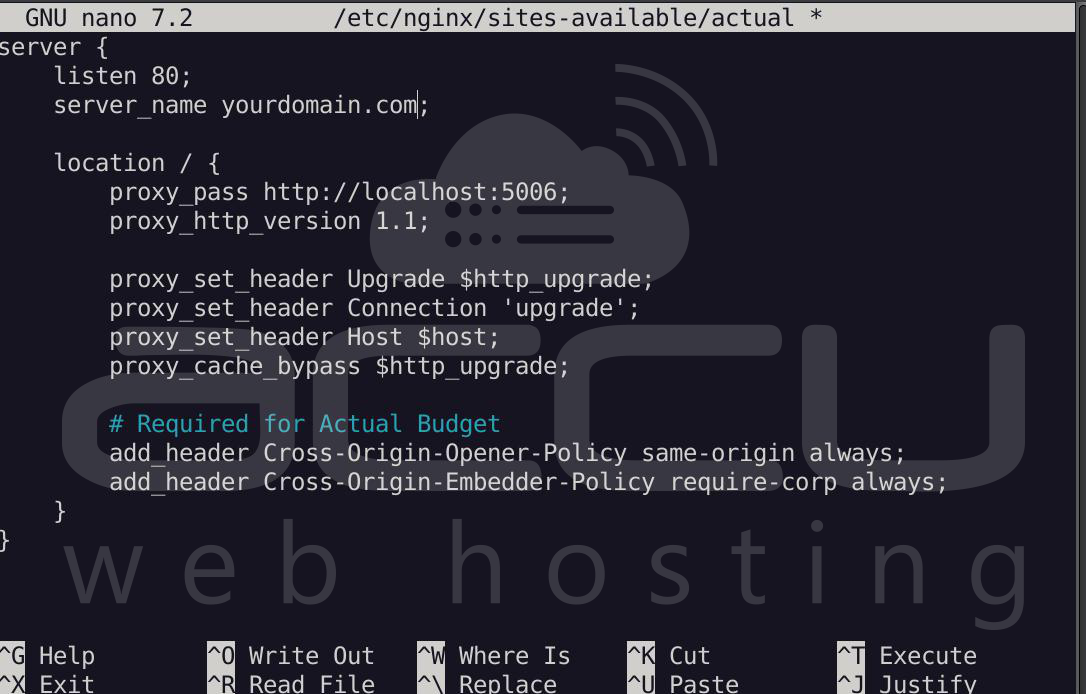
Create config file:
sudo nano /etc/nginx/sites-available/actual
Paste:
server {
    listen 80;
    server_name yourdomain.com;


    location / {
        proxy_pass http://localhost:5006;
        proxy_http_version 1.1;
        proxy_set_header Upgrade $http_upgrade;
        proxy_set_header Connection 'upgrade';
        proxy_set_header Host $host;
        proxy_cache_bypass $http_upgrade;

        # Required for Actual Budget
        add_header Cross-Origin-Opener-Policy same-origin always;
        add_header Cross-Origin-Embedder-Policy require-corp always;
    }
}
Note: Replace <yourdomain.com> with your actual website domain.
Enable:
sudo ln -s /etc/nginx/sites-available/actual /etc/nginx/sites-enabled/
sudo nginx -t
sudo systemctl reload nginx
Step 7: Enable HTTPS with Let’s Encrypt
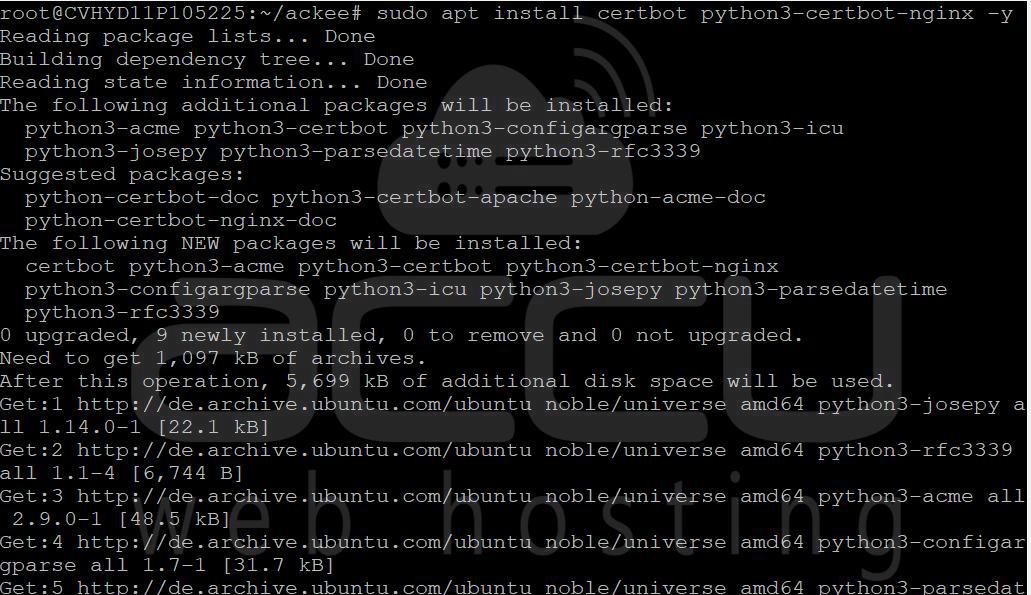
Install Certbot:
sudo apt install certbot python3-certbot-nginx -y
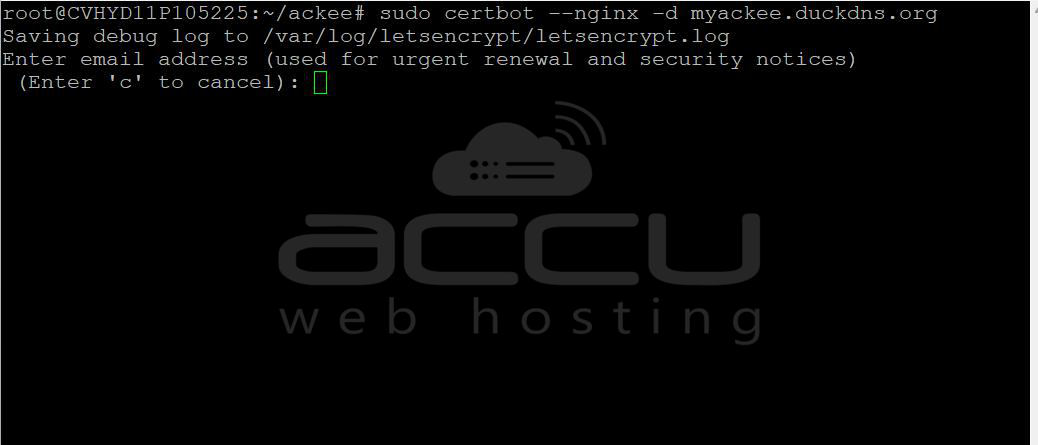
Run:
sudo certbot --nginx -d yourdomain.com
Note: Replace <yourdomain.com> with your actual website domain.

Step 8: Access Actual Budget
Open your browser and browse the following URL:
https://yourdomain.com
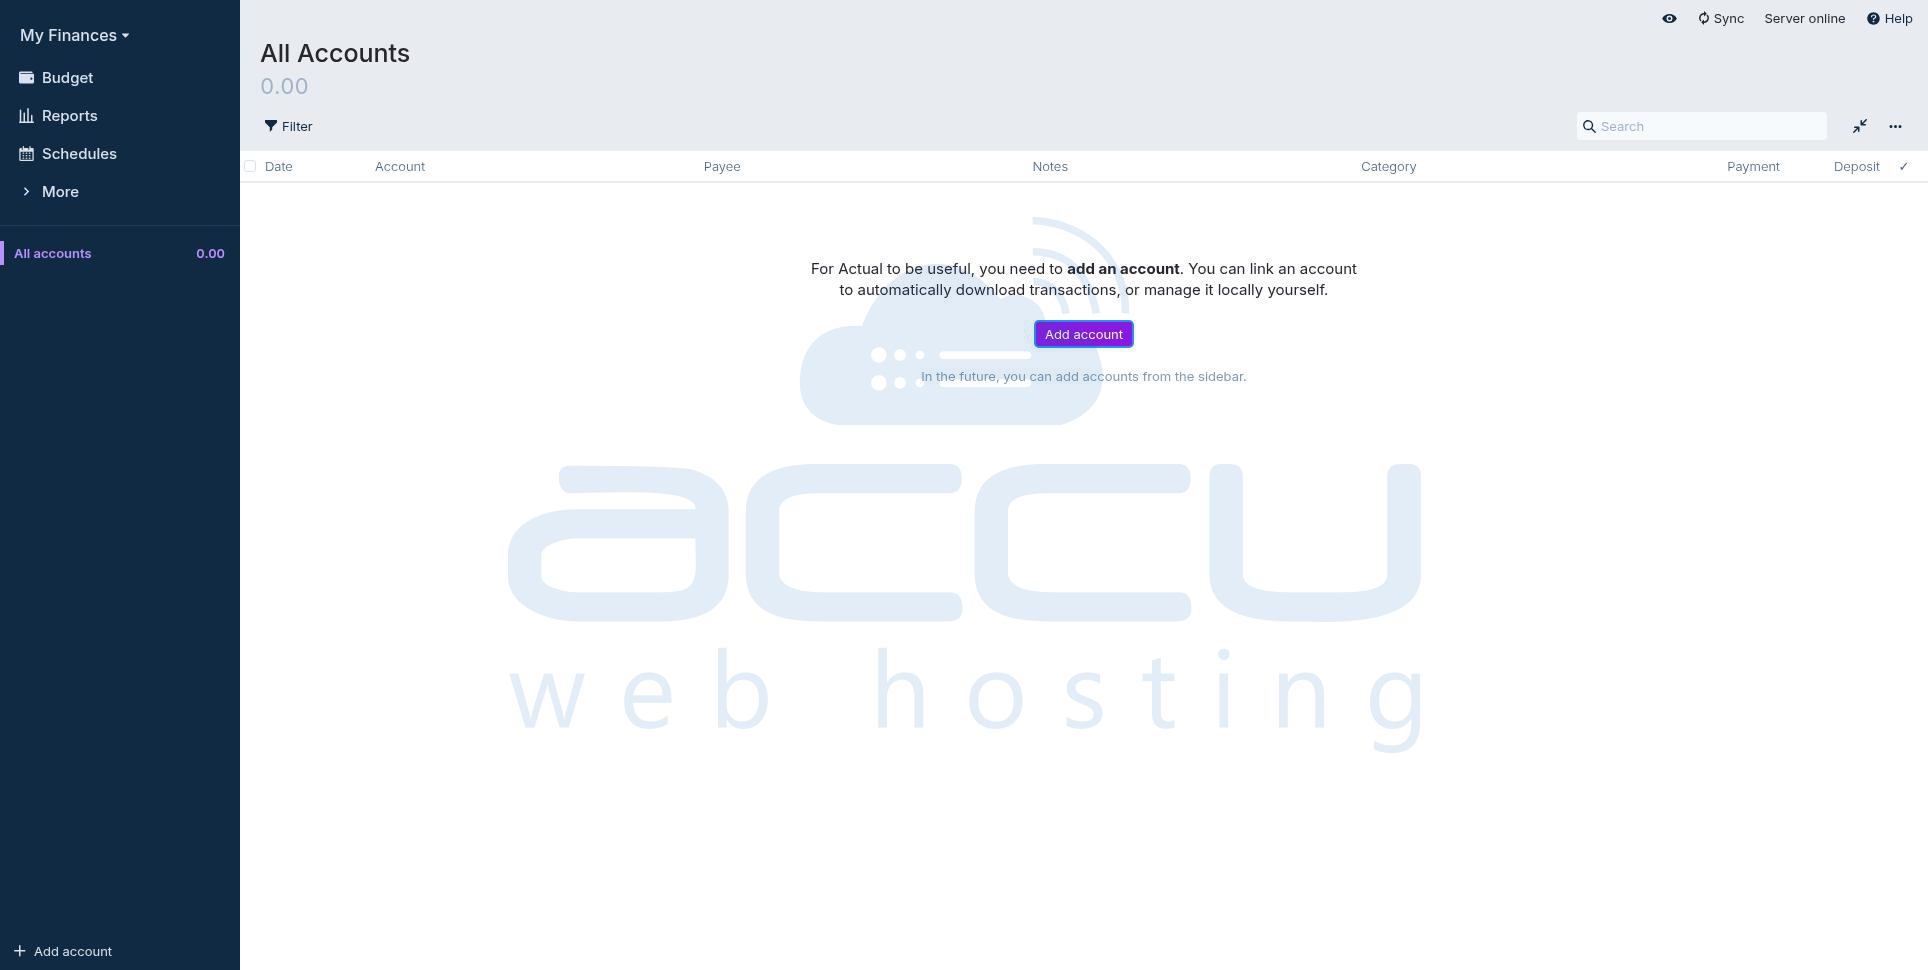
You’ll see the Actual Budget welcome screen.

Now, you can create your first account and start managing finances.
- Click on Add Account to add a local account (if you want to add transactions manually)
- Or you can also link a European, North American, or Brazilian bank account
Step 9: Backup Your Budget
Your data is stored in: ./data
Go to: Settings -> Export Data
OR backup Docker volume:
tar -czvf backup.tar.gz data/
Conclusion:
Hosting Actual Budget on an Ubuntu 24 VPS using Docker with Nginx and SSL provides a secure, efficient, and cost-effective solution for personal finance management. By adding HTTPS and the required browser security headers, you ensure compatibility with modern browsers while maintaining complete control over your data.
Using iptables instead of UFW gives you low-level control over network security, making this setup ideal for advanced users and production environments.
