Introduction:
In today’s privacy-focused web environment, many website owners prefer analytics tools that respect user data without intrusive tracking. Ackee is a lightweight, open-source, and privacy-friendly analytics solution that serves as an excellent alternative to tools like Google Analytics.
Ackee is designed to anonymize visitor data while still providing meaningful insights. In this guide, we will walk you through the step-by-step process of hosting Ackee on an Ubuntu 24 server, including installation, configuration, and deployment.
Step 1: Configure DNS
Go to your domain provider and create an A record:
| Type | Name | Value (IP) |
| A | analytics | YOUR_SERVER_IP |
Wait for DNS propagation (usually a few hours).
Step 2: Update System & Install Docker
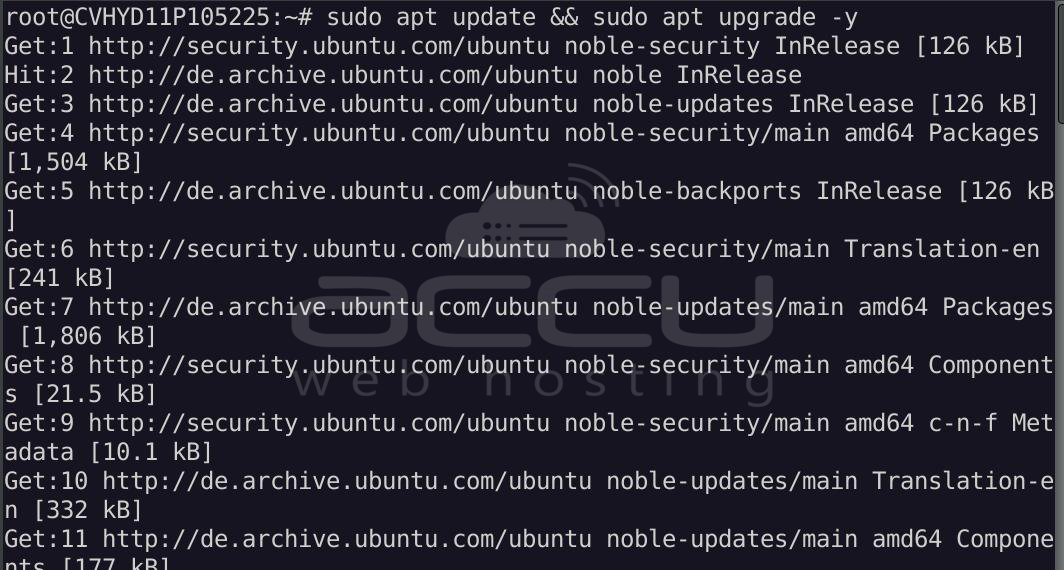
First, update your server packages:
sudo apt update && sudo apt upgrade -y
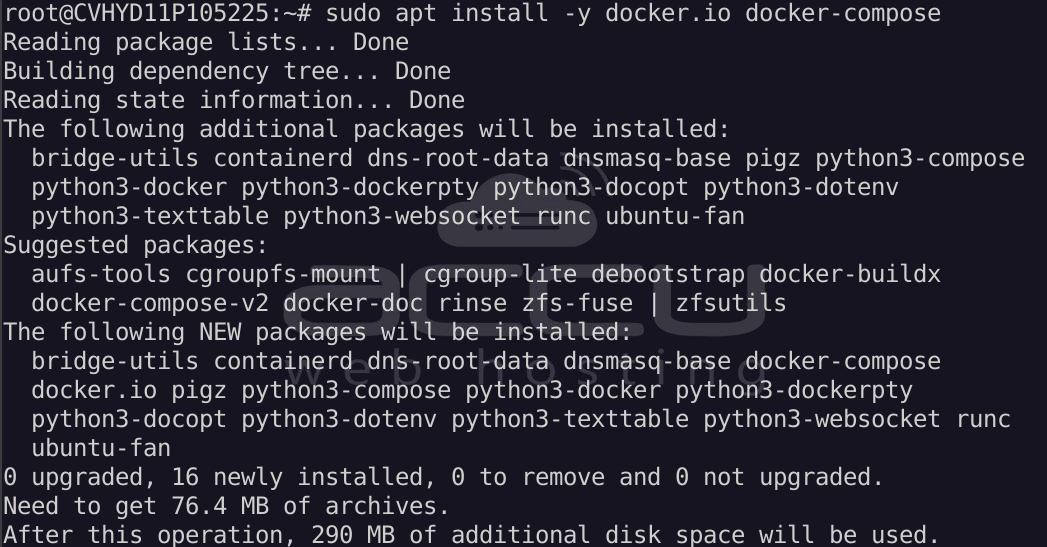
Install Docker & Compose:
sudo apt install -y docker.io docker-compose
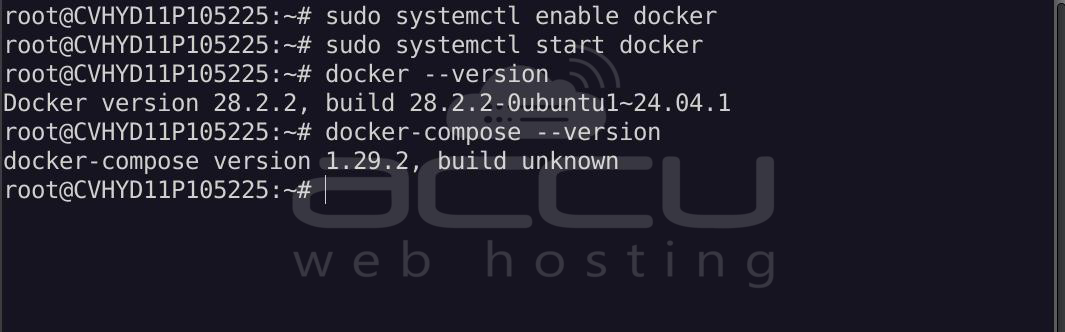
Enable and start Docker:
sudo systemctl enable docker
sudo systemctl start docker
Verify installation:
docker --version
docker-compose --version
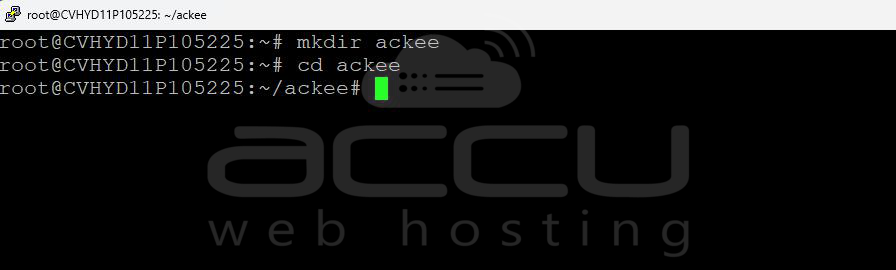
Step 3: Create Project Directory
mkdir ackee
cd ackee
Step 4: MongoDB Setup
Ackee requires MongoDB to store analytics data. We will run MongoDB inside Docker.
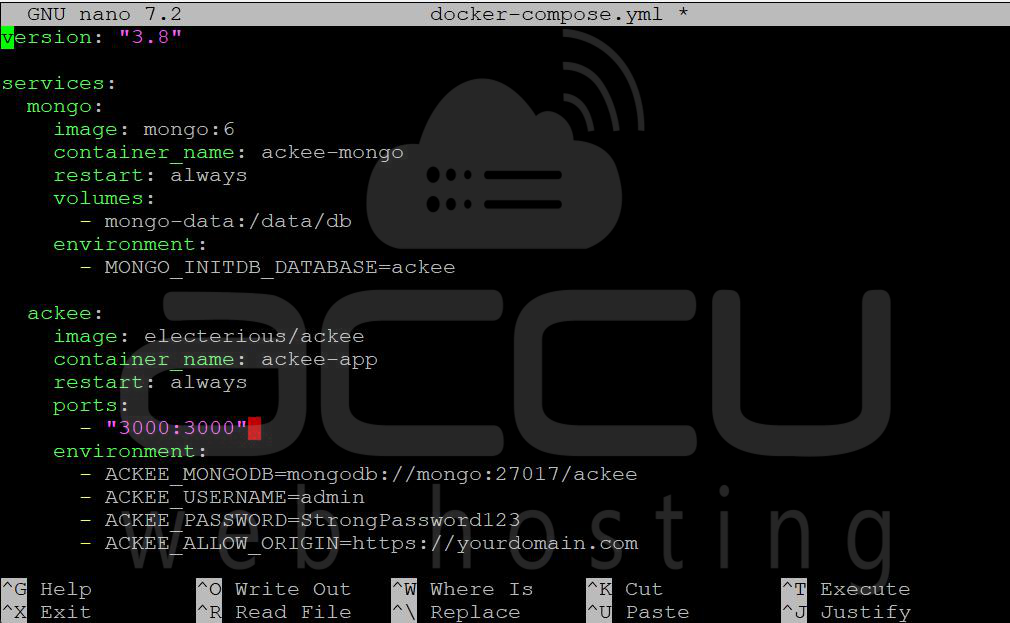
Create Docker Compose File:
nano docker-compose.yml
Paste the following code:
version: "3.8"

services:
  mongo:
    image: mongo:6
    container_name: ackee-mongo
    restart: always
    volumes:
      - mongo-data:/data/db
    environment:
      - MONGO_INITDB_DATABASE=ackee
  ackee:
    image: electerious/ackee
    container_name: ackee-app
    restart: always
    ports:
      - "3000:3000"
    environment:
      - ACKEE_MONGODB=mongodb://mongo:27017/ackee
      - ACKEE_USERNAME=admin
      - ACKEE_PASSWORD=StrongPassword123
      - ACKEE_ALLOW_ORIGIN=https://yourdomain.com
    depends_on:
      - mongo

volumes:
  mongo-data:
Replace:
- <yourdomain.com> with your actual website domain.
- Update username/password
Save and exit (CTRL + X, then Y, then Enter).
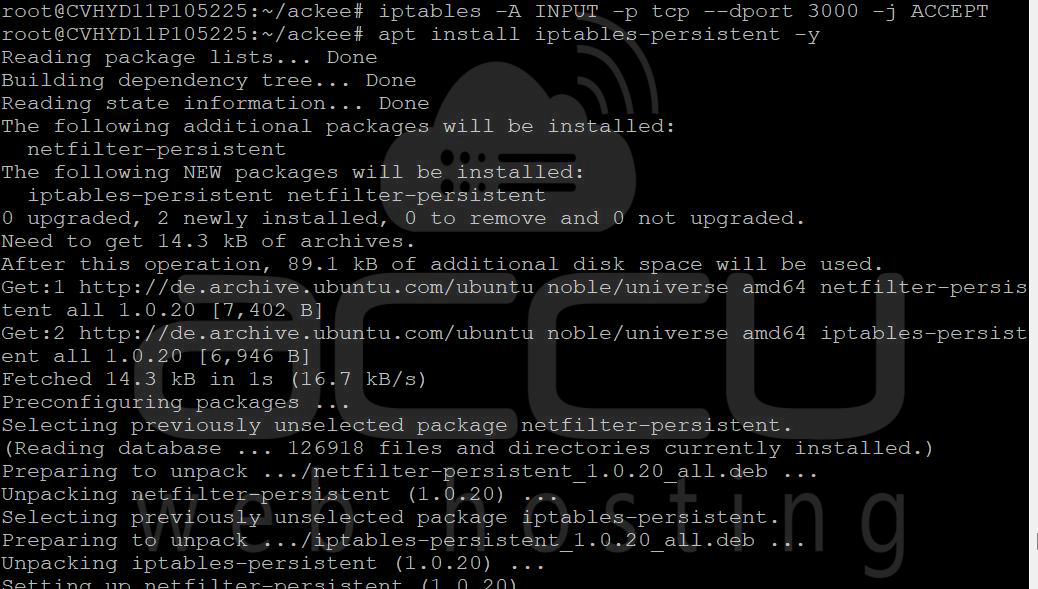
Open 3000 Port:
iptables -A INPUT -p tcp --dport 3000 -j ACCEPT
Save rules:
apt install iptables-persistent -y
netfilter-persistent save
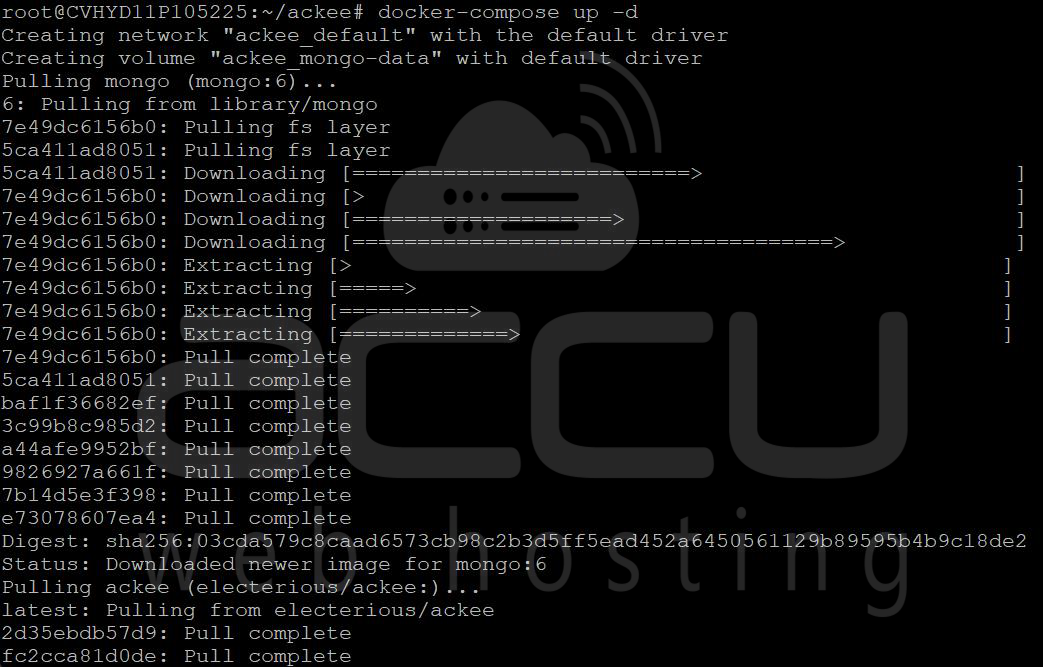
Step 5: Start MongoDB + Ackee
docker-compose up -d
This will download the image and start your Ackee Container.
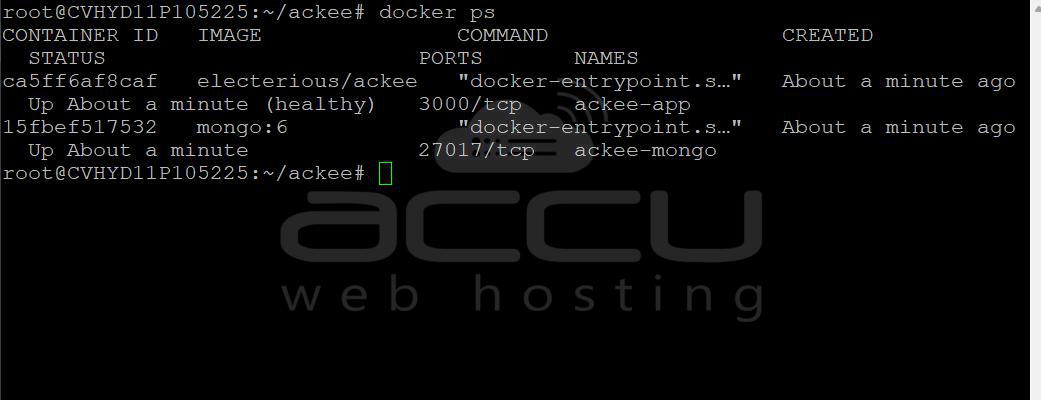
Check status:
docker ps
You should see:
ackee-mongo
ackee-app
MongoDB Data Persistence:
Data is stored in Docker volume: mongo-data
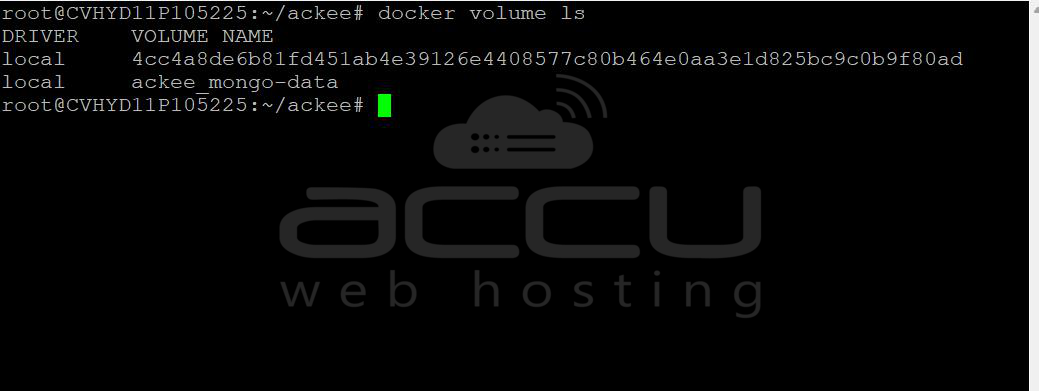
Check volume:
docker volume ls
This ensures your analytics data is safe even after a container restart.
Step 6: Install and Configure Nginx
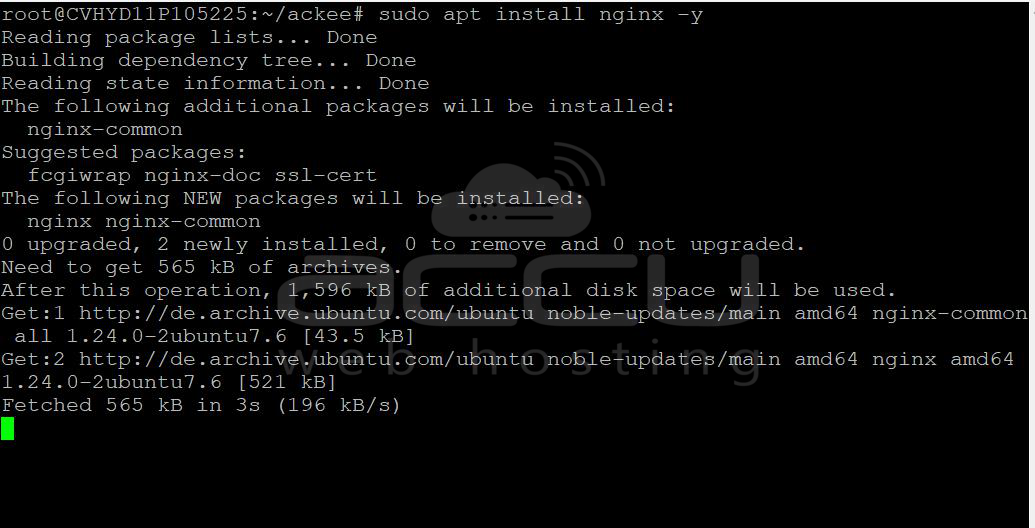
Install Nginx:
sudo apt install nginx -y
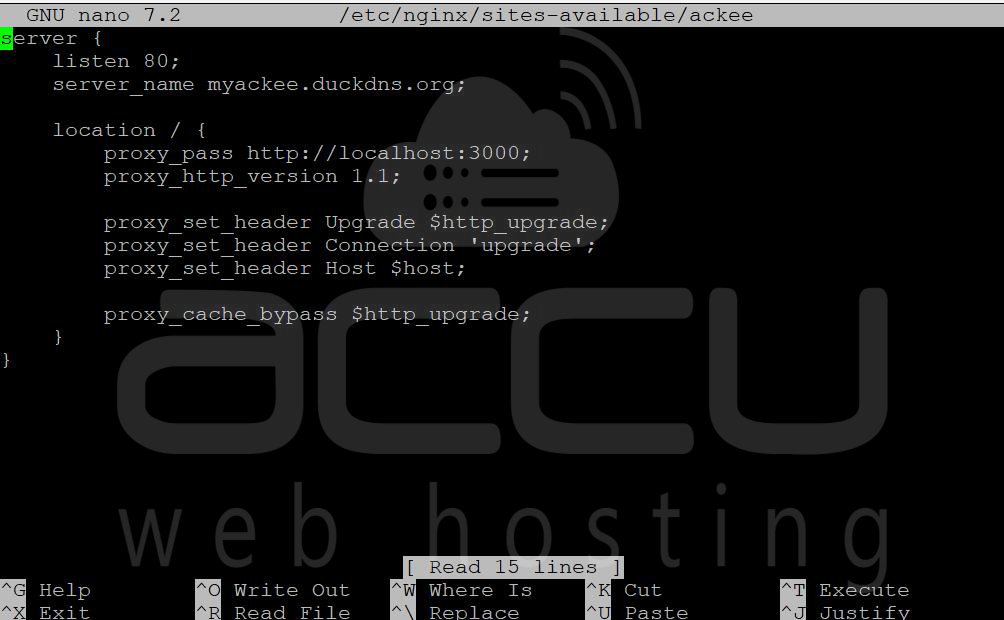
Create config:
sudo nano /etc/nginx/sites-available/ackee
Add:
server {
    listen 80;
    server_name analytics.yourdomain.com;

    location / {
        proxy_pass http://localhost:3000;
        proxy_http_version 1.1;

        proxy_set_header Upgrade $http_upgrade;
        proxy_set_header Connection 'upgrade';
        proxy_set_header Host $host;

        proxy_cache_bypass $http_upgrade;
    }
}
Note: Replace <analytics.yourdomain.com> with your actual website domain.
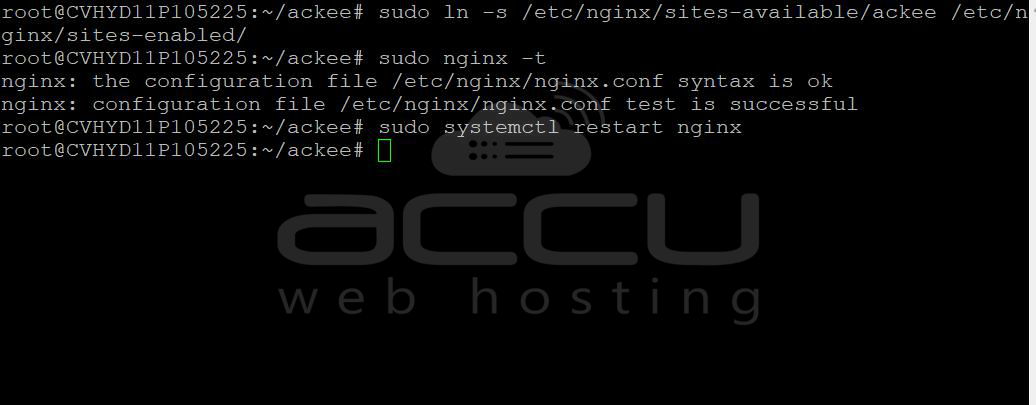
Enable configuration:
sudo ln -s /etc/nginx/sites-available/ackee /etc/nginx/sites-enabled/
sudo nginx -t
sudo systemctl restart nginx
Step 7: Enable HTTPS with Let’s Encrypt
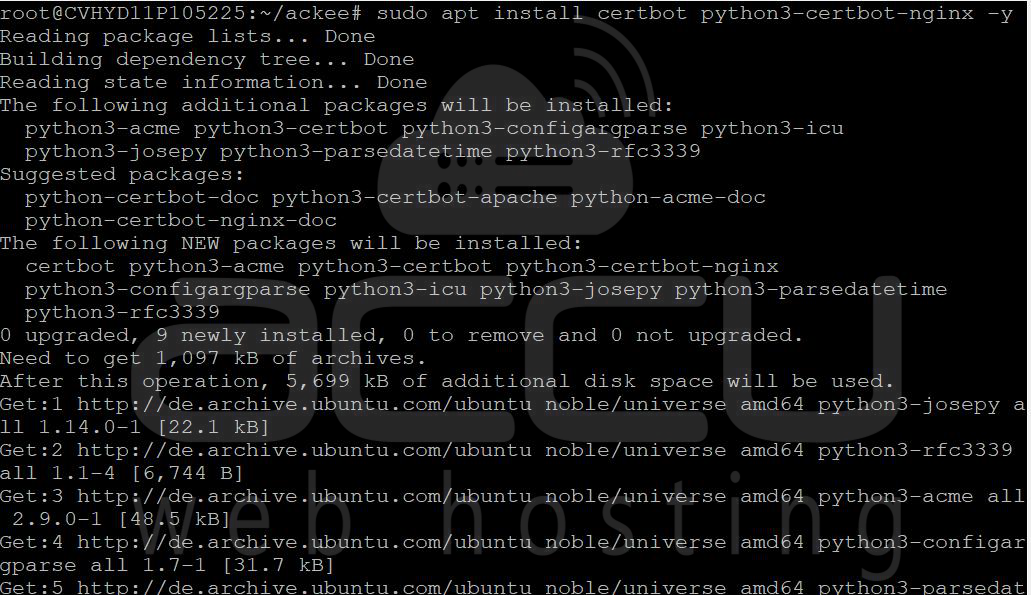
Install Certbot:
sudo apt install certbot python3-certbot-nginx -y
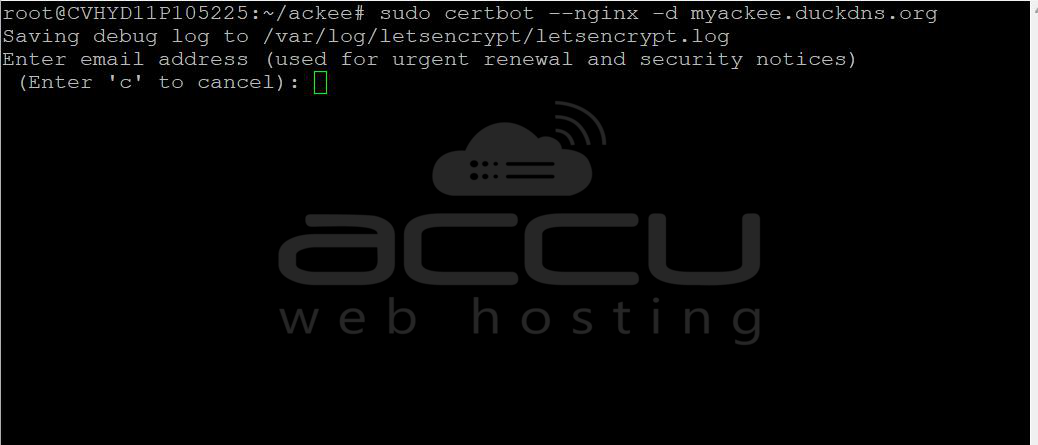
Run:
sudo certbot --nginx -d analytics.yourdomain.com
Note: Replace <analytics.yourdomain.com> with your actual website domain.
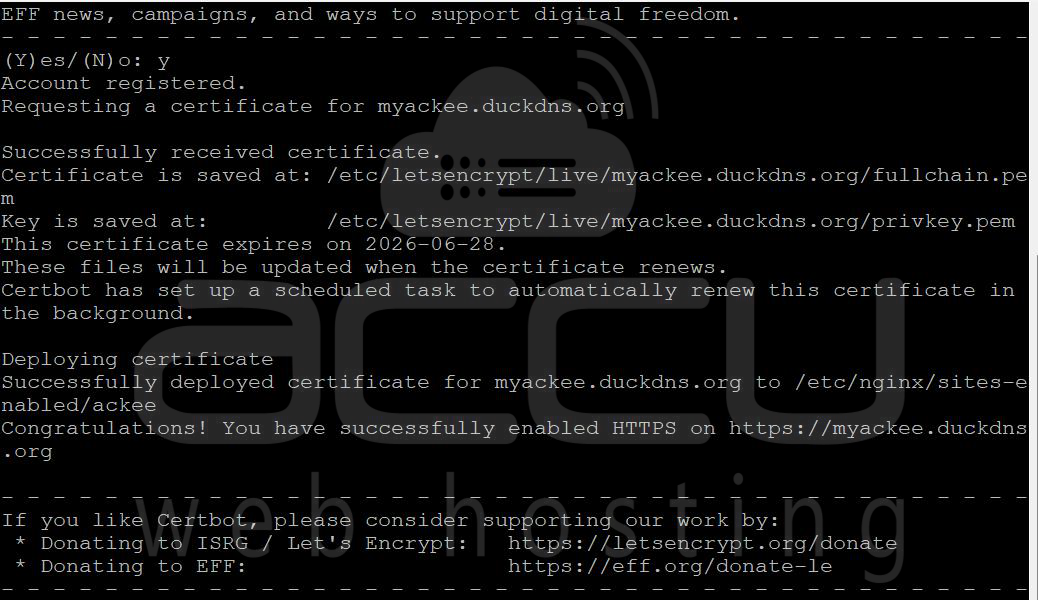
Your Ackee dashboard will now be available at:
https://analytics.yourdomain.com
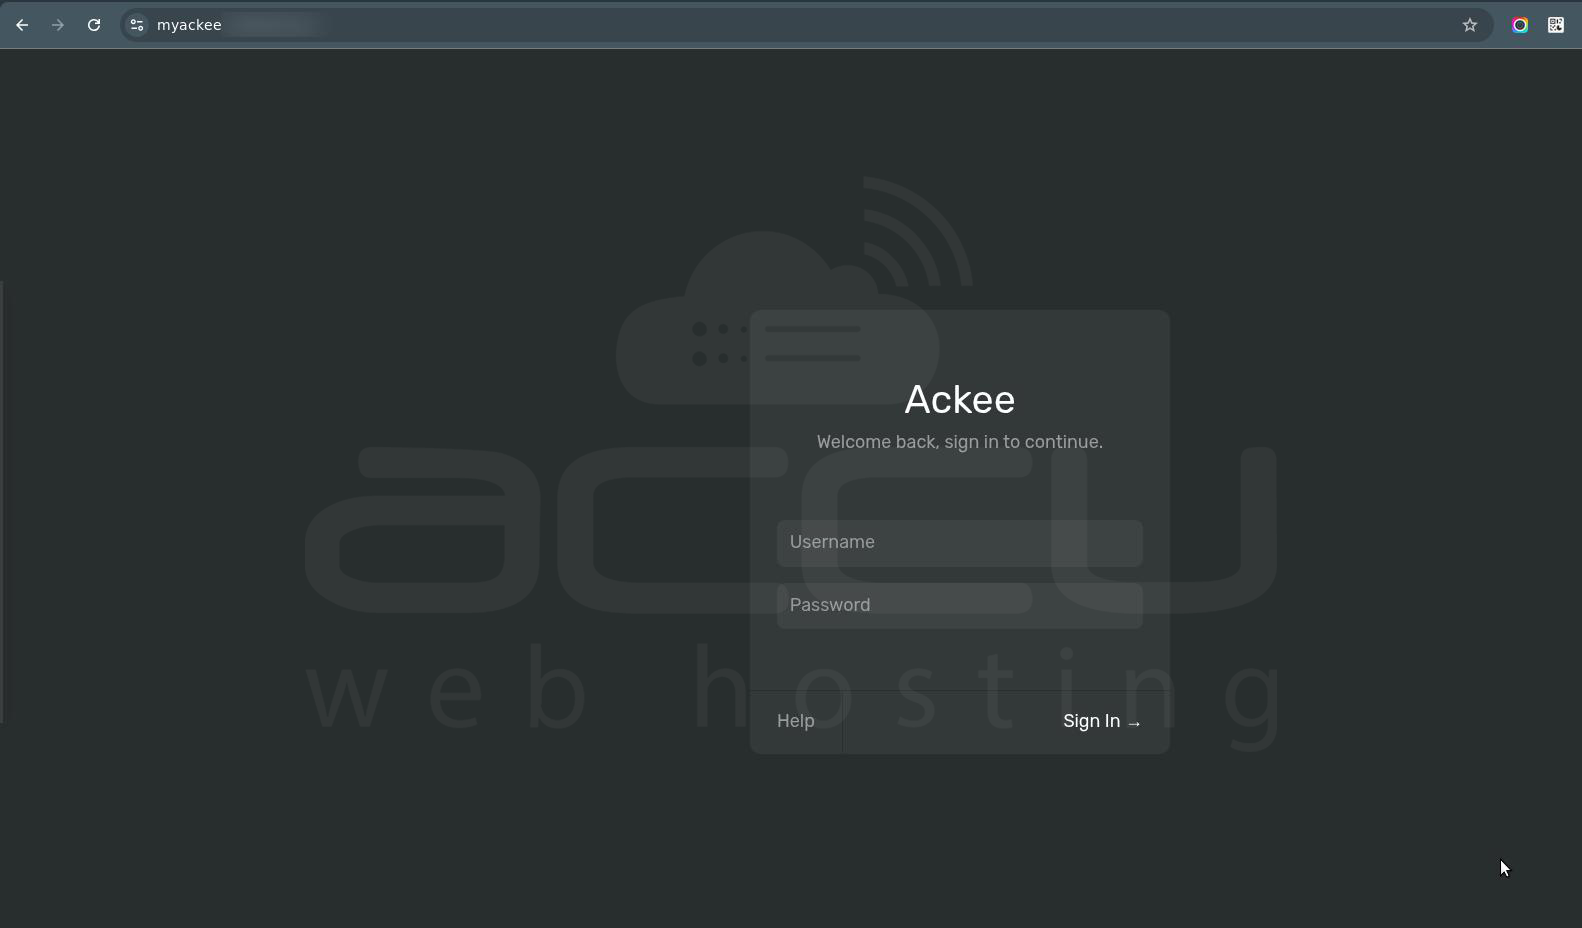
Step 8: Log in to the Ackee Dashboard
- Open your browser and browse the below URL
- http://your-server-ip:3000
- http://your-server-ip:3000
- OR (if using domain):
- https://yourdomain.com
- https://yourdomain.com
- Enter:
- Username -> (from docker-compose)
- Password -> (your secure password)
- Click Login
Step 9: Add an Ackee tracking script to the website
Create a New Domain:
Once logged in:
- Click “Settings”
- Click “Create new domain”
- Enter your website name.
- Click Save.
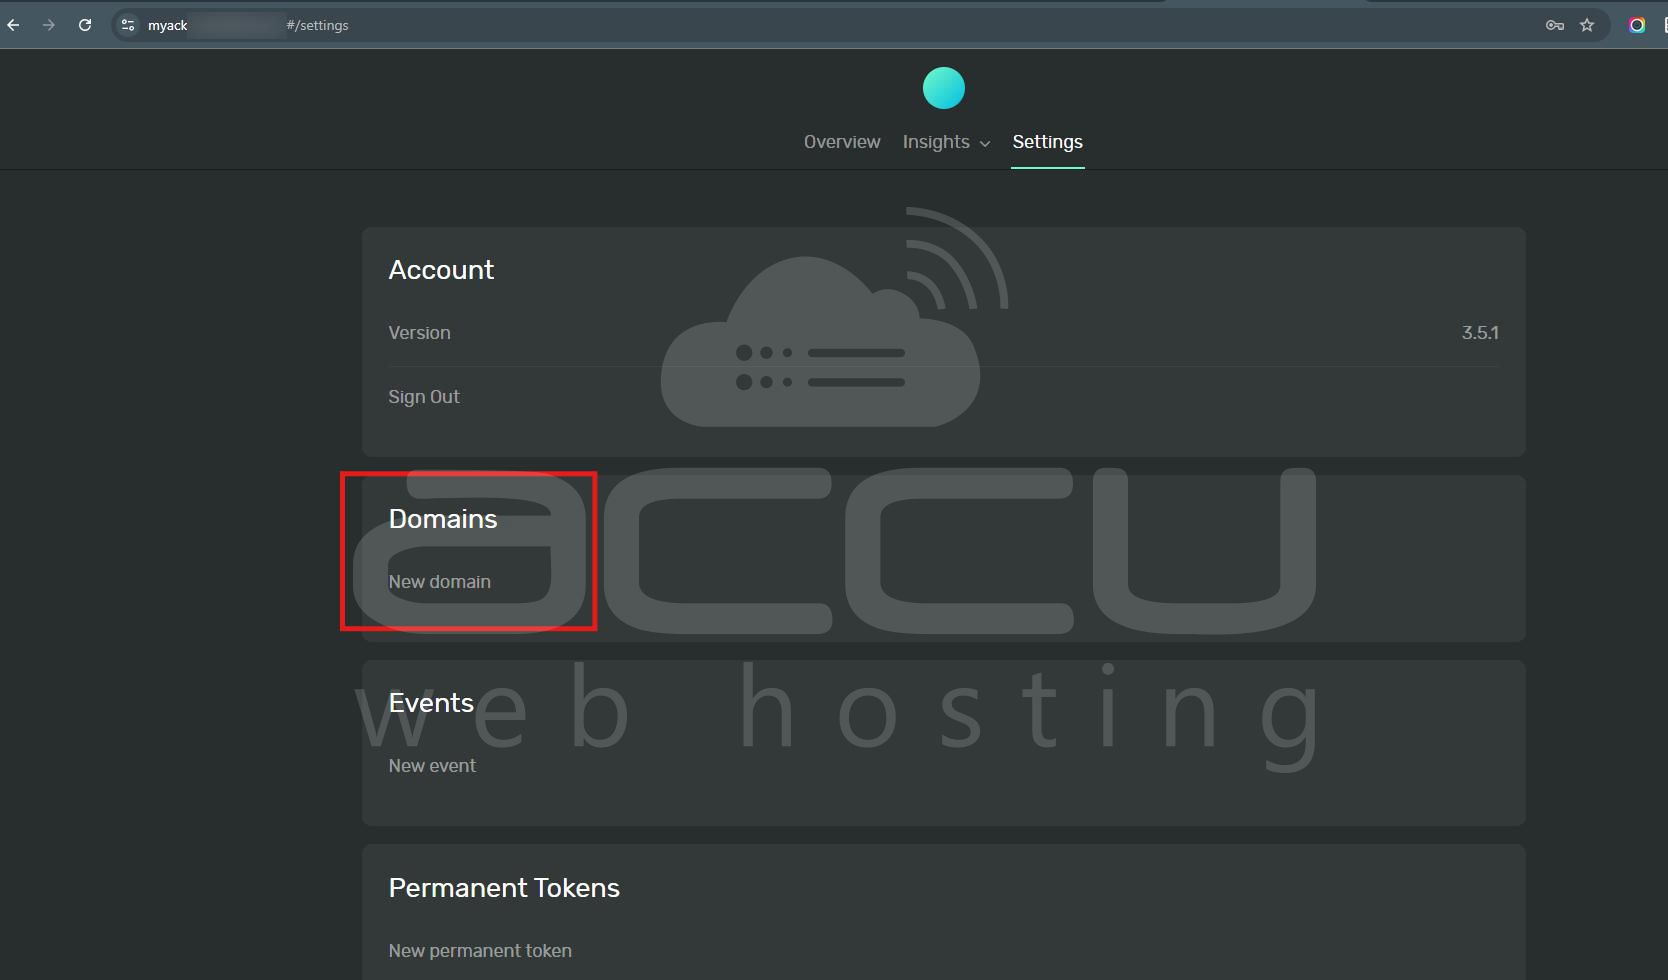
Your domain will now appear in the dashboard.
Copy Tracking Script:
- Click on your newly created domain
- Look for “Script”
- You’ll see something like:
<script async src="http://your-server-ip:3000/tracker.js" data-ackee-server="http://your-server-ip:3000" data-ackee-domain-id="YOUR_DOMAIN_ID"></script>
- Copy this entire script
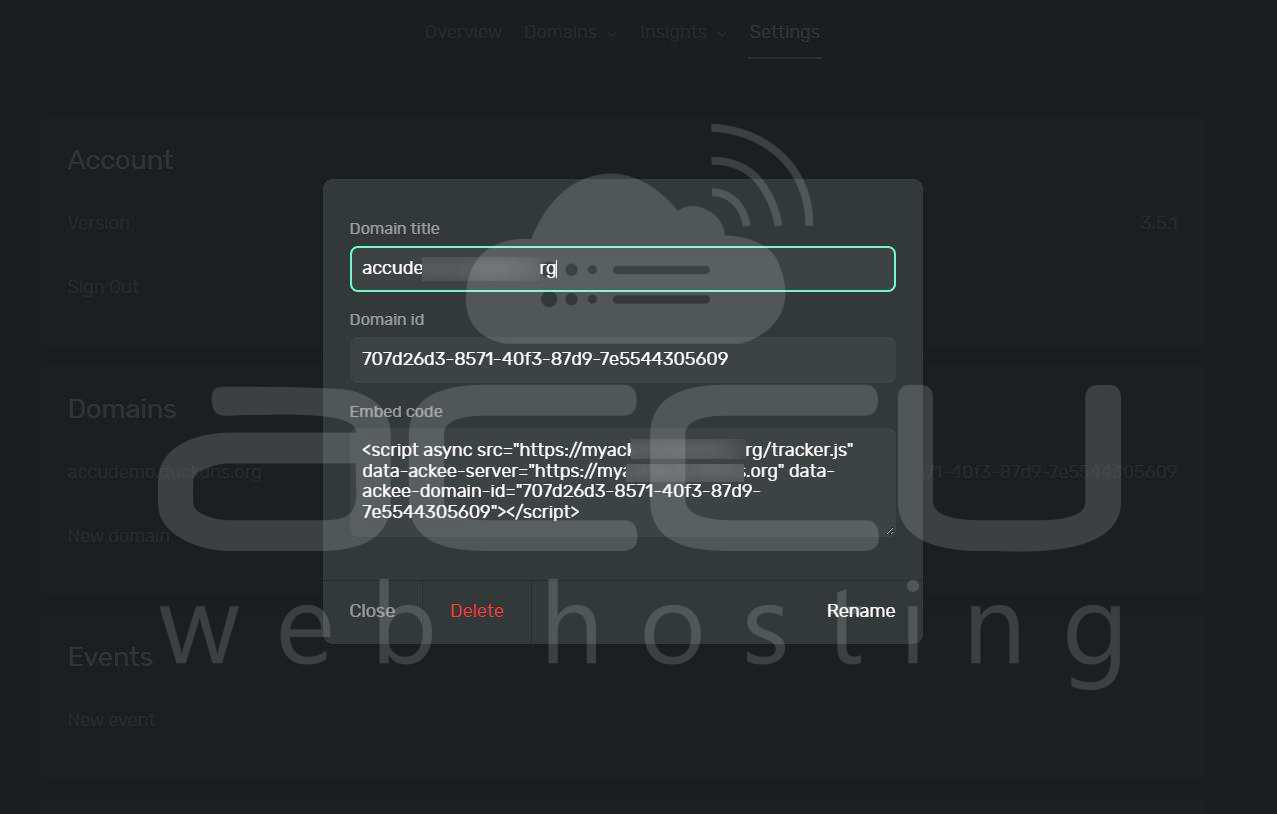
Important Fields:
- data-ackee-server -> Your Ackee URL
- data-ackee-domain-id -> Unique ID for your domain
- tracker.js -> The tracking script file
Add Script to Your Website:
You need to paste this script before the closing </body> tag.
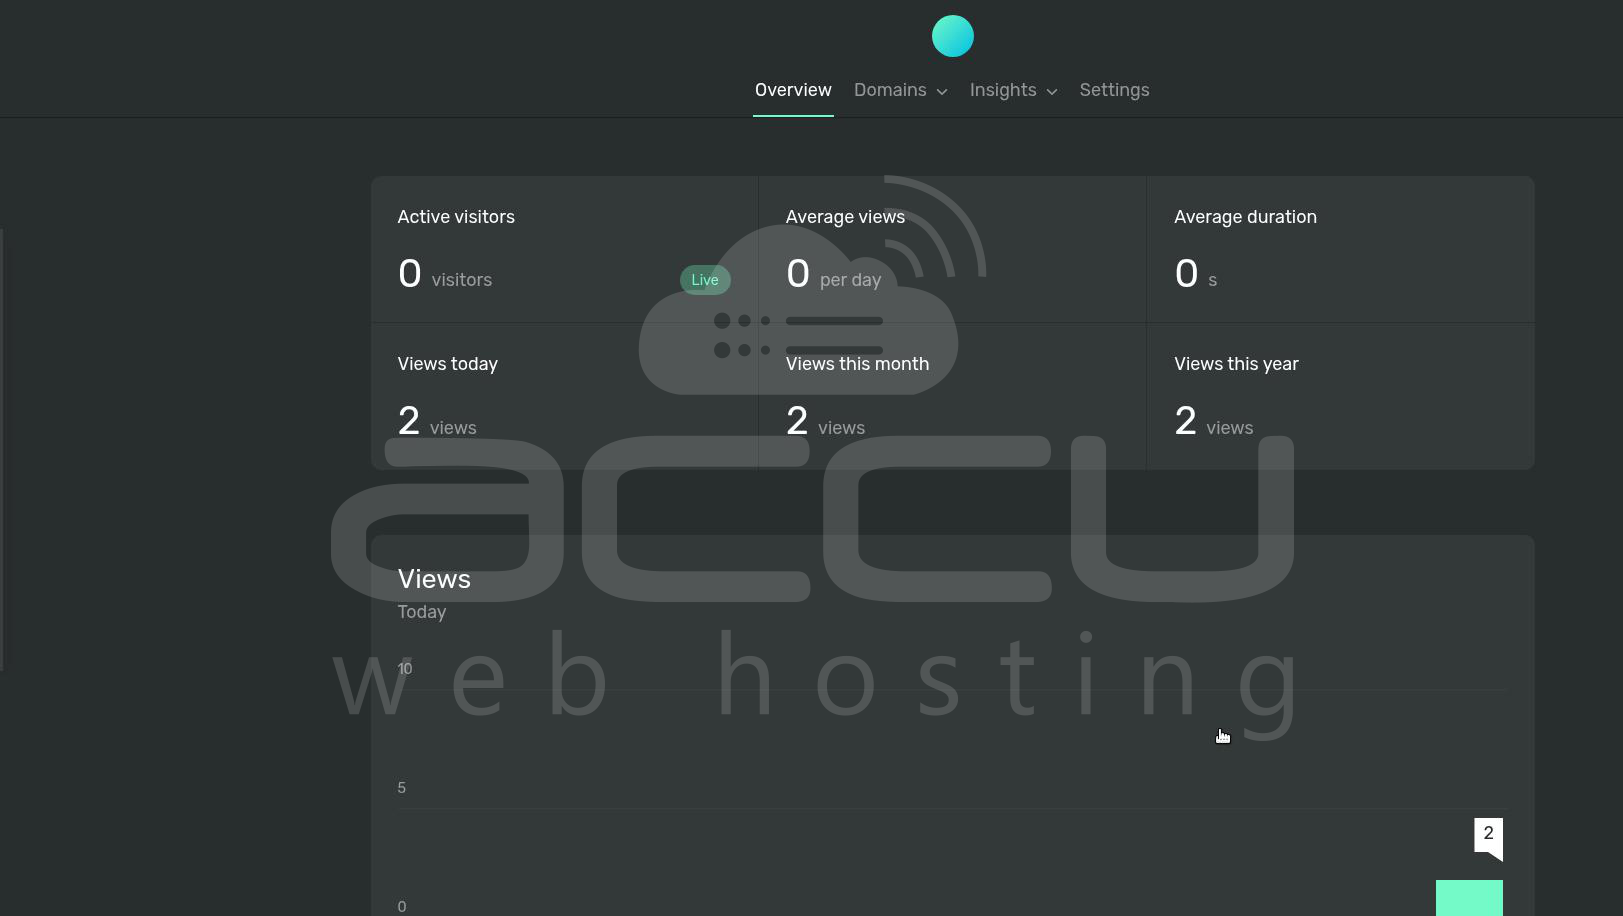
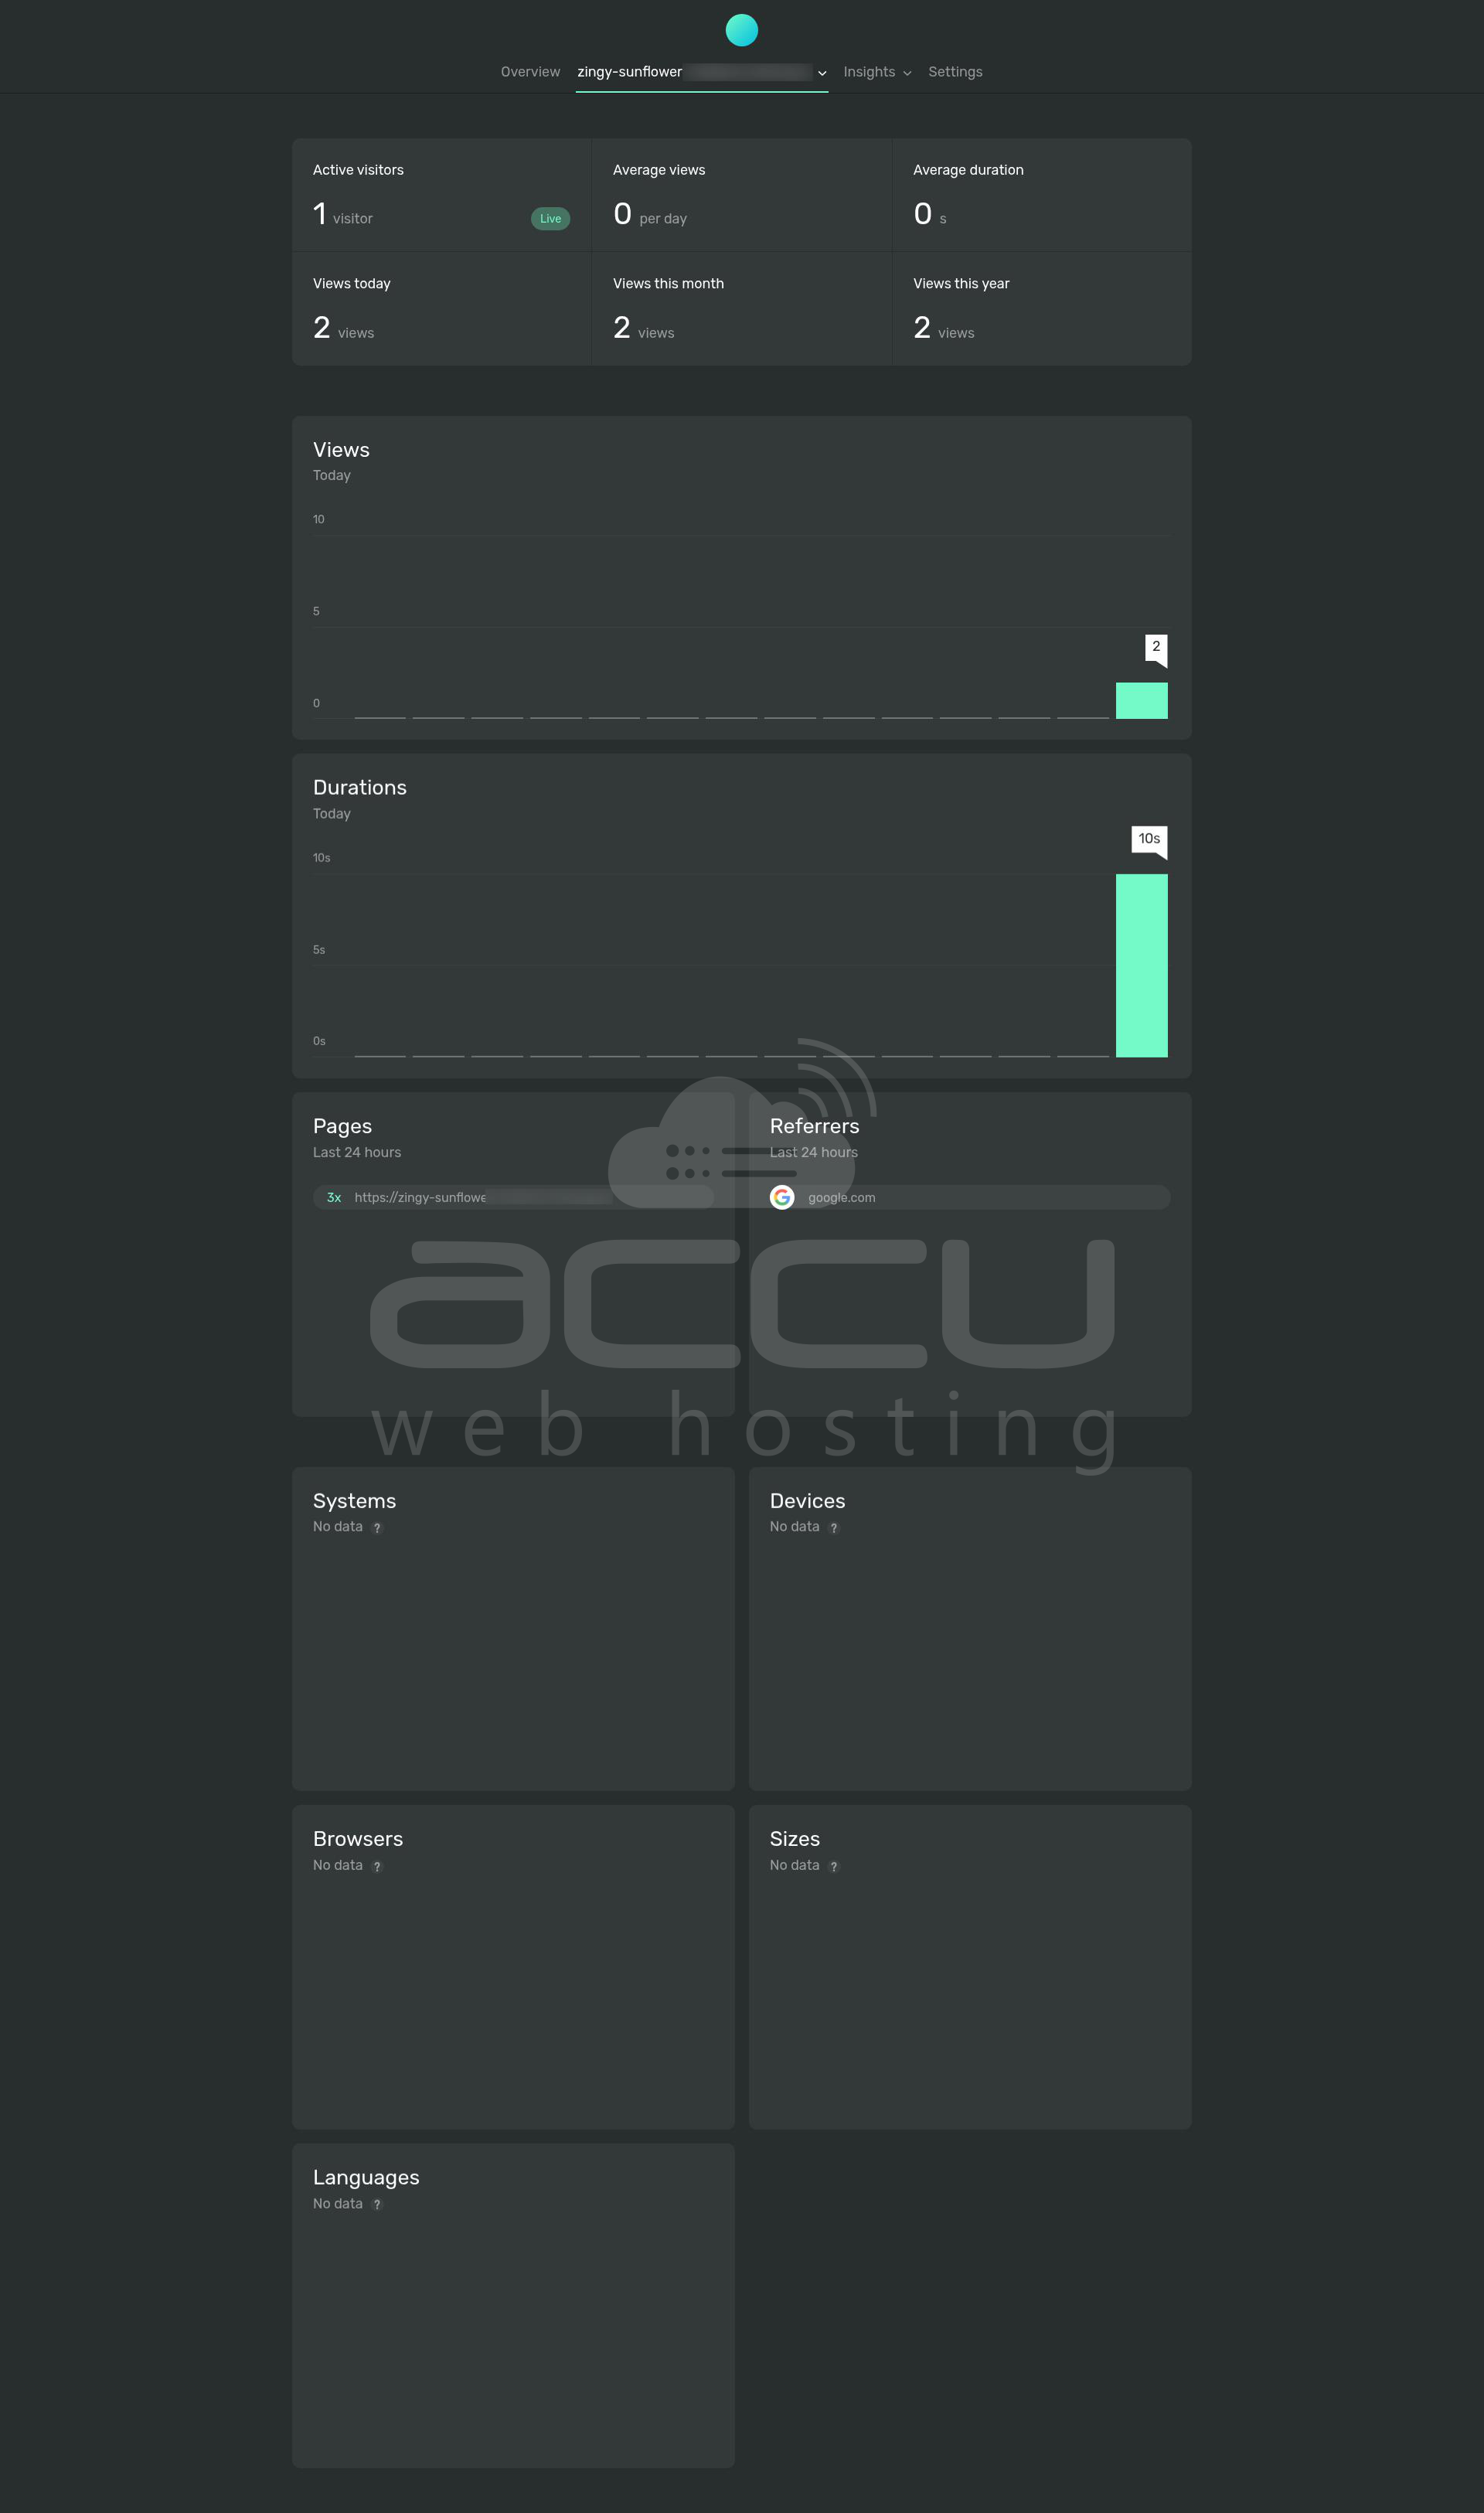
Verify Tracking:
After adding the script:
- Open your website in a browser
- Visit a few pages
- Go back to the Ackee dashboard
- Check:
- Active visitors
- Page views
It may take a few seconds to appear.
Manage Services
Stop containers:
docker compose down
Restart:
docker compose restart
View logs:
docker logs ackee-app
Conclusion:
By properly setting up MongoDB alongside Ackee using Docker, you ensure that all analytics data is stored reliably and persists across restarts. Combined with Nginx and HTTPS on a valid domain, this setup becomes a production-ready analytics platform.
This architecture provides scalability, security, and complete control over your data and makes Ackee an excellent self-hosted alternative for modern web analytics.
