Managing a server through the command line can be powerful but sometimes time consuming. A server control panel simplifies tasks such as managing domains, services, and system resources through an intuitive web interface. BeAdmin Control Panel is a lightweight solution designed to make server administration easier while maintaining performance and flexibility. In this guide, we will walk through the step by step process to install and configure the BeAdmin Control Panel on an Ubuntu VPS.
Hardware and System Requirements
Before installing BeAdmin, ensure your server meets the following requirements:
- Operating System: Ubuntu 20.04 LTS, Ubuntu 22.04 LTS, Ubuntu 24.04 LTS
- Minimum Resources: 2 GB RAM and 20 GB Storage
- Architecture: x86_64 / amd64 or ARM architecture
You can install BeAdmin on a blank virtual machine or a bare metal server.
Step 1: First, log in to your server using SSH. You can log in as: Root user, or A user with sudo privileges. If you log in as a non-root user, switch to root using:
sudo -i
whoami

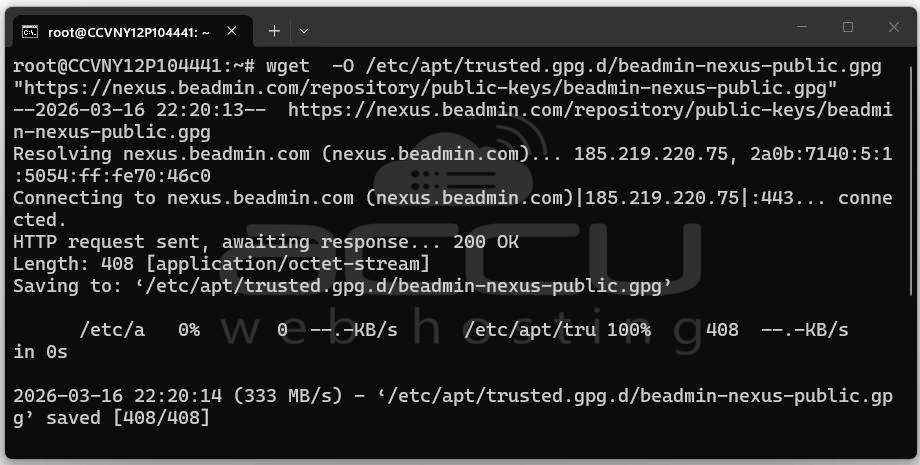
Step 2: Add the BeAdmin Repository and Install the Panel. Next, copy and paste the following commands into your terminal.
wget -O /etc/apt/trusted.gpg.d/beadmin-nexus-public.gpg "https://nexus.beadmin.com/repository/public-keys/beadmin-nexus-public.gpg"
chmod 644 /etc/apt/trusted.gpg.d/beadmin-nexus-public.gpg
echo "deb [signed-by=/etc/apt/trusted.gpg.d/beadmin-nexus-public.gpg] https://nexus.beadmin.com/repository/beadmin/ stable main" > /etc/apt/sources.list.d/beadmin.list && \
apt update && apt install -y --no-install-recommends beadmin && \
systemctl enable --now beadmin
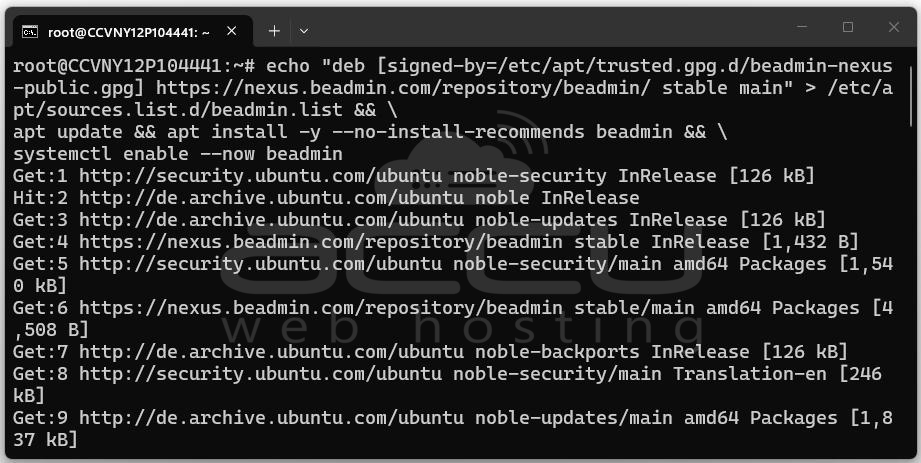
What Does This Command Do?
The command performs several tasks:
- Downloads the BeAdmin repository GPG key.
- Adds the official BeAdmin package repository to your system.
- Updates the package list.
- Installs the BeAdmin control panel package.
- Enables and starts the BeAdmin service automatically.
The installation usually takes 15–30 seconds depending on server performance and network speed.
Step 3: Follow the Interactive Installation Prompts. After the installation begins, the system will start an interactive configuration process. You will be prompted to provide a few important details.
Step 4: Enter Your Domain Name (Optional). The installer may ask for your server’s domain name, for example: mysite.com

If you enter a domain, BeAdmin will automatically generate an SSL certificate and the panel will be accessible via HTTPS. If you do not have a domain, simply press Enter to skip this step.
Important Tip: If you enter a domain name, you must create a DNS A record pointing to your server's IP address in your hosting provider’s dashboard. Otherwise, your domain will not connect to the server.
Step 5: Enter the Administrator Email. Next, the installer will prompt you to enter the email address for the main admin user.
Example: [email protected]
If you do not enter anything, the default will be: [email protected]

Warning: Always enter a valid email address. If you entered a domain name earlier and the email address is invalid, the SSL certificate generation will fail, and a self-signed certificate will be created instead. The panel will still work, but browsers may show a security warning.
Step 6: Please Enter admin password and press enter.
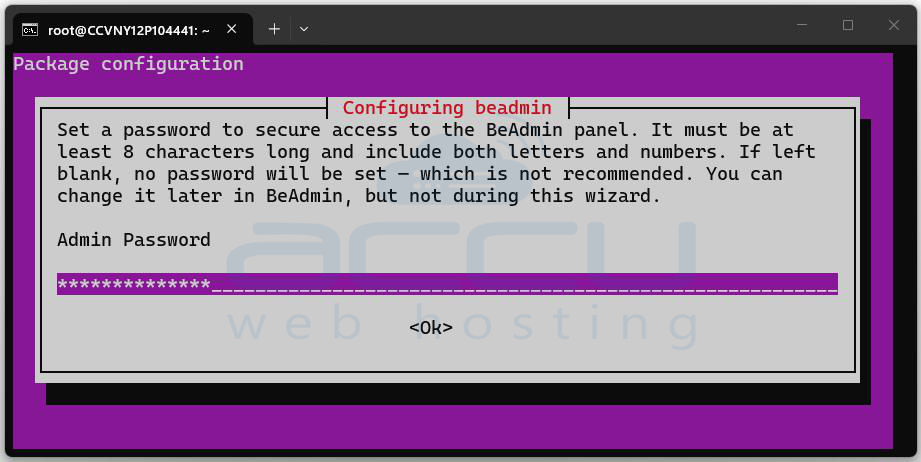
Wait for the installation process to finish. The system will install required packages and configure the BeAdmin service automatically. You will get the message “BeAdmin panel has been successfully installed!”

Accessing the BeAdmin Control Panel
Once installation is complete, you can open the control panel in your browser. Use either: https://your_server_ip:8080 or https://your_domain:8080
Example: https://192.168.1.10:8080
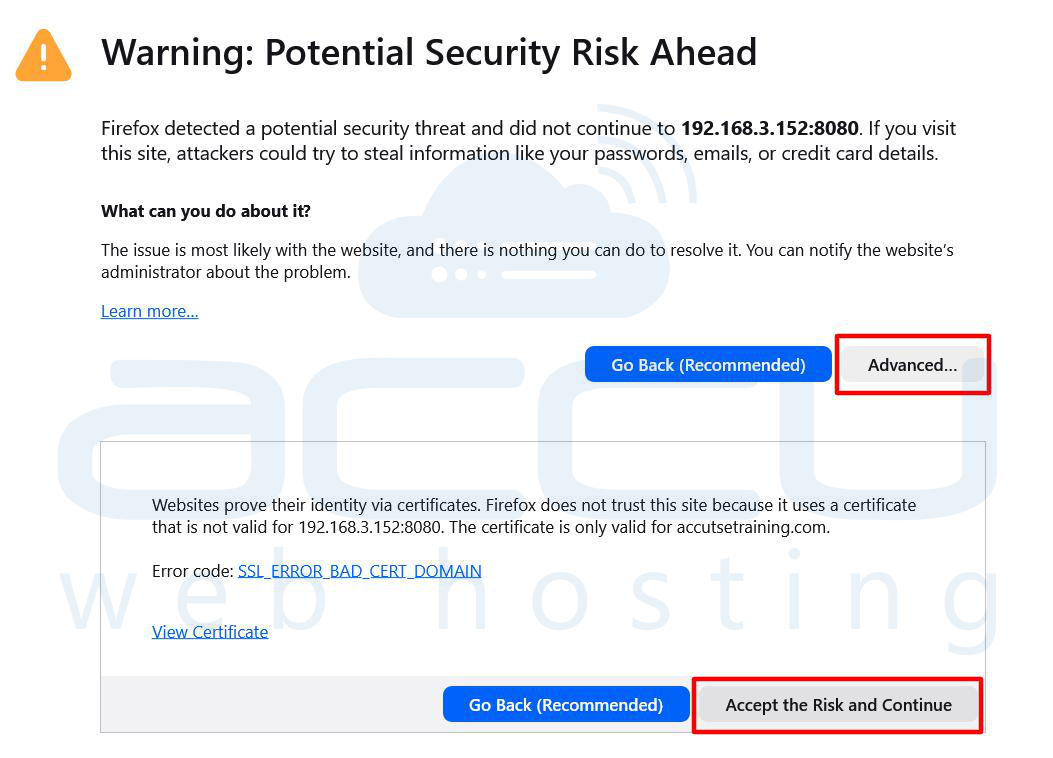
SSL Warning (If No Domain Was Used): If you connect using your server IP address instead of a domain, your browser may show a message such as: “Your connection is not private.”
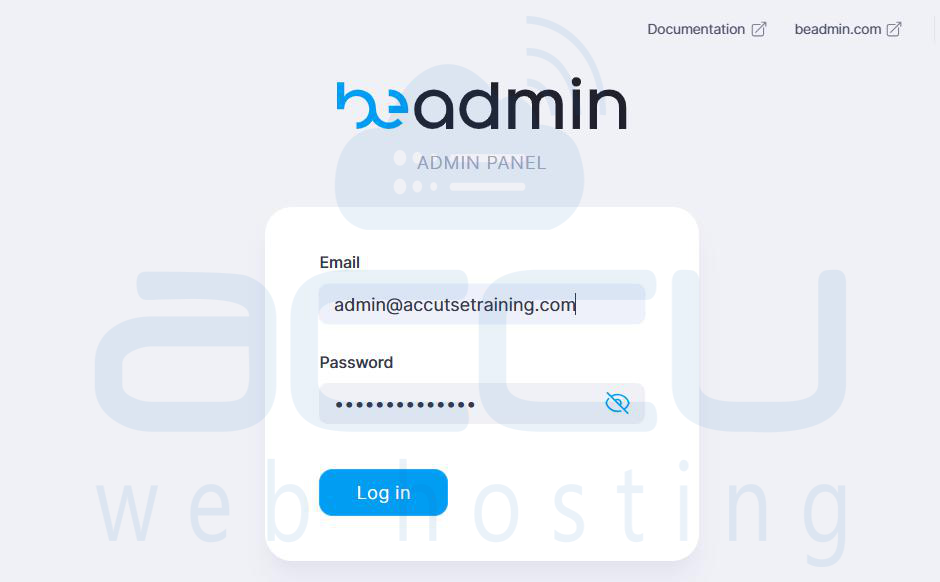
This happens because the server uses a self-signed SSL certificate. To continue: Click Advanced -> Select Accept the Risk and Continue This will open the BeAdmin control panel login page.
Enter the email address that you used when installing the panel along with the password you set during the installation. After entering the credentials, click on Login.
Once you have successfully logged in, you will be able to access the BeAdmin Control Panel dashboard.
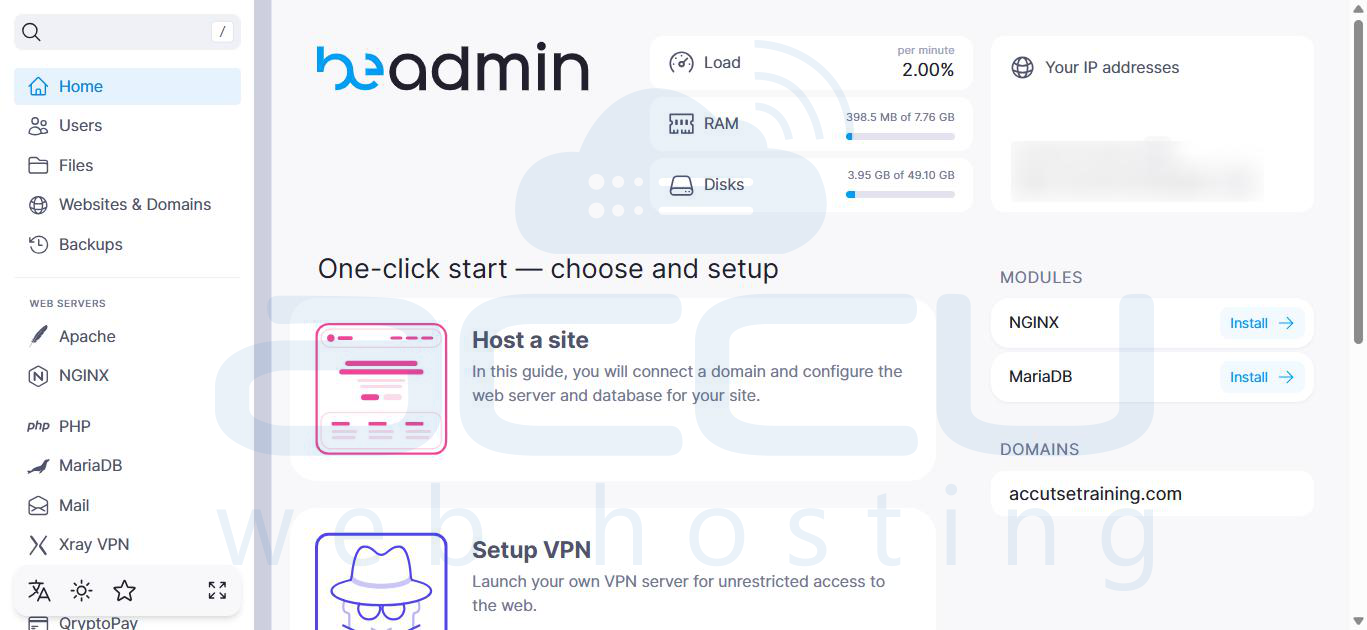
Congratulations! You have successfully installed the BeAdmin Control Panel.
Conclusion
Installing the BeAdmin Control Panel on Ubuntu VPS is quick and straightforward thanks to its automated installation process. Within minutes, you can transform a basic server into a fully manageable hosting environment with a web interface.
By following the steps in this guide, you can Install BeAdmin in under a minute, Secure your panel with HTTPS and access and manage your server easily through the browser. Once installed, you can begin configuring your server, hosting websites, and managing system services directly from the BeAdmin dashboard.
