Introduction:
Satisfactory is a popular open-world factory-building game that becomes even more enjoyable when played with friends on a dedicated server. Hosting your own Satisfactory server gives you full control over performance, mods, and uptime, making it ideal for private multiplayer sessions or community servers.
If you’re running an Ubuntu 24 VPS, using Docker is one of the easiest and most reliable ways to deploy and manage your server. Docker ensures isolation, quick deployment, and simplified updates without worrying about system dependencies.
In this guide, we’ll walk through the complete process of setting up a Satisfactory dedicated server using Docker on Ubuntu 24.
Step 1: Install Docker
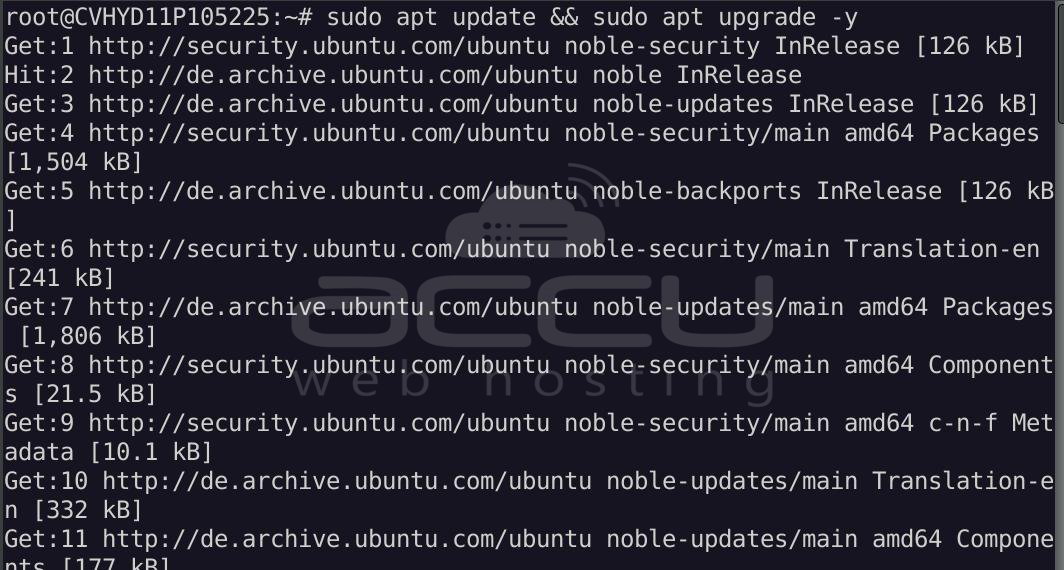
Update your system:
sudo apt update && sudo apt upgrade -y
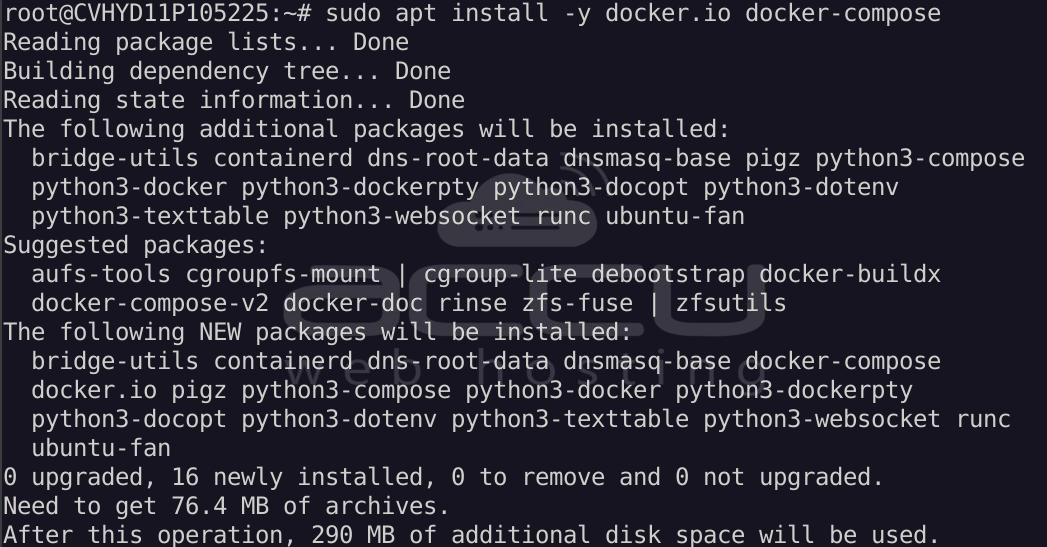
Install Docker & Compose:
sudo apt install -y docker.io docker-compose
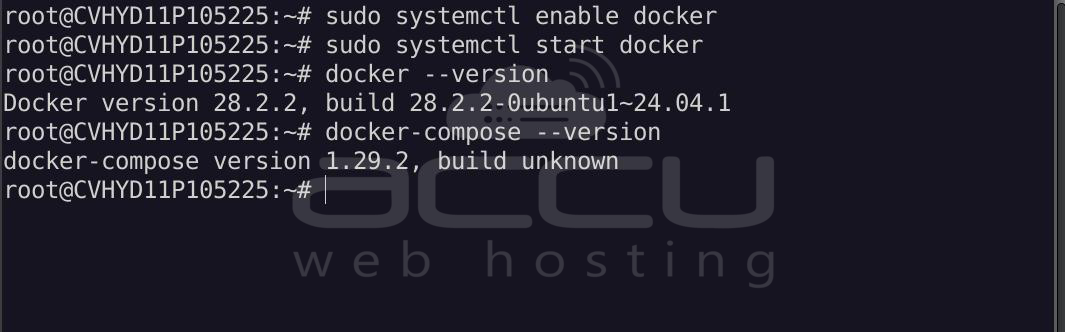
Enable and start Docker:
sudo systemctl enable docker
sudo systemctl start docker
Verify installation:
docker --version
docker-compose --version
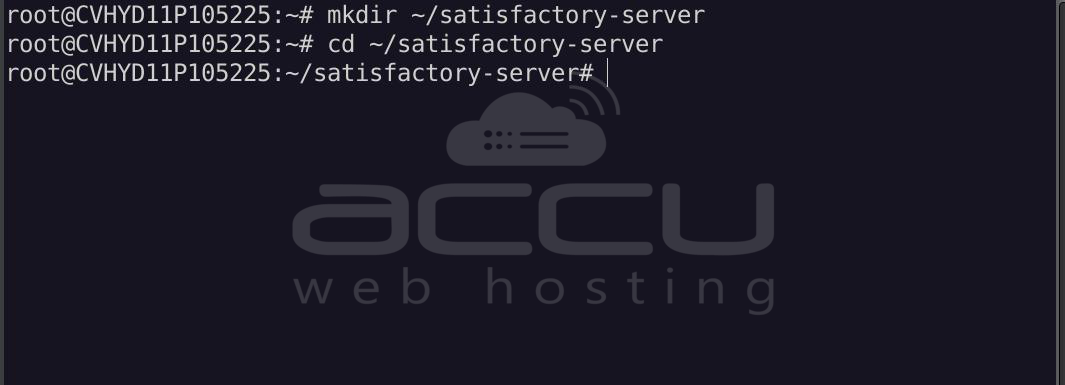
Step 2: Create Project Directory
mkdir ~/satisfactory-server
cd ~/satisfactory-server
Step 3: Create Docker Compose File
Create a file:
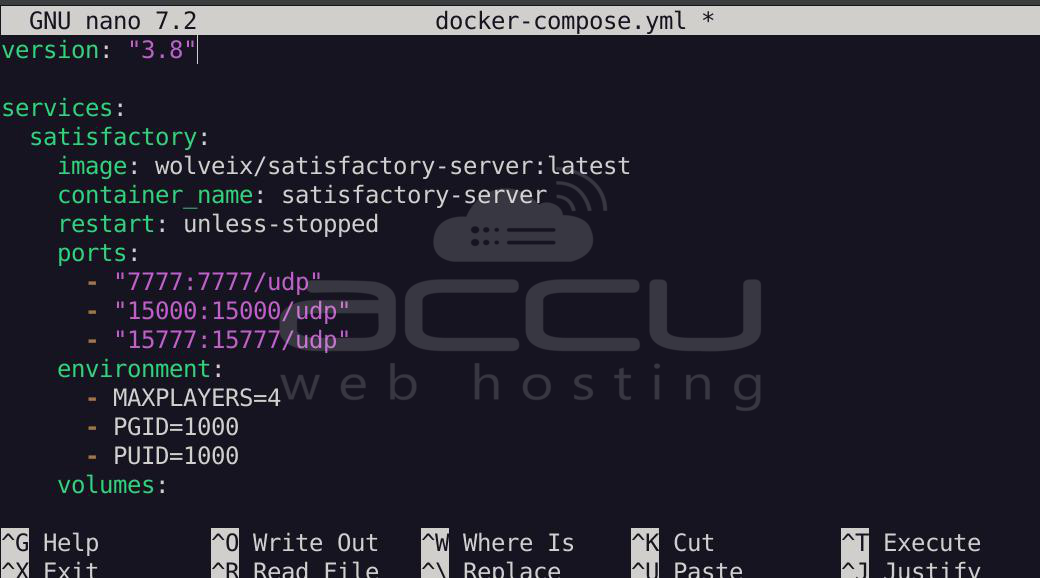
nano docker-compose.yml
Paste the following configuration:
version: "3.8"
services:
  satisfactory:
    image: wolveix/satisfactory-server:latest
    container_name: satisfactory-server
    restart: unless-stopped
    ports:
      - "7777:7777/udp"
      - "15000:15000/udp"
      - "15777:15777/udp"
    environment:
      - MAXPLAYERS=4
      - PGID=1000
      - PUID=1000
    volumes:
      - ./config:/config
Save and exit (CTRL + X, then Y, then Enter).
Step 4: Start the Server
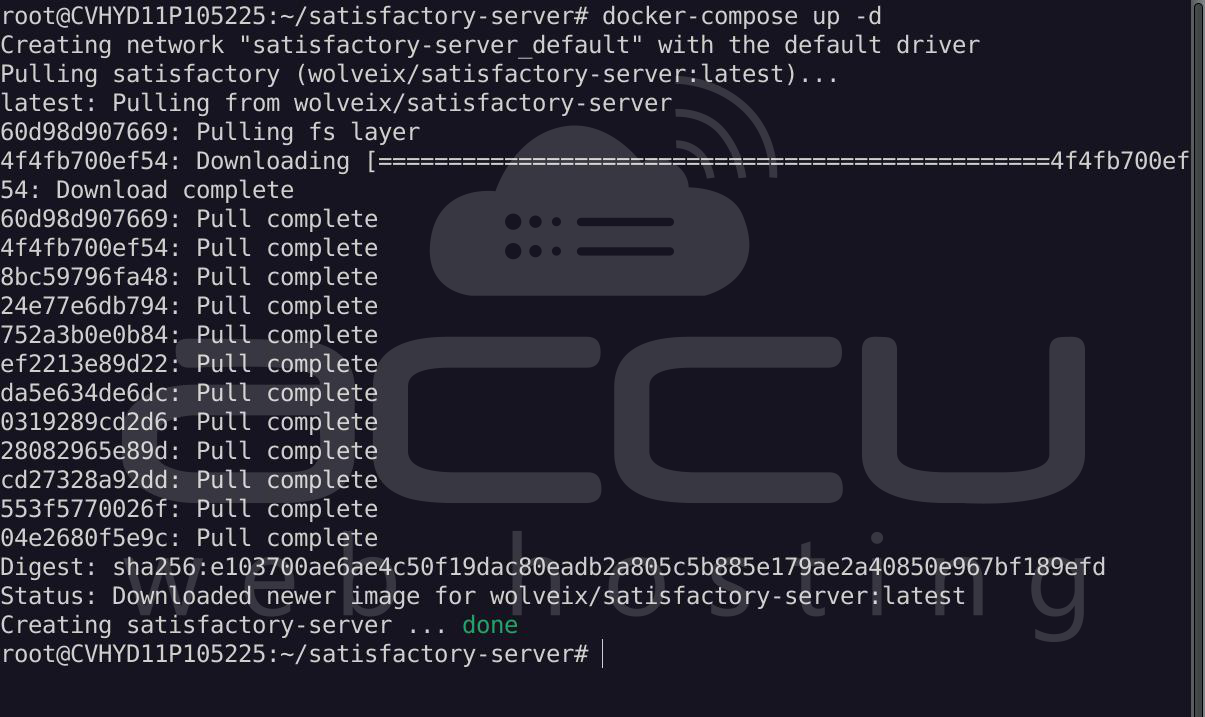
docker-compose up -d
This will download the image and start your Satisfactory server.
Step 5: Verify Server Status
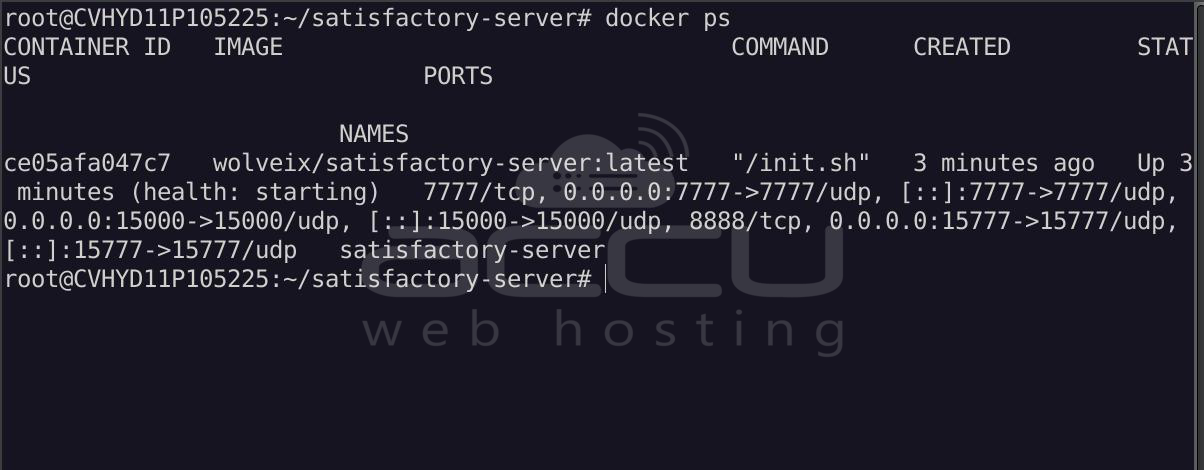
Check running containers:
docker ps
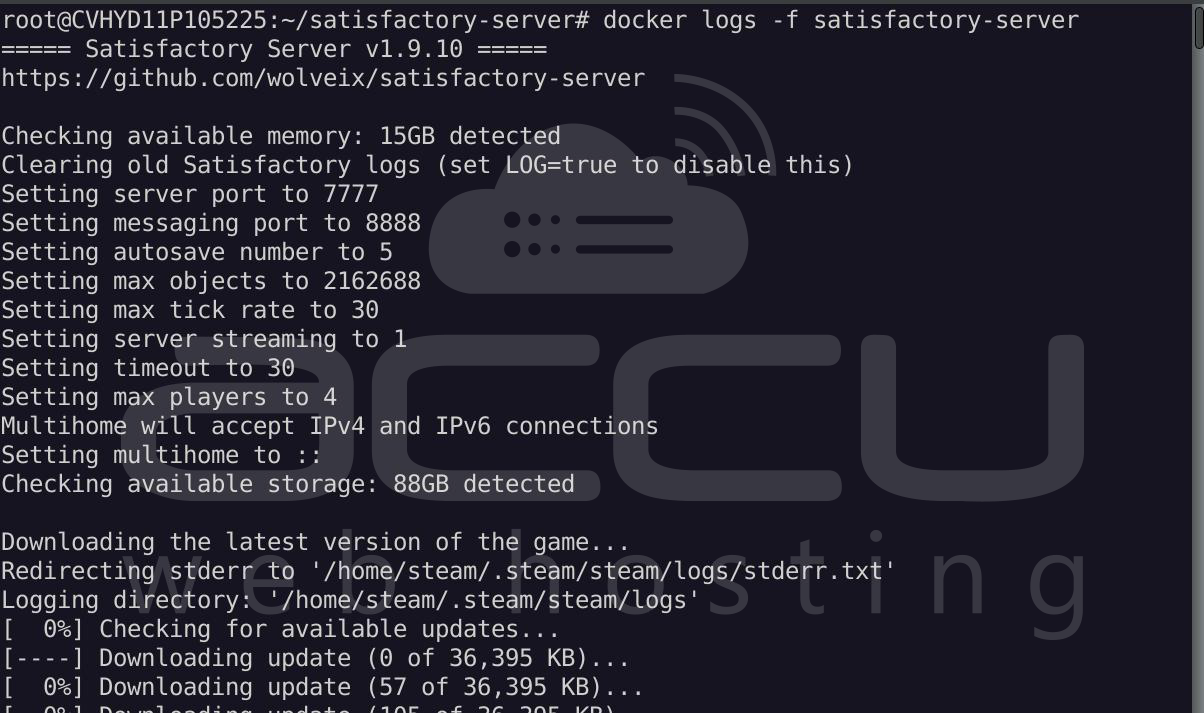
View logs:
docker logs -f satisfactory-server
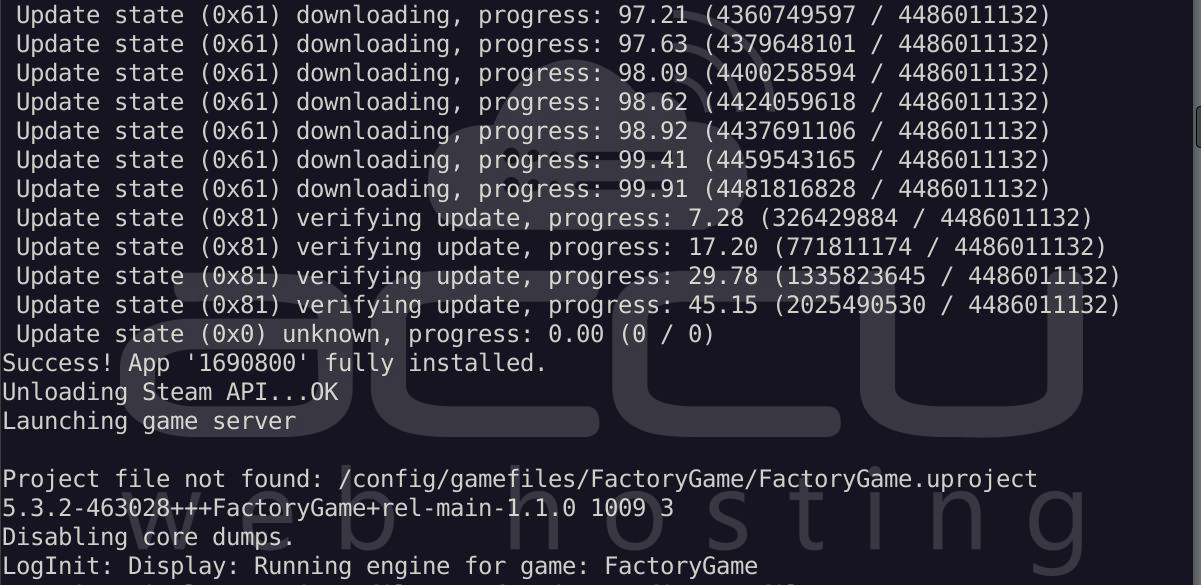
The Most Important Line:
LogNet: Browse: /Game/FactoryGame/Map/DedicatedserverEntry
This confirms:
- Map loaded successfully
- The server is fully running and ready

Step 6: Configure Firewall
If you are using UFW:
sudo ufw allow 7777/udp
sudo ufw allow 15000/udp
sudo ufw allow 15777/udp
sudo ufw reload
Step 7: Connect to Your Server
- Open Satisfactory Game
- Go to Server Manager
- Add your server using:
- Your VPS IP address
- Default port: 15777
Server Management Commands
Restart server: docker-compose restart
Stop server: docker-compose down
Update server:
docker-compose pull
docker-compose up -d
View logs: docker logs -f rust-server
Conclusion:
Hosting your own Satisfactory server on an Ubuntu 24 VPS using Docker is a powerful and flexible solution. It simplifies deployment, ensures stability, and allows you to scale resources as your multiplayer world grows.
With just a few commands, you can have a fully functional dedicated server running, giving you and your friends a seamless and customizable gameplay experience. Docker also makes updates and maintenance straightforward, so you can focus more on building massive factories and less on managing infrastructure.
