Introduction:
BookStack is an easy-to-use, open-source platform for organizing and managing your documentation, knowledge, and wiki-style content. If you're looking to set up BookStack on your Ubuntu 24 VPS, this article will walk you through each step in a clear and simple manner. From updating your system to configuring Apache and accessing your new BookStack instance, we'll cover everything you need to get up and running. Whether you're setting up a personal wiki or managing team documentation, this tutorial will help you install BookStack quickly and smoothly.
How to Install BookStack on an Ubuntu 24 VPS?
Prerequisites:
Before you start the installation process, make sure your VPS has the following:
-
Ubuntu 24.04
-
At least 2GB RAM
-
Root or sudo access
-
Domain name (This is optional, but highly recommended)
Step 1: Update the System
First, update your system's package list and upgrade the installed packages by running the following command:
sudo apt update && sudo apt upgrade -y
Step 2: Install Required Packages
BookStack needs several packages to run. Install Apache, MariaDB, Git, and other essential tools using the following command:
sudo apt install -y apache2 mariadb-server git unzip curl
Step 3: Install PHP (Required Extensions)
BookStack works best with PHP 8.2 or higher. Install PHP along with the necessary extensions:
sudo apt install -y php php-cli php-fpm php-mysql php-xml php-mbstring php-tokenizer php-gd php-curl php-zip php-bcmath php-intl libapache2-mod-php
Check your PHP version to confirm it's installed correctly:
php -v
Step 4: Install Composer
A composer is needed to manage PHP dependencies for BookStack. Follow these steps to install it:
Download the Composer installer:
cd ~
curl -sS https://getcomposer.org/installer -o composer-setup.php
Install Composer globally:
sudo php composer-setup.php --install-dir=/usr/local/bin --filename=composerVerify the installation by checking the Composer version:
composer -V
Step 5: Configure MariaDB
Secure the MariaDB installation by running:
sudo mysql_secure_installation
Log in to MariaDB:
sudo mysqlCreate the BookStack database and user:
CREATE DATABASE bookstack;
CREATE USER 'bookstackuser'@'localhost' IDENTIFIED BY 'StrongPassword';
GRANT ALL PRIVILEGES ON bookstack.* TO 'bookstackuser'@'localhost';
FLUSH PRIVILEGES;
EXIT;
Step 6: Download BookStack
Navigate to the /var/www directory and clone the BookStack repository:
cd /var/www
sudo git clone https://github.com/BookStackApp/BookStack.git --branch release --single-branch bookstack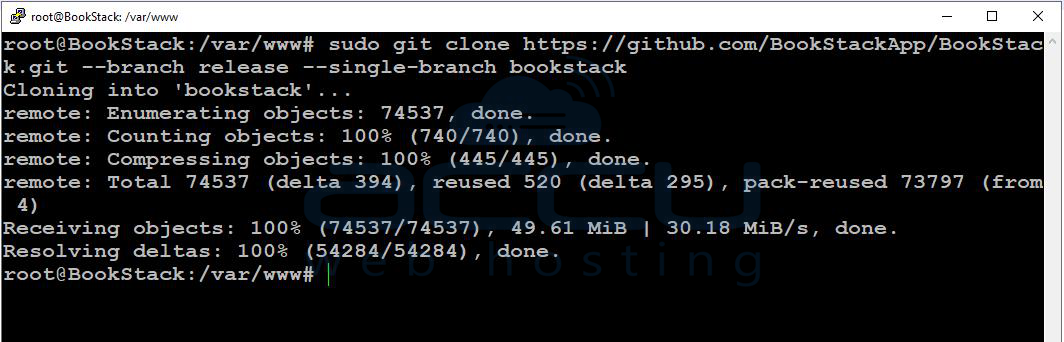
Set the appropriate permissions for the BookStack directory:
sudo chown -R www-data:www-data /var/www/bookstack
sudo chmod -R 755 /var/www/bookstack
Step 7: Install BookStack Dependencies
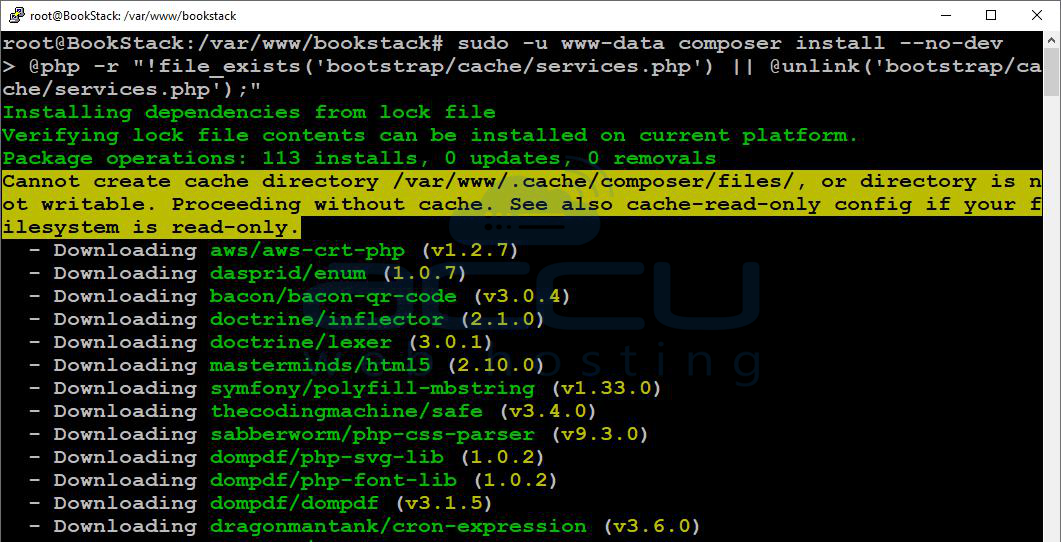
Change to the BookStack directory:
cd /var/www/bookstackInstall the required PHP dependencies using Composer:
sudo -u www-data composer install --no-dev
Step 8: Configure the Environment File
Copy the example environment file:
cp .env.example .envOpen the .env file for editing:
vi .envUpdate the following values to match your setup:
APP_URL=http://your-domain-or-ip

DB_HOST=localhost
DB_DATABASE=bookstack
DB_USERNAME=bookstackuser
DB_PASSWORD=StrongPassword
Step 9: Generate the Application Key & Run Migrations
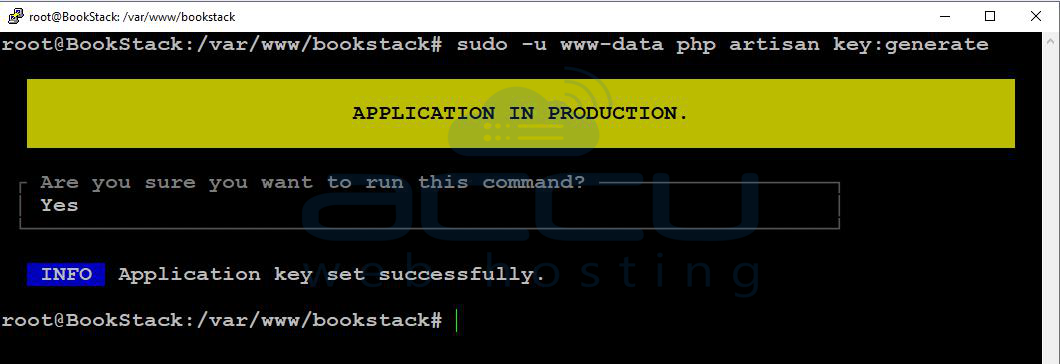
Generate the application key:
sudo -u www-data php artisan key:generate
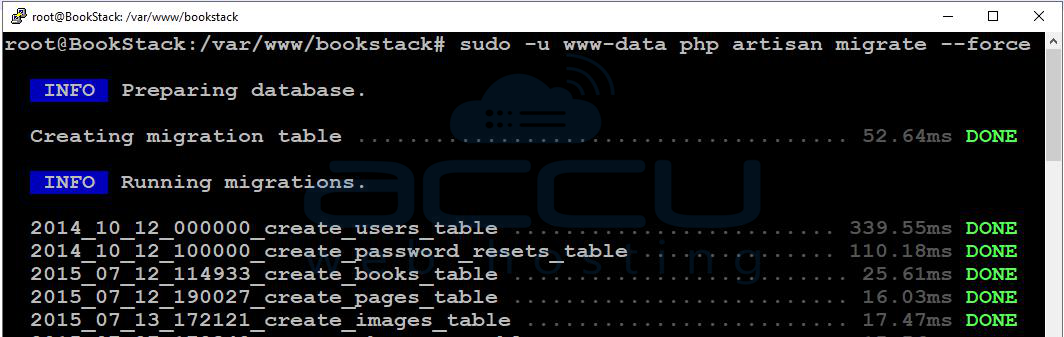
Run the database migrations:
sudo -u www-data php artisan migrate --force
Step 10: Configure Apache
Create a new Apache configuration file for BookStack:
sudo nano /etc/apache2/sites-available/bookstack.confPaste the following configuration into the file:
<VirtualHost *:80>
   ServerName your-domain-or-ip
   DocumentRoot /var/www/bookstack/public

   <Directory /var/www/bookstack/public>
       AllowOverride All
       Require all granted
   </Directory>

   ErrorLog ${APACHE_LOG_DIR}/bookstack_error.log
   CustomLog ${APACHE_LOG_DIR}/bookstack_access.log combined
</VirtualHost>
Enable the site and rewrite module, then restart Apache:
sudo a2ensite bookstack.conf
sudo a2enmod rewrite
sudo systemctl restart apache2
Step 11: Adjust Permissions (Important)
To ensure proper functionality, make sure the BookStack directory has the correct permissions:
sudo chown -R www-data:www-data /var/www/bookstack
sudo chmod -R 755 /var/www/bookstack
Step 12: Access BookStack
Finally, open your web browser and navigate to:
http://your-domain-or-ip
Default Login:
-
Email: [email protected]
-
Password: password
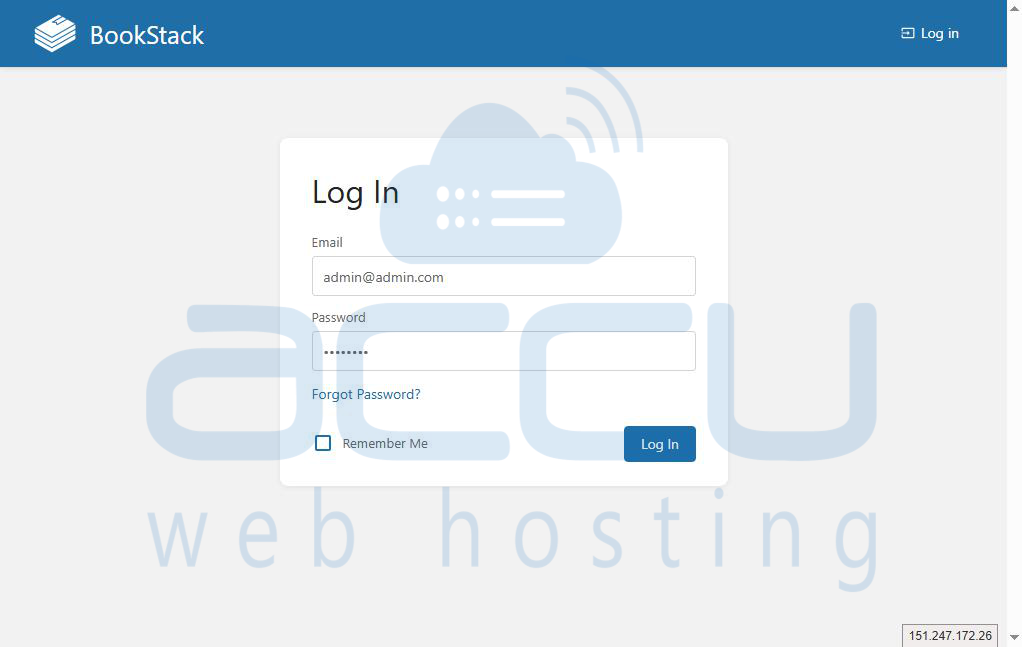
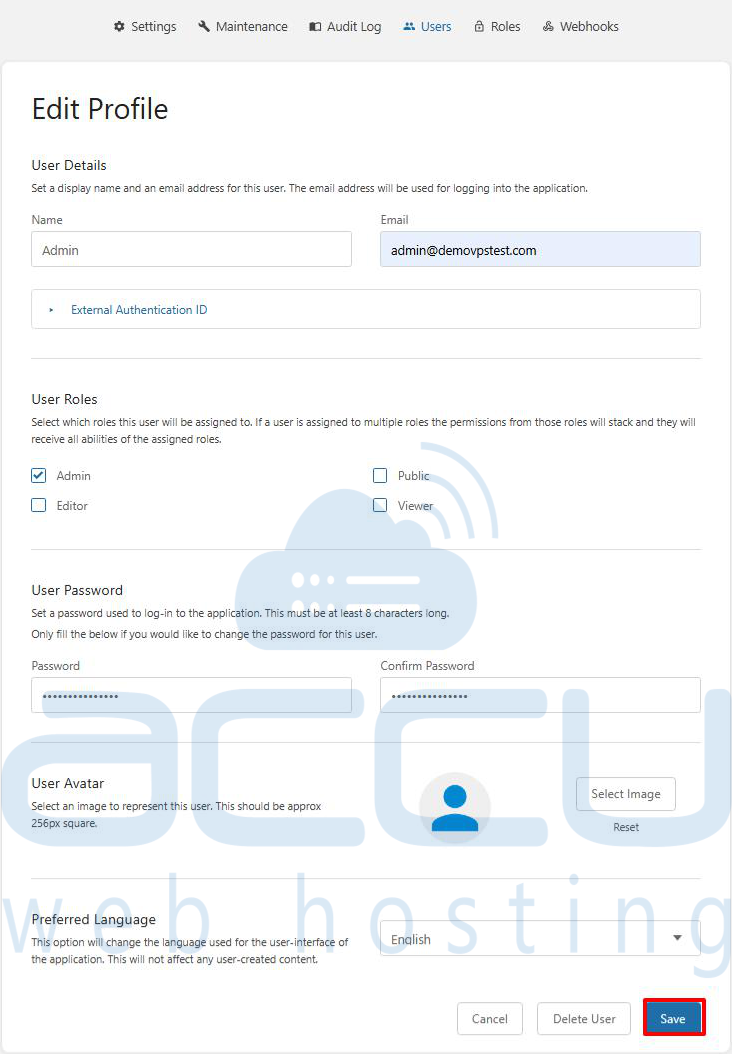
Important: Make sure to change your password immediately after logging in for security reasons.

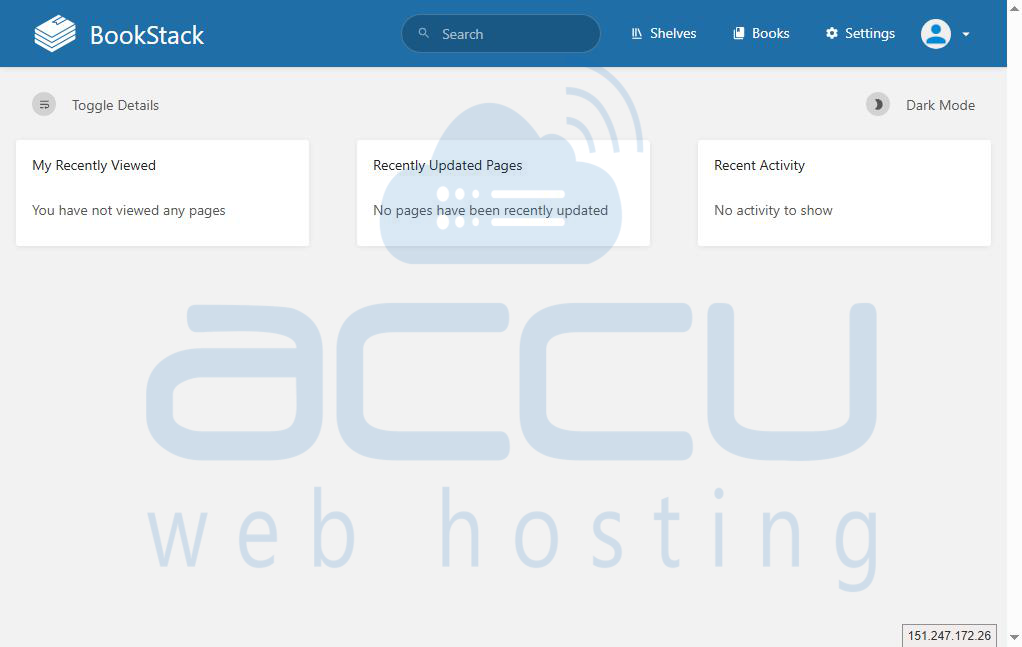
Conclusion:
Congratulations! You’ve successfully installed BookStack on your Ubuntu 24 VPS. You can now start organizing your content and enjoy the user-friendly features that BookStack offers.
Installing BookStack on an Ubuntu VPS is simple and can be completed in just a few steps, as outlined in this article. If you encounter any issues during installation, please feel free to contact us via chat or support. Our support team will assist you with the installation process.
