Introduction:
Setting up a reliable content management system is an important step in building and managing a website efficiently. TYPO3 is a powerful and flexible open-source CMS that is widely used for creating professional websites and applications.
In this article, we will explain how to install TYPO3 on an Ubuntu 24 VPS in a clear and step-by-step manner. Even if you are new to server management, the instructions are designed to be simple and easy to follow. By the end of this tutorial, you will have a fully functional TYPO3 installation ready to use.
Install TYPO3 on Ubuntu 24 VPS (Step-by-Step Guide)
Step 1: Update Your System
Before installing any software, update your system packages to ensure compatibility and security.
sudo apt update && sudo apt upgrade -y
Step 2: Install Required Packages
TYPO3 requires a web server, database, and PHP with extensions.
Install Apache, MariaDB, and basic tools:
sudo apt install -y apache2 mariadb-server unzip curl
Install PHP and required extensions:
sudo apt install -y php php-cli php-common php-curl php-mbstring php-xml php-zip php-gd php-intl php-mysql php-bcmath php-soap php-opcache
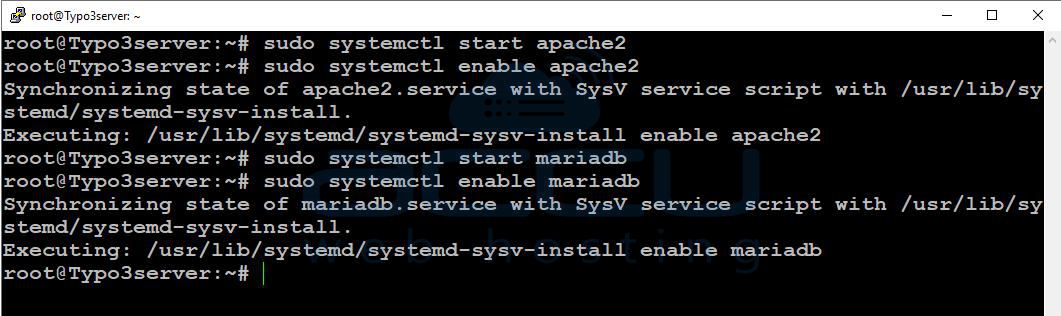
Step 3: Start and Enable Services
Start Apache and MariaDB, and enable them to run on boot.
sudo systemctl start apache2
sudo systemctl enable apache2

sudo systemctl start mariadb
sudo systemctl enable mariadb
Step 4: Secure MariaDB
Run the MariaDB security script to improve database security.
sudo mysql_secure_installation
Follow the prompts:
-
Set a strong root password
-
Remove anonymous users → Yes
-
Disallow root login remotely → Yes
-
Remove test database → Yes
Step 5: Create TYPO3 Database
Log in to MariaDB:
sudo mysql -u root -p
Create a database and a user:
CREATE DATABASE typo3db;
CREATE USER 'typo3user'@'localhost' IDENTIFIED BY 'StrongPassword';
GRANT ALL PRIVILEGES ON typo3db.* TO 'typo3user'@'localhost';
FLUSH PRIVILEGES;
EXIT;
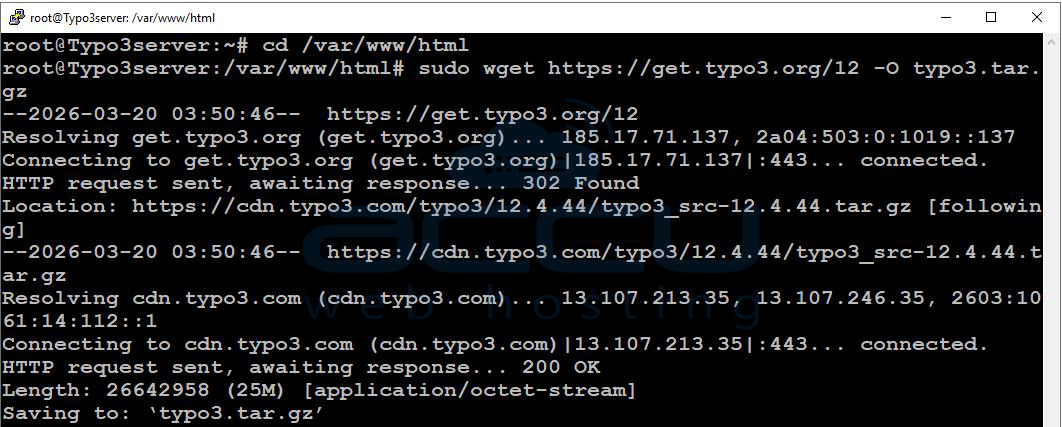
Step 6: Download TYPO3
Move to the web root directory:
cd /var/www/html
Download the latest TYPO3 version:
sudo wget https://get.typo3.org/12 -O typo3.tar.gz
Extract the archive and rename the folder:
sudo tar -xvzf typo3.tar.gz
sudo mv typo3_src-* typo3
Step 7: Set Proper Permissions
Set correct ownership and permissions:
sudo chown -R www-data:www-data /var/www/html/typo3
sudo chmod -R 755 /var/www/html/typo3
Step 8: Configure Apache Virtual Host
Create a new virtual host configuration file:
sudo vi /etc/apache2/sites-available/typo3.conf
Add the following configuration:
<VirtualHost *:80>
    ServerName your-domain.com
    ServerAlias www.your-domain.com Your-Server-IP
    DocumentRoot /var/www/html/typo3

    <Directory /var/www/html/typo3>
        AllowOverride All
        Require all granted
    </Directory>

    ErrorLog ${APACHE_LOG_DIR}/typo3_error.log
    CustomLog ${APACHE_LOG_DIR}/typo3_access.log combined
</VirtualHost>
Enable the site and required module:
sudo a2ensite typo3.conf
sudo a2enmod rewrite
sudo systemctl reload apache2
Step 9: Adjust PHP Settings
Edit the PHP configuration file:
sudo vi /etc/php/8.3/apache2/php.ini
Update the following values:
memory_limit = 512M
upload_max_filesize = 50M
post_max_size = 50M
max_execution_time = 300
max_input_vars = 3000
Restart Apache:
sudo systemctl restart apache2
TYPO3 Setup in Browser:
After installation, complete the TYPO3 setup via your web browser.
Step 10: Open TYPO3 in the browser
Access TYPO3 using your server IP or domain: http://your-server-ip/typo3/
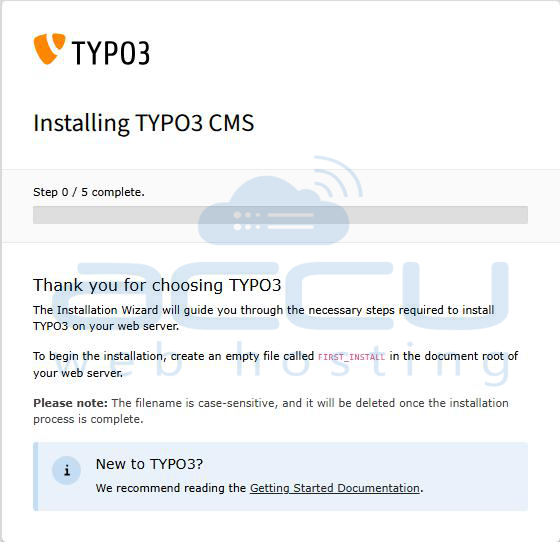
Step 11: Create FIRST_INSTALL File
Create the required installation file:
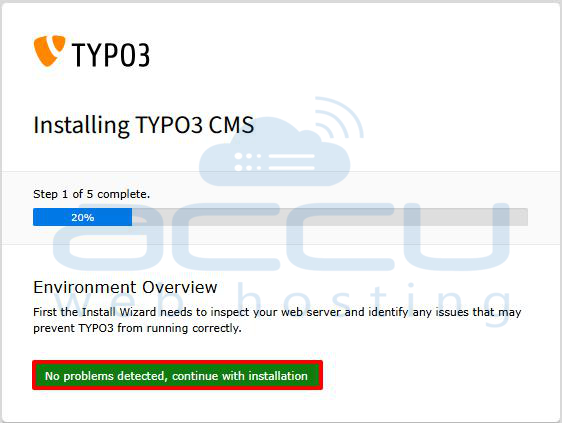
sudo touch /var/www/html/typo3/FIRST_INSTALLRefresh the webpage http://your-server-ip/typo3/ and click on the No problem detected, continue with installation button.
Step 12: Connect to the Database
Enter your database credentials:
-
Database Username
-
Database Password
Use the details created in Step 5.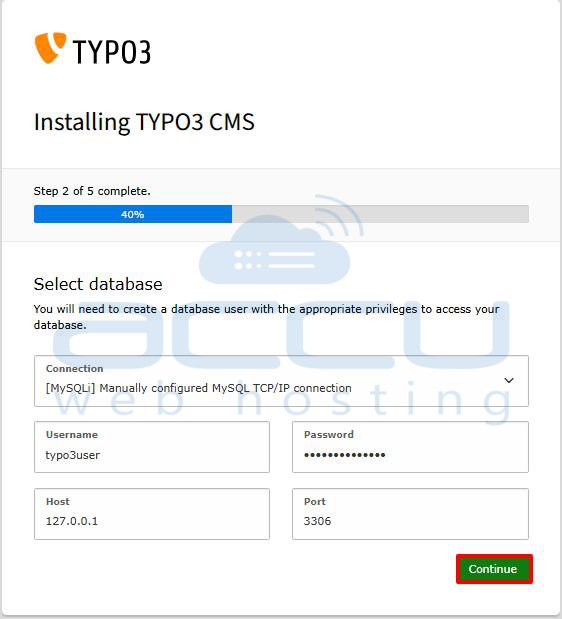
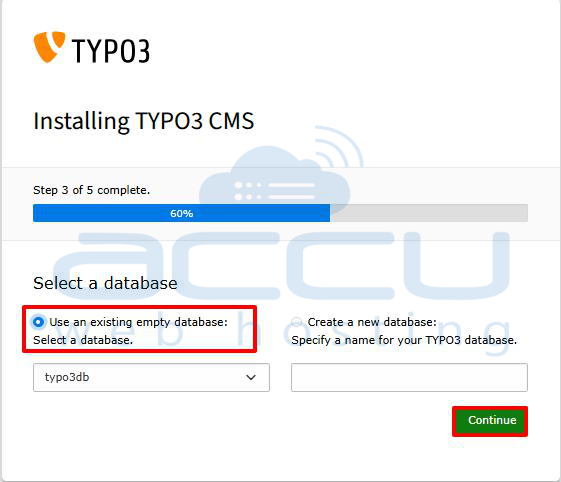
Step 13: Select or Create Database
Choose one of the following:
-
Select an existing database
-
OR create a new database
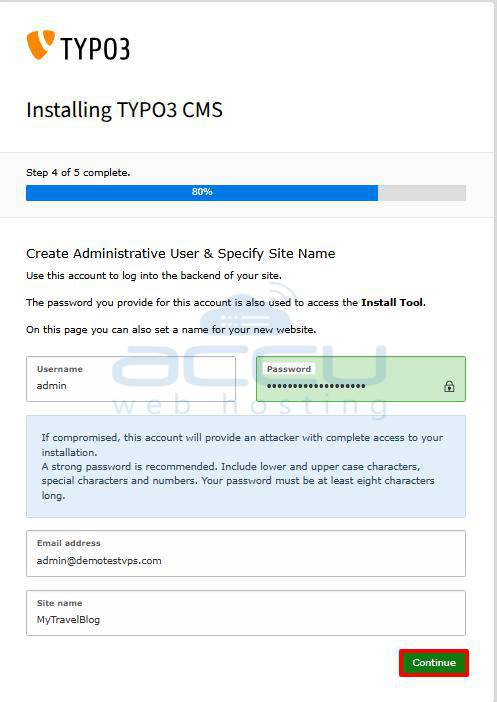
Step 14: Create Admin Account
Set up TYPO3 administrator credentials:
-
Username
-
Password
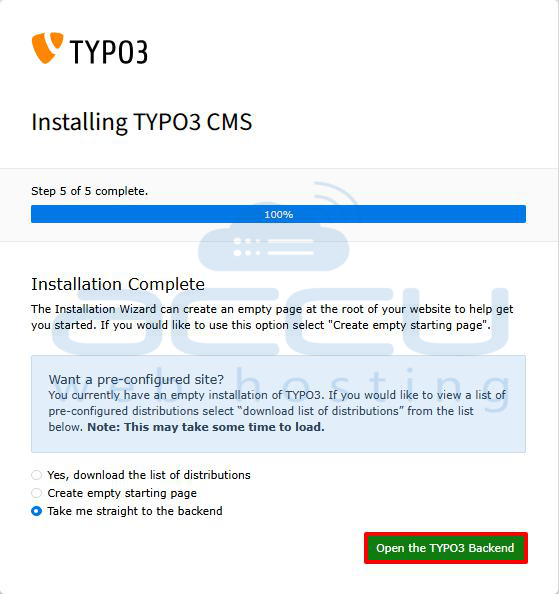
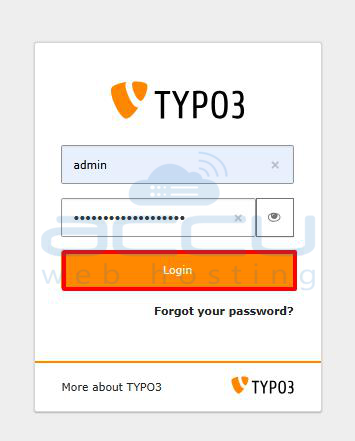
Step 15: Access TYPO3 Backend
After installation:
-
Open the TYPO3 backend:http://your-server-ip/typo3/login
-
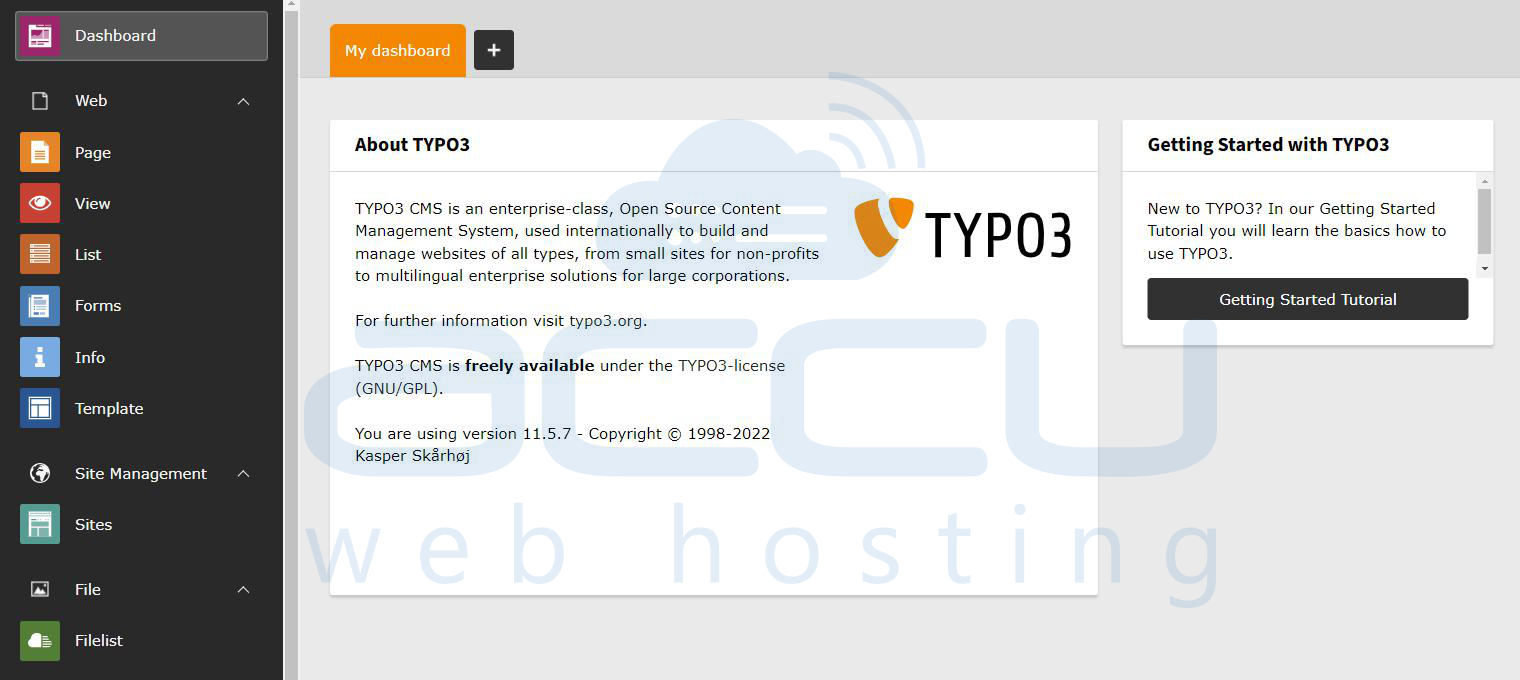
Log in using your admin credentials
You will now see the TYPO3 dashboard, where you can start managing your website.
Conclusion:
You have now successfully installed and configured TYPO3 on your Ubuntu 24 VPS. By following these steps, your server is properly set up with Apache, MariaDB, and PHP, along with all the necessary configurations required for TYPO3 to run smoothly.
If you encounter any issues during installation, please feel free to contact us via chat or support. Our support team will assist you with the installation process.
