Introduction
Redmine is a powerful open-source tool for project management, issue tracking, and team collaboration. When deployed on an Ubuntu 24 VPS, it provides full control, better performance, and enhanced security.
This guide provides a fully working, tested, and compatible setup using:
- Redmine 6 (latest)
- Ruby 3.2.x
- MariaDB + Nginx
- Puma (production-ready app server)
Step 1: Update the System
sudo apt update && sudo apt upgrade -y

Step 2: Install Required Dependencies
Install essential packages, including build tools and libraries:
sudo apt install -y build-essential libssl-dev libreadline-dev zlib1g-dev \
libyaml-dev libxml2-dev libxslt1-dev libffi-dev curl git imagemagick \
libmariadb-dev mariadb-server nginx

Step 3: Create a Dedicated User
Avoid running Redmine as root.
sudo adduser redmine
sudo usermod -aG sudo redmine
su - redmine

Step 4: Install Ruby 3.2 using rbenv
Install rbenv:
curl -fsSL https://github.com/rbenv/rbenv-installer/raw/main/bin/rbenv-installer | bash

Add rbenv to the path:
echo 'export PATH="$HOME/.rbenv/bin:$PATH"' >> ~/.bashrc
echo 'eval "$(rbenv init -)"' >> ~/.bashrc
source ~/.bashrc

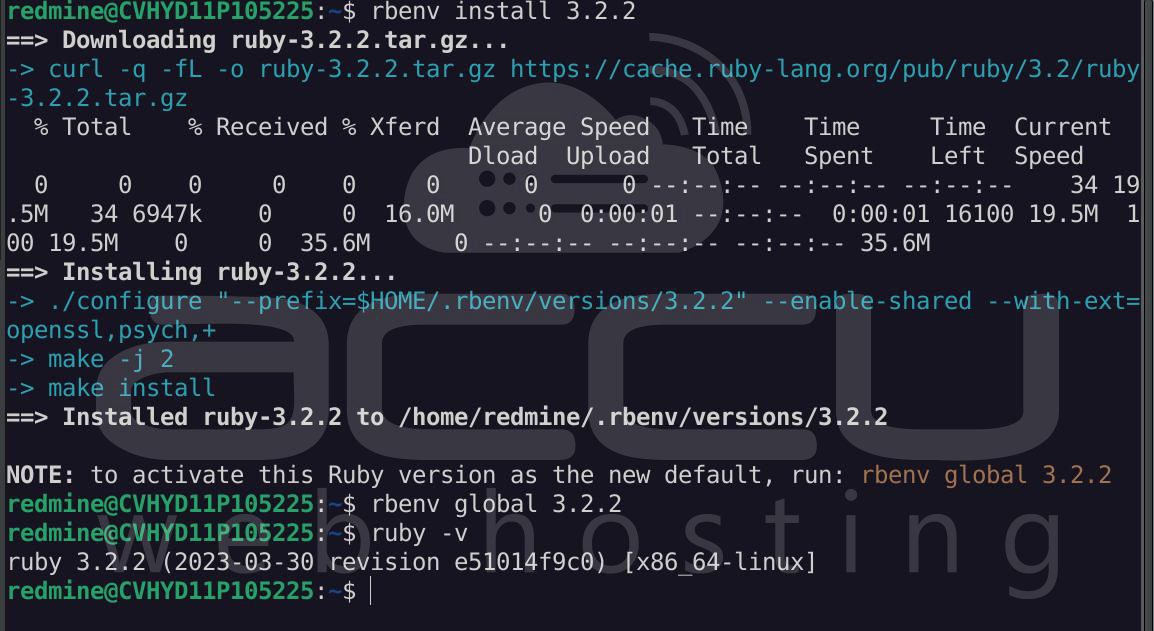
Install Ruby:
rbenv install 3.2.2
rbenv global 3.2.2
Verify:
ruby -v
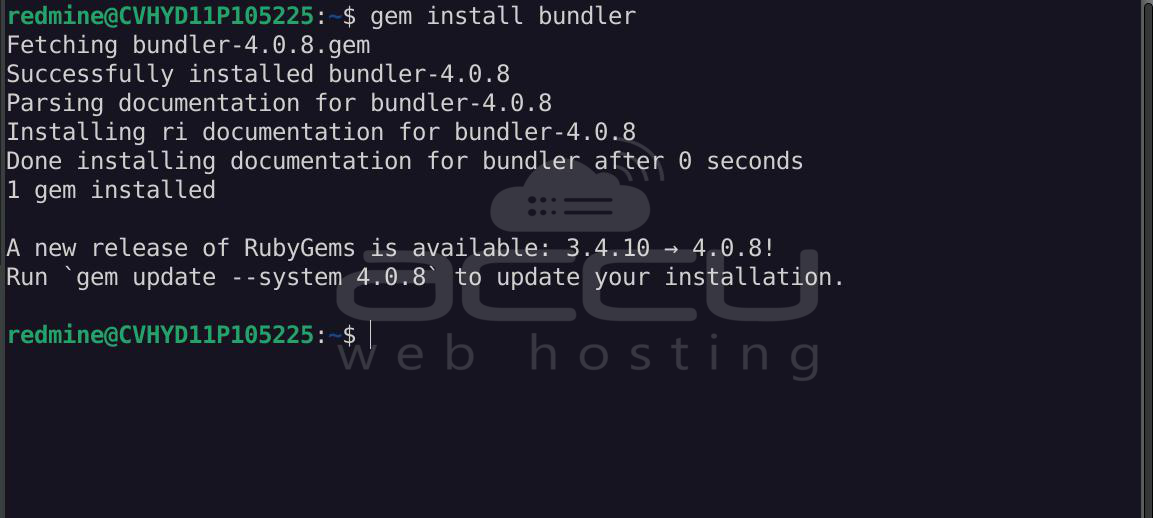
Step 5: Install Bundler
gem install bundler
Step 6: Set up Database (MariaDB)
sudo mysql_secure_installation

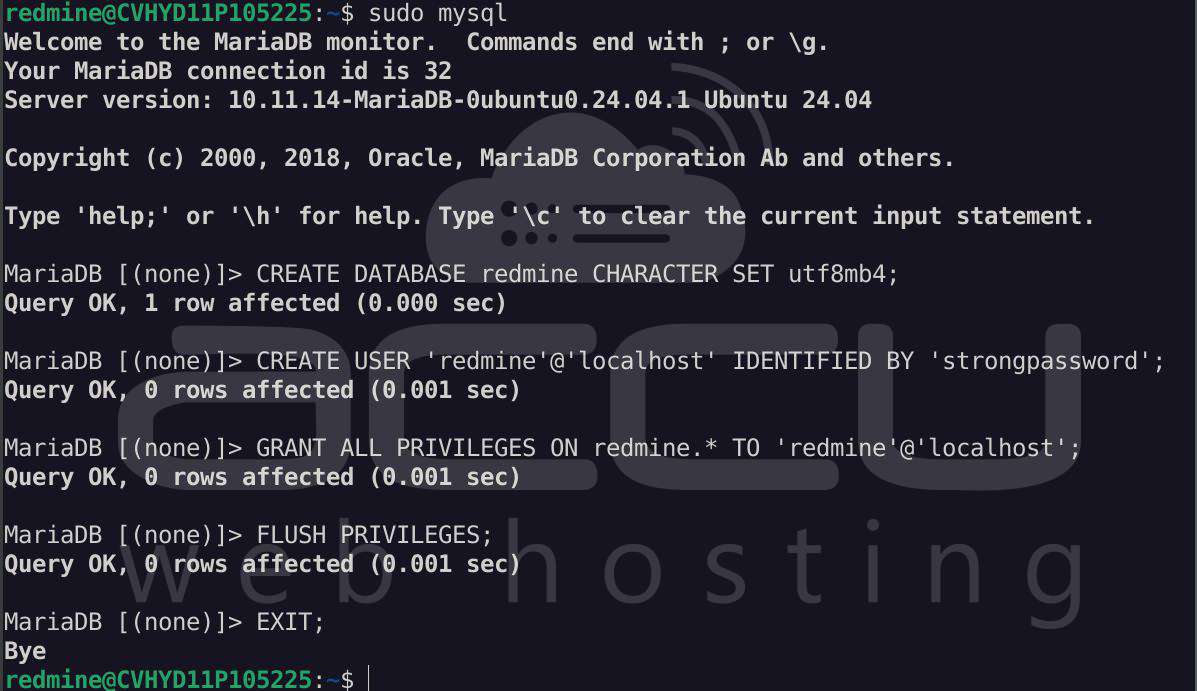
Create a database for Redmine:
Go to MySQL by typing sudo mysql in the terminal, and run the following commands.
CREATE DATABASE redmine CHARACTER SET utf8mb4;
CREATE USER 'redmine'@'localhost' IDENTIFIED BY 'strongpassword';
GRANT ALL PRIVILEGES ON redmine.* TO 'redmine'@'localhost';
FLUSH PRIVILEGES;
EXIT;
Step 7: Download Redmine
sudo mkdir -p /opt/redmine
sudo chown -R redmine:redmine /opt/redmine
cd /opt
sudo git clone https://github.com/redmine/redmine.git
cd redmine

Step 8: Configure Database File
Copy and edit configuration:
cp config/database.yml.example config/database.yml
nano config/database.yml
Update with your DB credentials:
production:
 adapter: mysql2
 database: redmine
 host: localhost
 username: redmine
 password: strongpassword
 encoding: utf8mb4
 tx_isolation: "READ-COMMITTED"
Note: Change the transaction_isolation to tx_isolation

Step 9: Install Gems
bundle config set --local without 'development test'
bundle install

Step 10: Add Puma to Gemfile
nano /opt/redmine/Gemfile
Add:
gem 'puma'

Install Puma:
bundle install

Start Redmine Server:
RAILS_ENV=production bundle exec rails server -b 0.0.0.0

Step 11: Initialize Database
bundle exec rake generate_secret_token
RAILS_ENV=production bundle exec rake db:migrate
RAILS_ENV=production bundle exec rake redmine:load_default_data

Step 12: Test Application
Access it on your browser:
http://your-server-ip:3000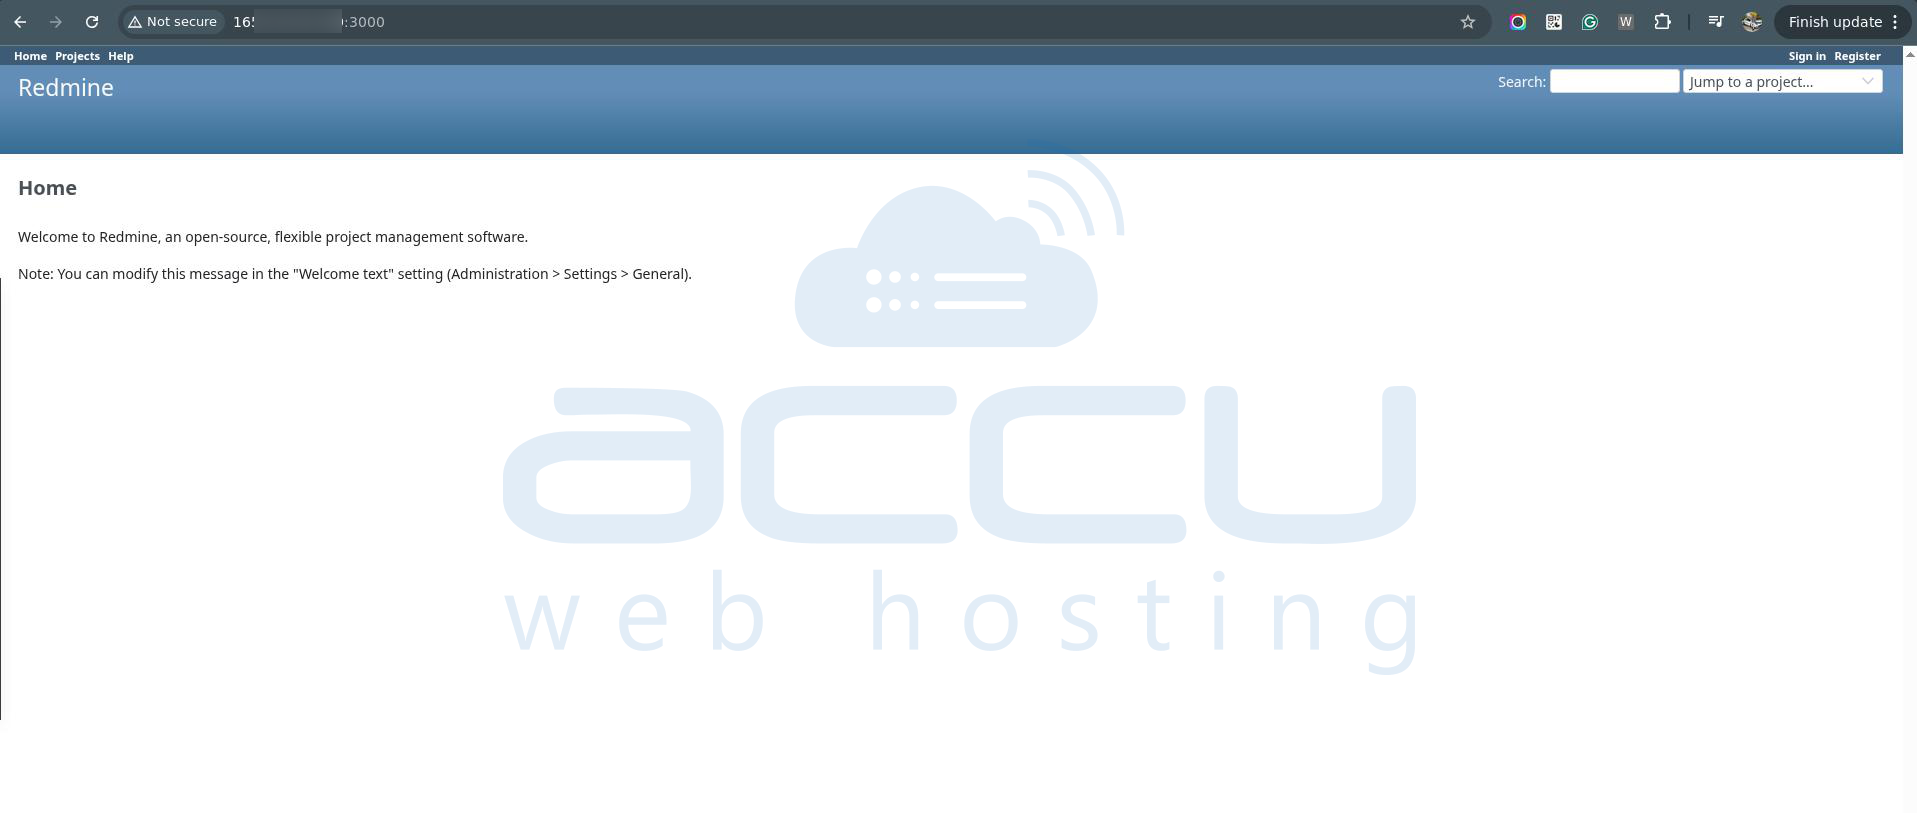
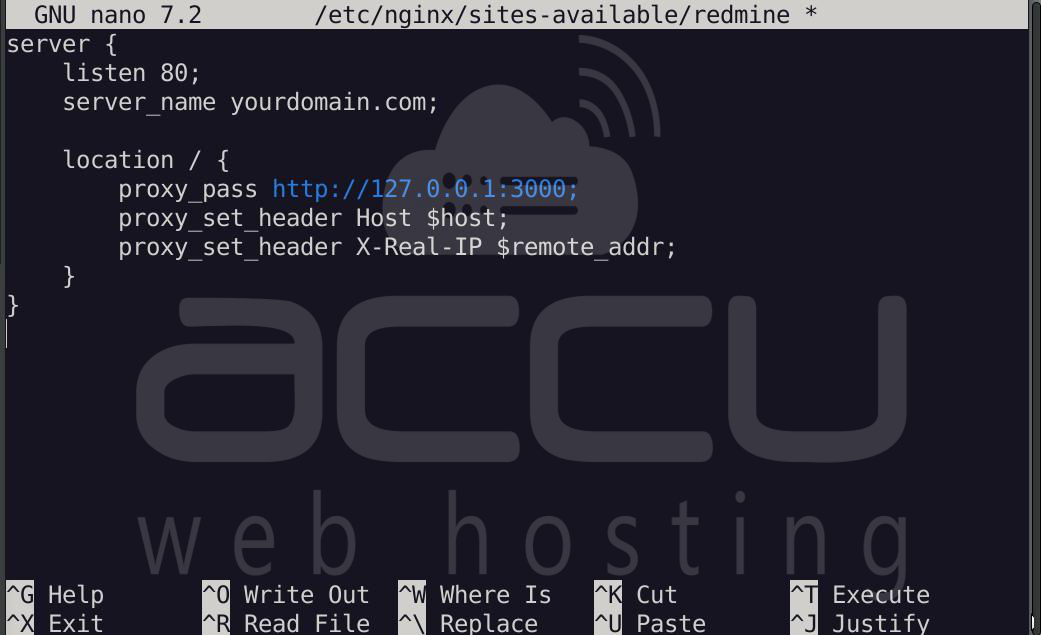
Step 13: Configure Nginx
sudo nano /etc/nginx/sites-available/redmine
Add the following content to the file:
server {
         listen 80;
         server_name yourdomain.com;

    location / {
        proxy_pass http://127.0.0.1:3000;
        proxy_set_header Host $host;
        proxy_set_header X-Real-IP $remote_addr;
    }
}
Note: Replace yourdomain.com with your actual domain name.
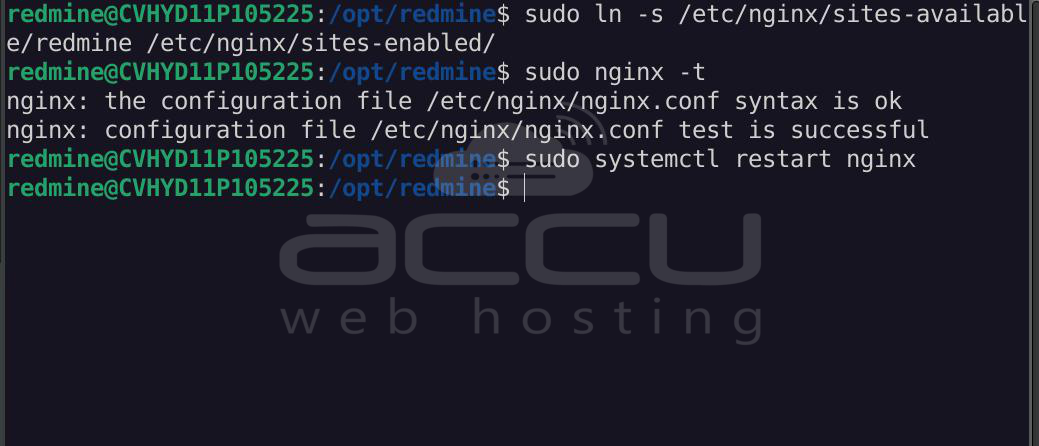
sudo ln -s /etc/nginx/sites-available/redmine /etc/nginx/sites-enabled/
sudo nginx -t
sudo systemctl restart nginx
Step 14: Enable HTTPS
sudo apt install certbot python3-certbot-nginx -y


sudo certbot --nginx

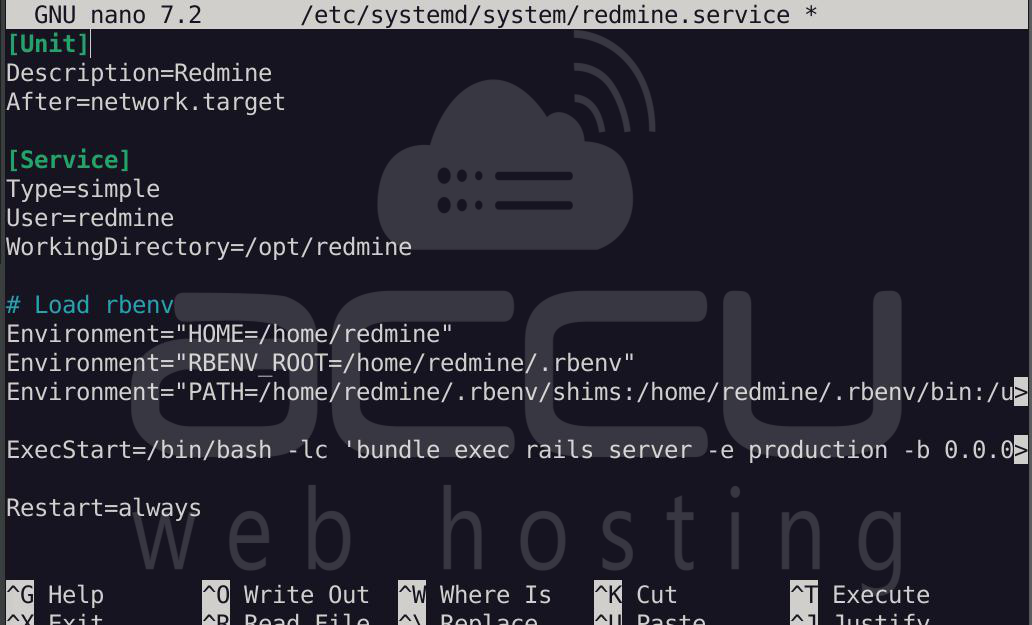
Step 15: Create Service
sudo nano /etc/systemd/system/redmine.service
Add the following content to the file:
[Unit]
Description=Redmine
After=network.target

[Service]
Type=simple
User=redmine
WorkingDirectory=/opt/redmine
ExecStart=/bin/bash -lc 'bundle exec rails server -e production -b 0.0.0.0'
Restart=alway

[Install]
WantedBy=multi-user.target
sudo systemctl daemon-reload
sudo systemctl enable redmine
sudo systemctl start redmine

Conclusion:
Hosting Redmine on Ubuntu 24 VPS is straightforward when using the correct versions and setup. By combining Redmine 6 with Ruby 3.2 and adding Puma as the application server, you ensure a stable and production-ready deployment.
This setup provides a scalable and secure environment that can be further enhanced with plugins, automation, and monitoring tools.
