Introduction:
Deleting a VPS (Virtual Private Server) in Virtualizor is a quick process that allows you to completely remove a server from your account. This may be necessary if you no longer need the VPS or wish to free up resources. In this guide, we'll explain the simple steps to delete a VPS in Virtualizor, ensuring you can do it safely and efficiently.
Step 1: Log in to Virtualizor
Log in to Virtualizor using the VPS management panel details you received via email, along with the server login credentials.
Step 2: Select the VPS
On the left-hand panel, click on the List VPS tab. This will display all of your VPS instances.
Step 3: Delete VPS
1. Find the VPS that you want to delete.
2. In the ACTION section, click on the three-dots icon (…).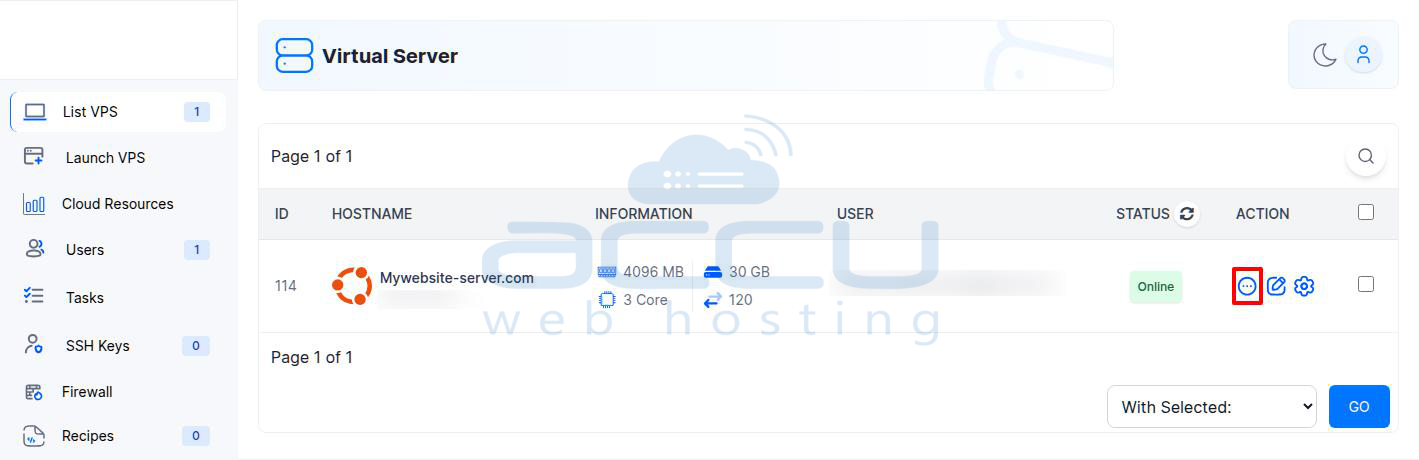
3. This will open a dropdown menu where you can select the "Delete VPS" option.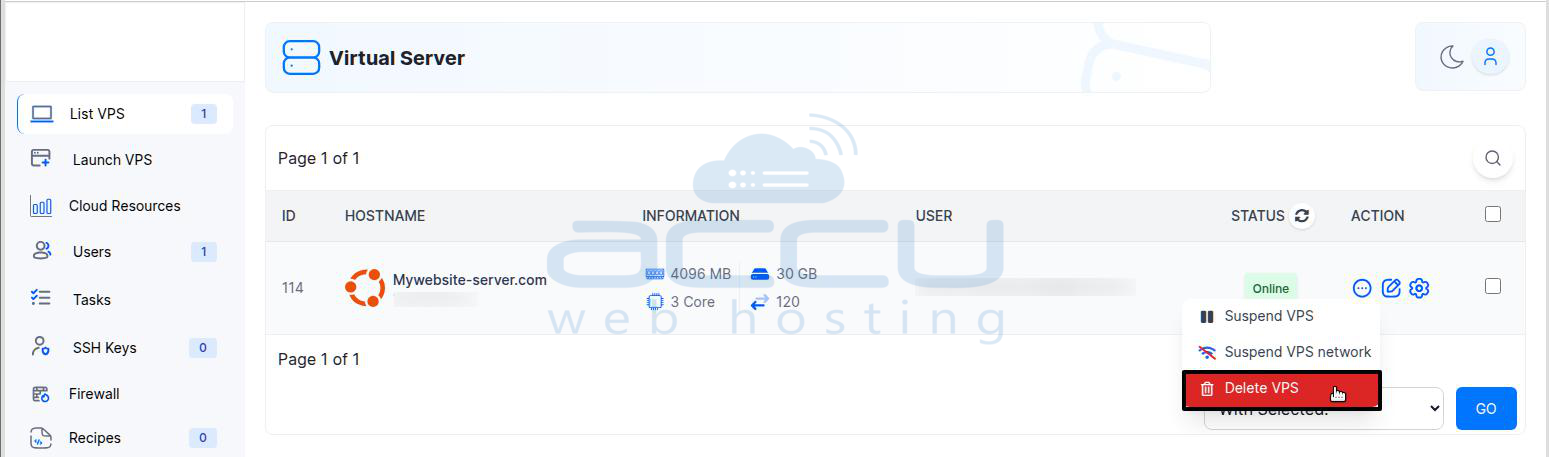
4. Click on the Delete VPS button.
Step 4: Confirm Deletion
A confirmation modal will appear. Click OK to confirm that you want to delete the VPS.
Step 5: Success Message
Once you confirm, a success message will appear: "The VPS delete process has been initiated."
That's all. Your VPS will be deleted.
Conclusion:
Deleting a VPS in Virtualizor is a straightforward task, but it’s important to ensure that you no longer need the server and have backed up any important data before proceeding. By following the steps in this guide, you can easily remove your VPS and free up space or resources. If you need any help or have concerns, feel free to contact support for assistance.
